ོ࿐˖✶⊹₊𖦹 W.11 THE START OF MAKING 𖦹₊⊹✶ ࣪˖࿐ོ
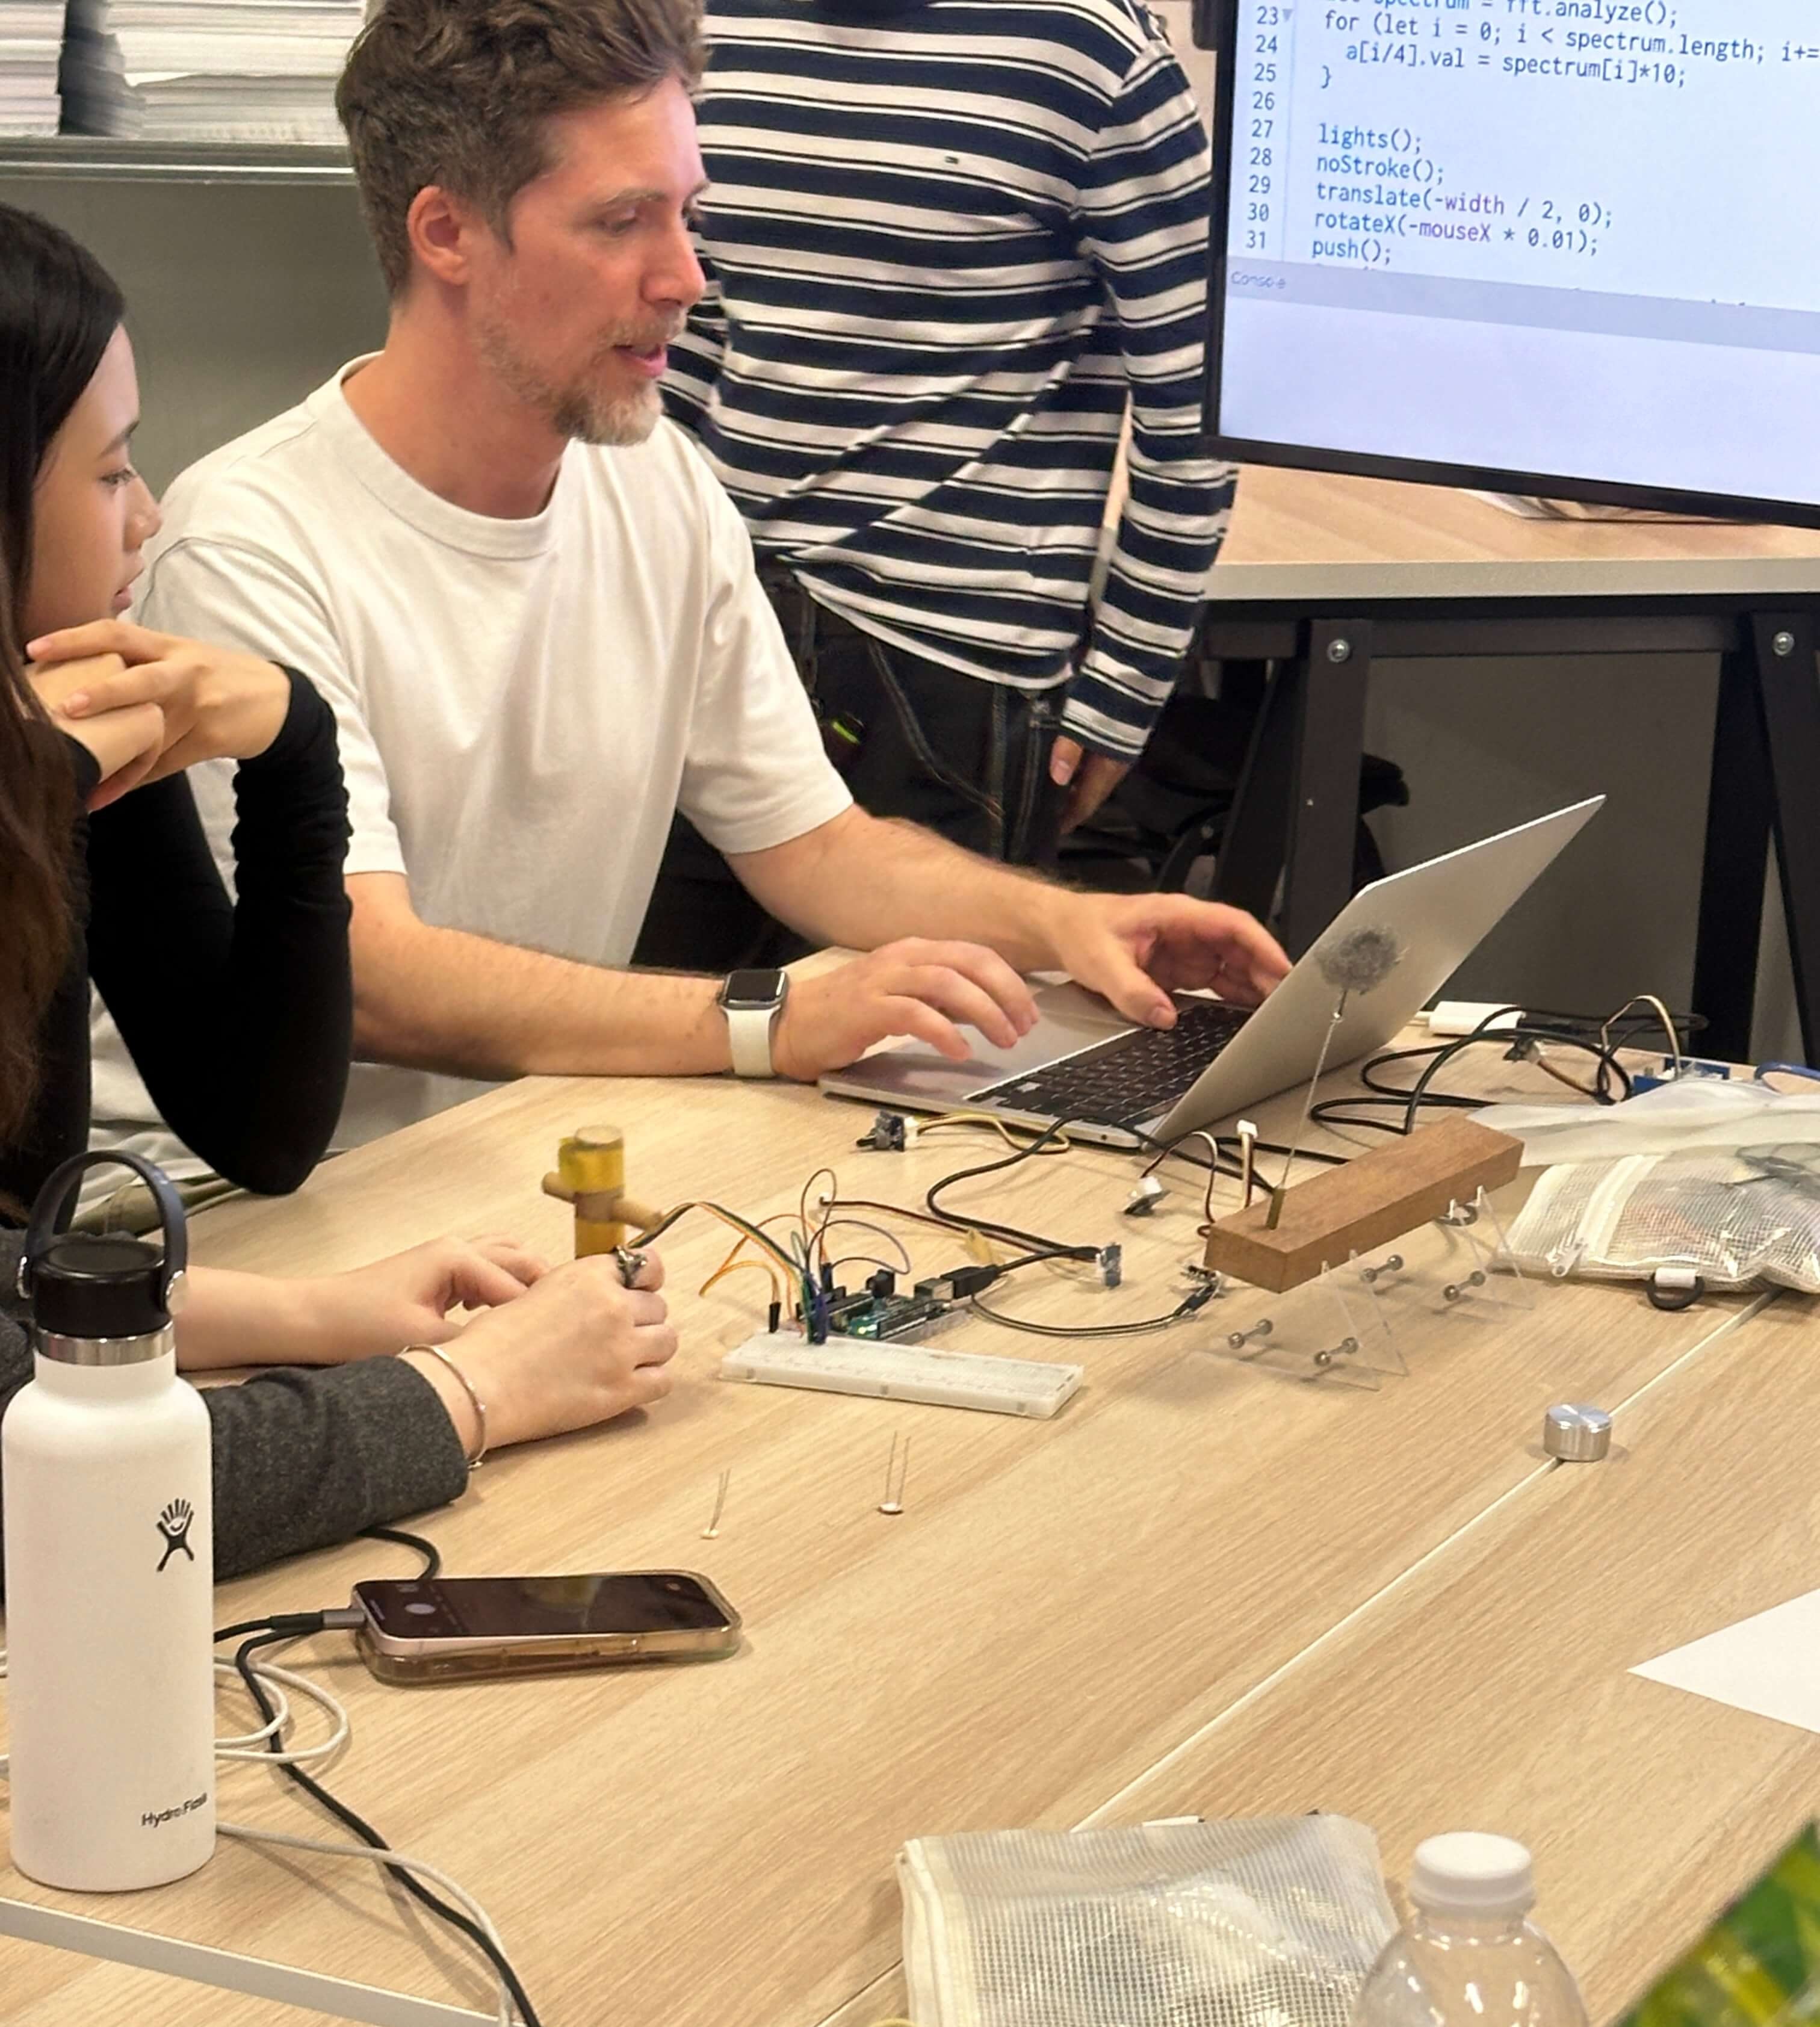
CID LAB WORKSHOP
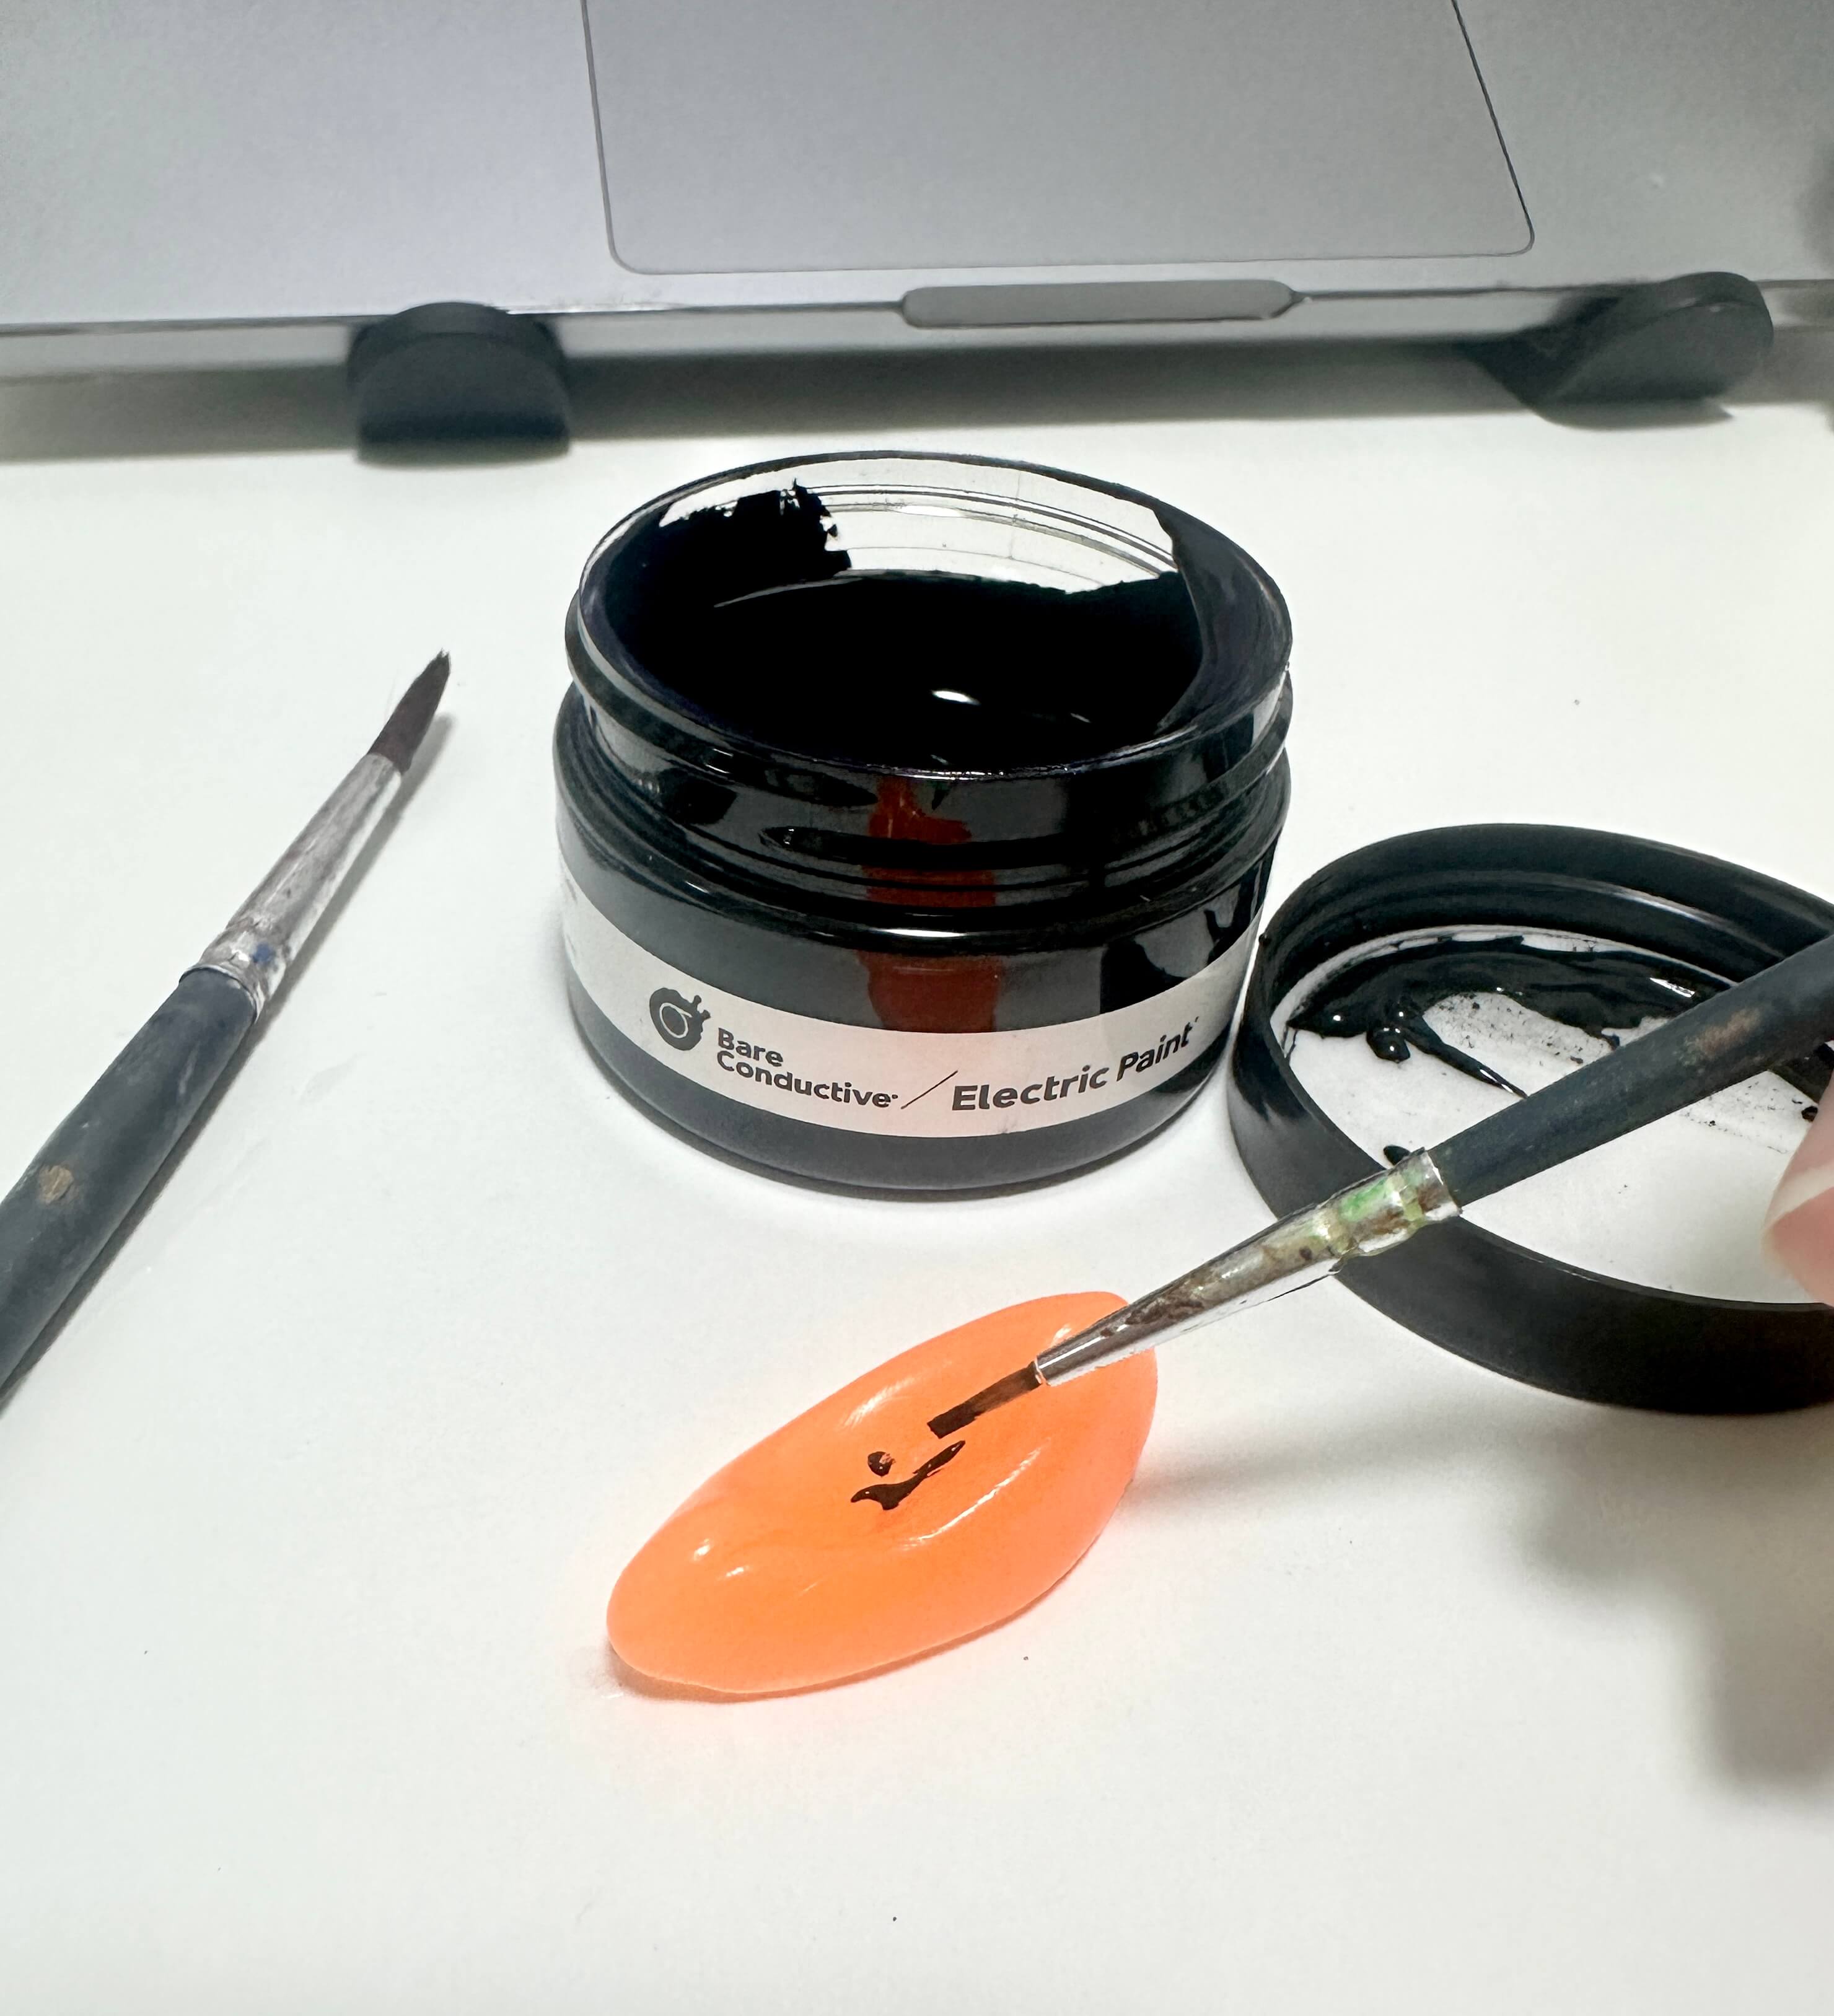
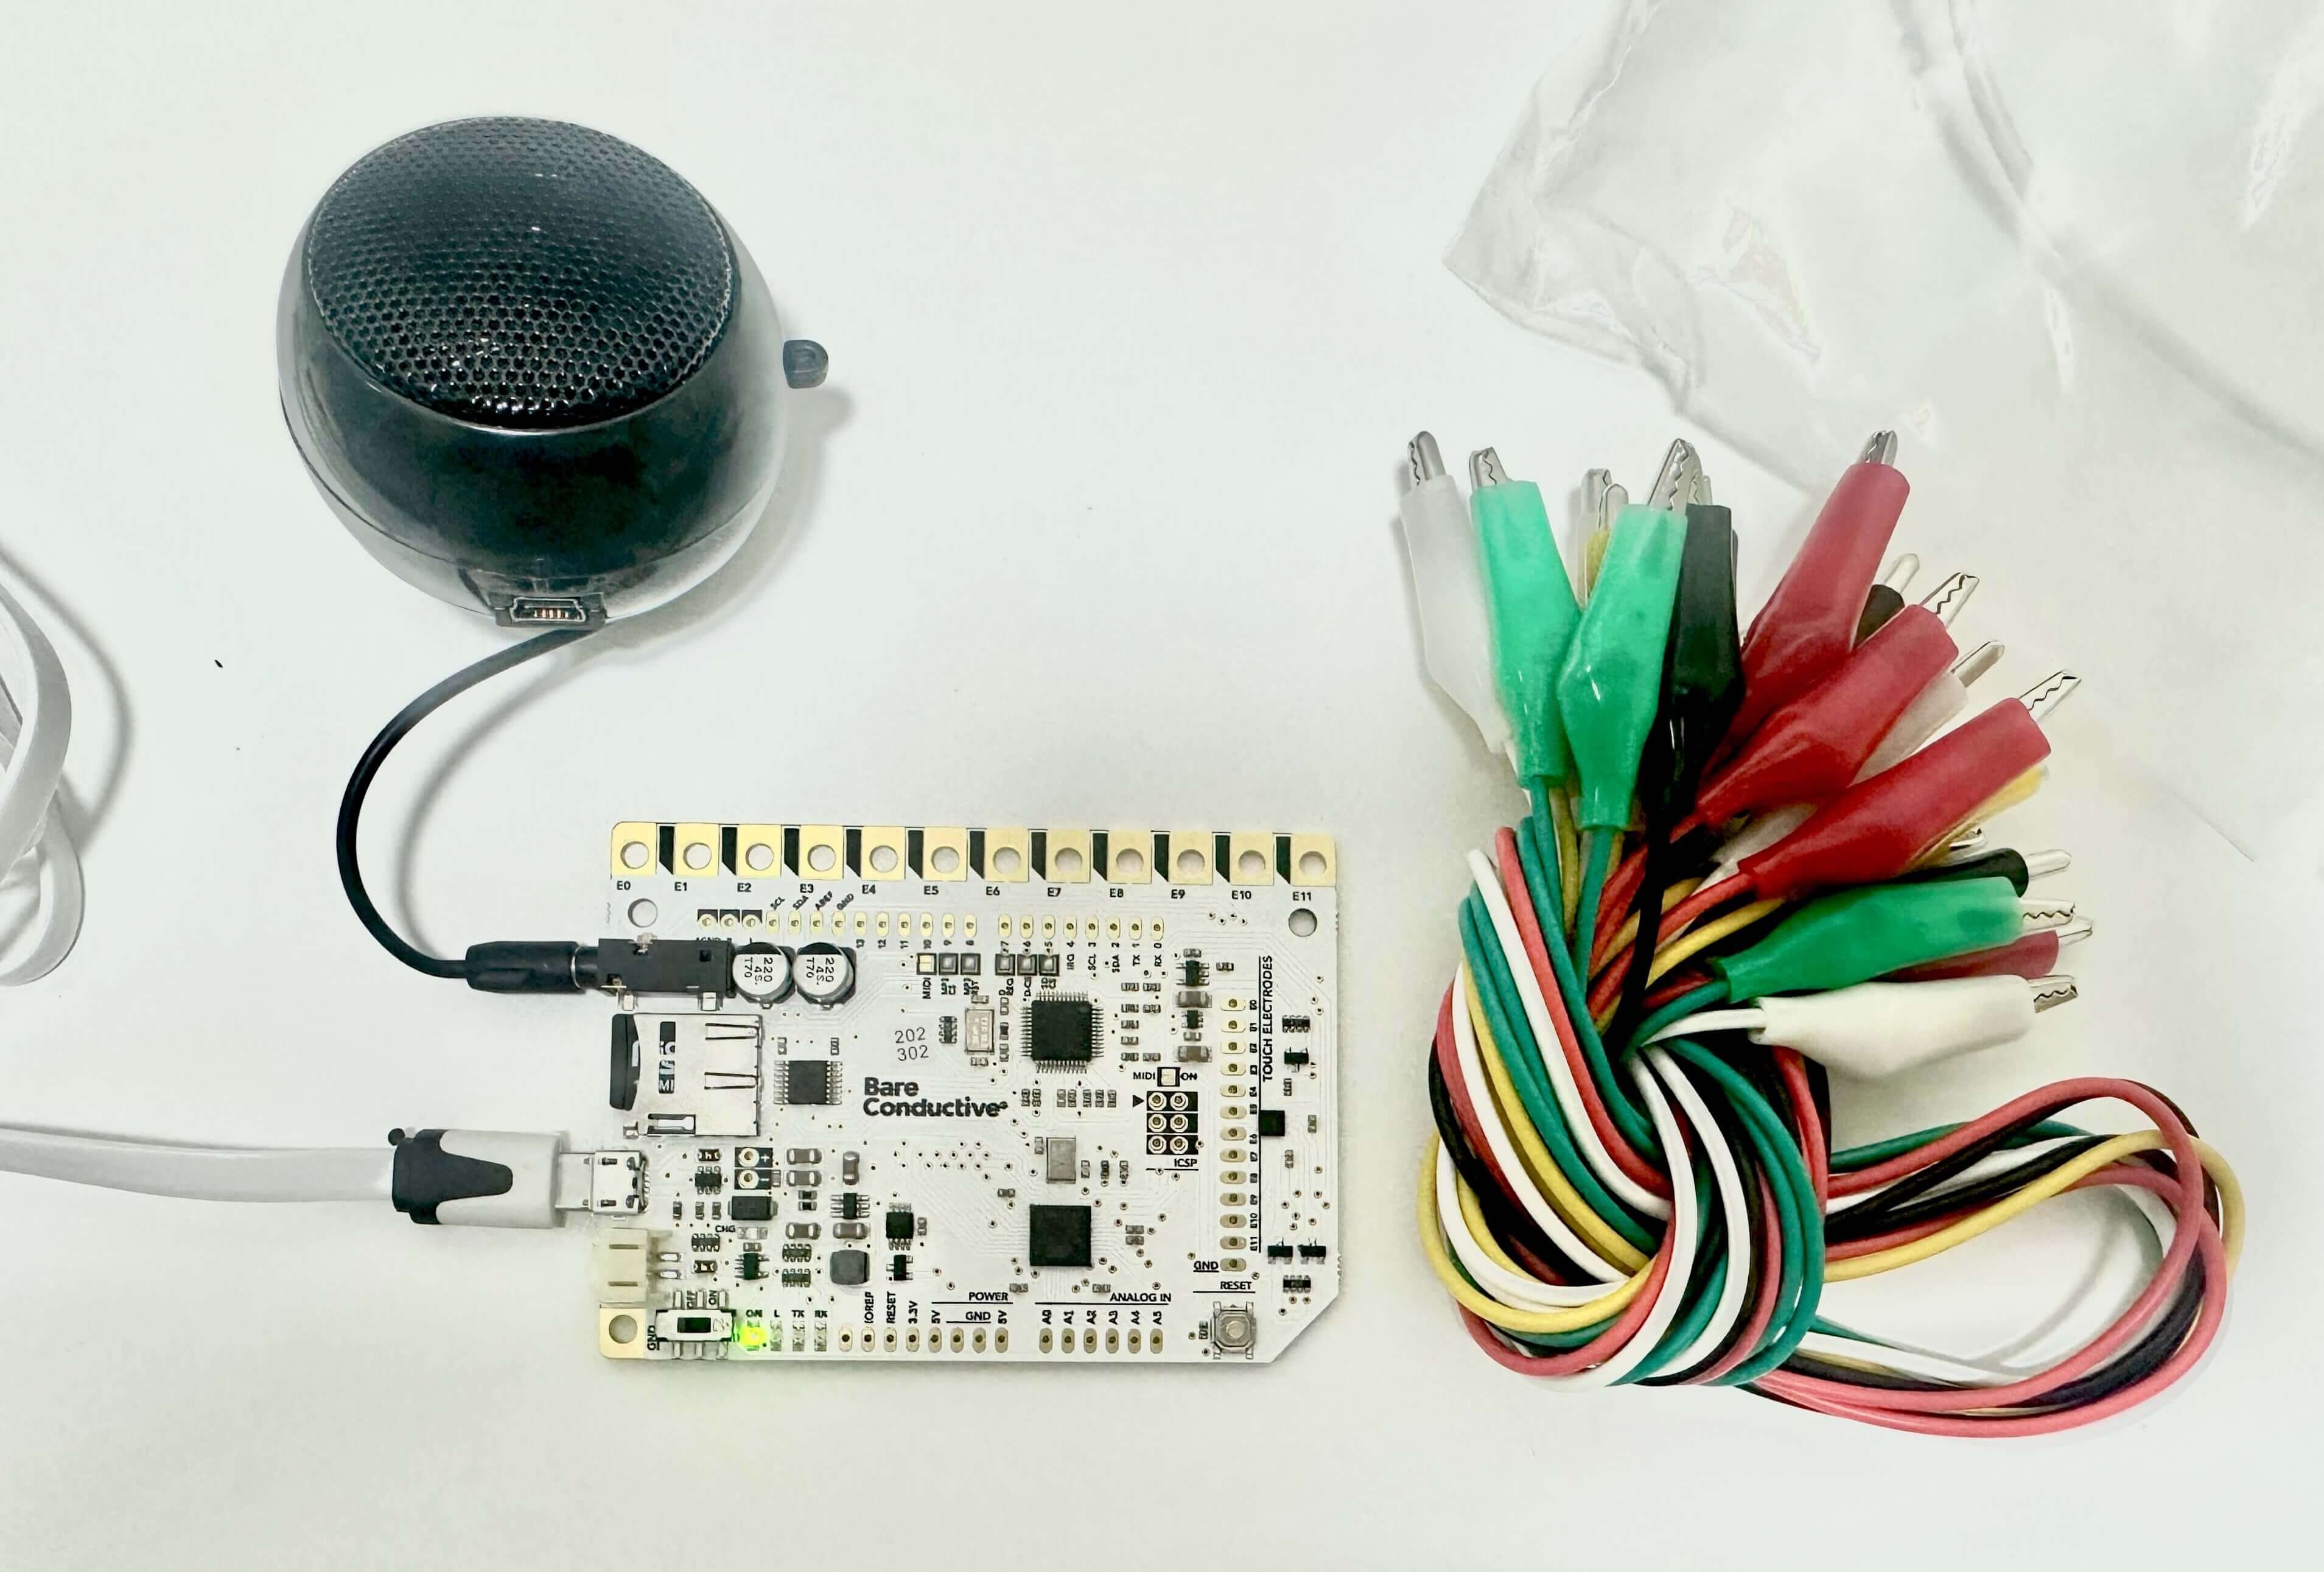
Bare Conductive Touchboard
Was supposed to have a workshop today with Andreas, unfortunately, he had to go back to Germany because of personal issues.
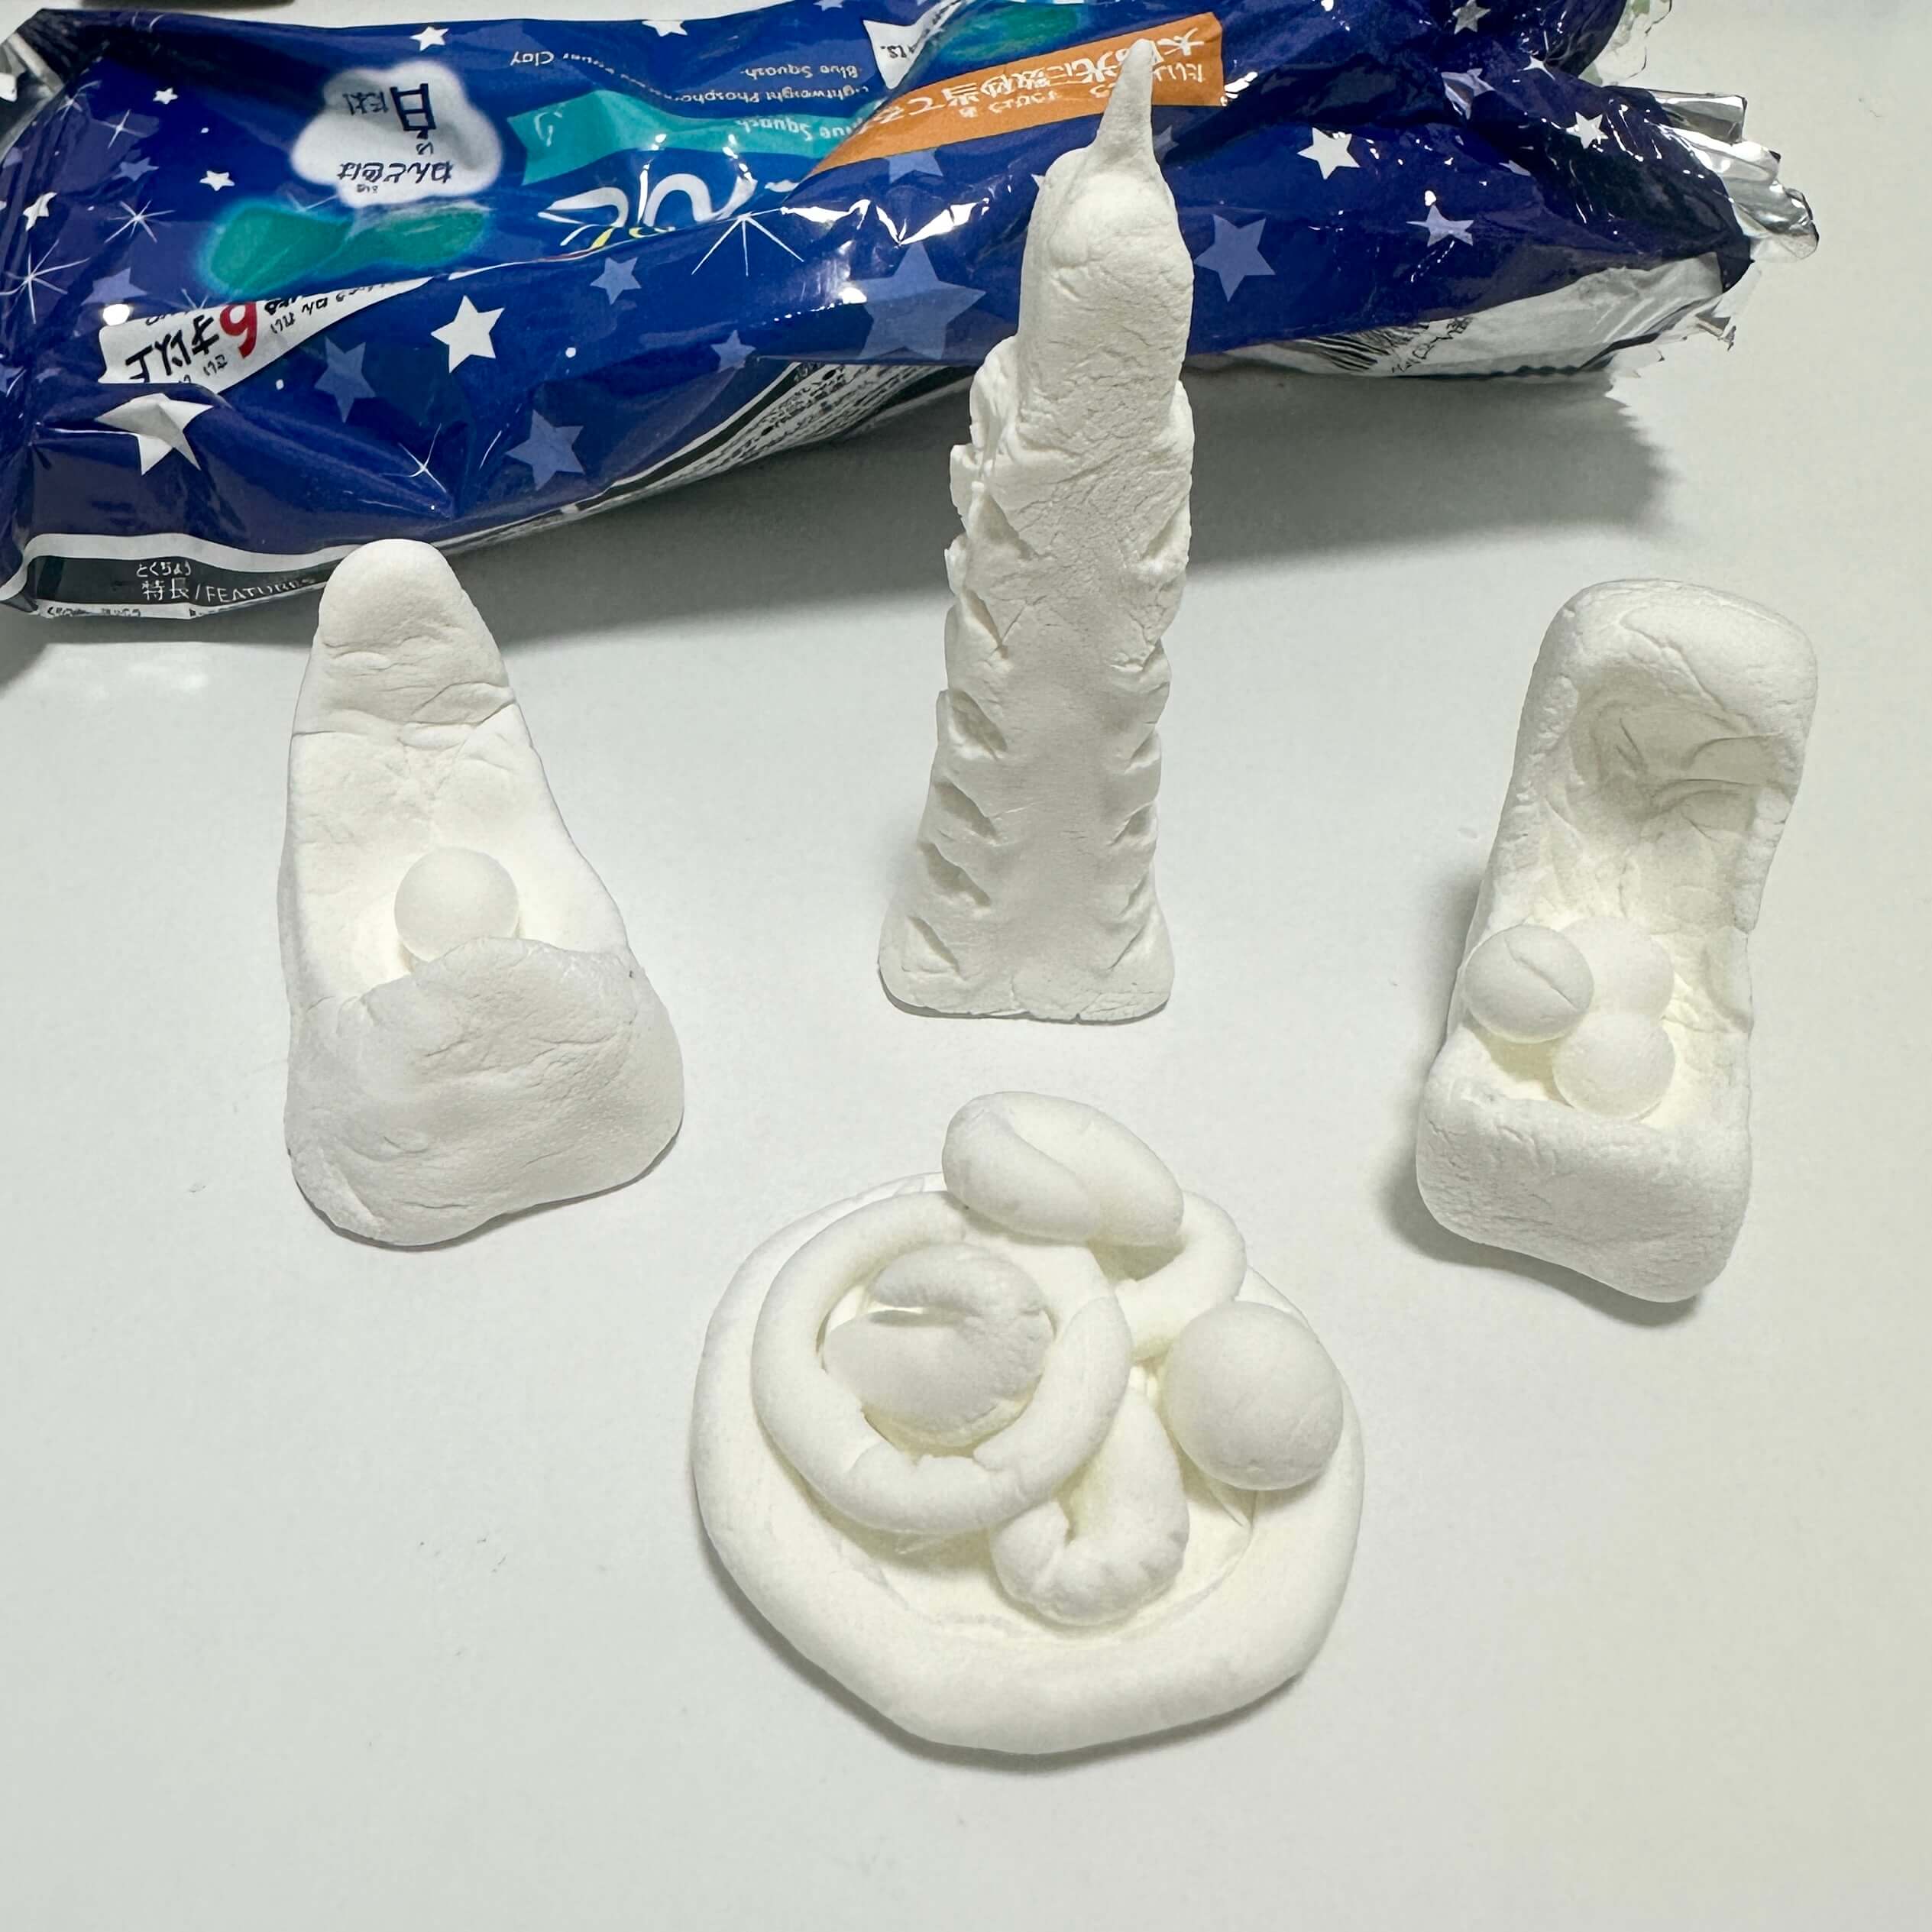
The past two weeks have been quite challenging due to a series of unfortunate events, but I’m determined to keep moving forward. My goal is to start experimenting with the Bare Conductive Touch Board and work on catching up with my workload. I’m also prioritizing breaks to ensure a smooth recovery for my eyes while staying focused on making progress.
- ꕀ How to project interacted shapes onto the screen
- ꕀ How to make touch affect shape's appearance
- ꕀ How to make it easy for participants to pair a sound with the shape they made
ARDUINO TOOLS
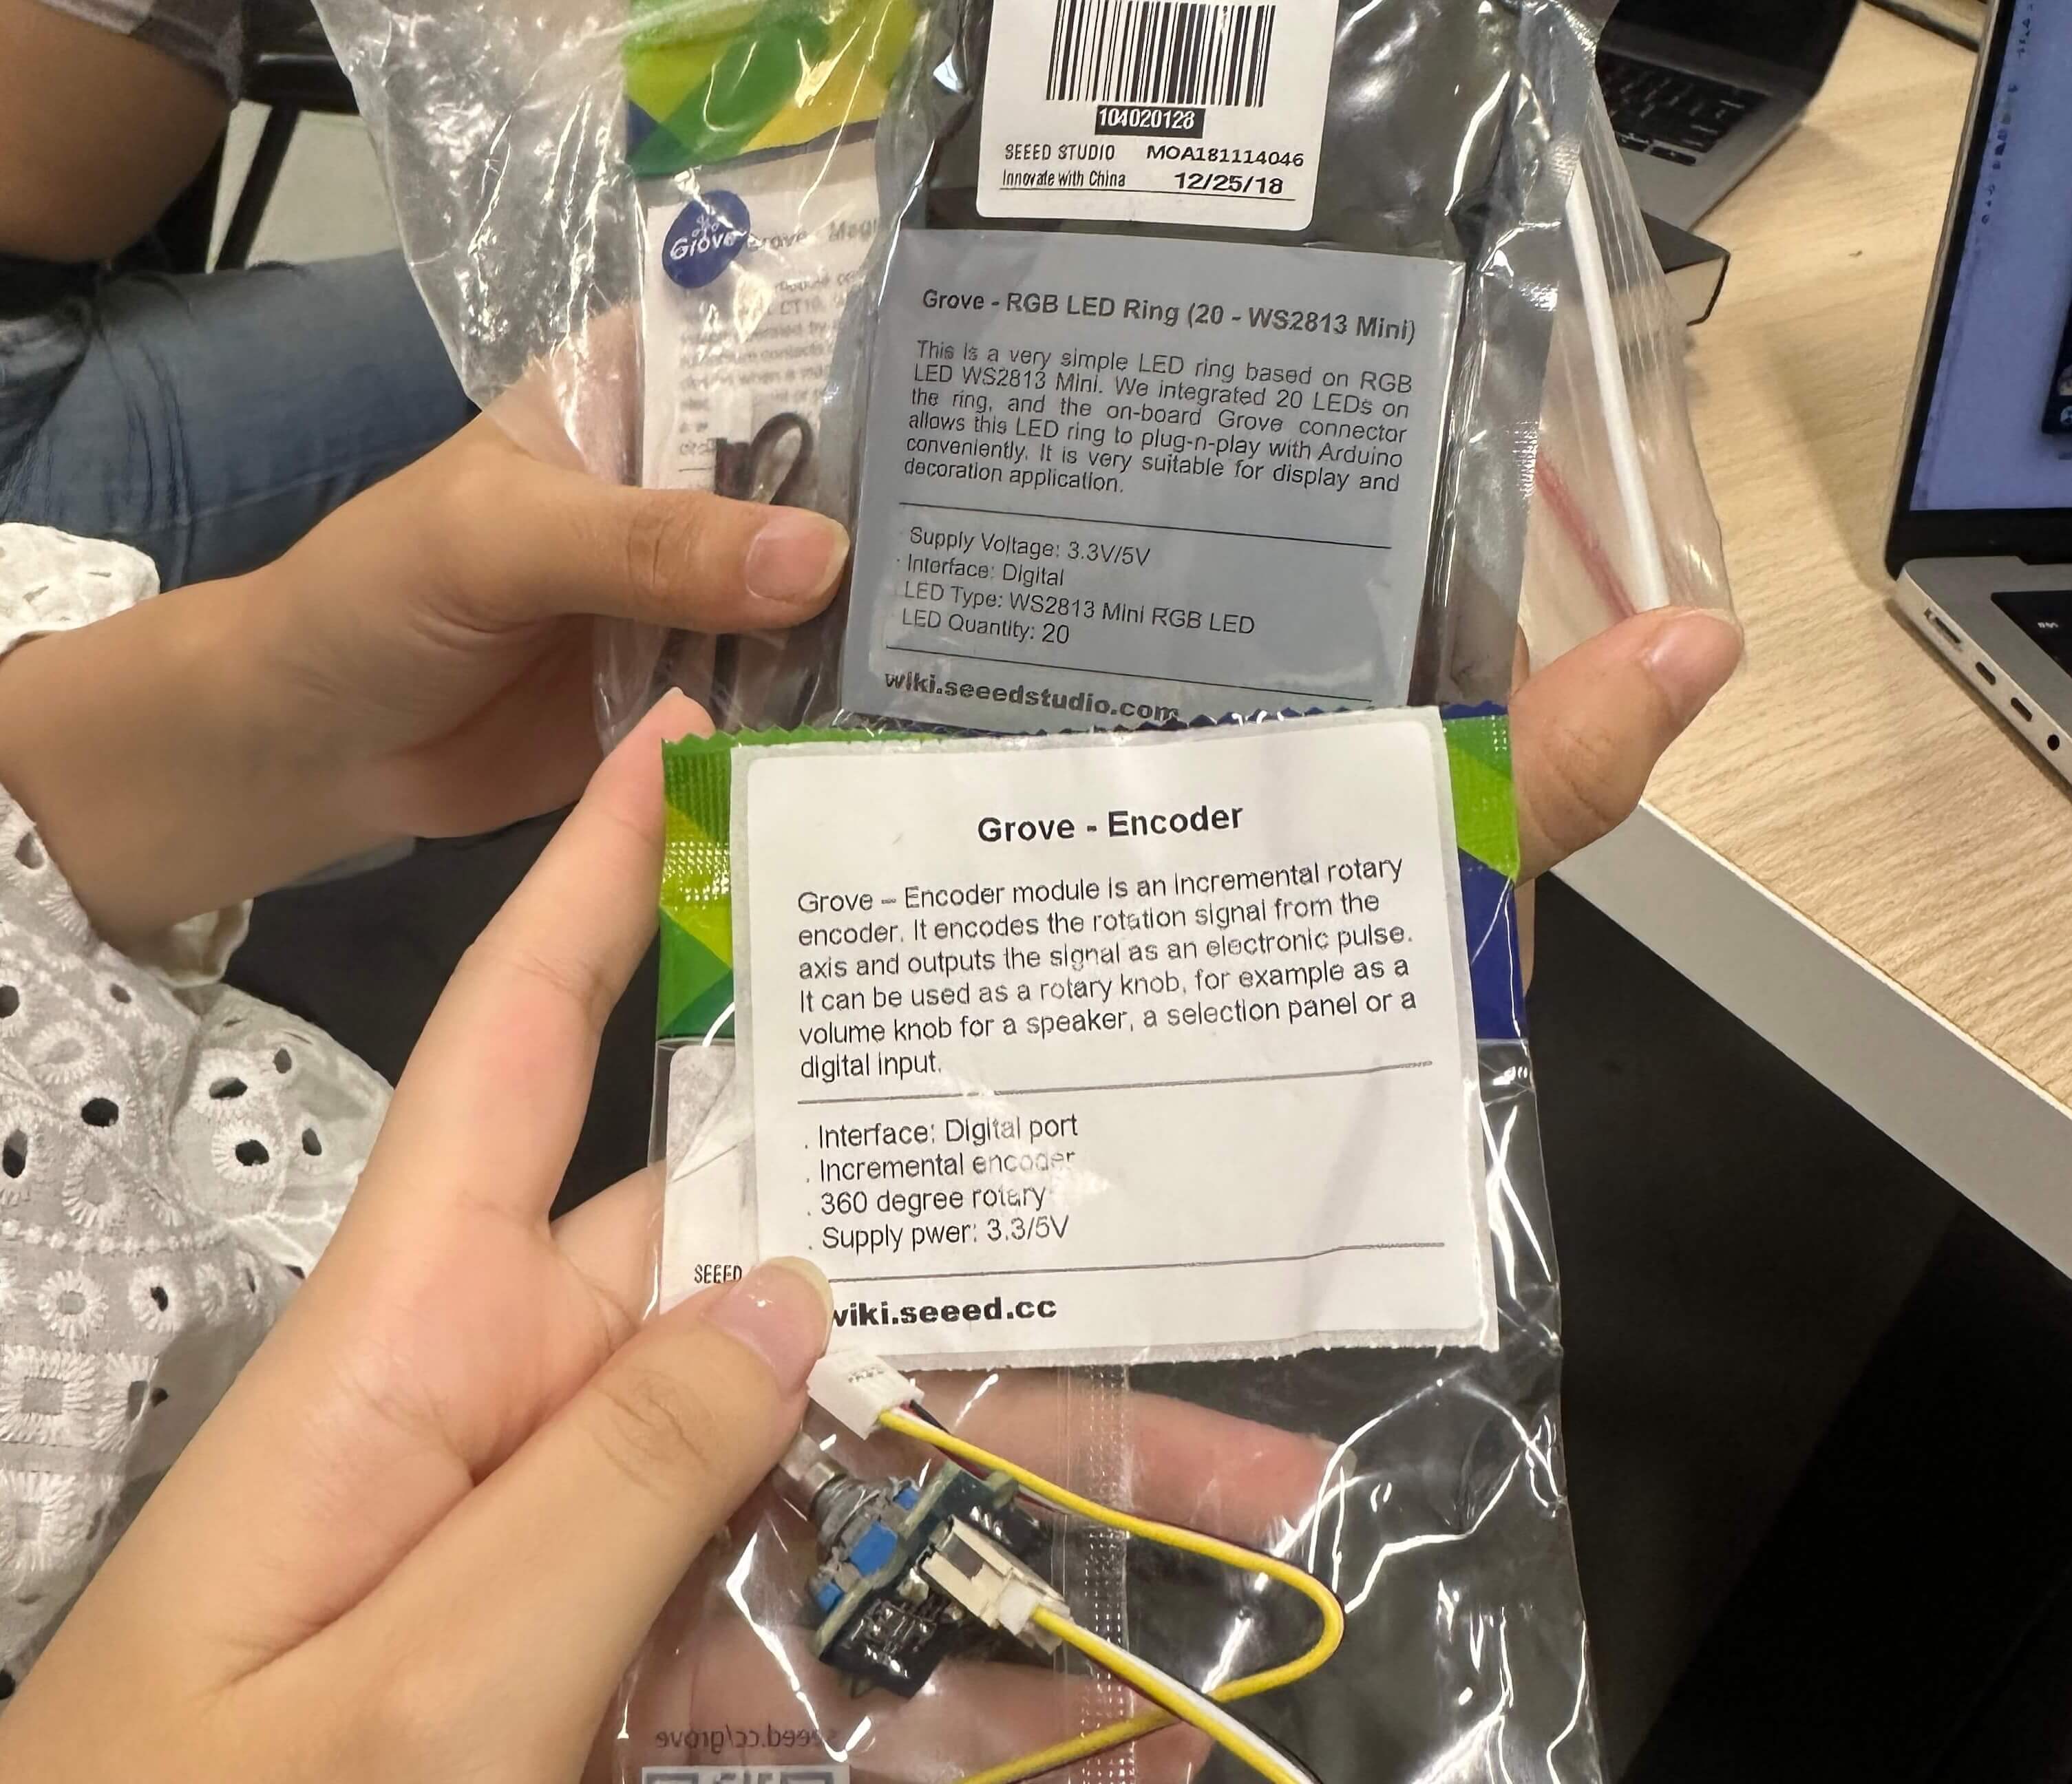
Andreas showed us different materials we can work with in one of the lessons during the previous weeks.A set of Arduino-compatible tools and sensors can be used to achieve a lot of functions for any interactive projects. Input sensors, including but not limited to light sensors, motion detectors, and touch modules, allow devices to respond to environmental changes.
Output components include LEDs, motors, and buzzers that provide visual, mechanical, or audio feedback. Display modules, such as LCDs or OLEDs, visually present data, while communication tools like Bluetooth, Wi-Fi, or GSM modules enable wireless connectivity.
Environmental sensors currently monitor temperature, humidity, and air quality, while gyroscopes and proximity sensors further enhance accuracy and movement detection. Storage modules record data to enable further analysis, and power modules provide flexible energy solutions.
Together, these components empower users to create everything from smart home systems to robotics and interactive art.

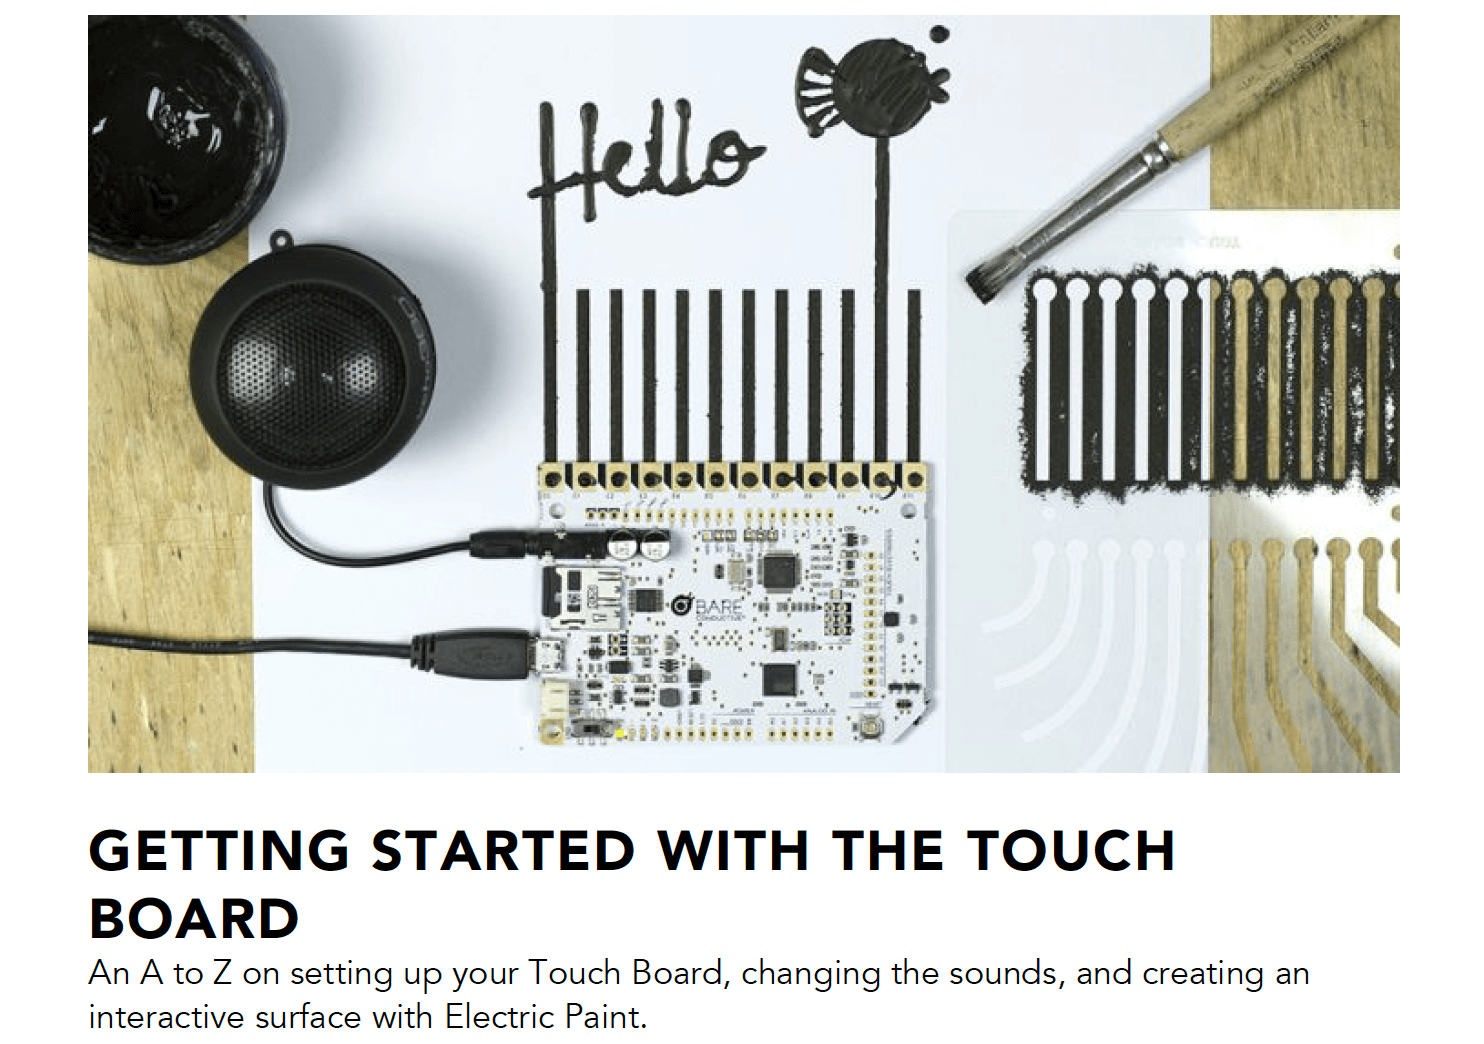
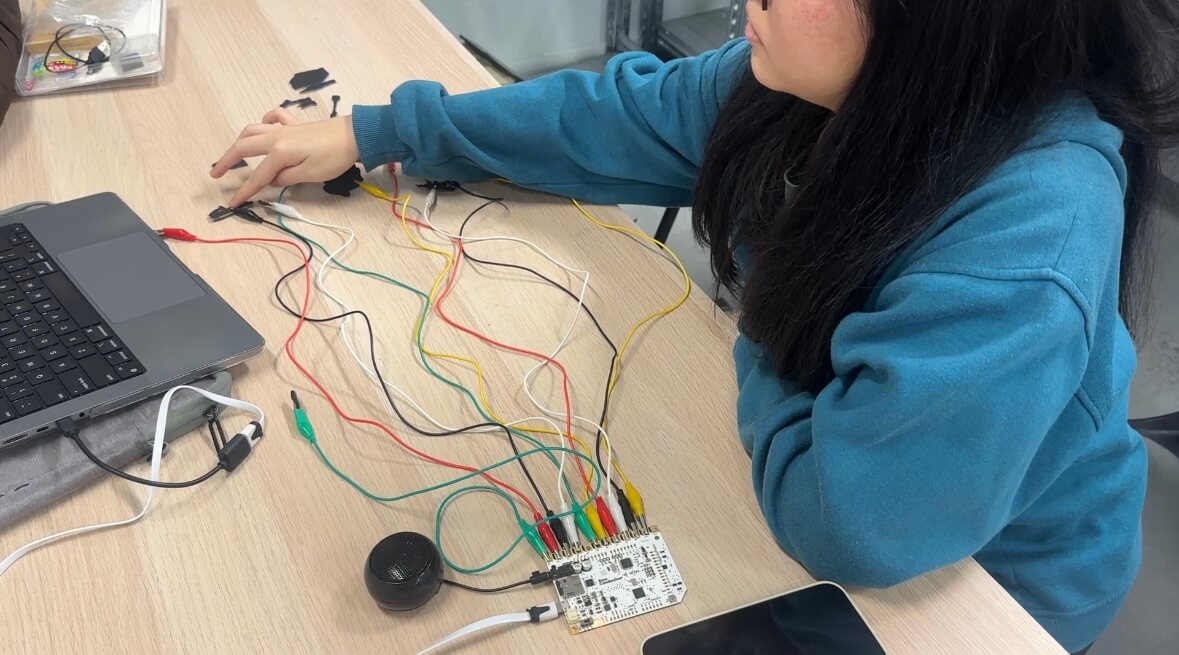
The manual PDF booklet on how to connect touchboard to my computer and set-up sounds 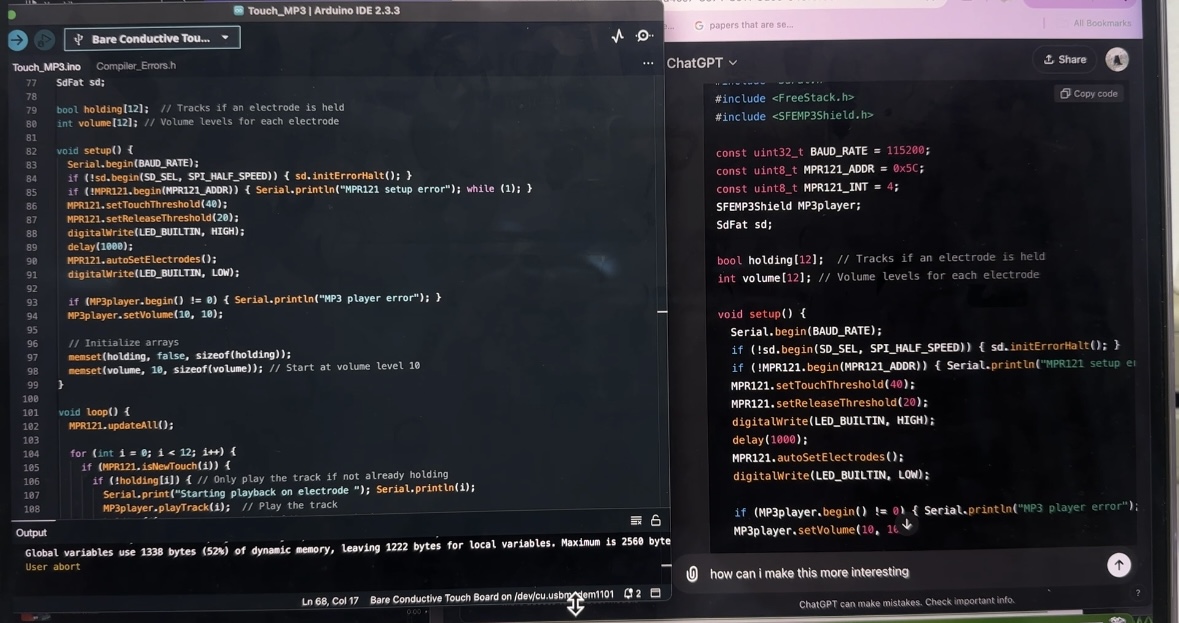
Arduino Tap and Hold
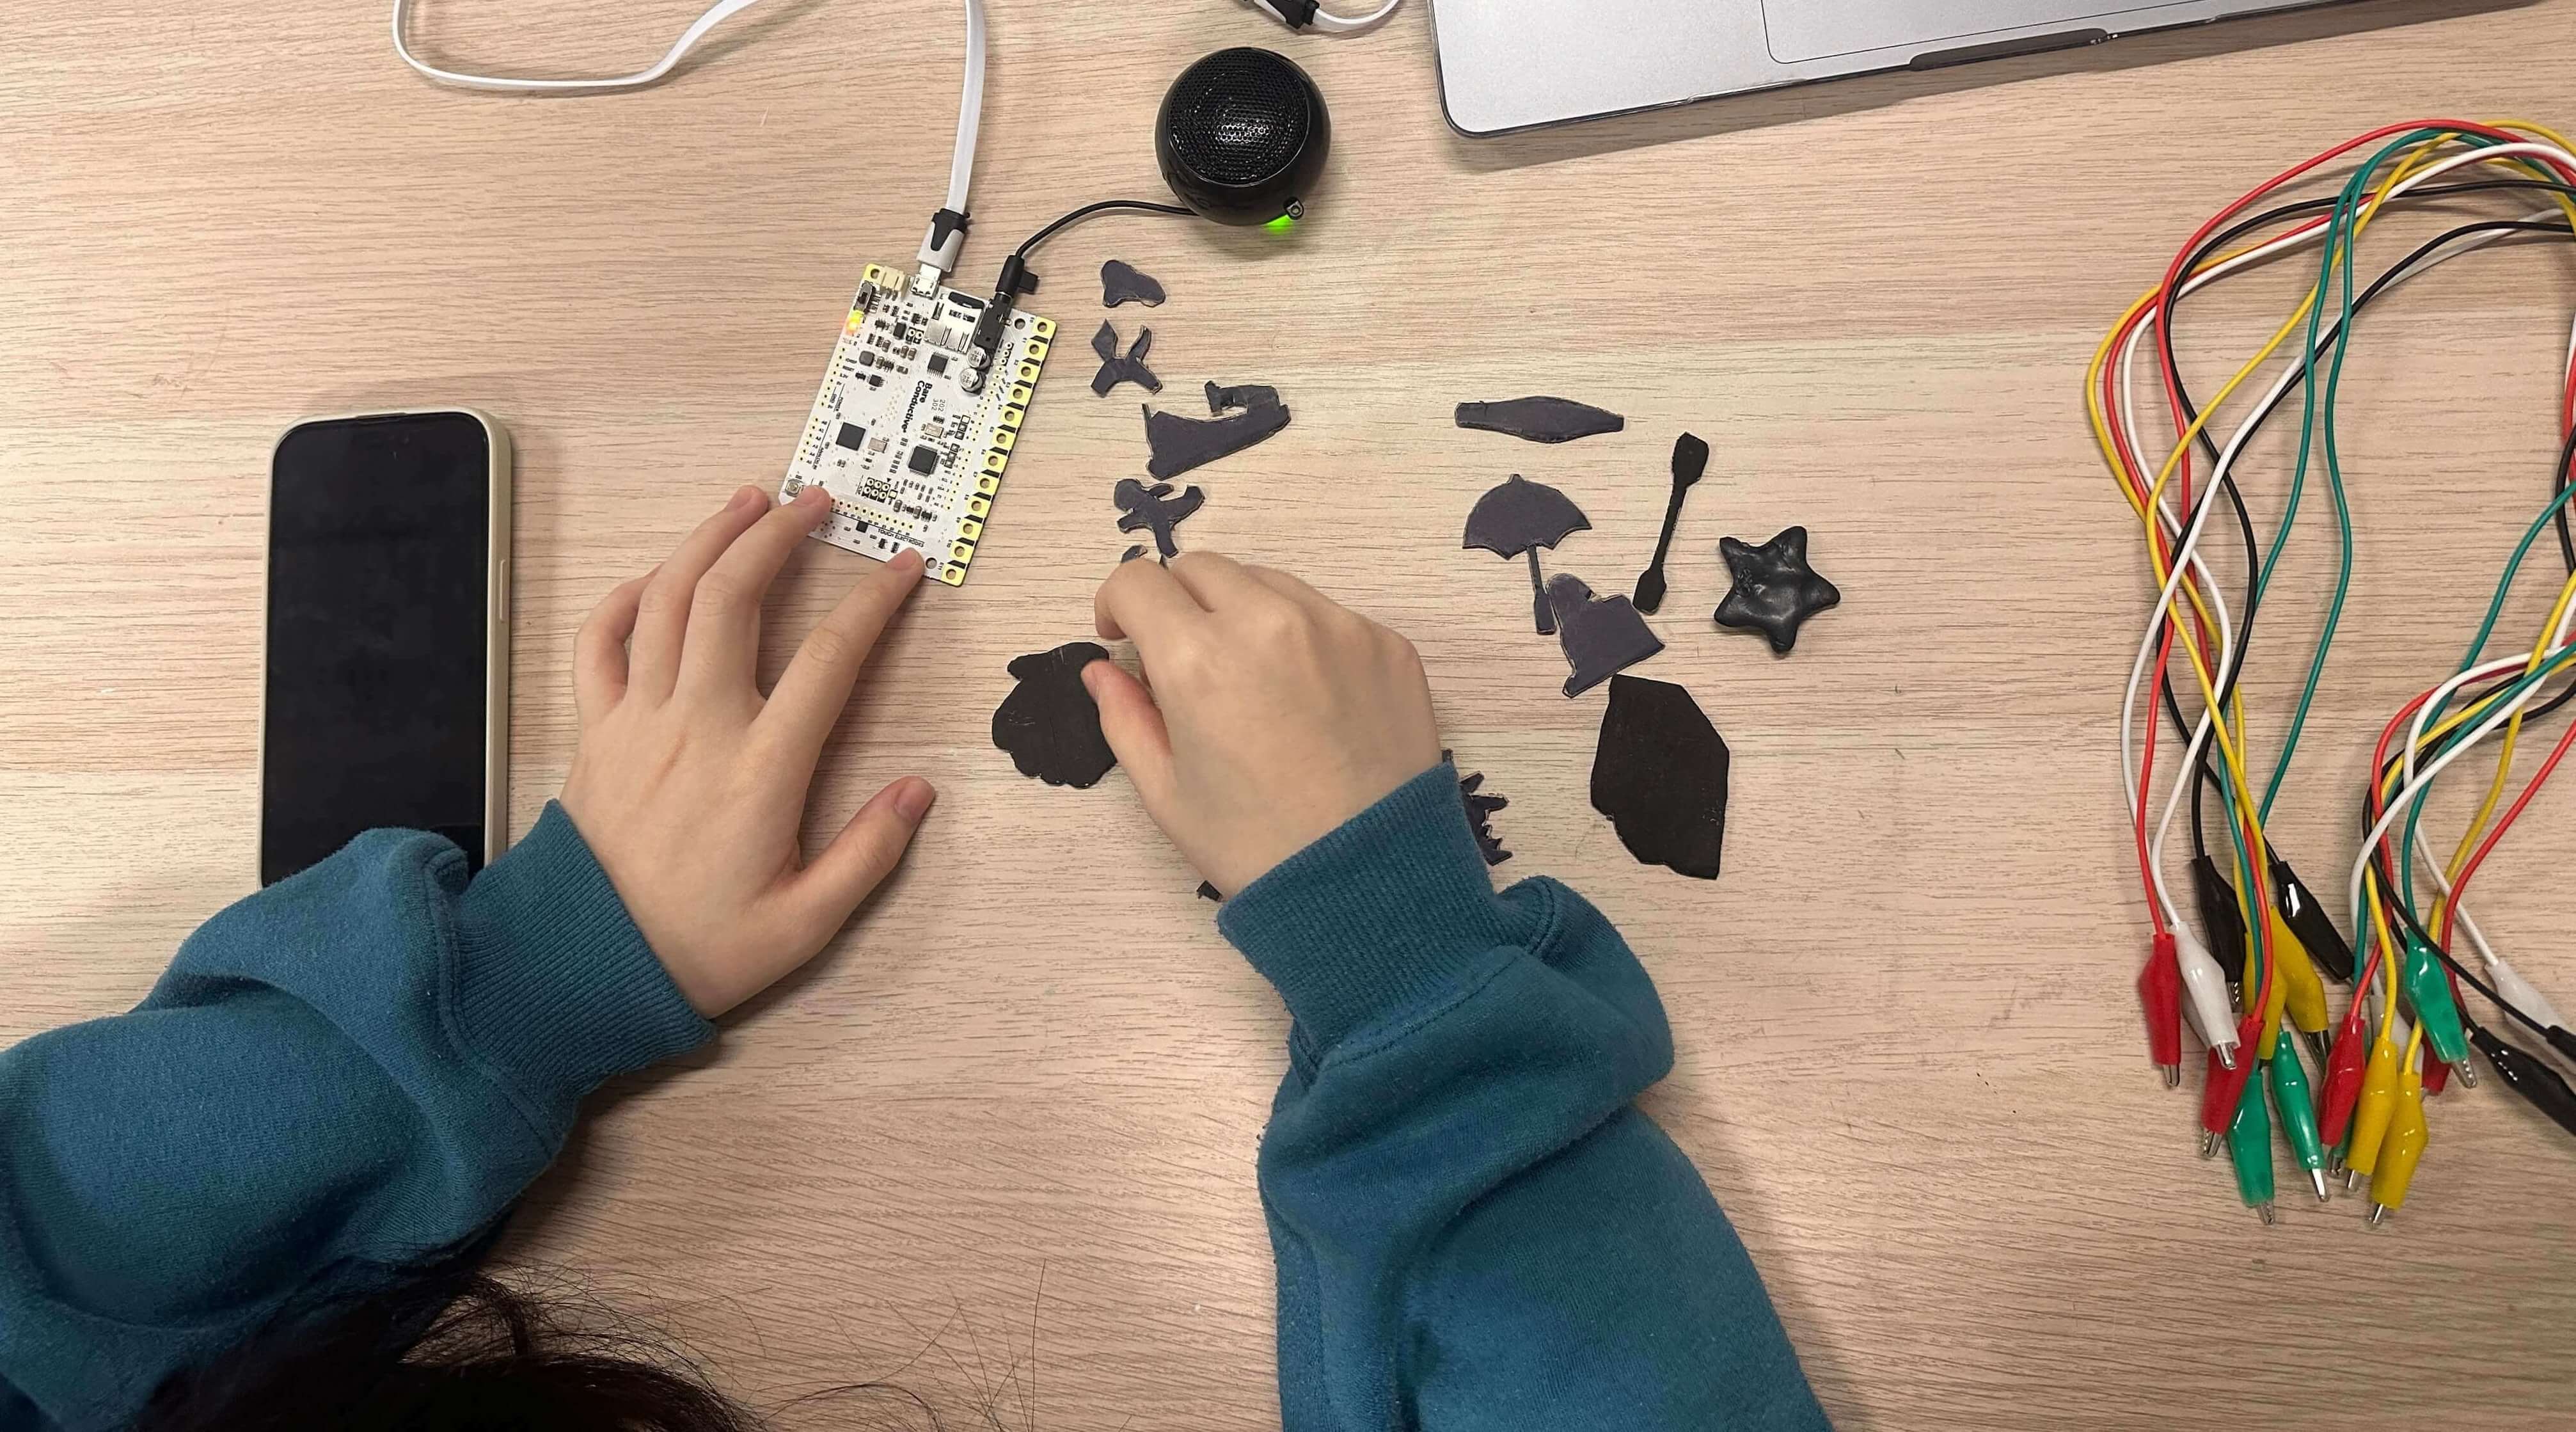
After setting up the sounds for each node, I realised that the sounds just kept playing and I have to wait for it to stop which was annoying.
I wanted the sound to start playing once I touch the node and immediately stop when I release the node. The sound should also continue playing only when I press and hold the electronode.