ོ࿐˖✶⊹₊𖦹 W.11 PREPARING FOR OPEN STUDIOS 𖦹₊⊹✶ ࣪˖࿐ོ
CiD LAB CONSULTATION (MON)
This week's focus is to make sure all deliverables are completed for Open Studio's showcase and user testings.
- ✶ Make sure Mnemosonic Map is working
- ✶ Mnemosonic Map Zine - What is this map? (Explain how to navigate & experience)
- ✶ Mnemosonic Box Booklet - What is a Fluxus box? (Introduce concept and how it works)
- ✶ Explainer Video - How they work + differences? (Explain step-by-step guide for easy reference)
Goals:
Mnemosonic Map
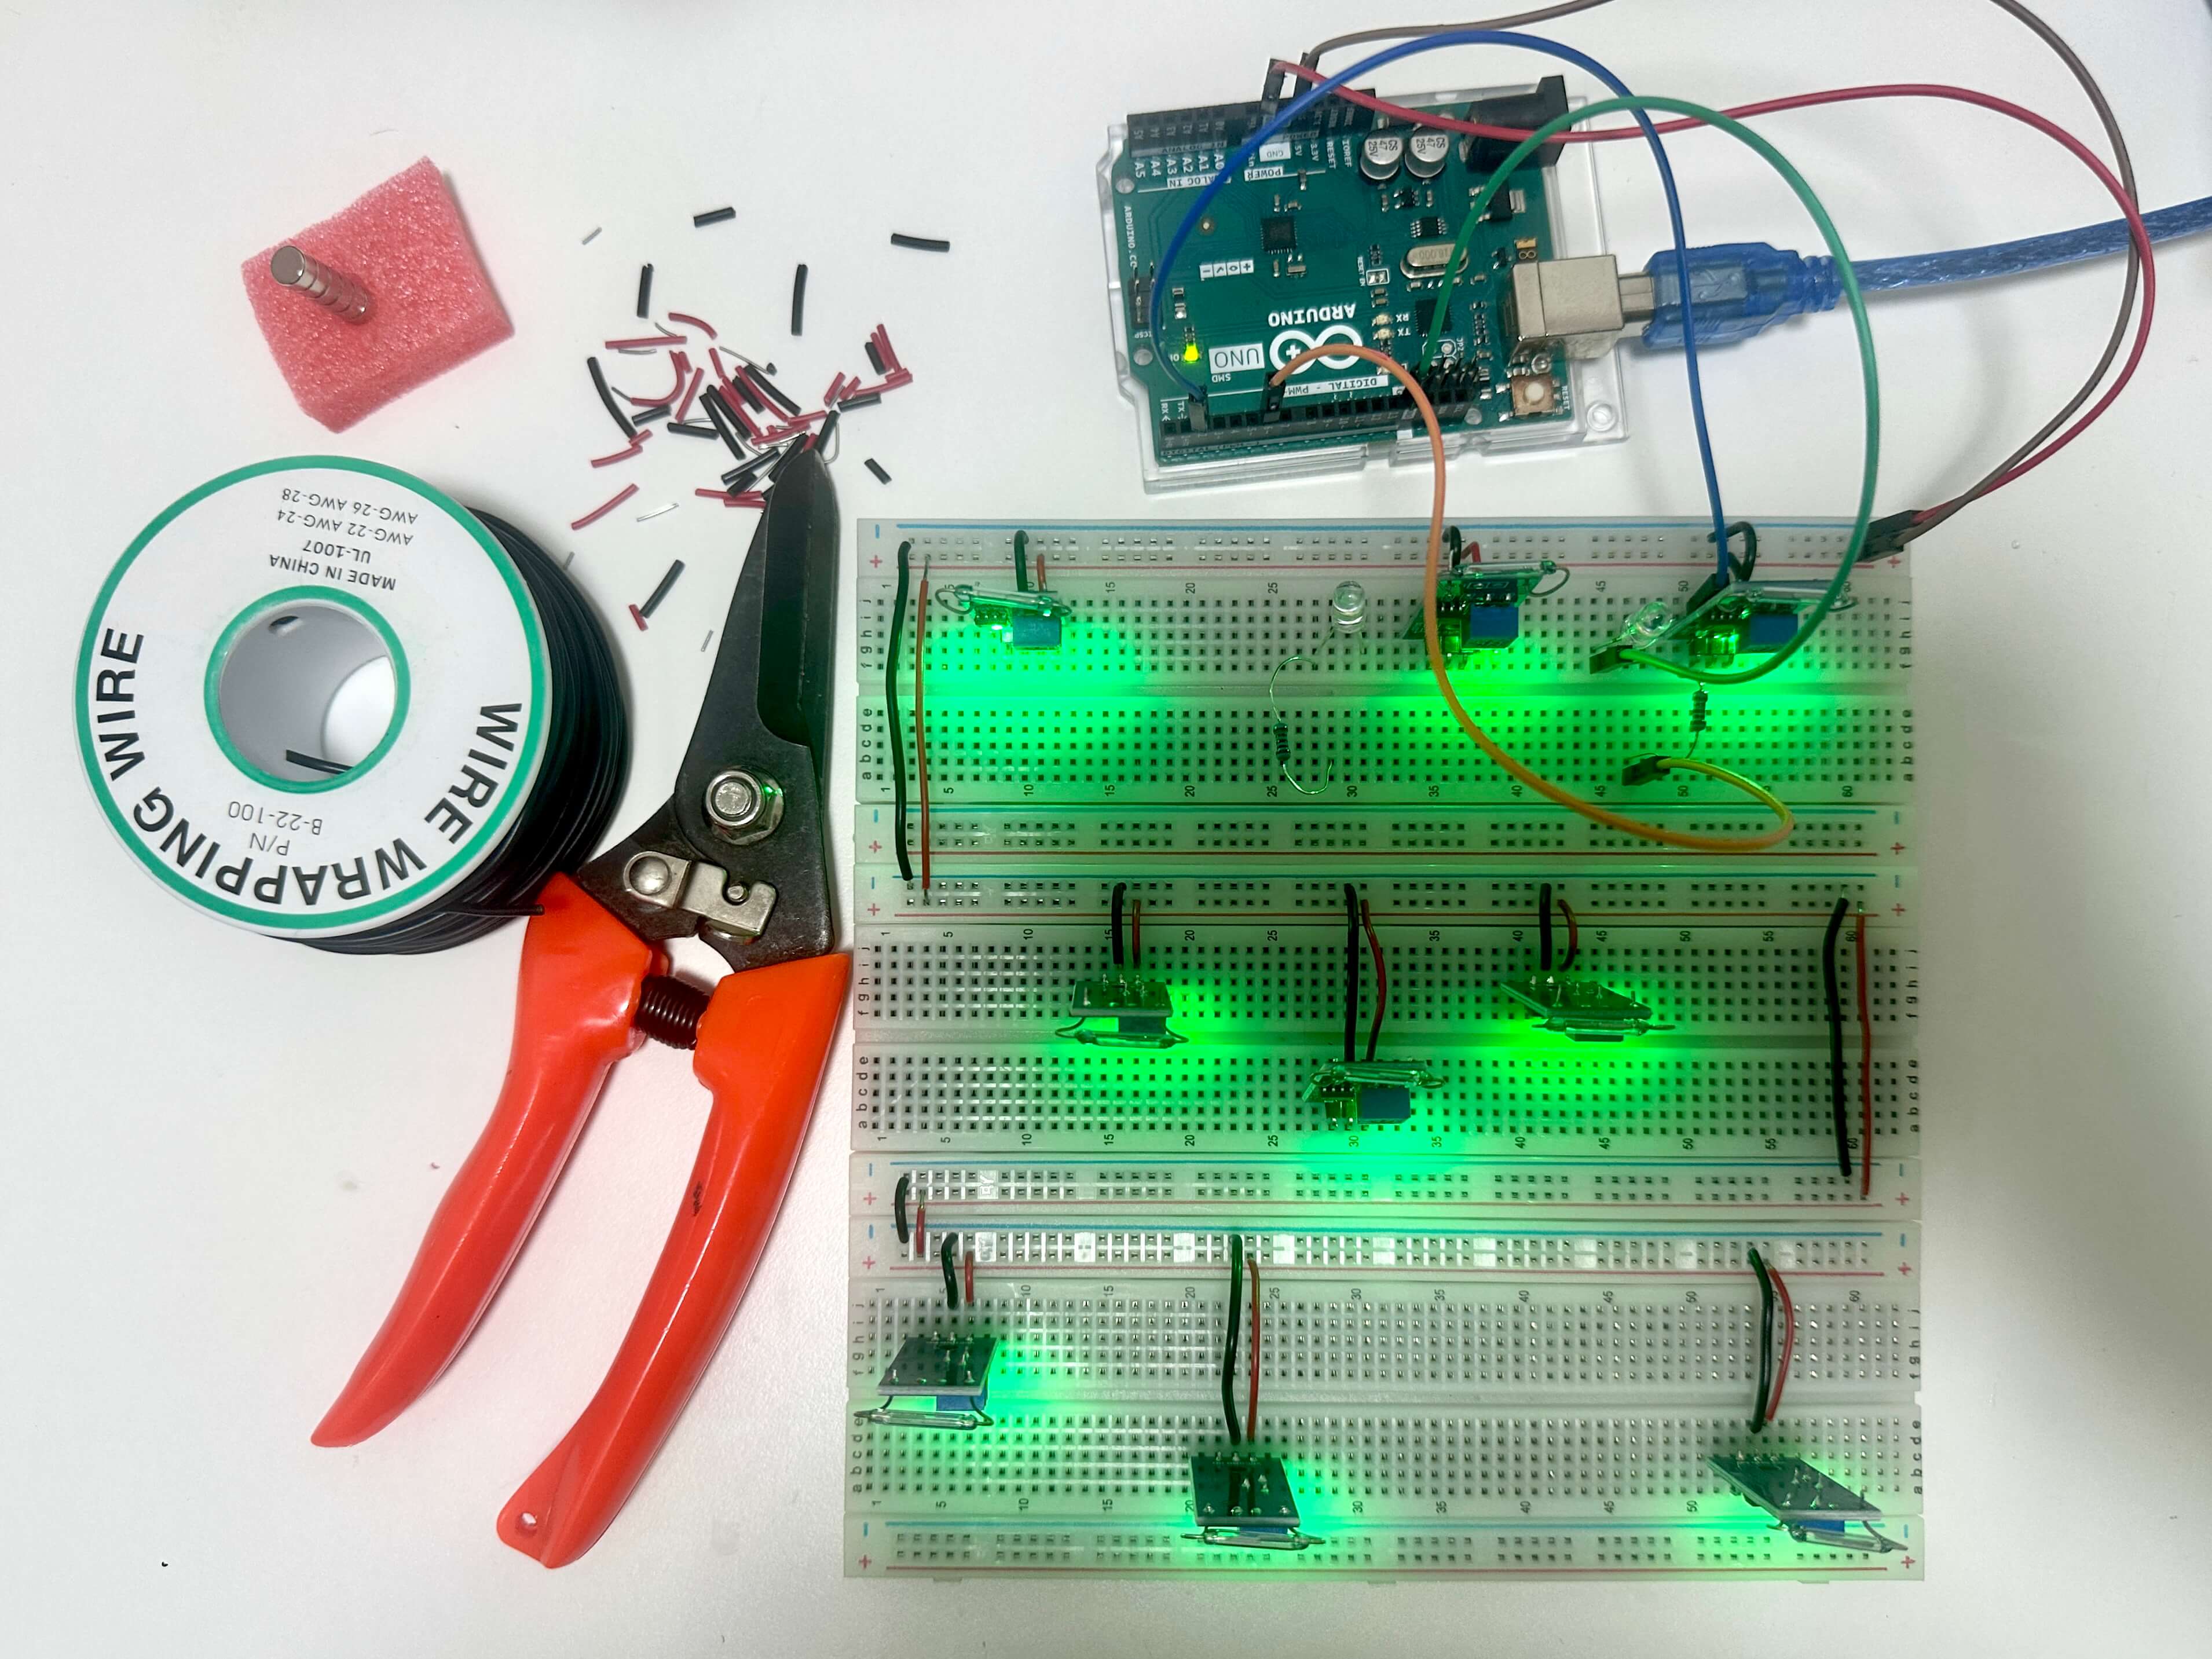
Before the CID Lab session, I arranged all the reed switches to the position I wanted and also followed Andreas's advice to tidy up long wires by using wrapping wires and cutting them short (red-positive) (black-negative) for easy indication while making sure they were all working before figuring out how to do the audio playback when the switches are triggered.
Configuring the Code
In the first half of the session, I was trying to format my SD card and searched up how to do that. I was using a 16GB SD card, and I had to format it to FAT32 instead of exFAT. I also had to make sure that the DFPlayer Mini module was connected to the Arduino board correctly. I used the Arduino IDE to upload the code to the board and test the sound playback.
After that Andreas was assisting me with the code to make sure that the sound playback was working. I realised that even though it sounded simple - sound playback when reed switches are activated by magnets, it was actually much more complex (was told it's intermediate level) and it took us as long as 1.5h to finally manage to get it working. I was using the DFPlayer Mini library to control the sound playback. I also had to make sure that the reed switches were connected to the correct pins on the Arduino board.
Making use of the built-in amplifier in DF player mini to amplify the soundscapes
✧ reed switches and code
✧ magnetic sensitivity
✧ quality of soundscapes
There were 3 crucial components in this prototype that I had to make sure were working properly. The first one was the reed switches. I had to make sure that the reed switches were connected to the correct pins on the Arduino board. Initially, the sound from one of the reed switches was already playing without anyone hovering a magnet which was not how I wanted it to work. Later on, I studied the code — "//myDFPlayer.play(1); // Play the first track at startup" and realised I had to '//' it out to stop the sound from playing automatically once I run the code.
the magnetivity of the magnet was too strong initially and it was triggering other reed switches that were near the one i'm hovering above which is affecting the experience. Hence, I stuffed it in a foam, tape it and held it the other way round where the reed switches will be in contact with a smaller surface of the magnet. This helped to reduce the sensitivity and only triggering the one reed switch that is in close contact with the magnet.
here comes the most important part where I made sure the sounds are playing at an acceptable volume and quality. I had to make sure that the sound files were in the correct format (MP3) and that they were not too loud or too soft. I also had to make sure that the sound files were not corrupted and that they were playing correctly. I used Audacity to edit the sound files and make sure that the sound files were not too long or too short around 30 seconds which I would say is the perfect length for an immersive experience.
SETTING UP Mnemosonic Map
Throughout the 3 days of open studios, I realised that many visitors and participants showed more interests and were way more engaged during Exhibit B - Mnemosonic Map. It was because of the stamping activity that I had prepared as a fun and interactive way for them to engage with the exhibit.
1 to 1 interaction with an immersed participant 
participant picking up a stamp after listening to an ambience
-
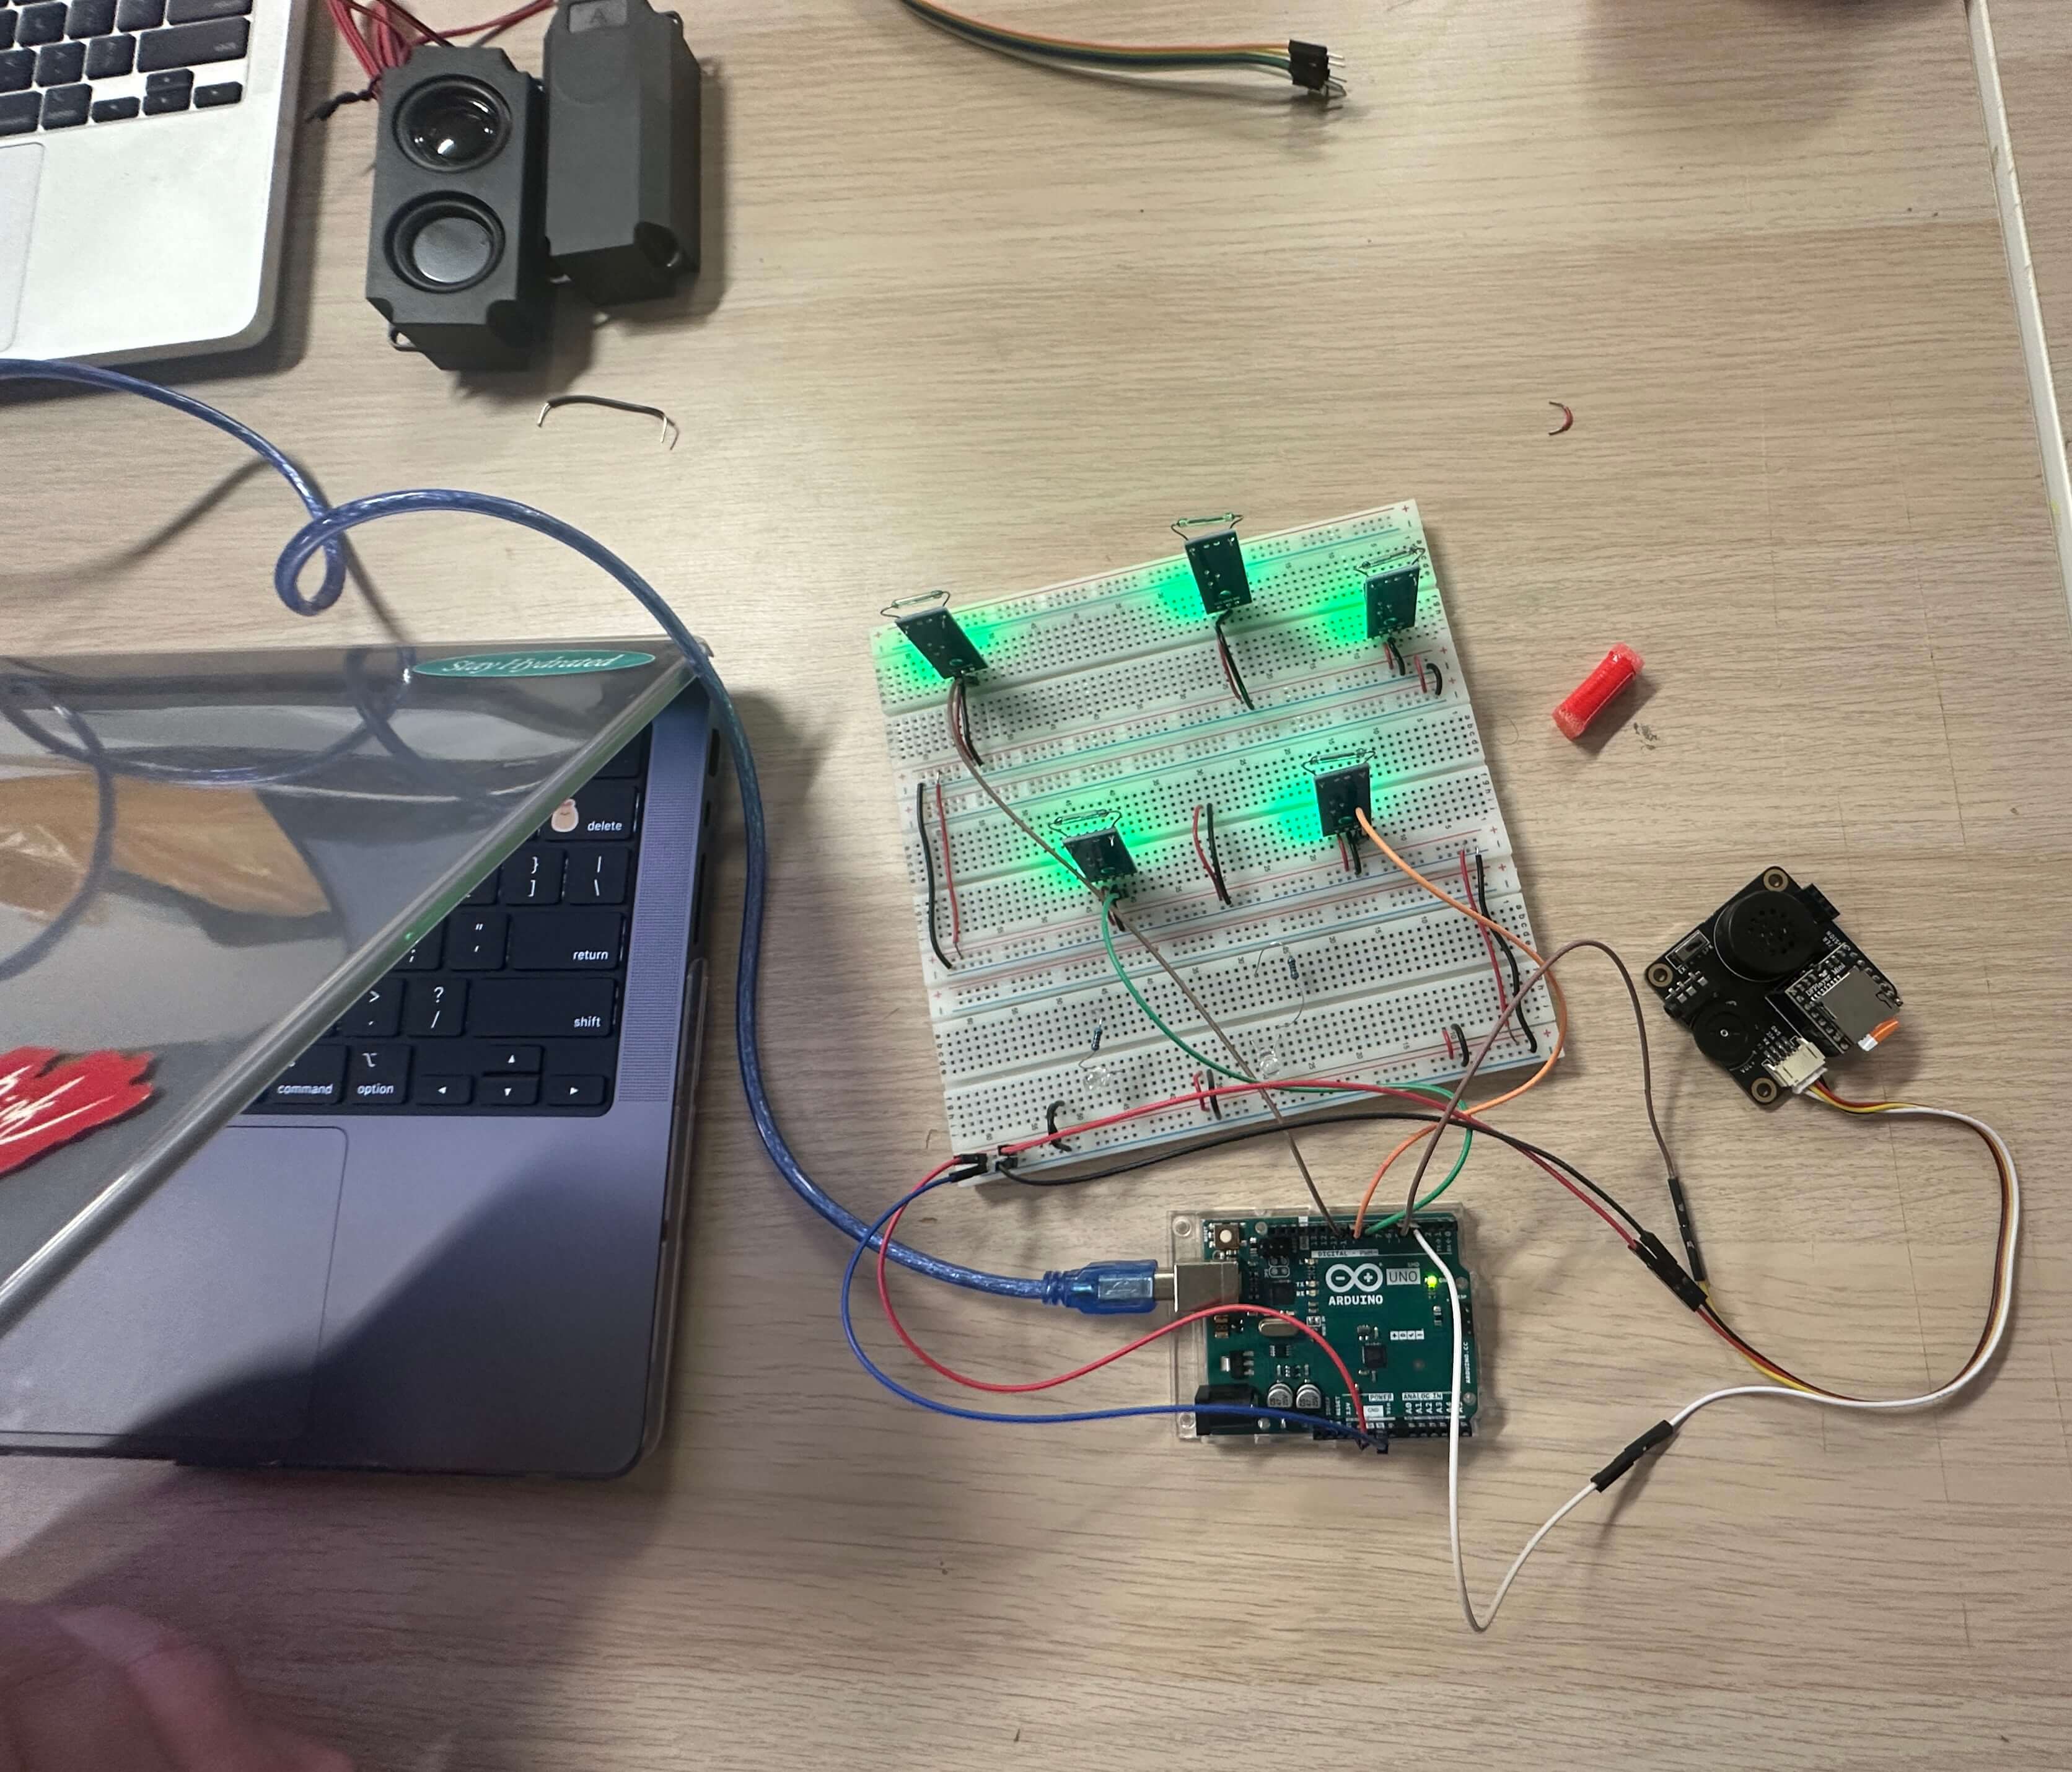
sound playback sensitivity test with 3 sounds -
sound playback sensitivity test with 3 sounds (covered)
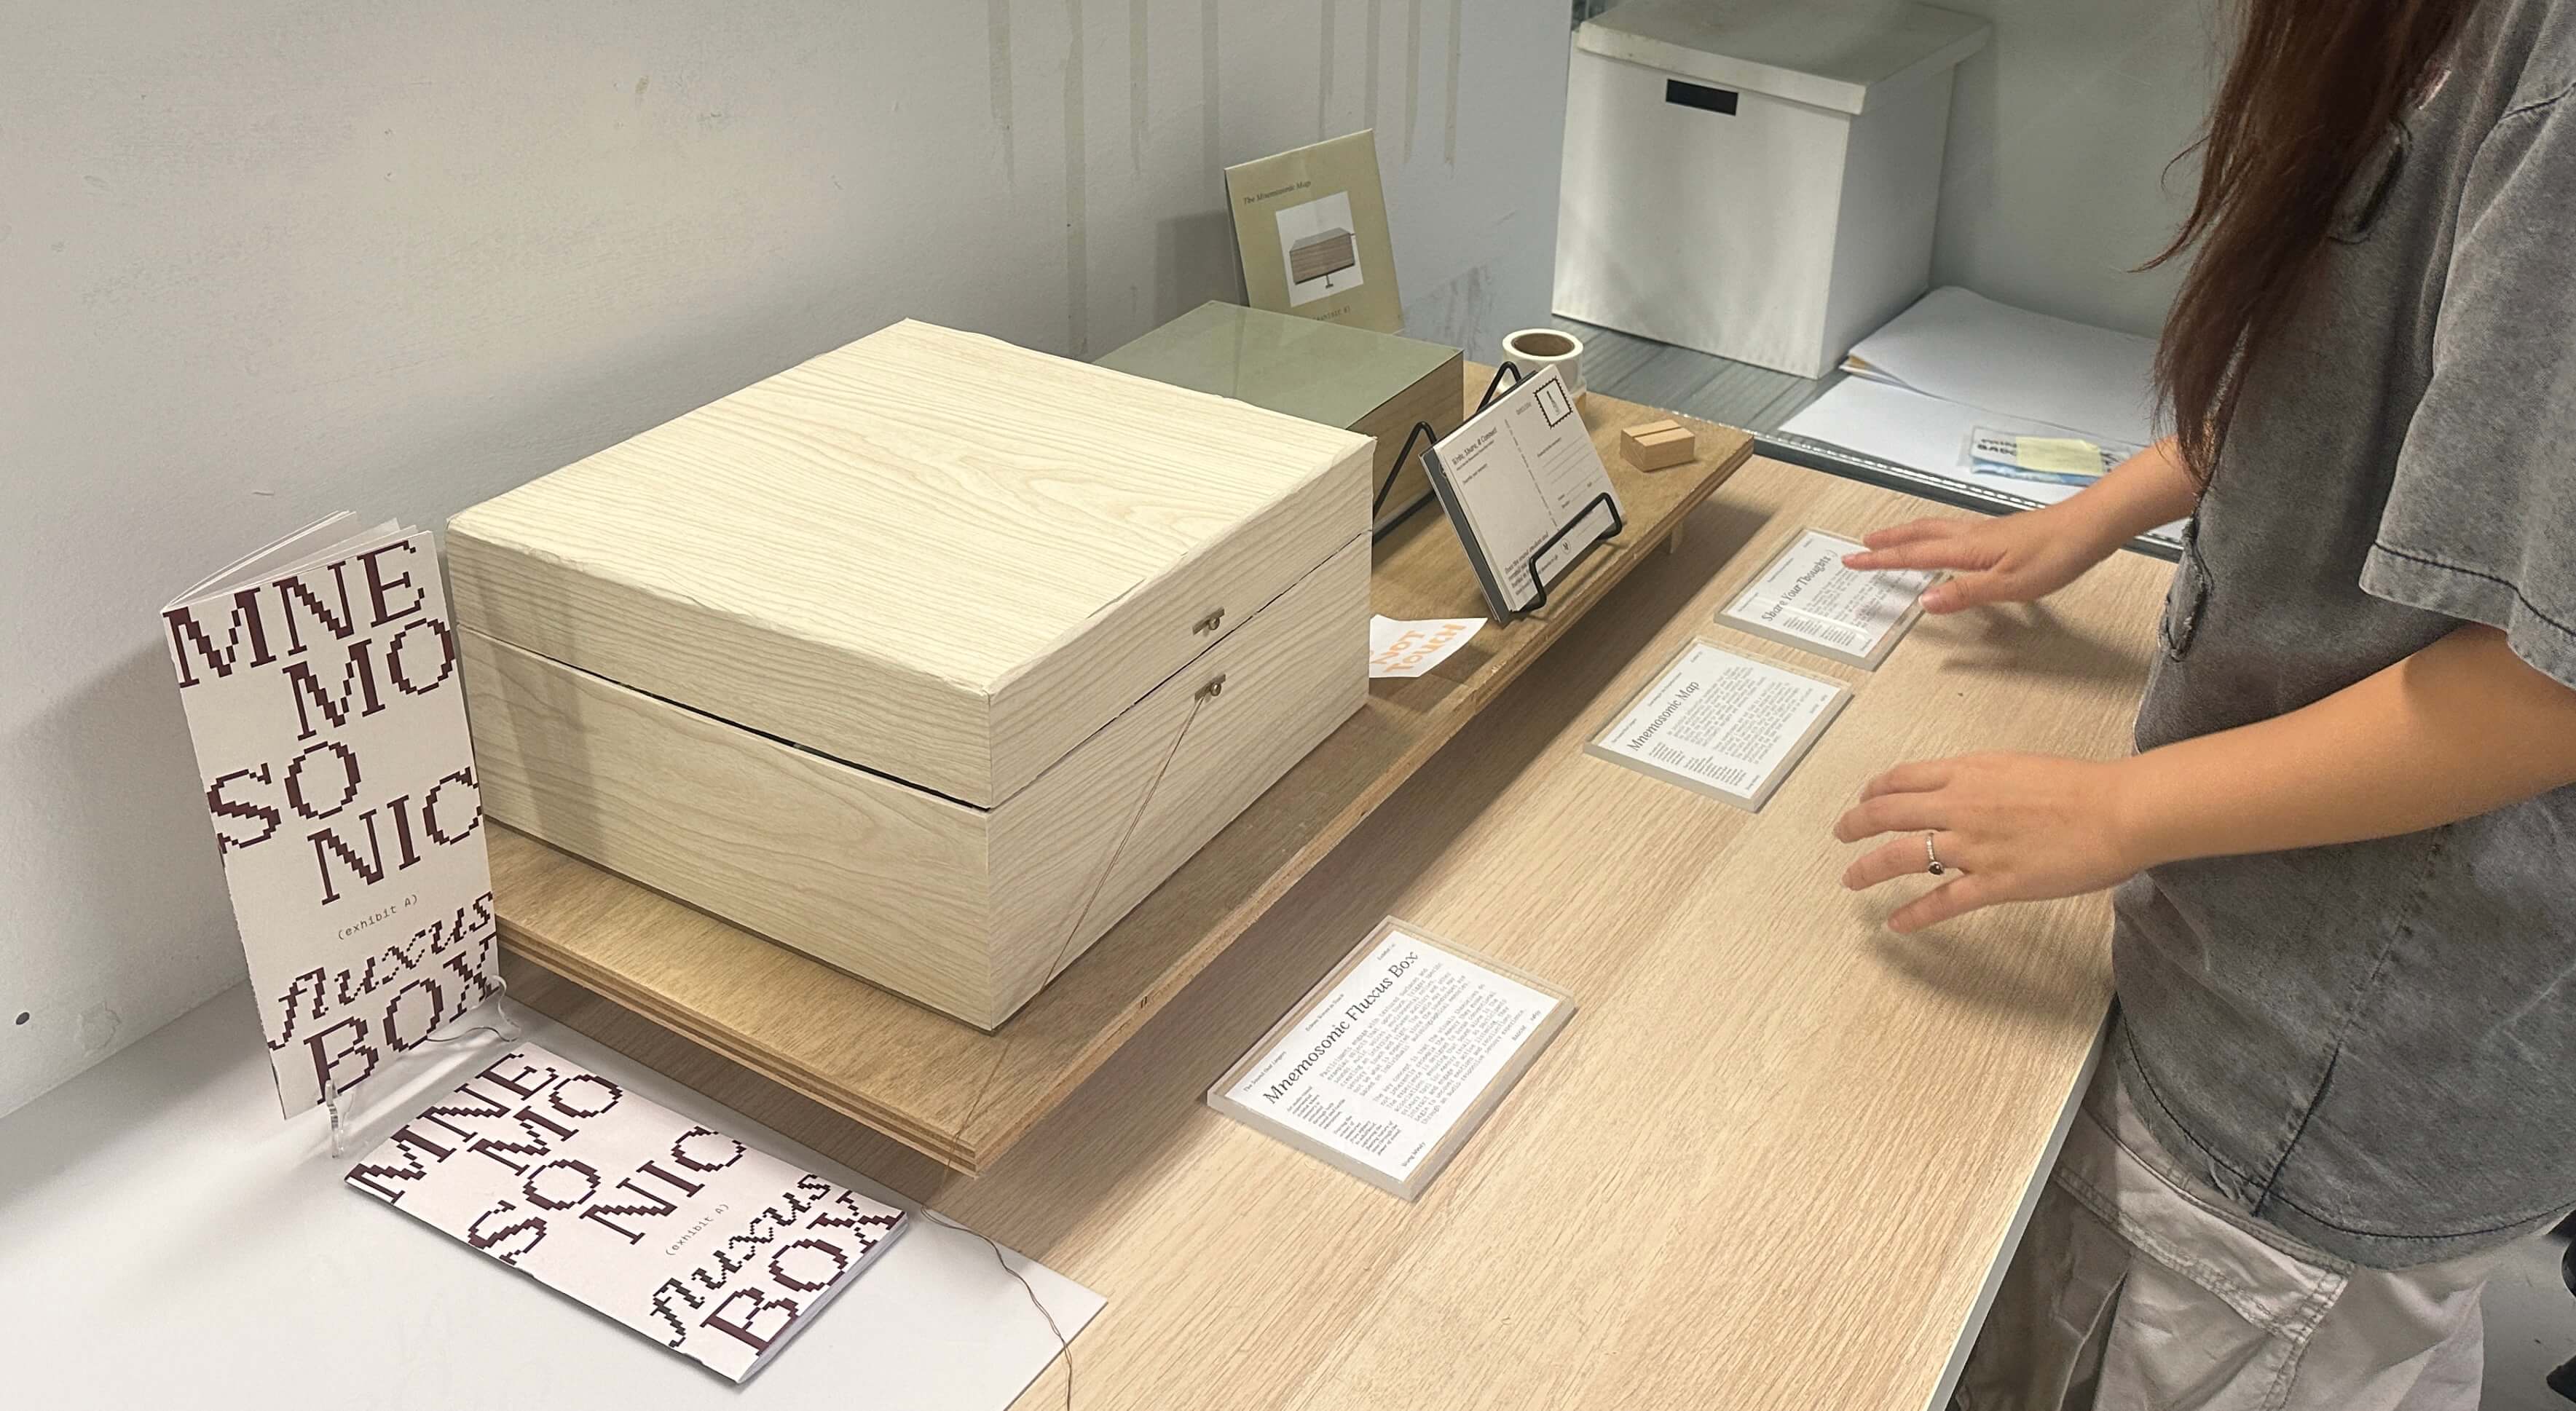
MNEMOSONIC BOX - Booklet
Throughout the 3 days of open studios, I realised that many visitors and participants showed more interests and were way more engaged during Exhibit B - Mnemosonic Map. It was because of the stamping activity that I had prepared as a fun and interactive way for them to engage with the exhibit.
There were definitely challenges that I also faced with Exhibit B. One of the major ones was that some of the ambience sound was not loud enough for them to hear clearly. Only specific ones like the bird, fireworks and restaurant were pretty loud, despite the hustle and bustle environment in the class during Open Studios. However, as my sit was situated near the communal area for the students to continue working on our projects, many of them misused the place to gather around and talk loudly which unfortunately did play a part in affecting my exhibit experience for the participants. The sounds which were supposed to be relaxing and calming were drowned out by the loud chatter of the students.
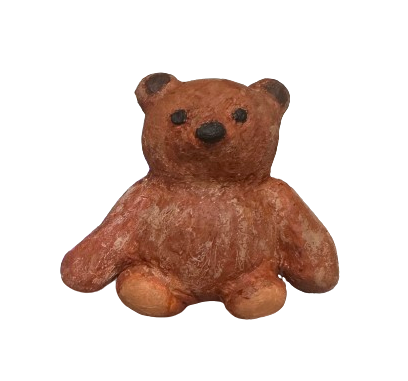
clay bear 
photoshopped red bear 
inverted bear
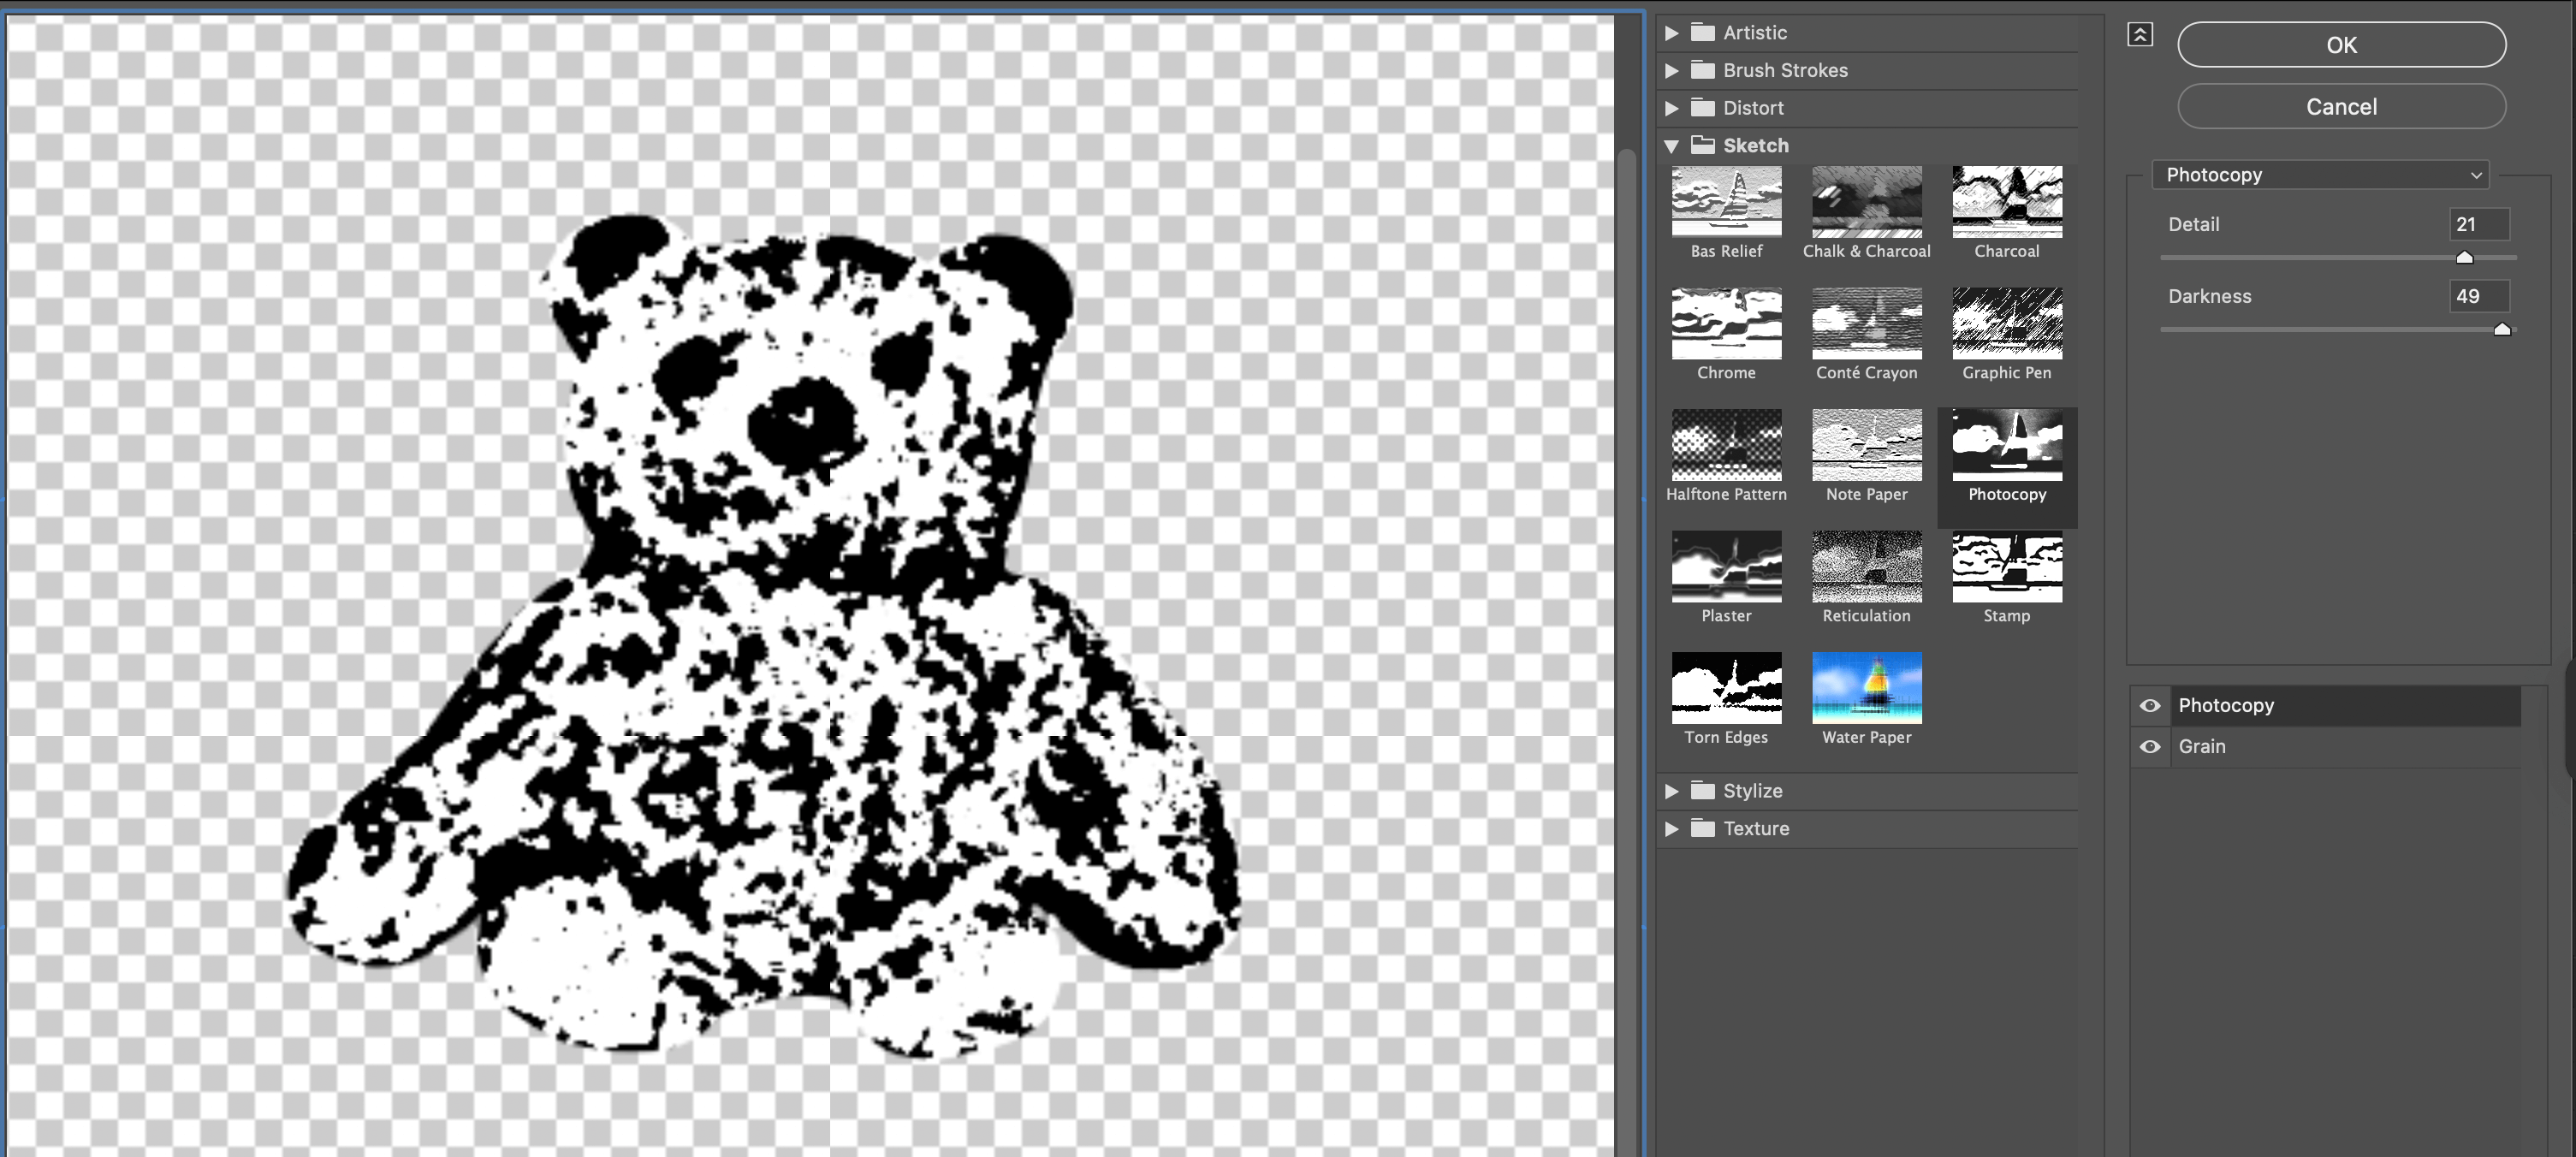
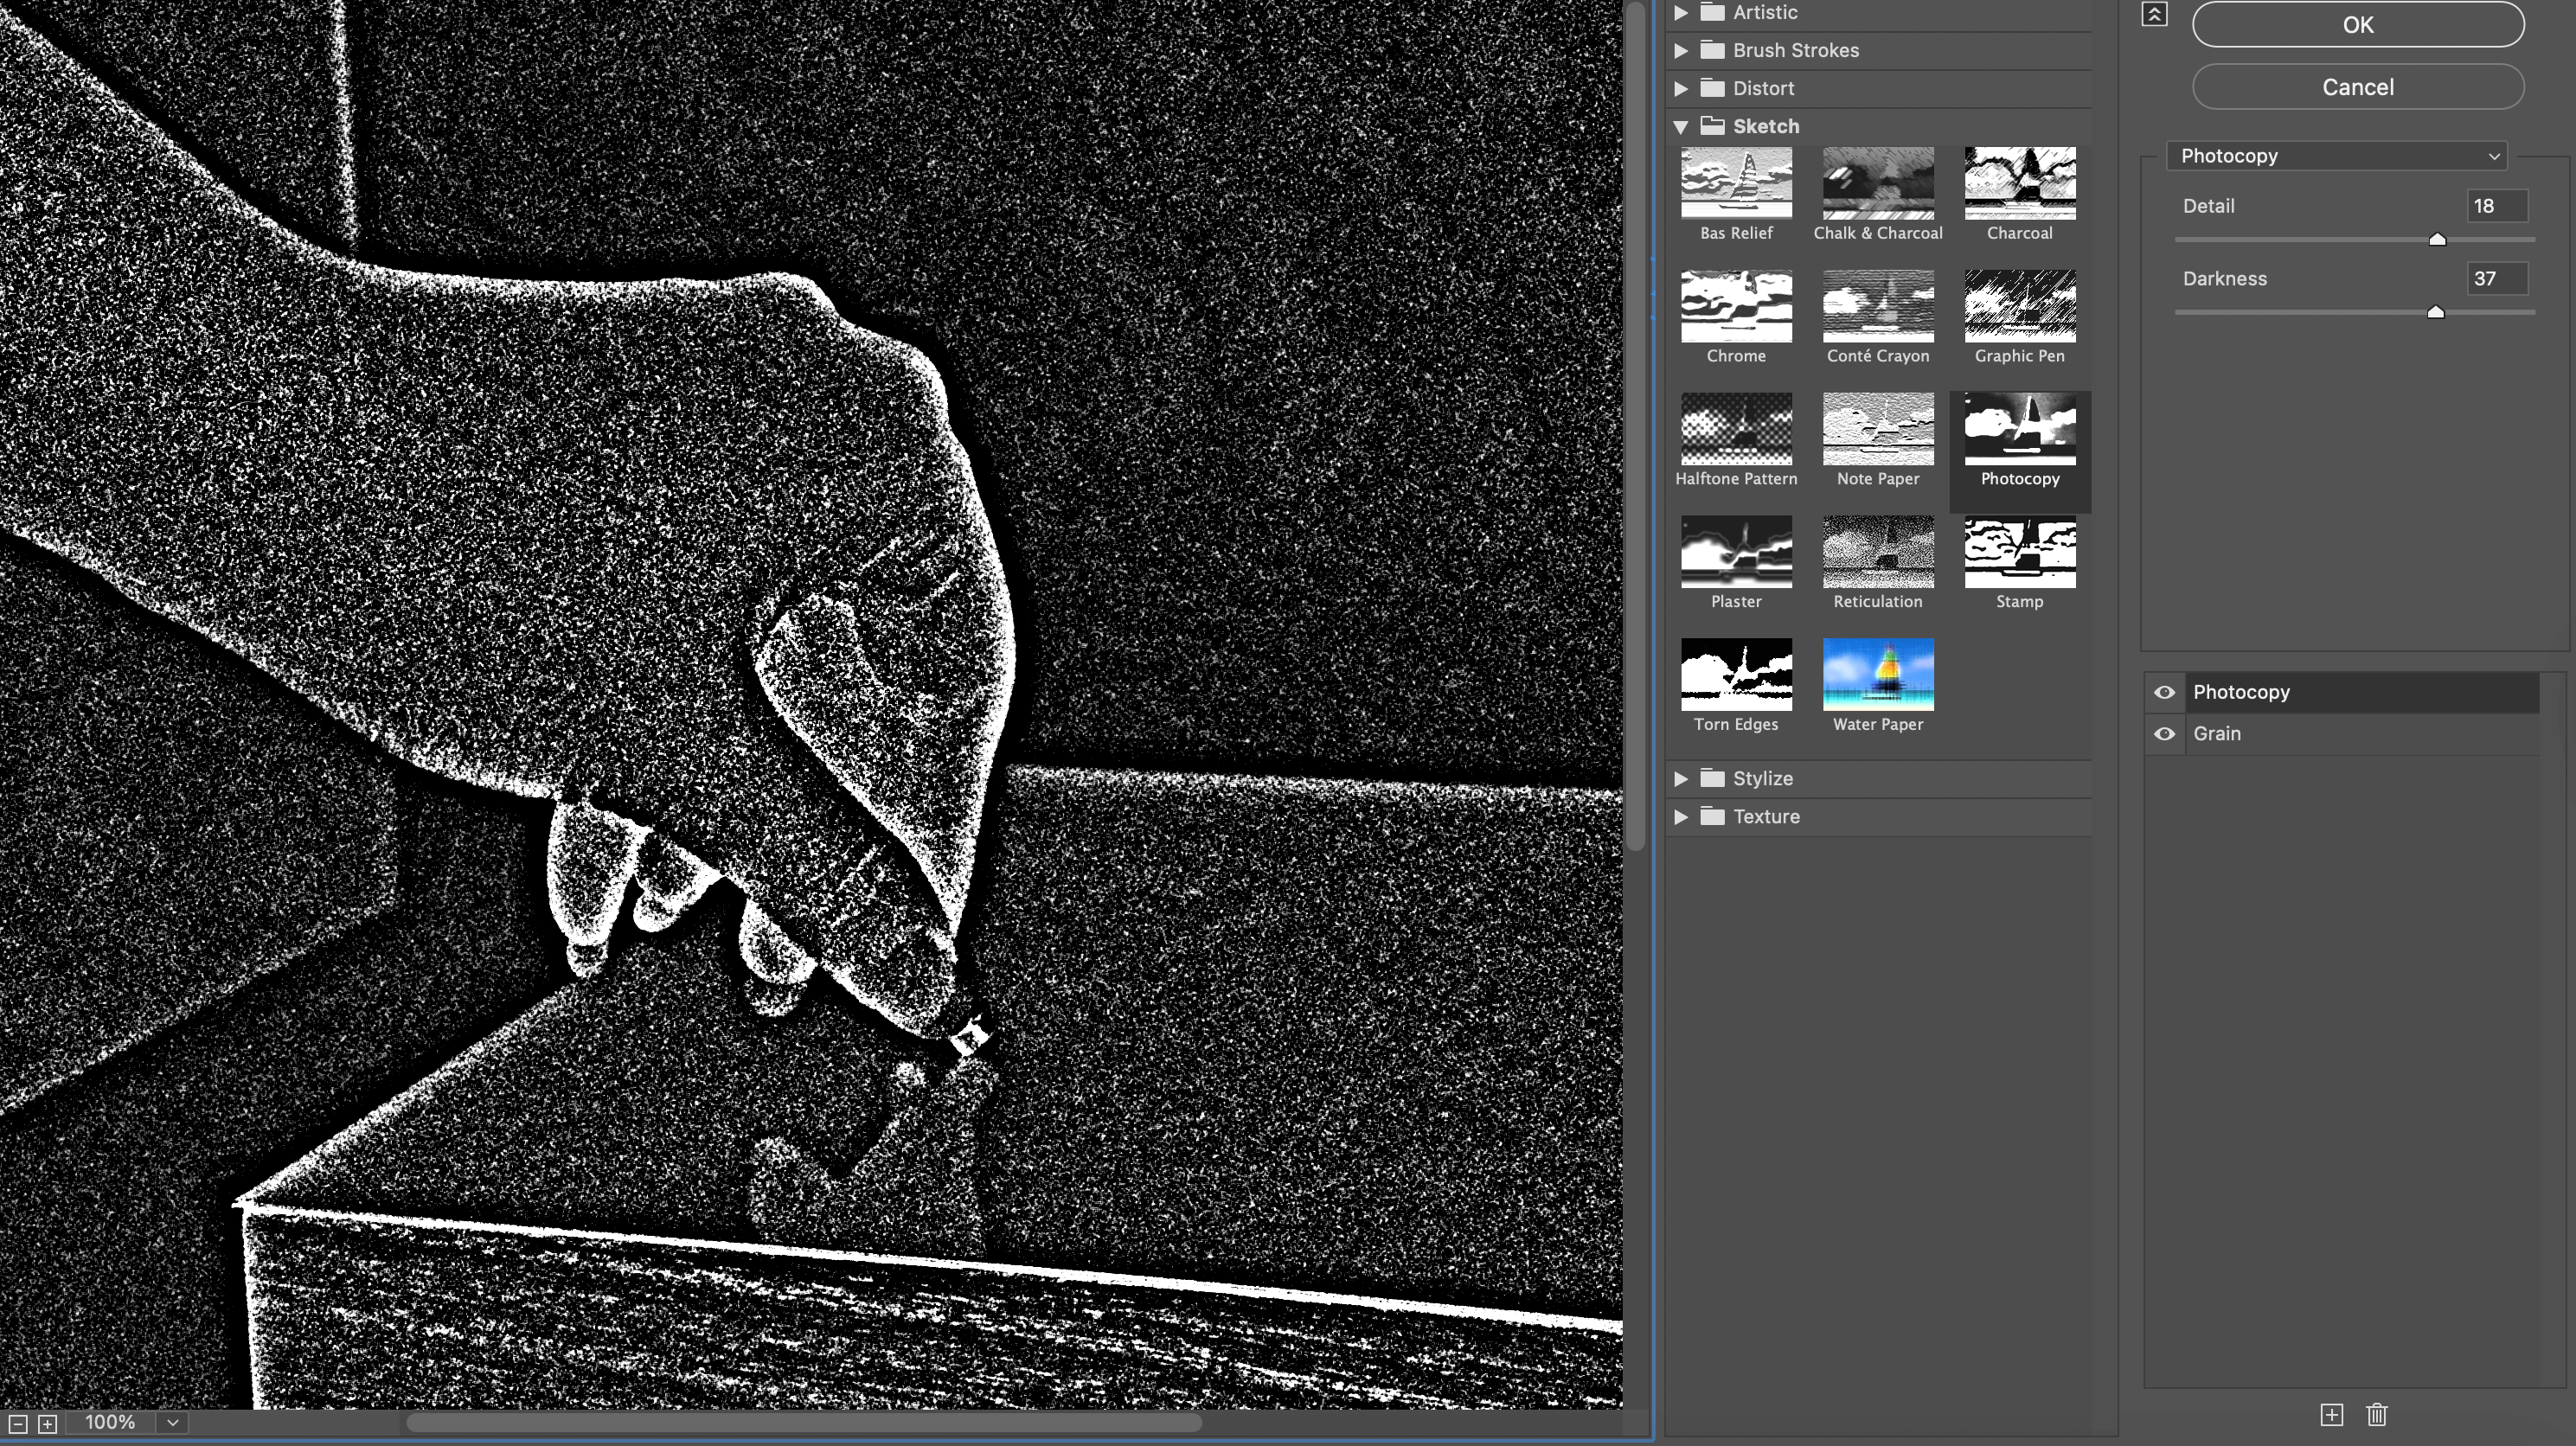
overlaying photocopy effect on top of grain effect to produce this stamp aesthetic, then adding gradient map for the inverted look
Front Cover; Typefaces used are:
ARGENT PIXEL CF and BC Mikser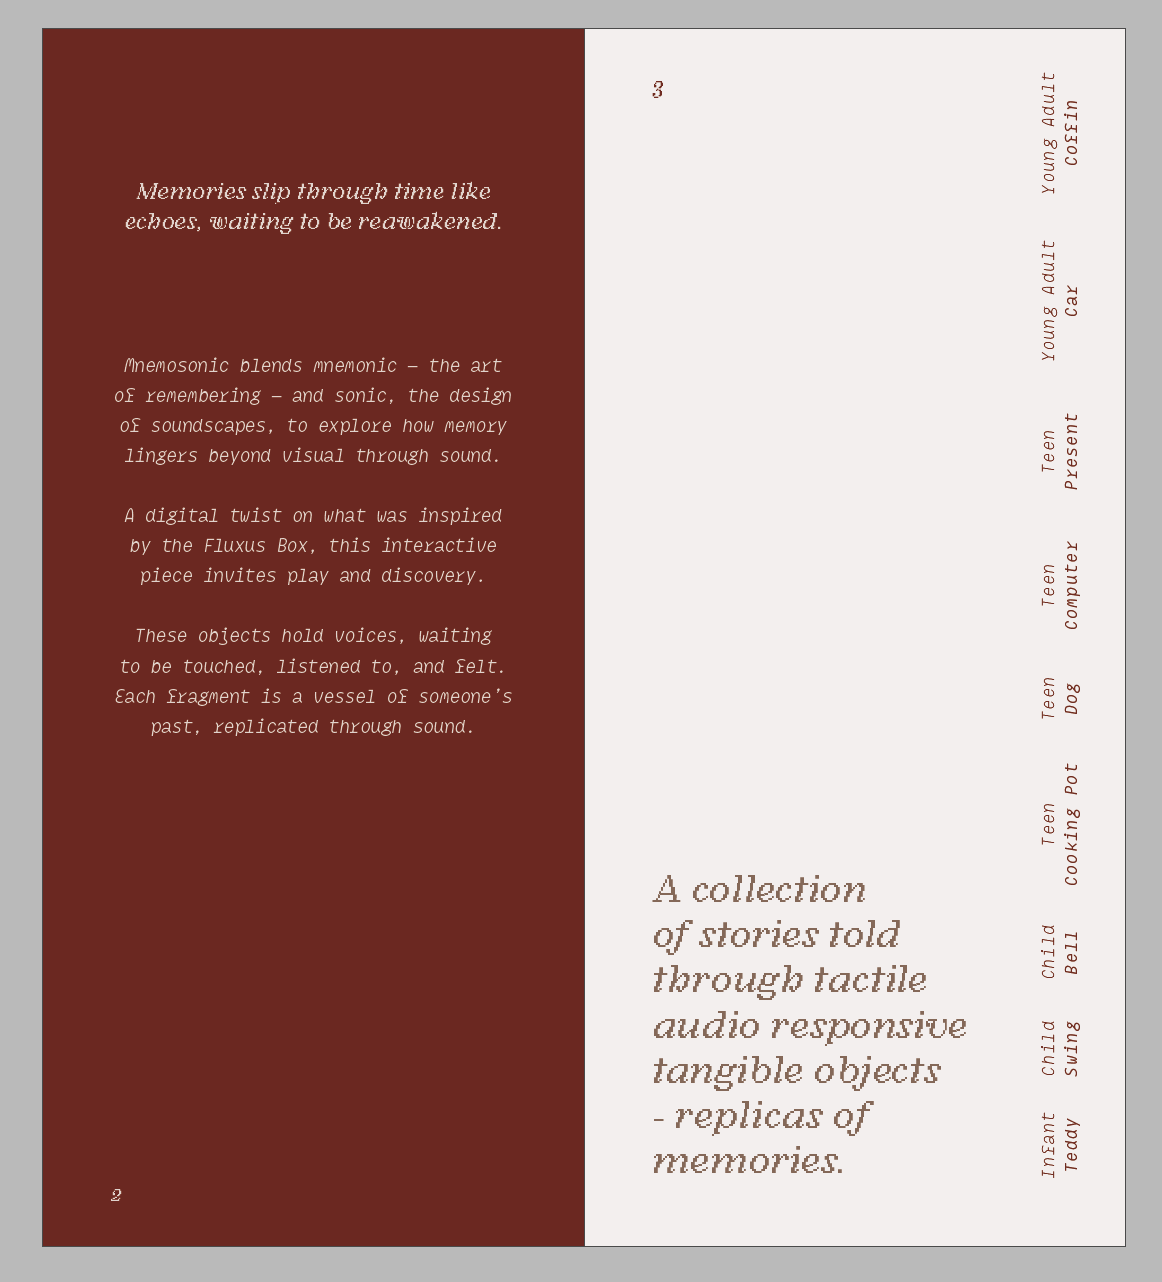
A brief introduction to the meaning of 'Mnemosonic' and what prototype A is 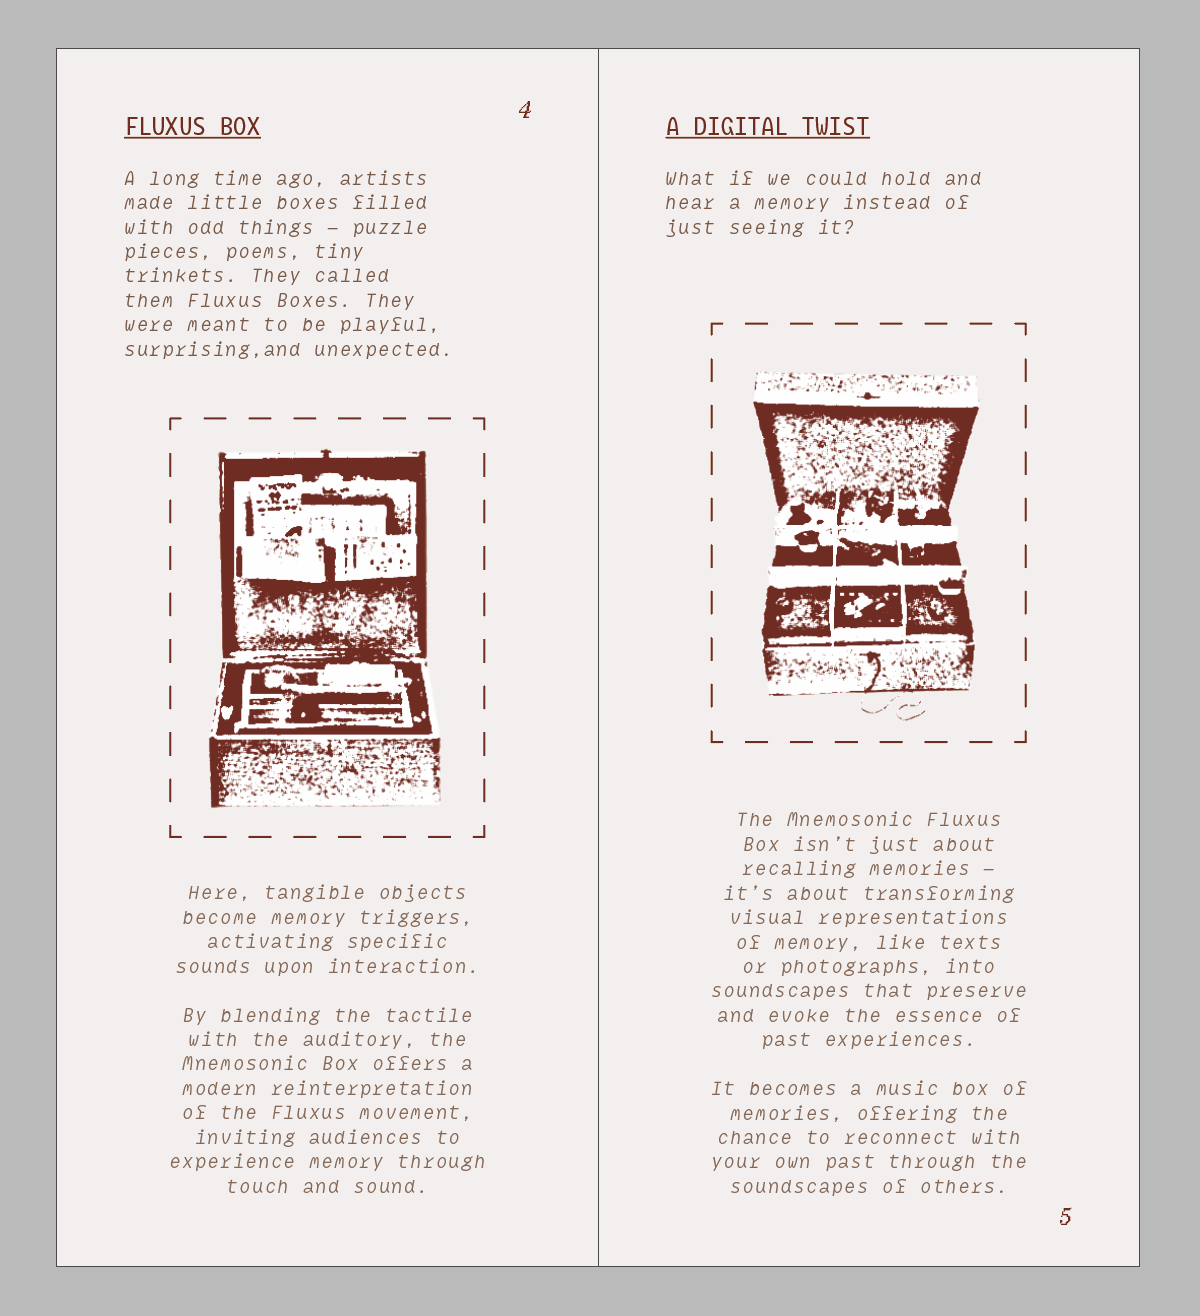
traditonal fluxus box VS my version of an interactive audio-visual fluxus box
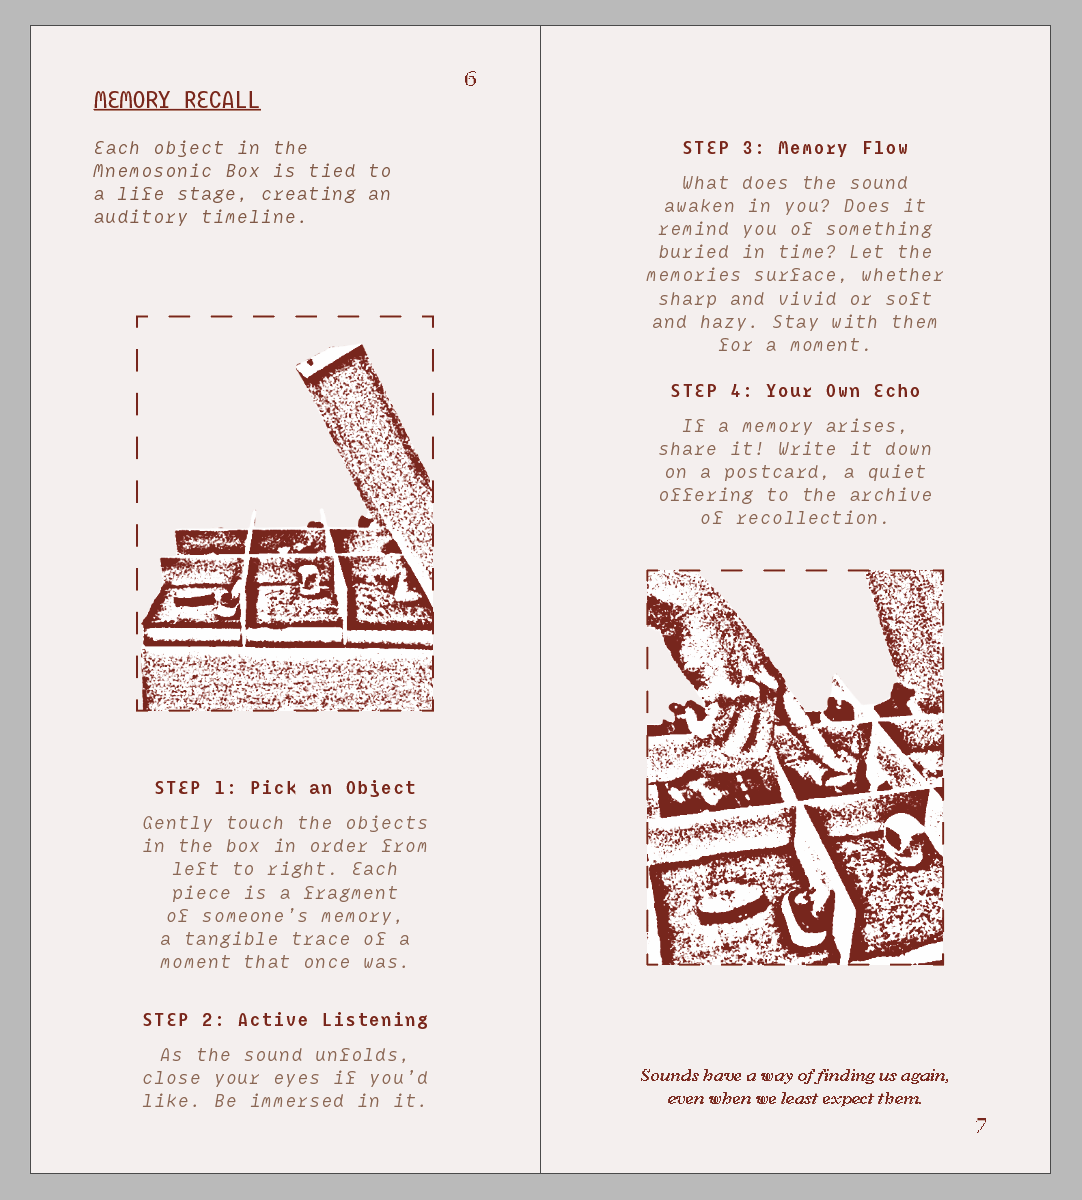
A simple 2-pages step-by-step guide on how to navigate exhibit A 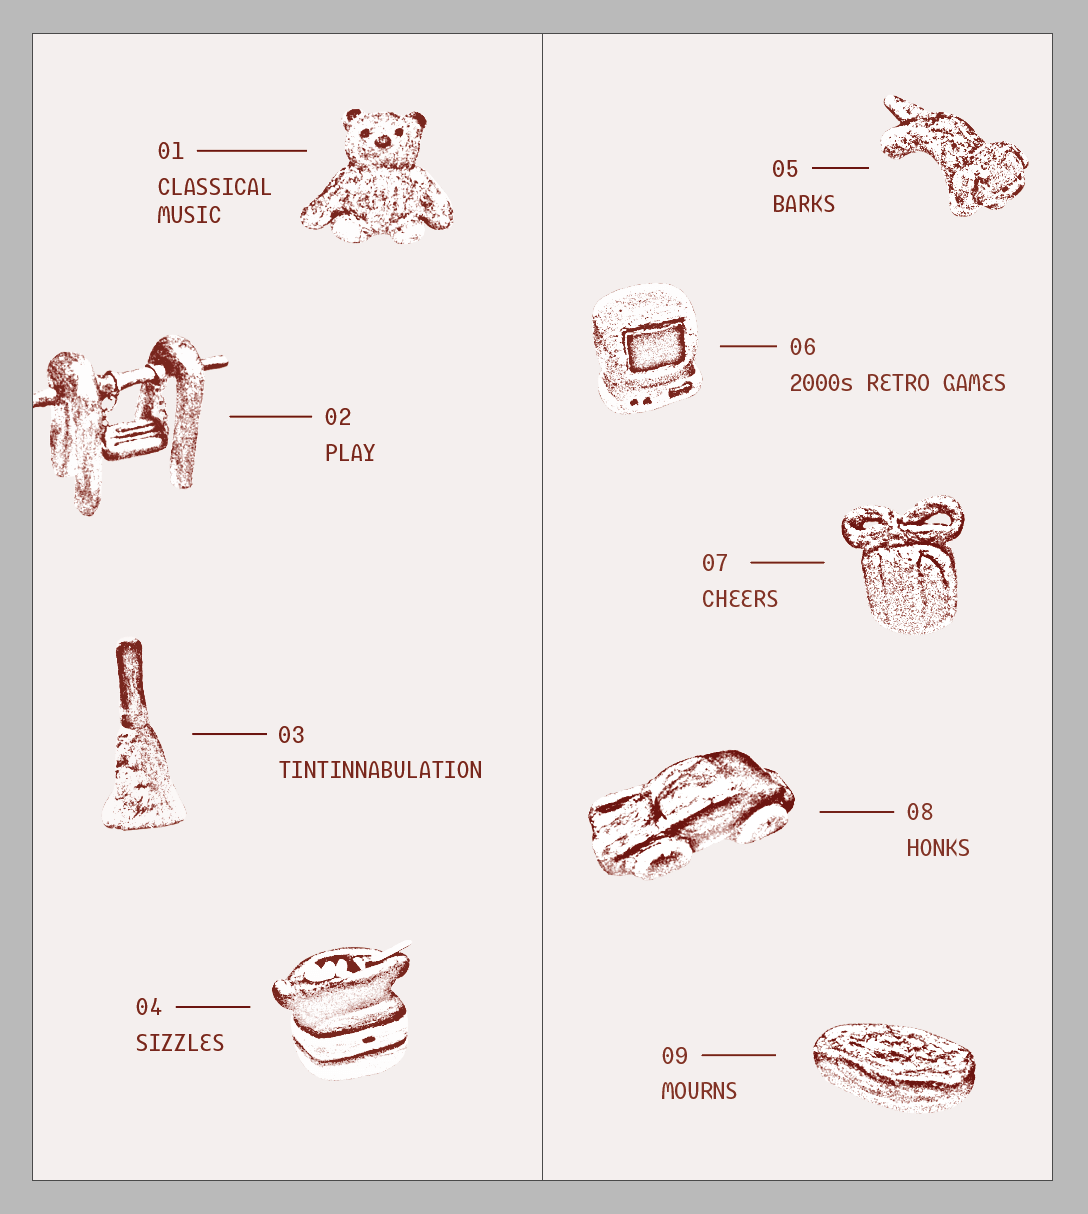
introducing the featured audio-sensory objects and their respective soundscapes 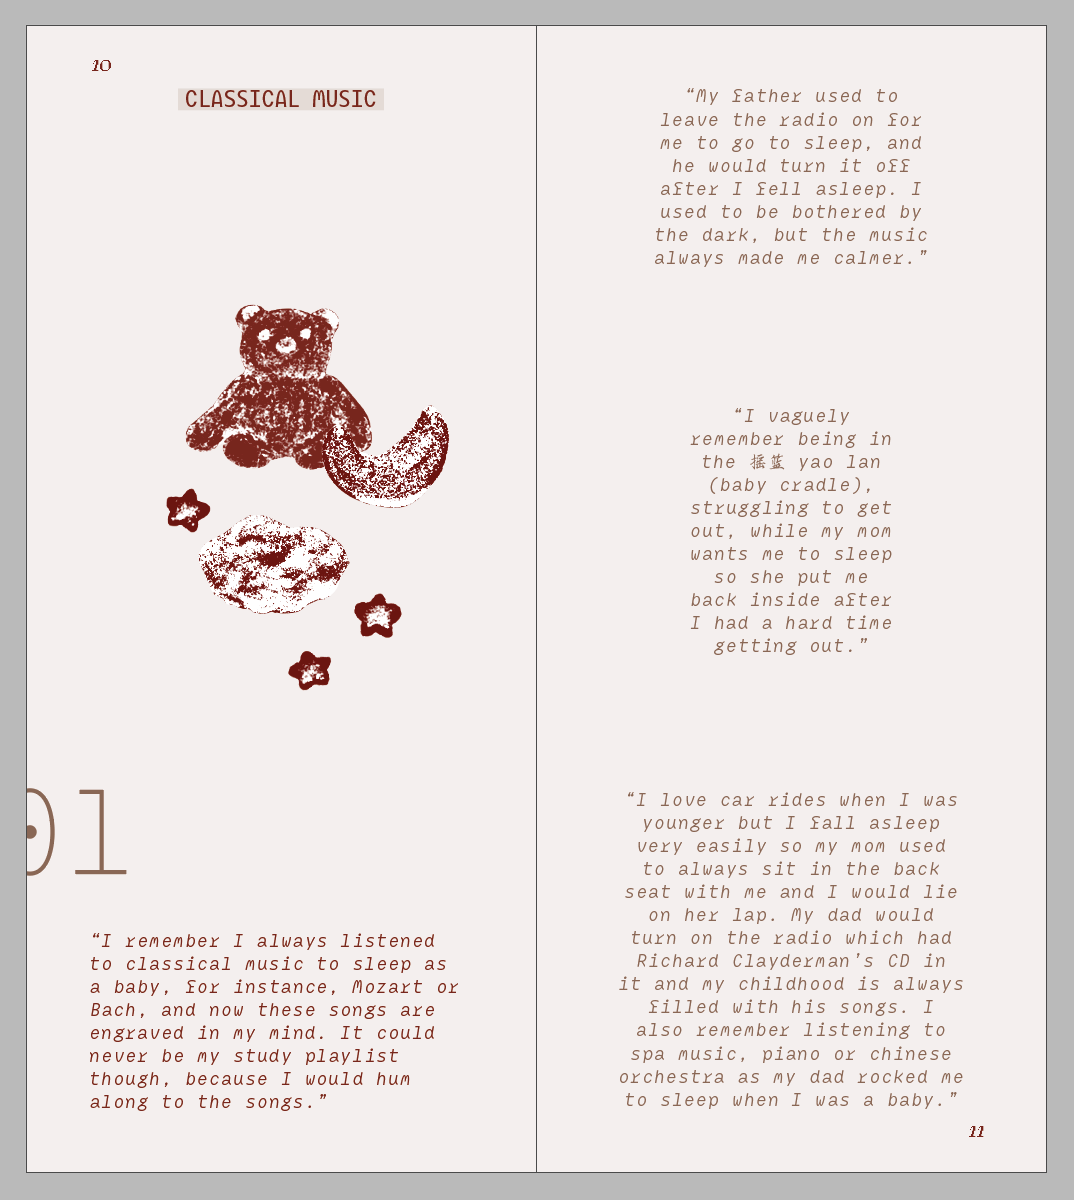
object 01 — featuring related autobiographical memories to it
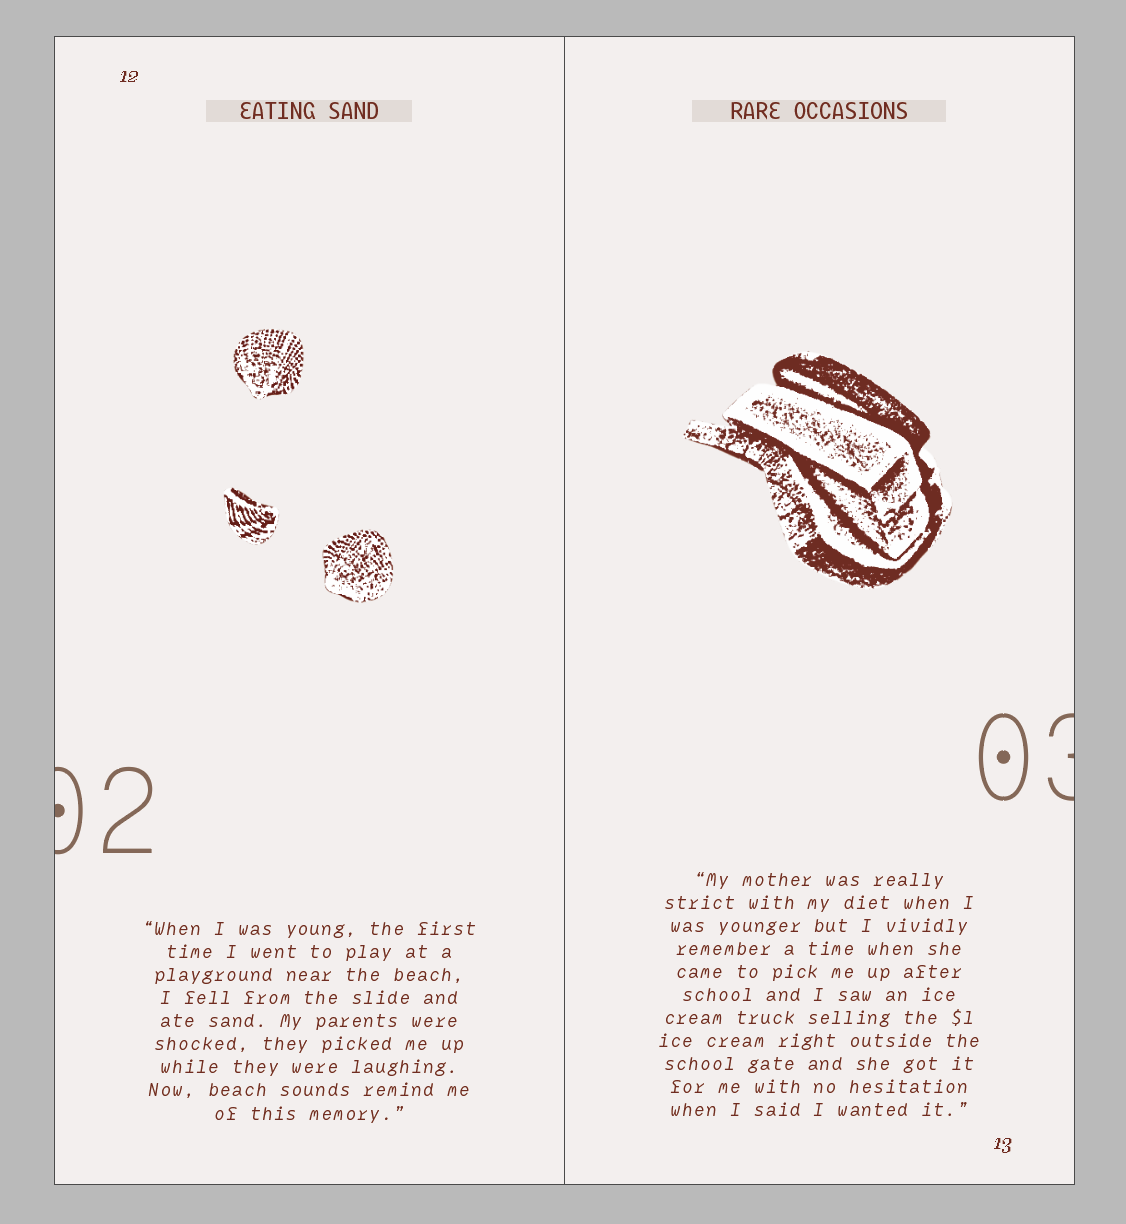
object 02 & 03 — featuring related autobiographical memories to it 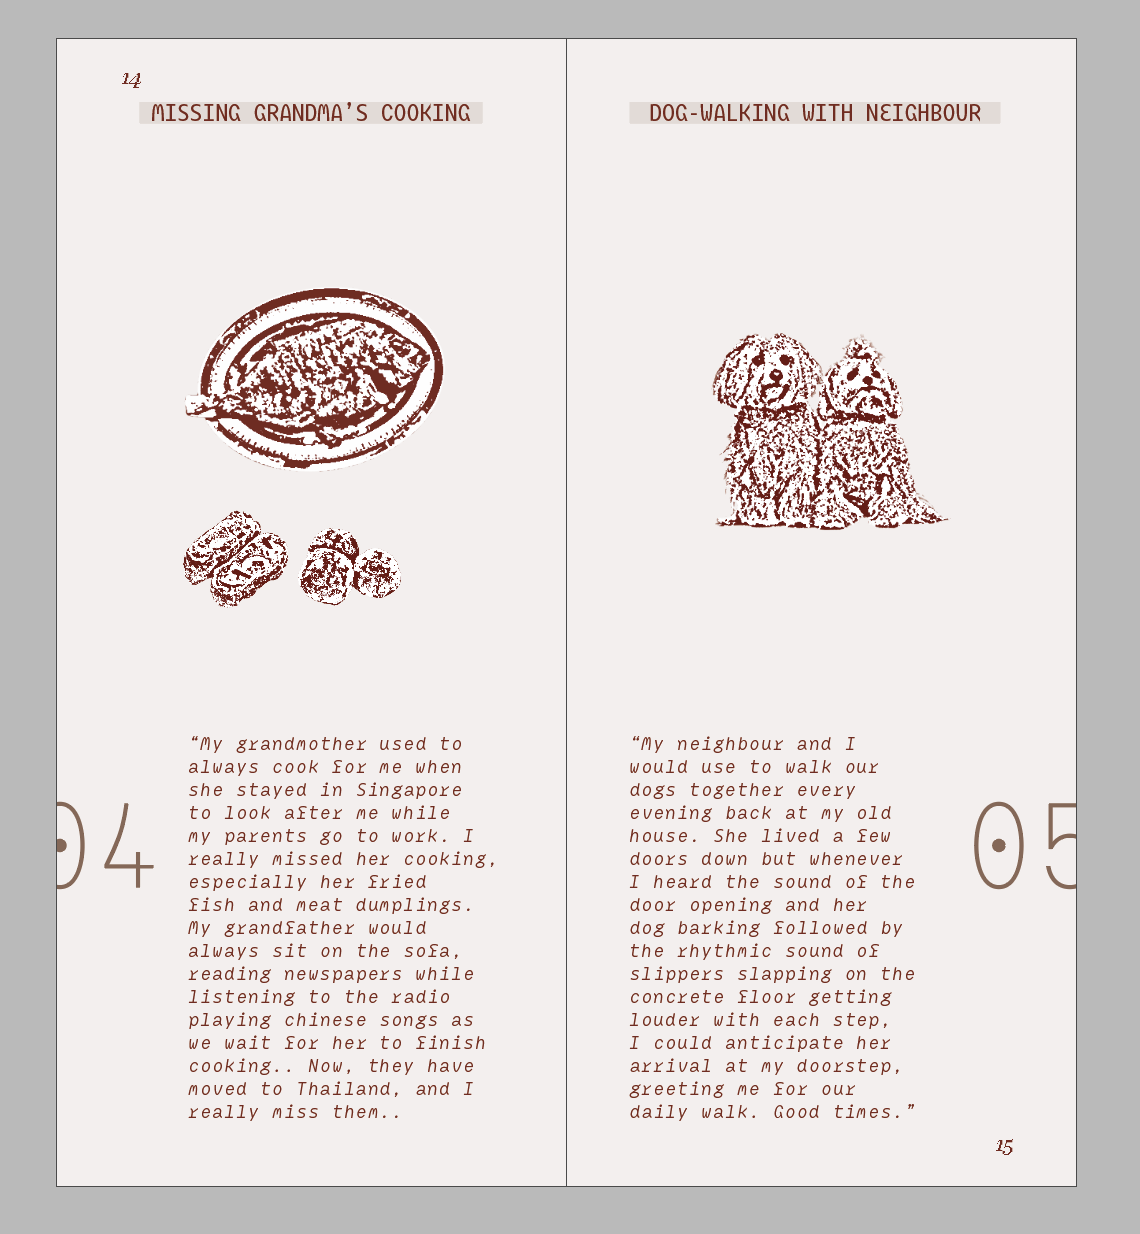
object 04 & 05 — featuring related autobiographical memories to it 
object 06 & 07 — featuring related autobiographical memories to it
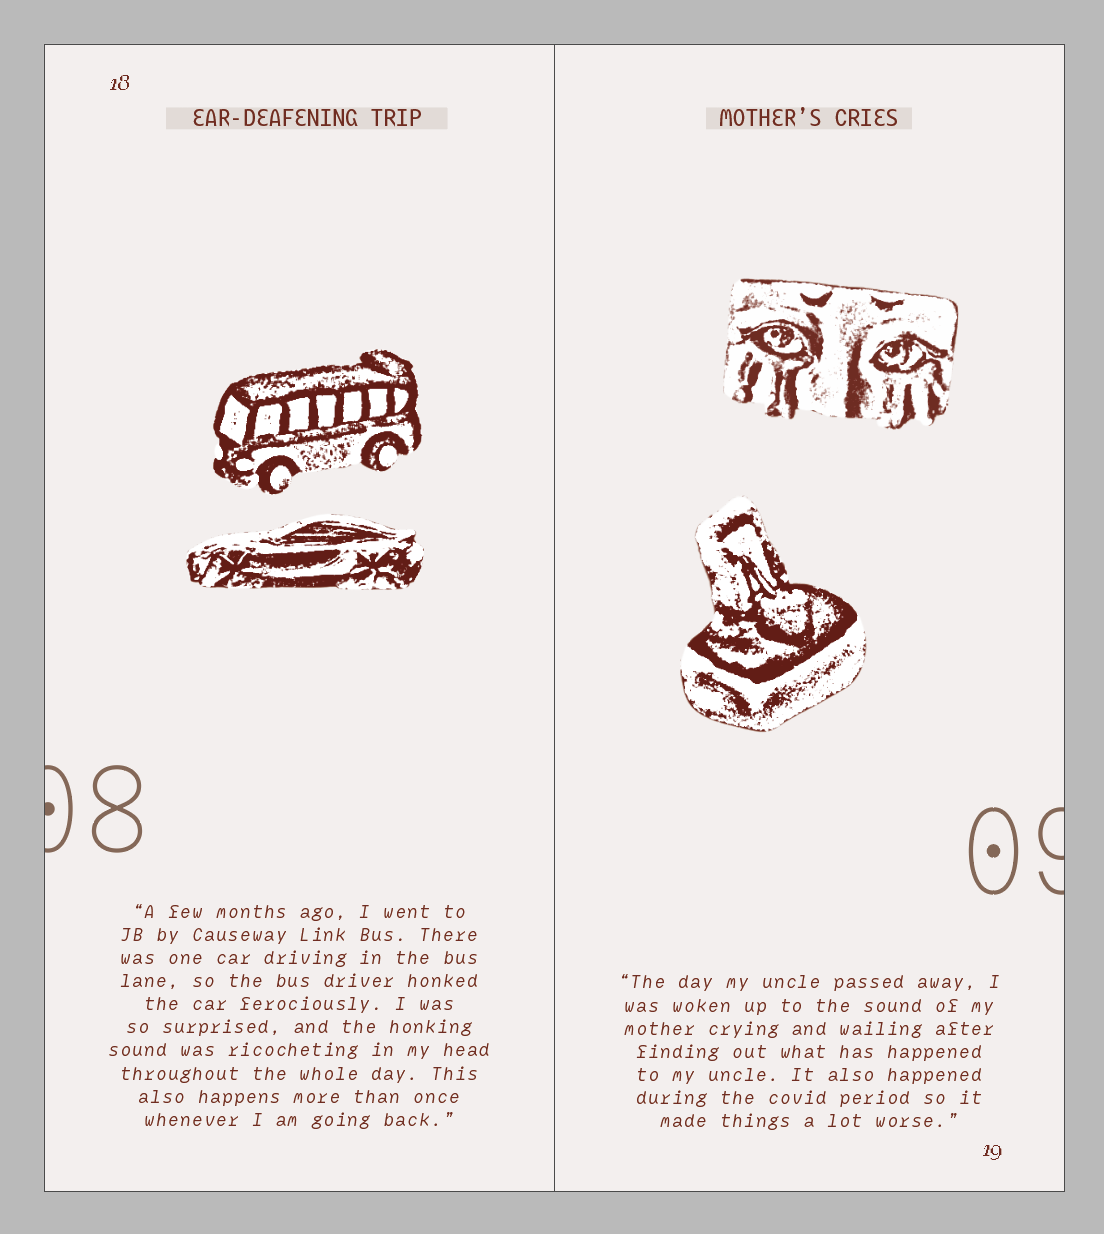
object 08 & 09 —
featuring related autobiographical memories to it
Back Cover; Thought-provoking quote that summarises the purpose, impact and value of this prototype
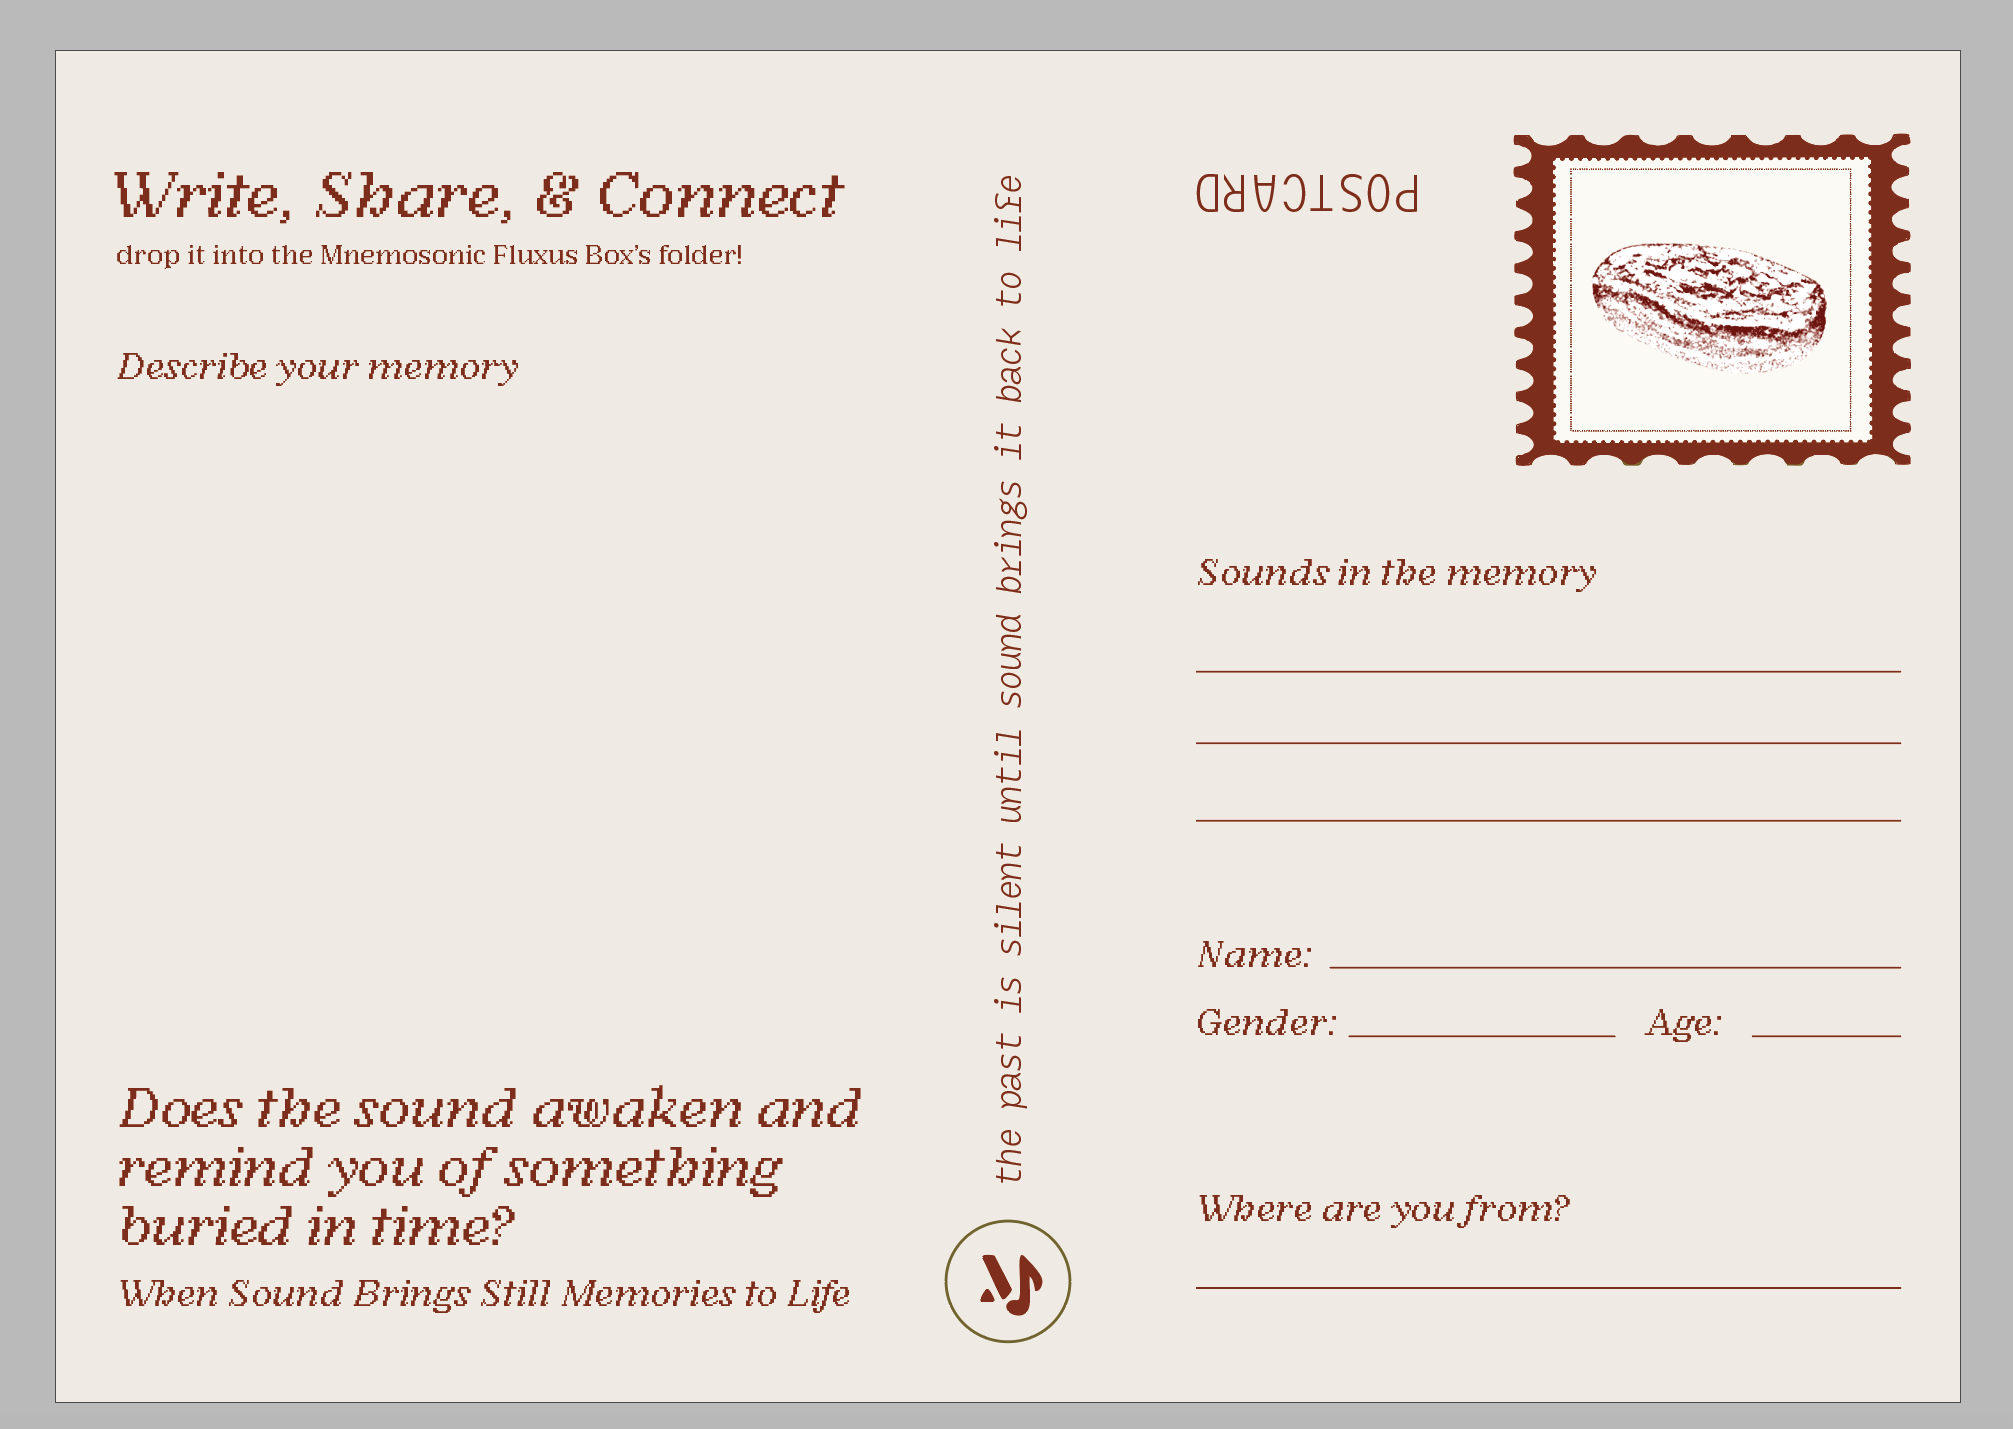
MNEMOSONIC BOX — POSTCARD
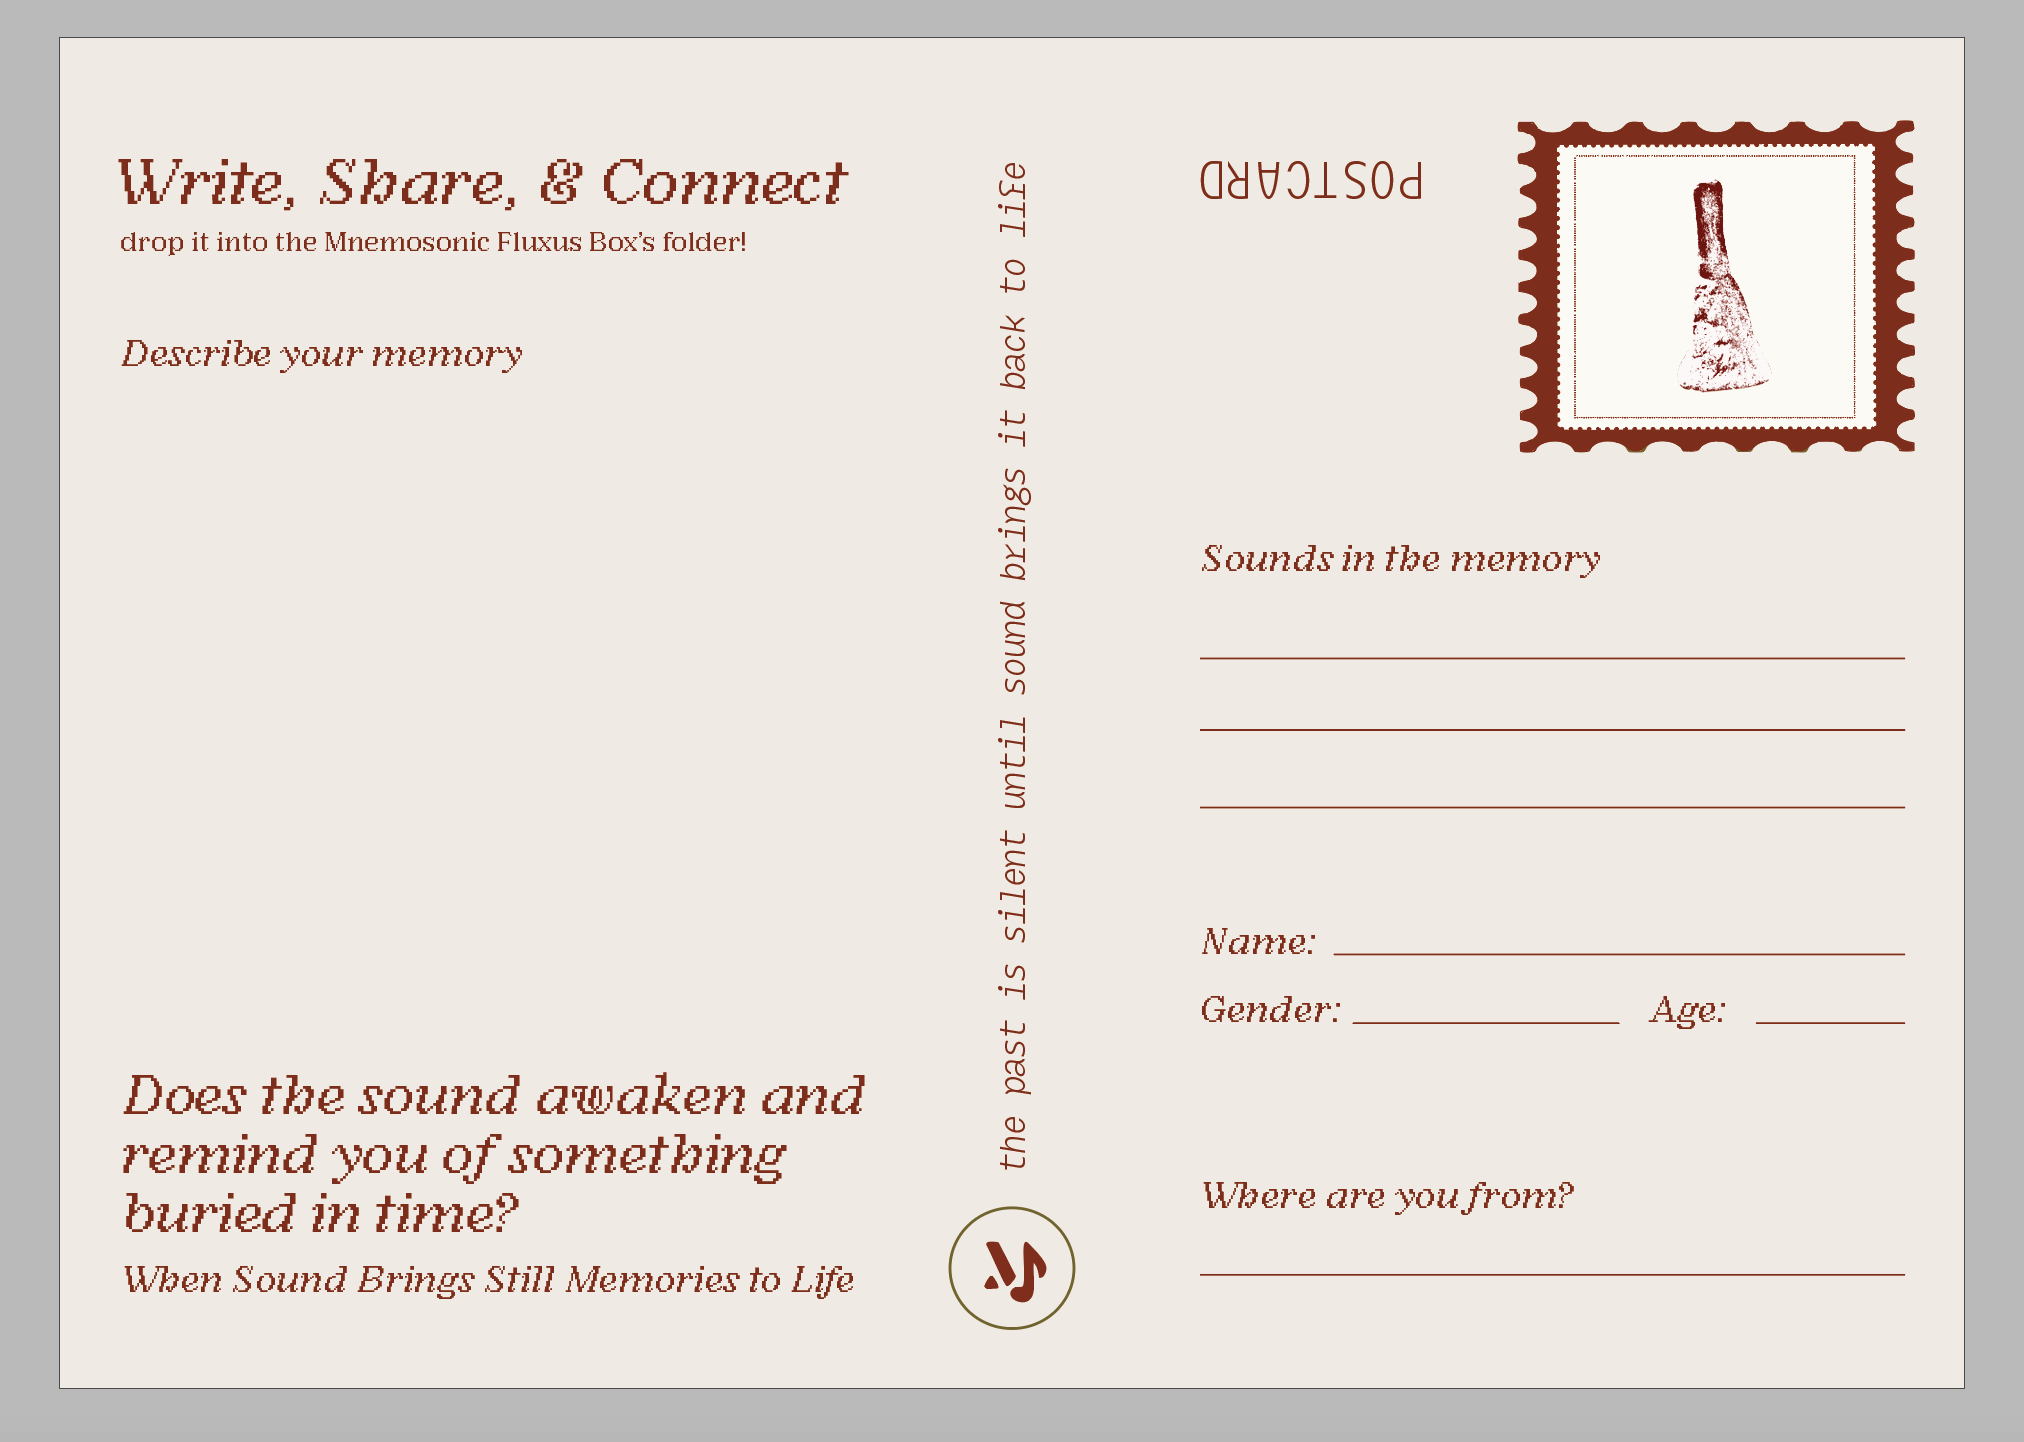
This postcard is designed as a fun and interactive way for the participants to engage with the exhibit. The postcard is intended as a way of data collection and participants can either choose to drop it into the fluxus box as a contribution to the 'memory penpal booth' or to take home after the open studios. It is also a way for them to remember the experience they had during the open studios.
The front of the postcard features a blank canvas for participants to draw their memory of the soundscape that triggers their memory. The back of the postcard features a space to write their name, sounds in that memory and a short description of the memory. The postcard encourages visitors to share their memories with their friends and others.
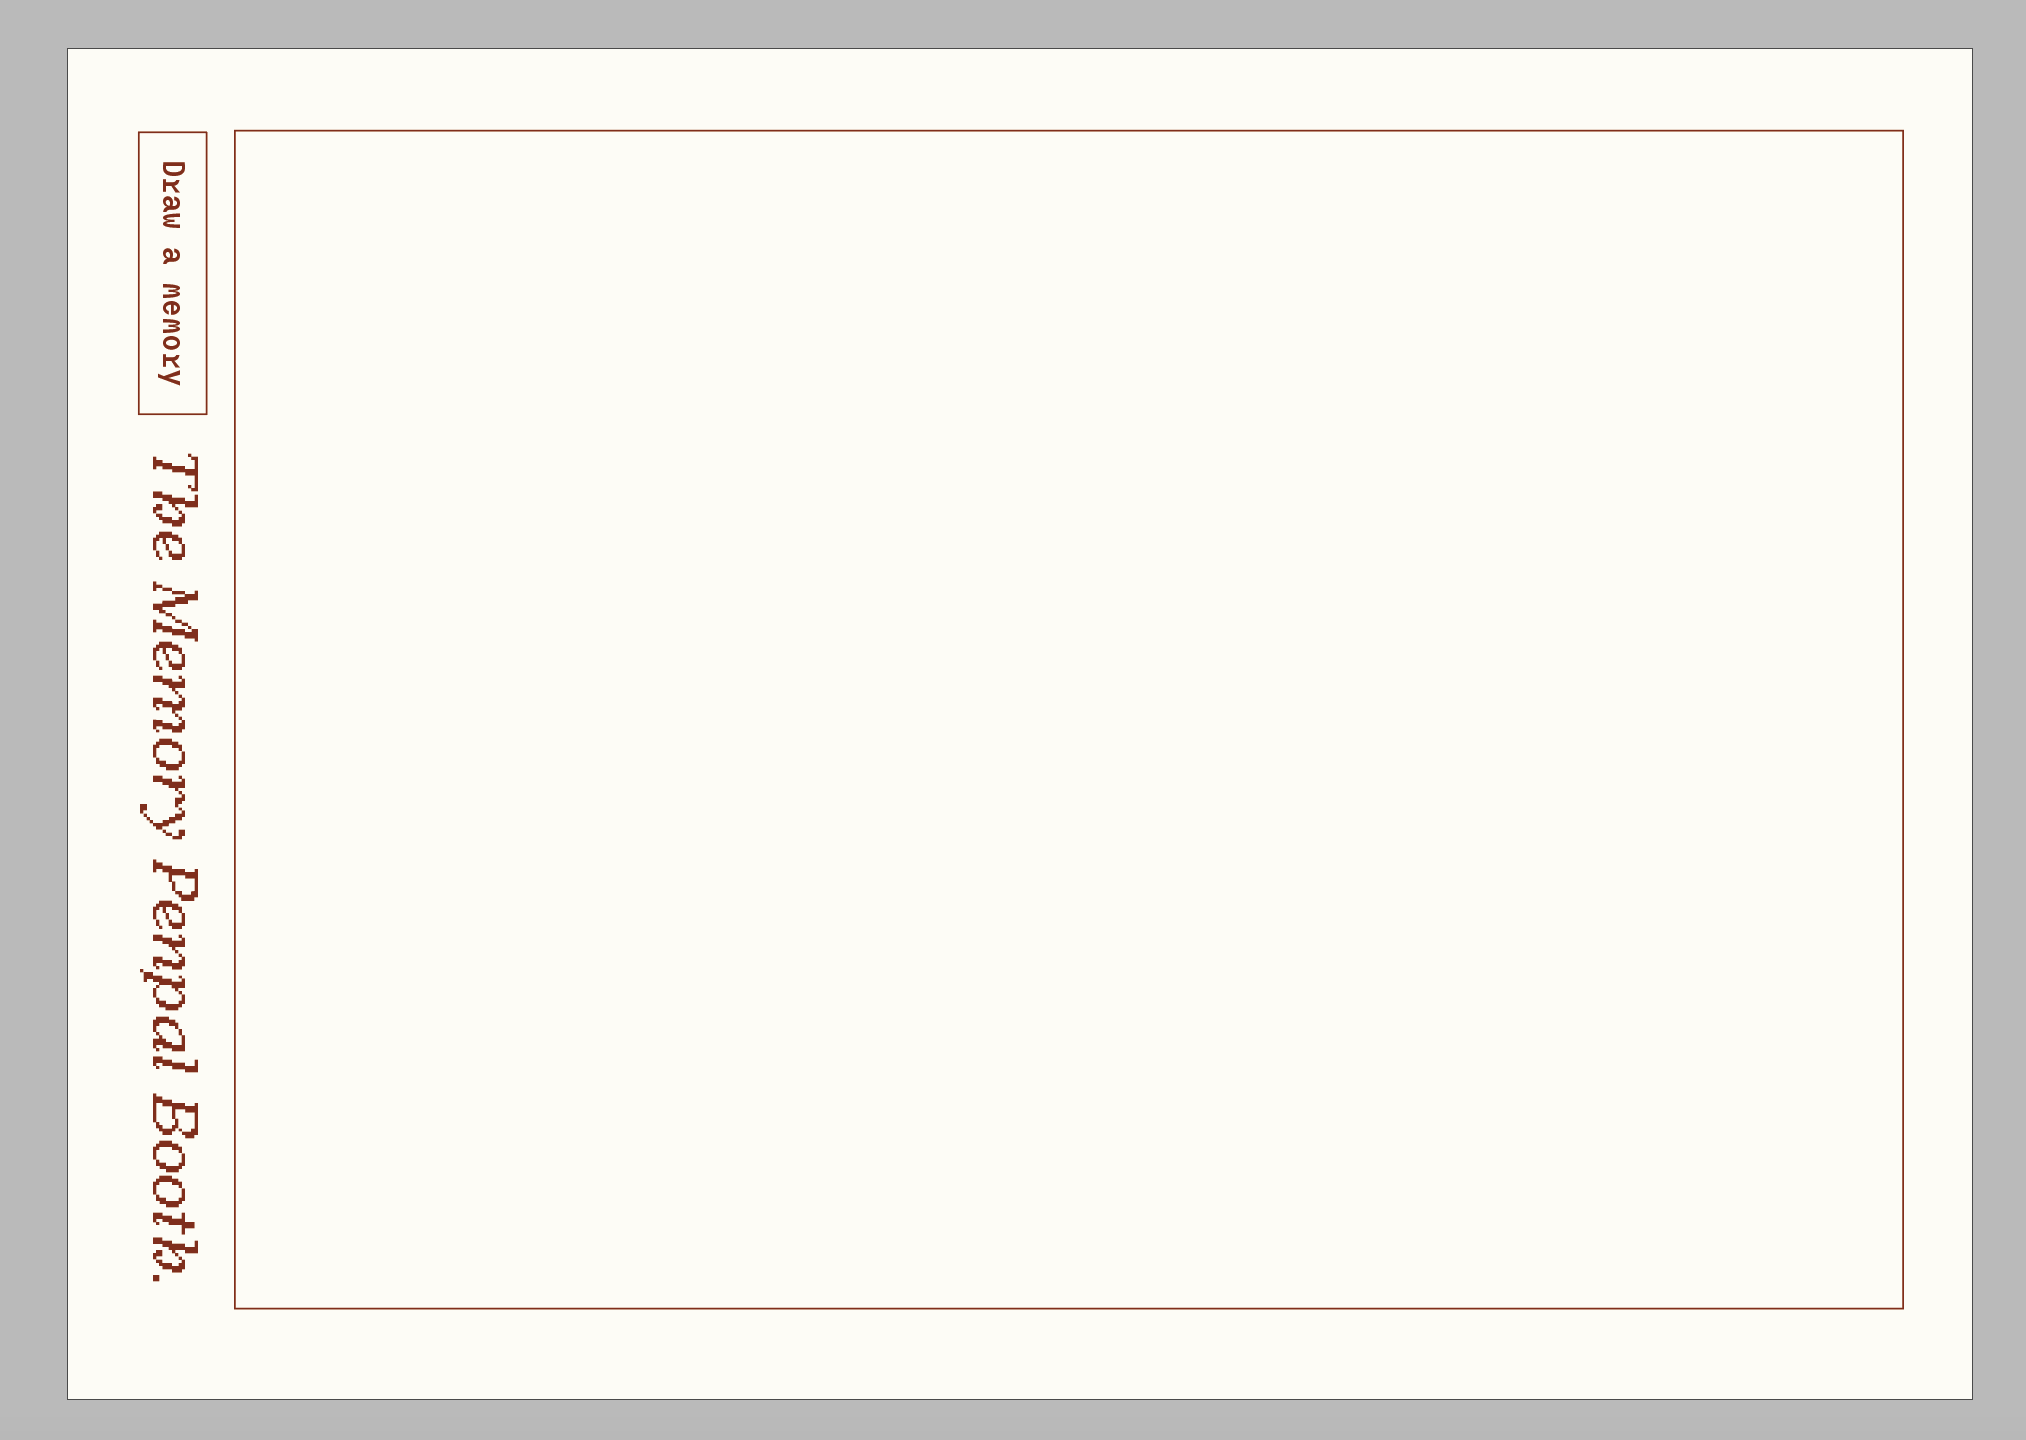
Front Cover; blank canvas to draw memory 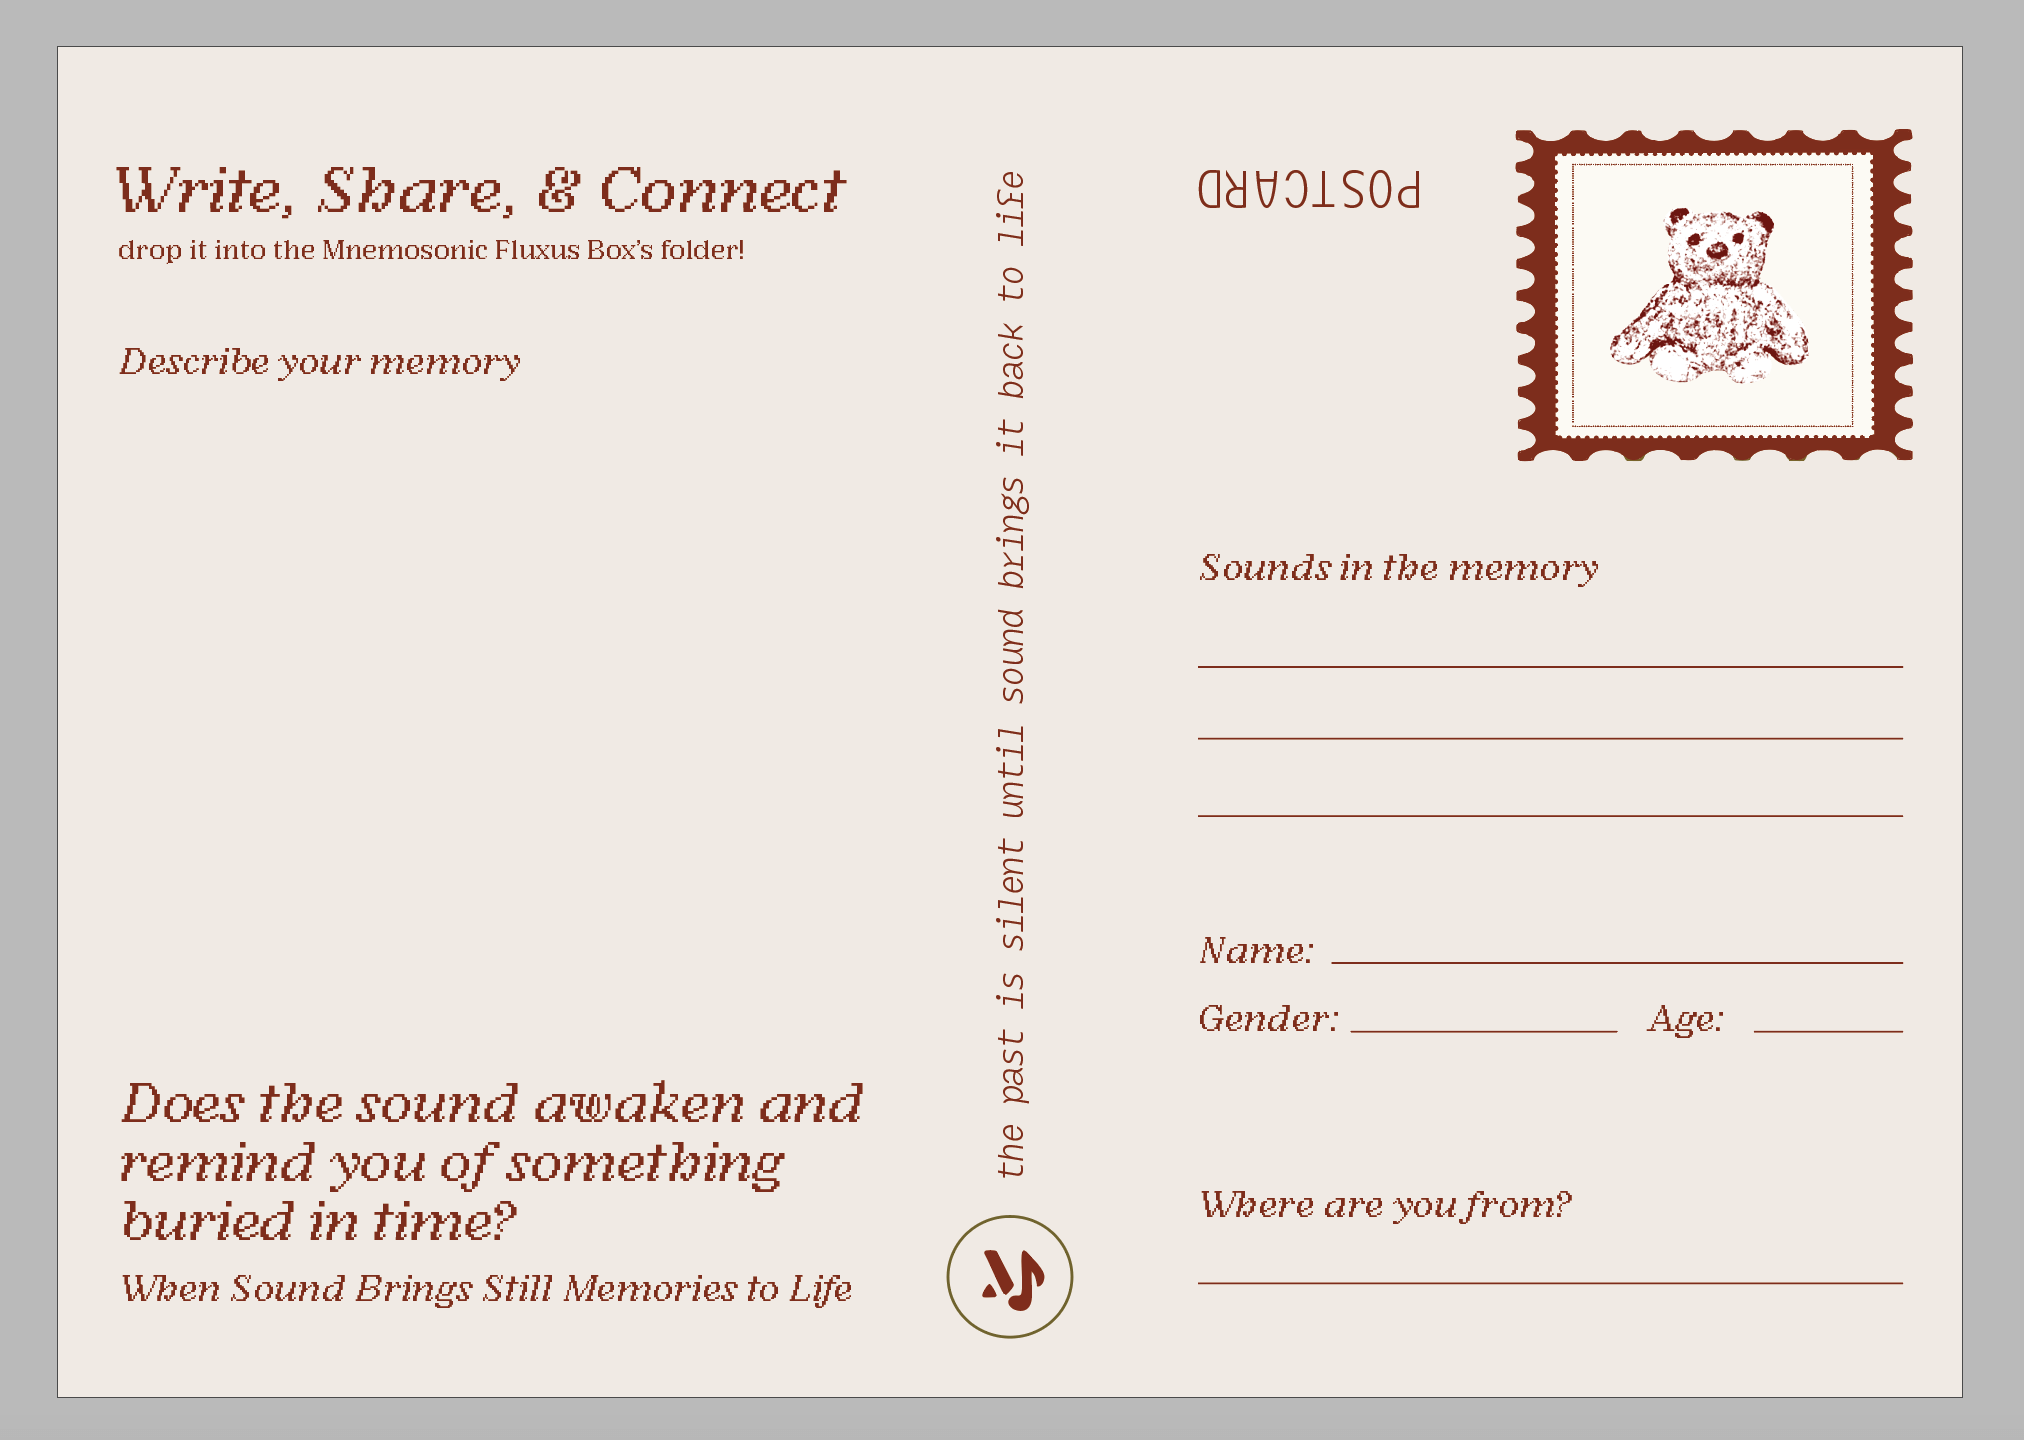
Back; describe memory — classical music 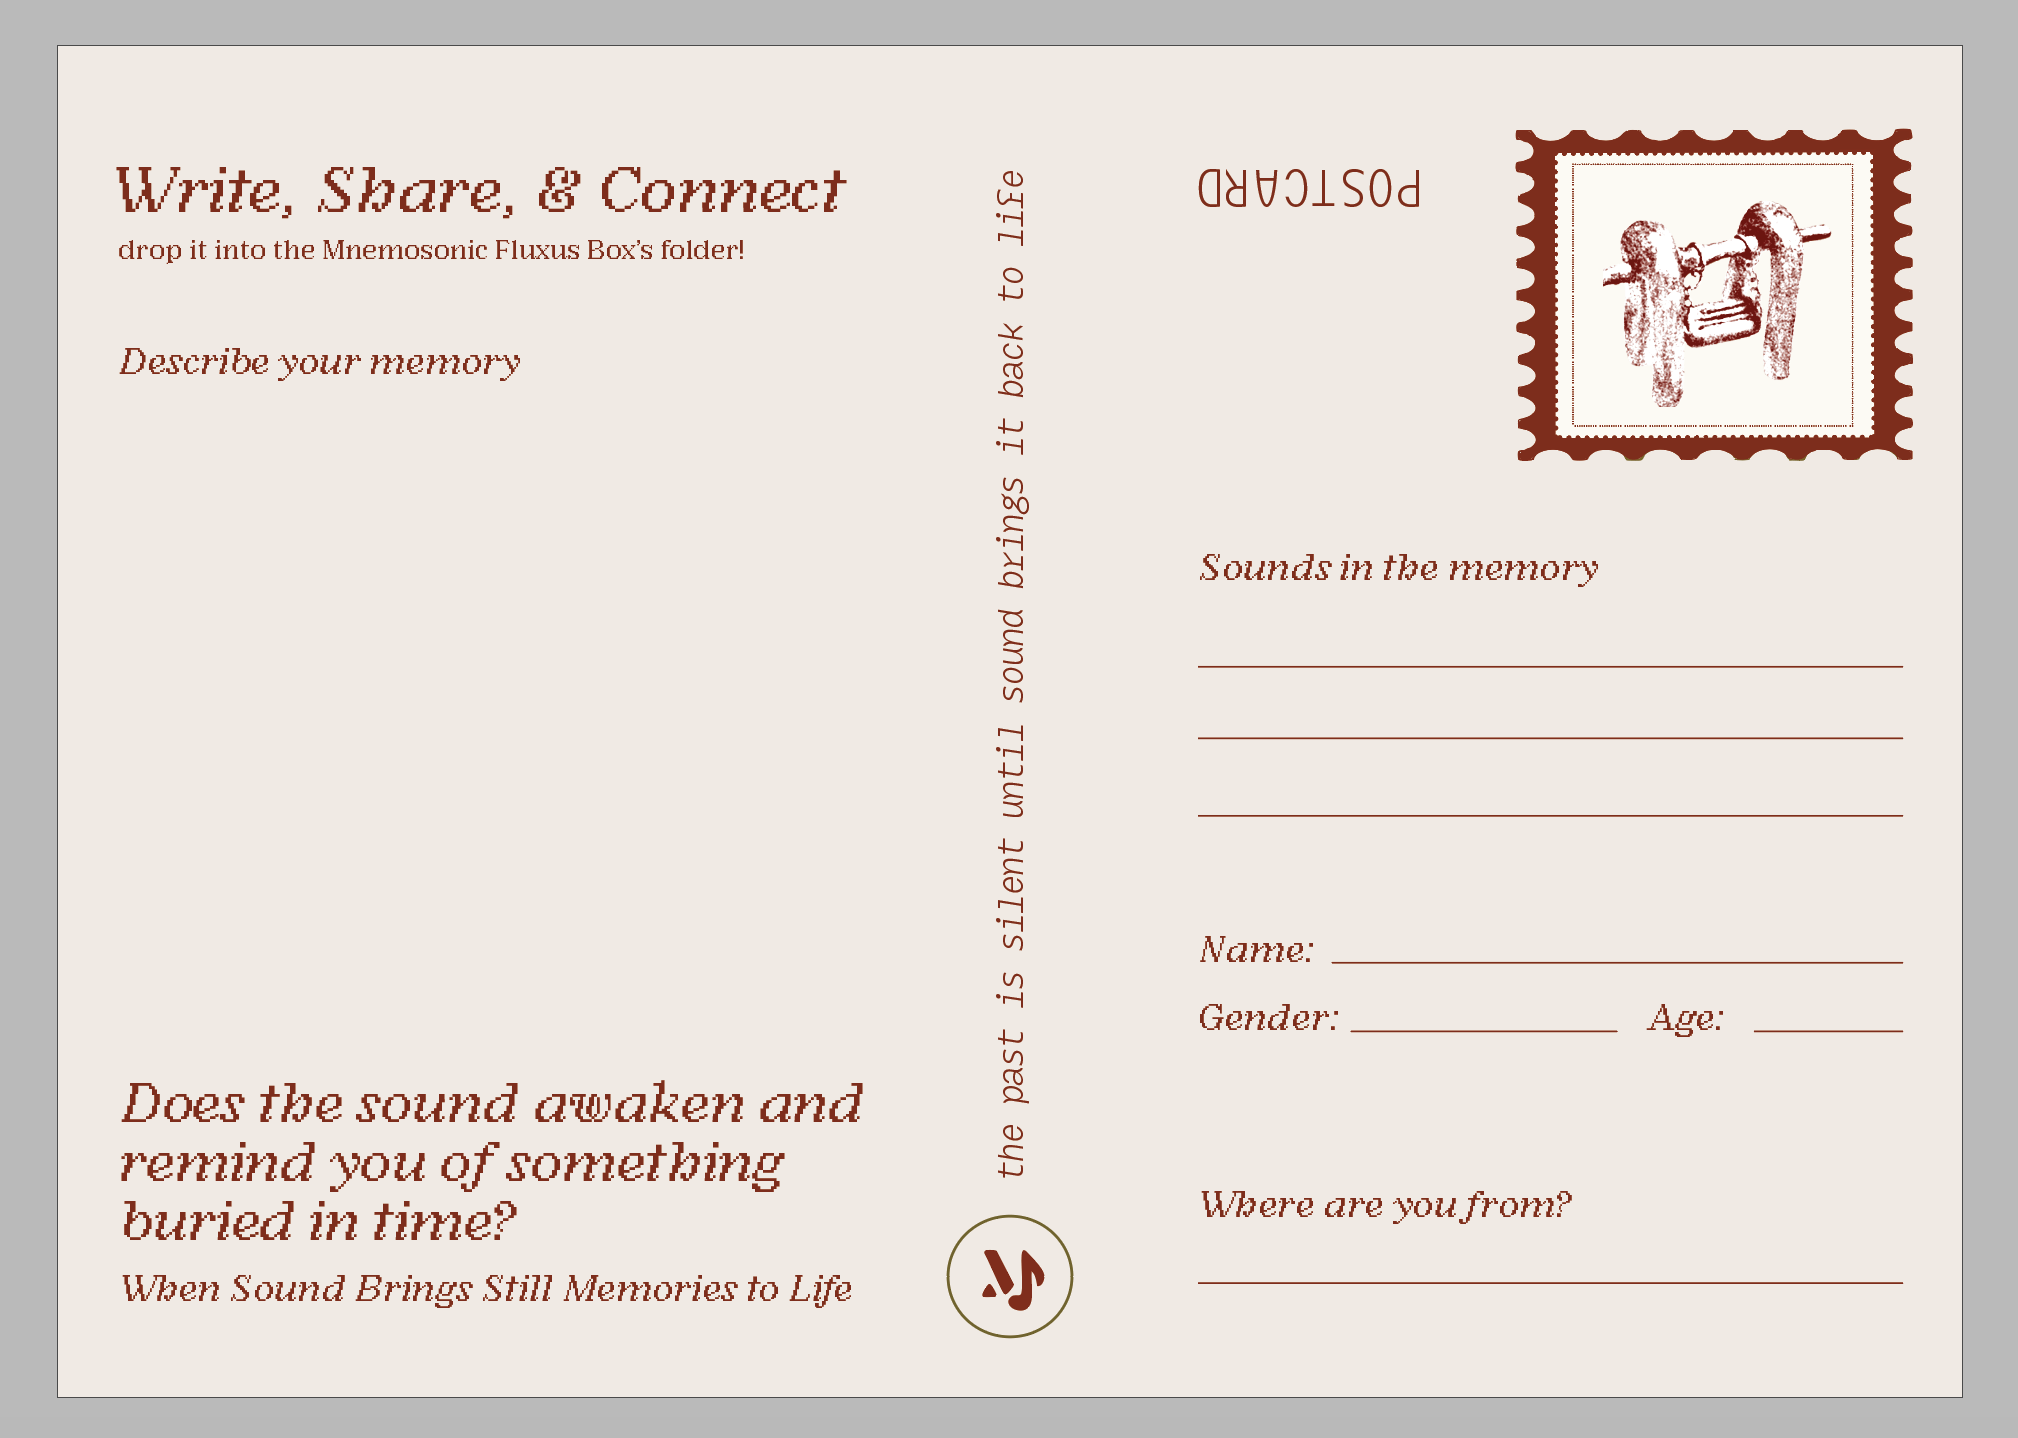
Back; describe memory — play
Back; describe memory — tinnabulation 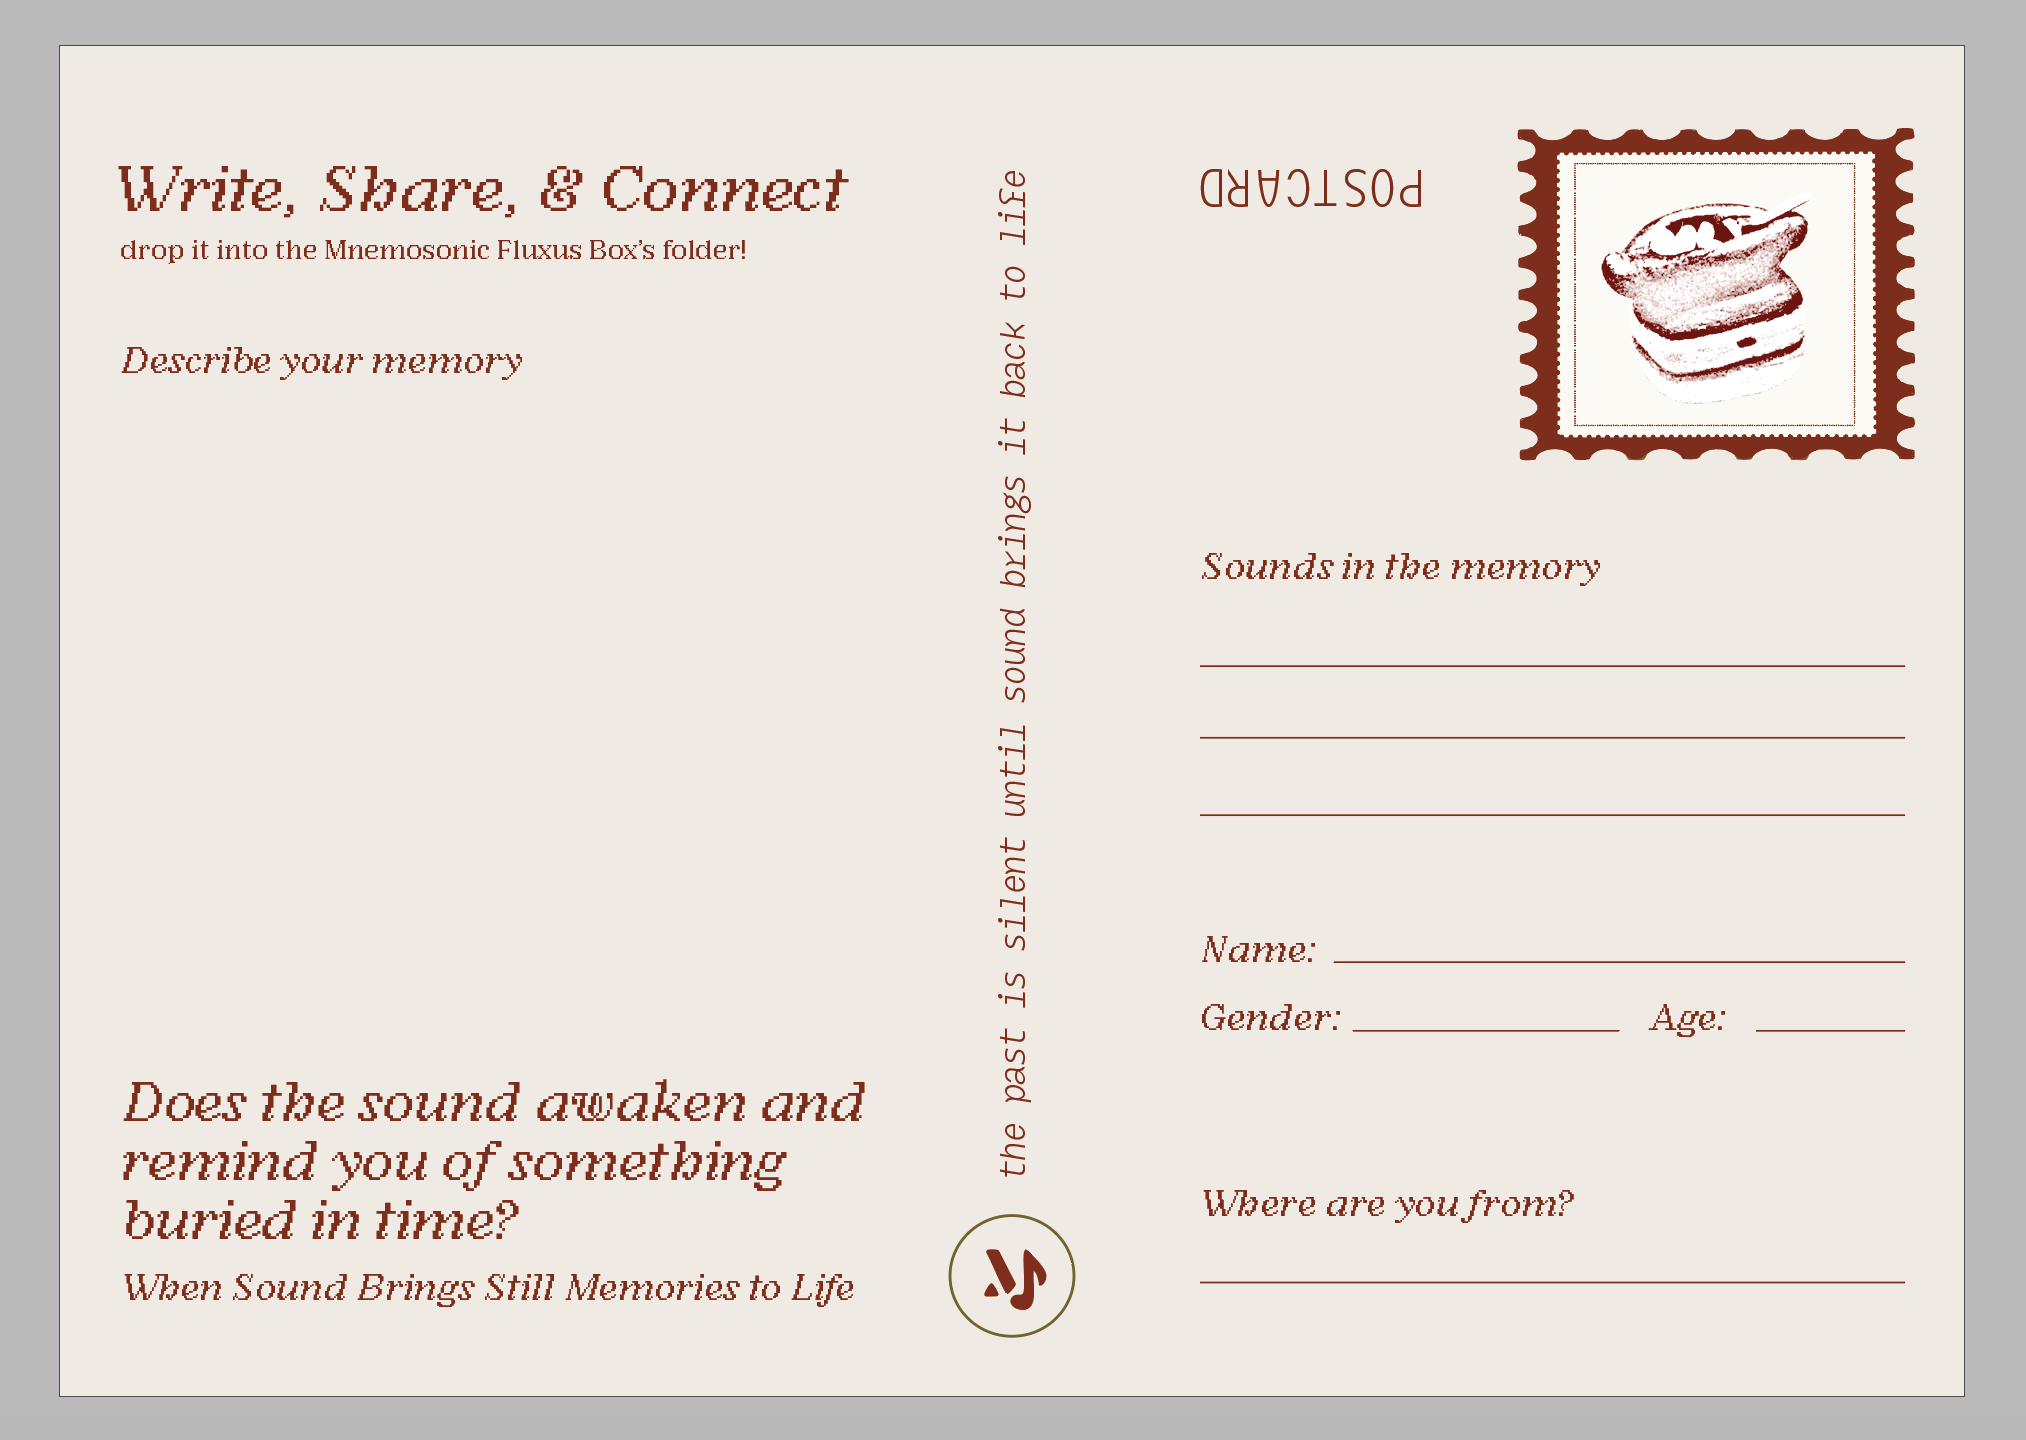
Back; describe memory — sizzles 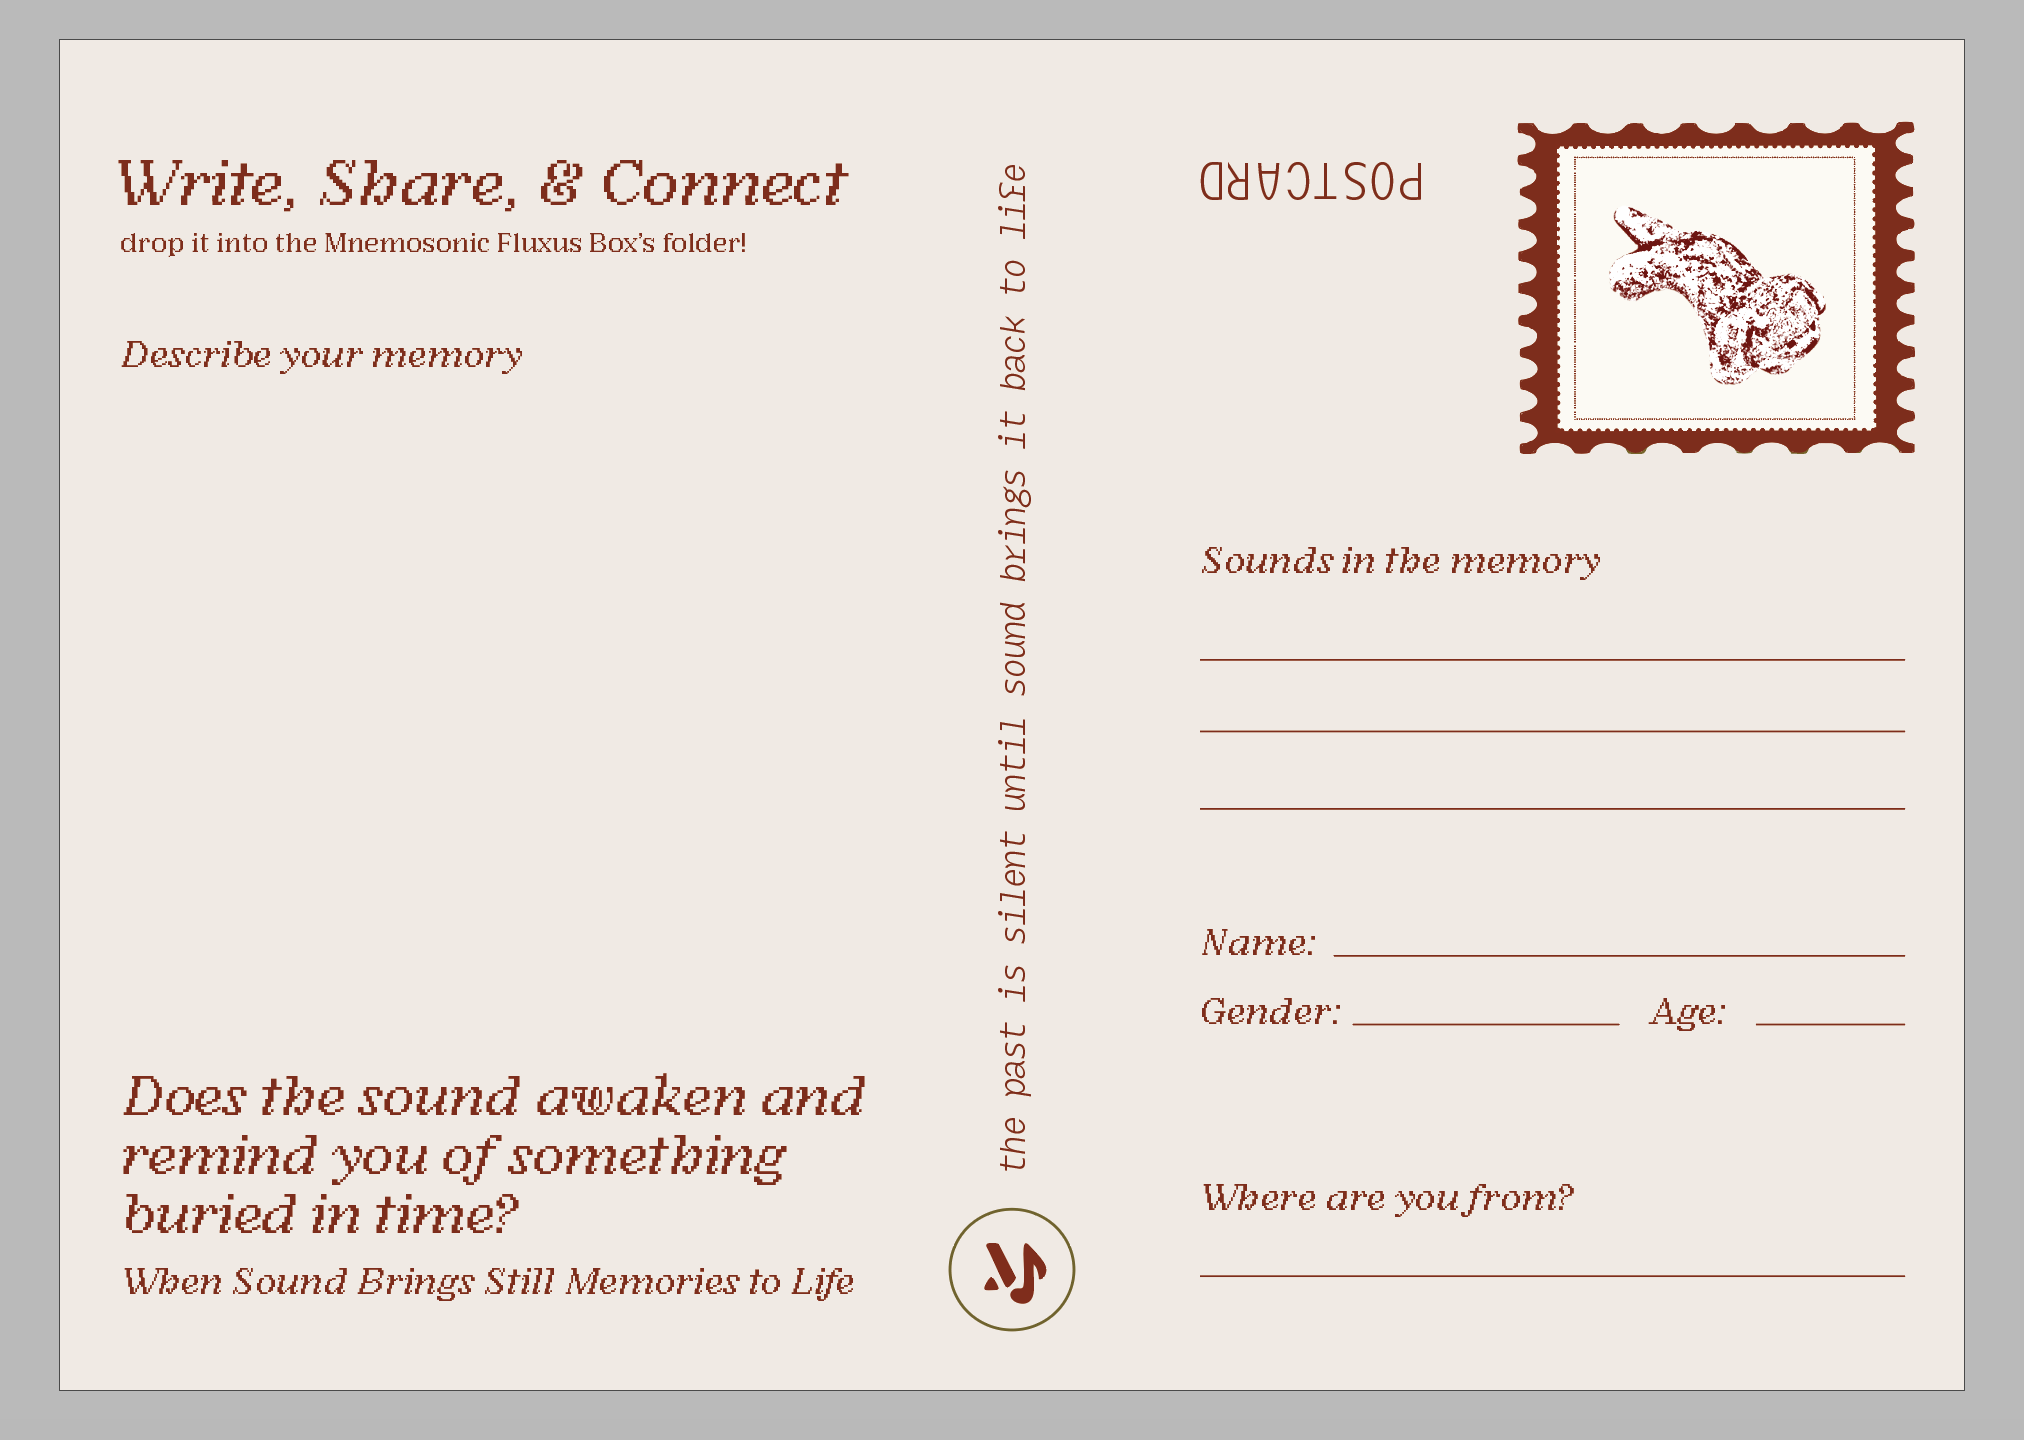
Back; describe memory — barks

Back; describe memory — retro games 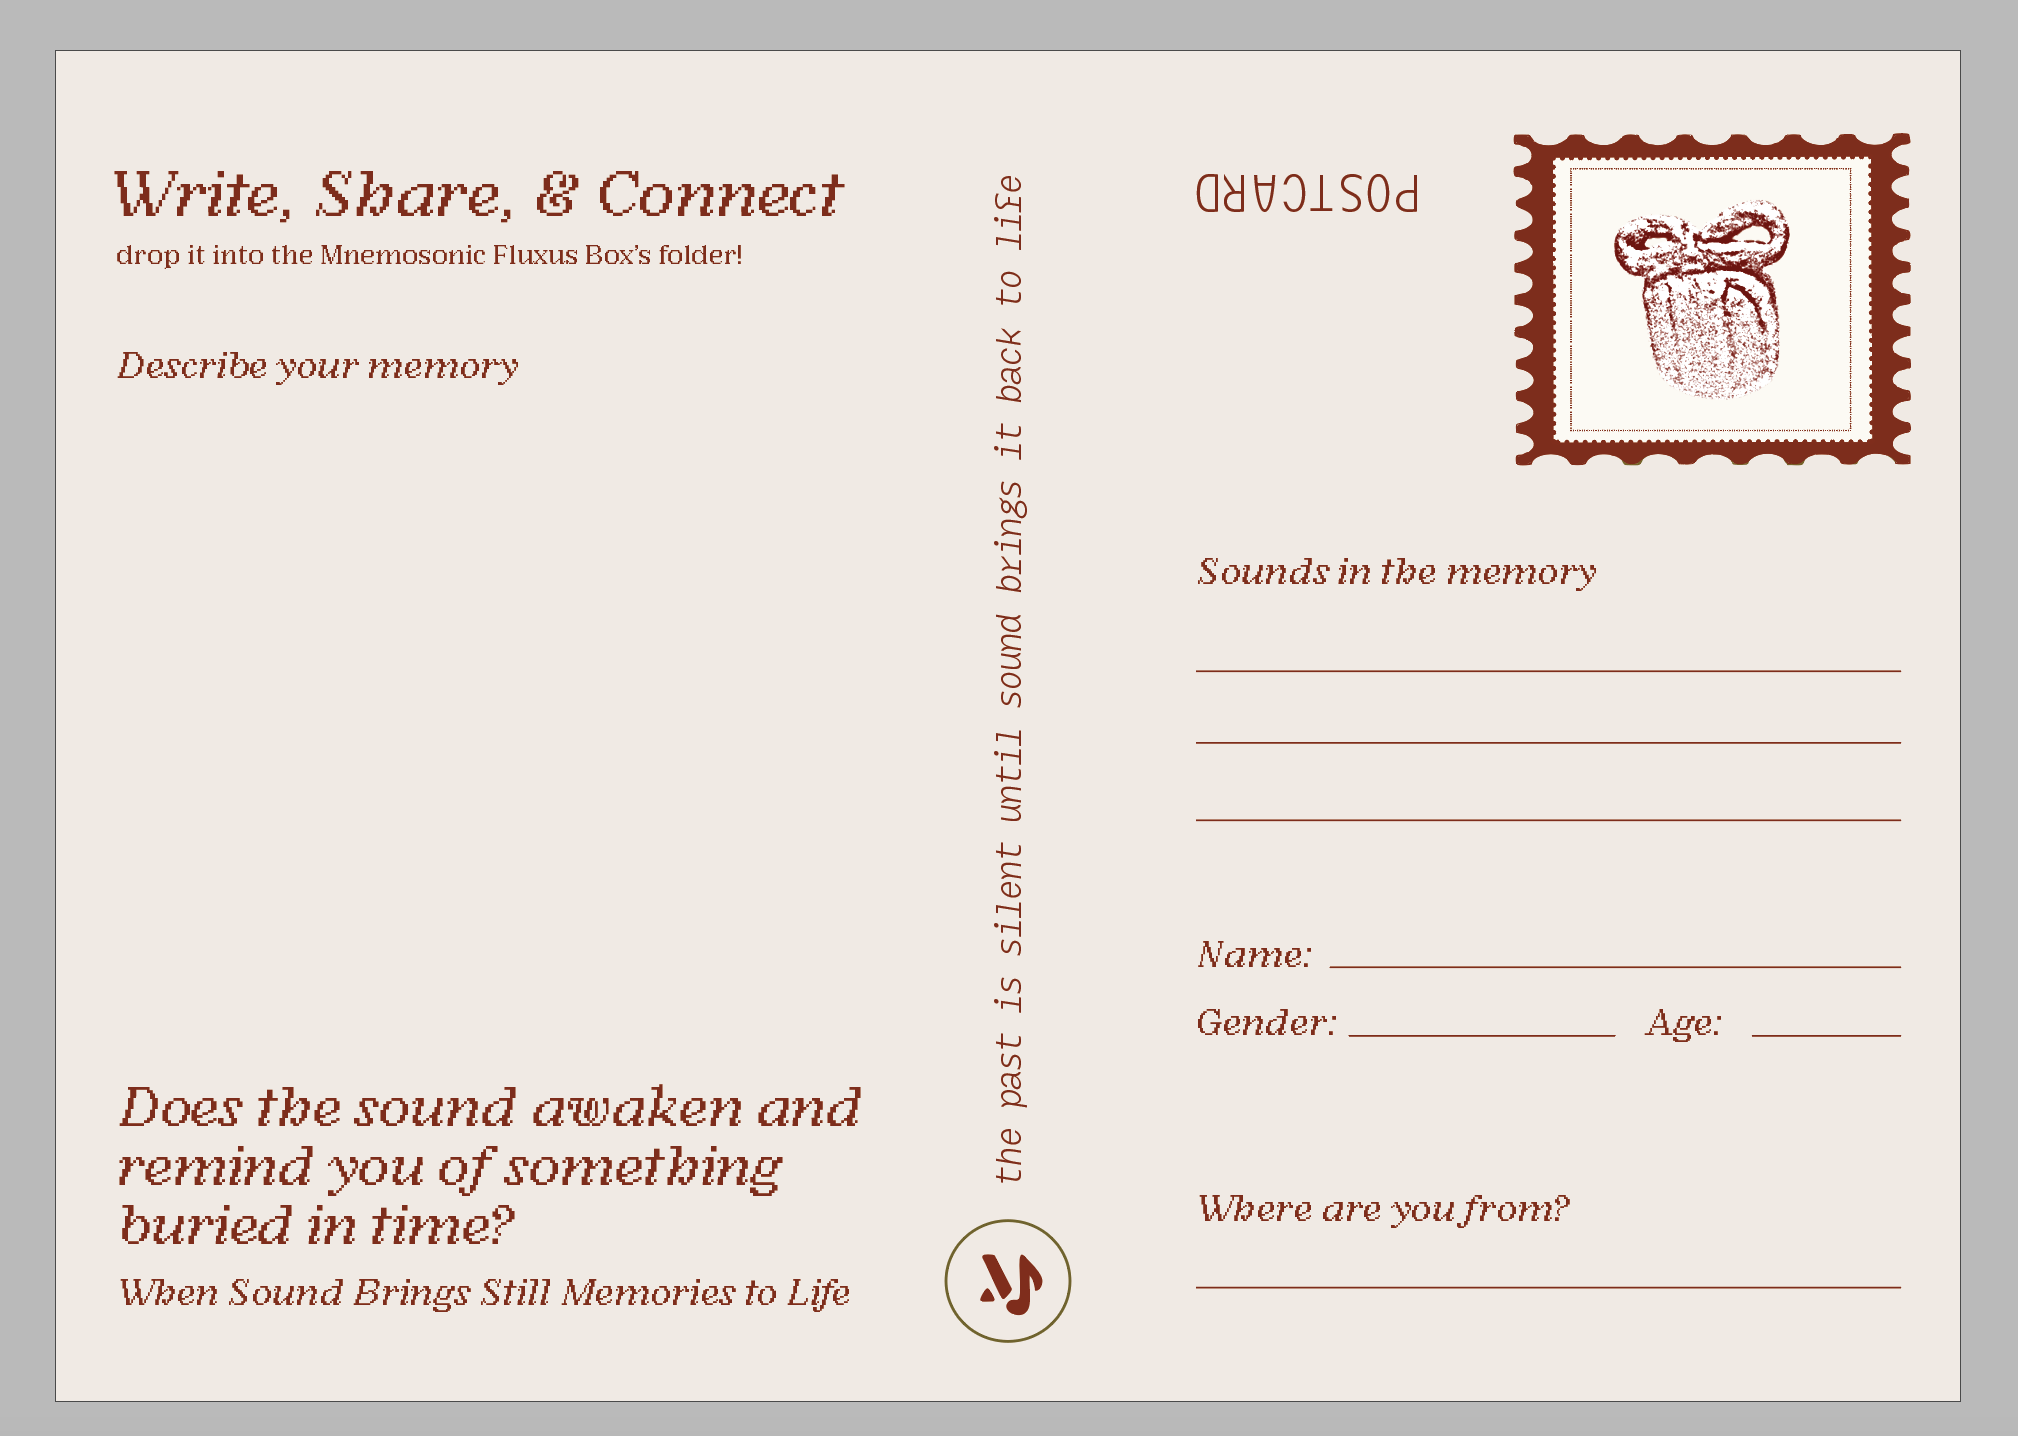
Back; describe memory — cheers 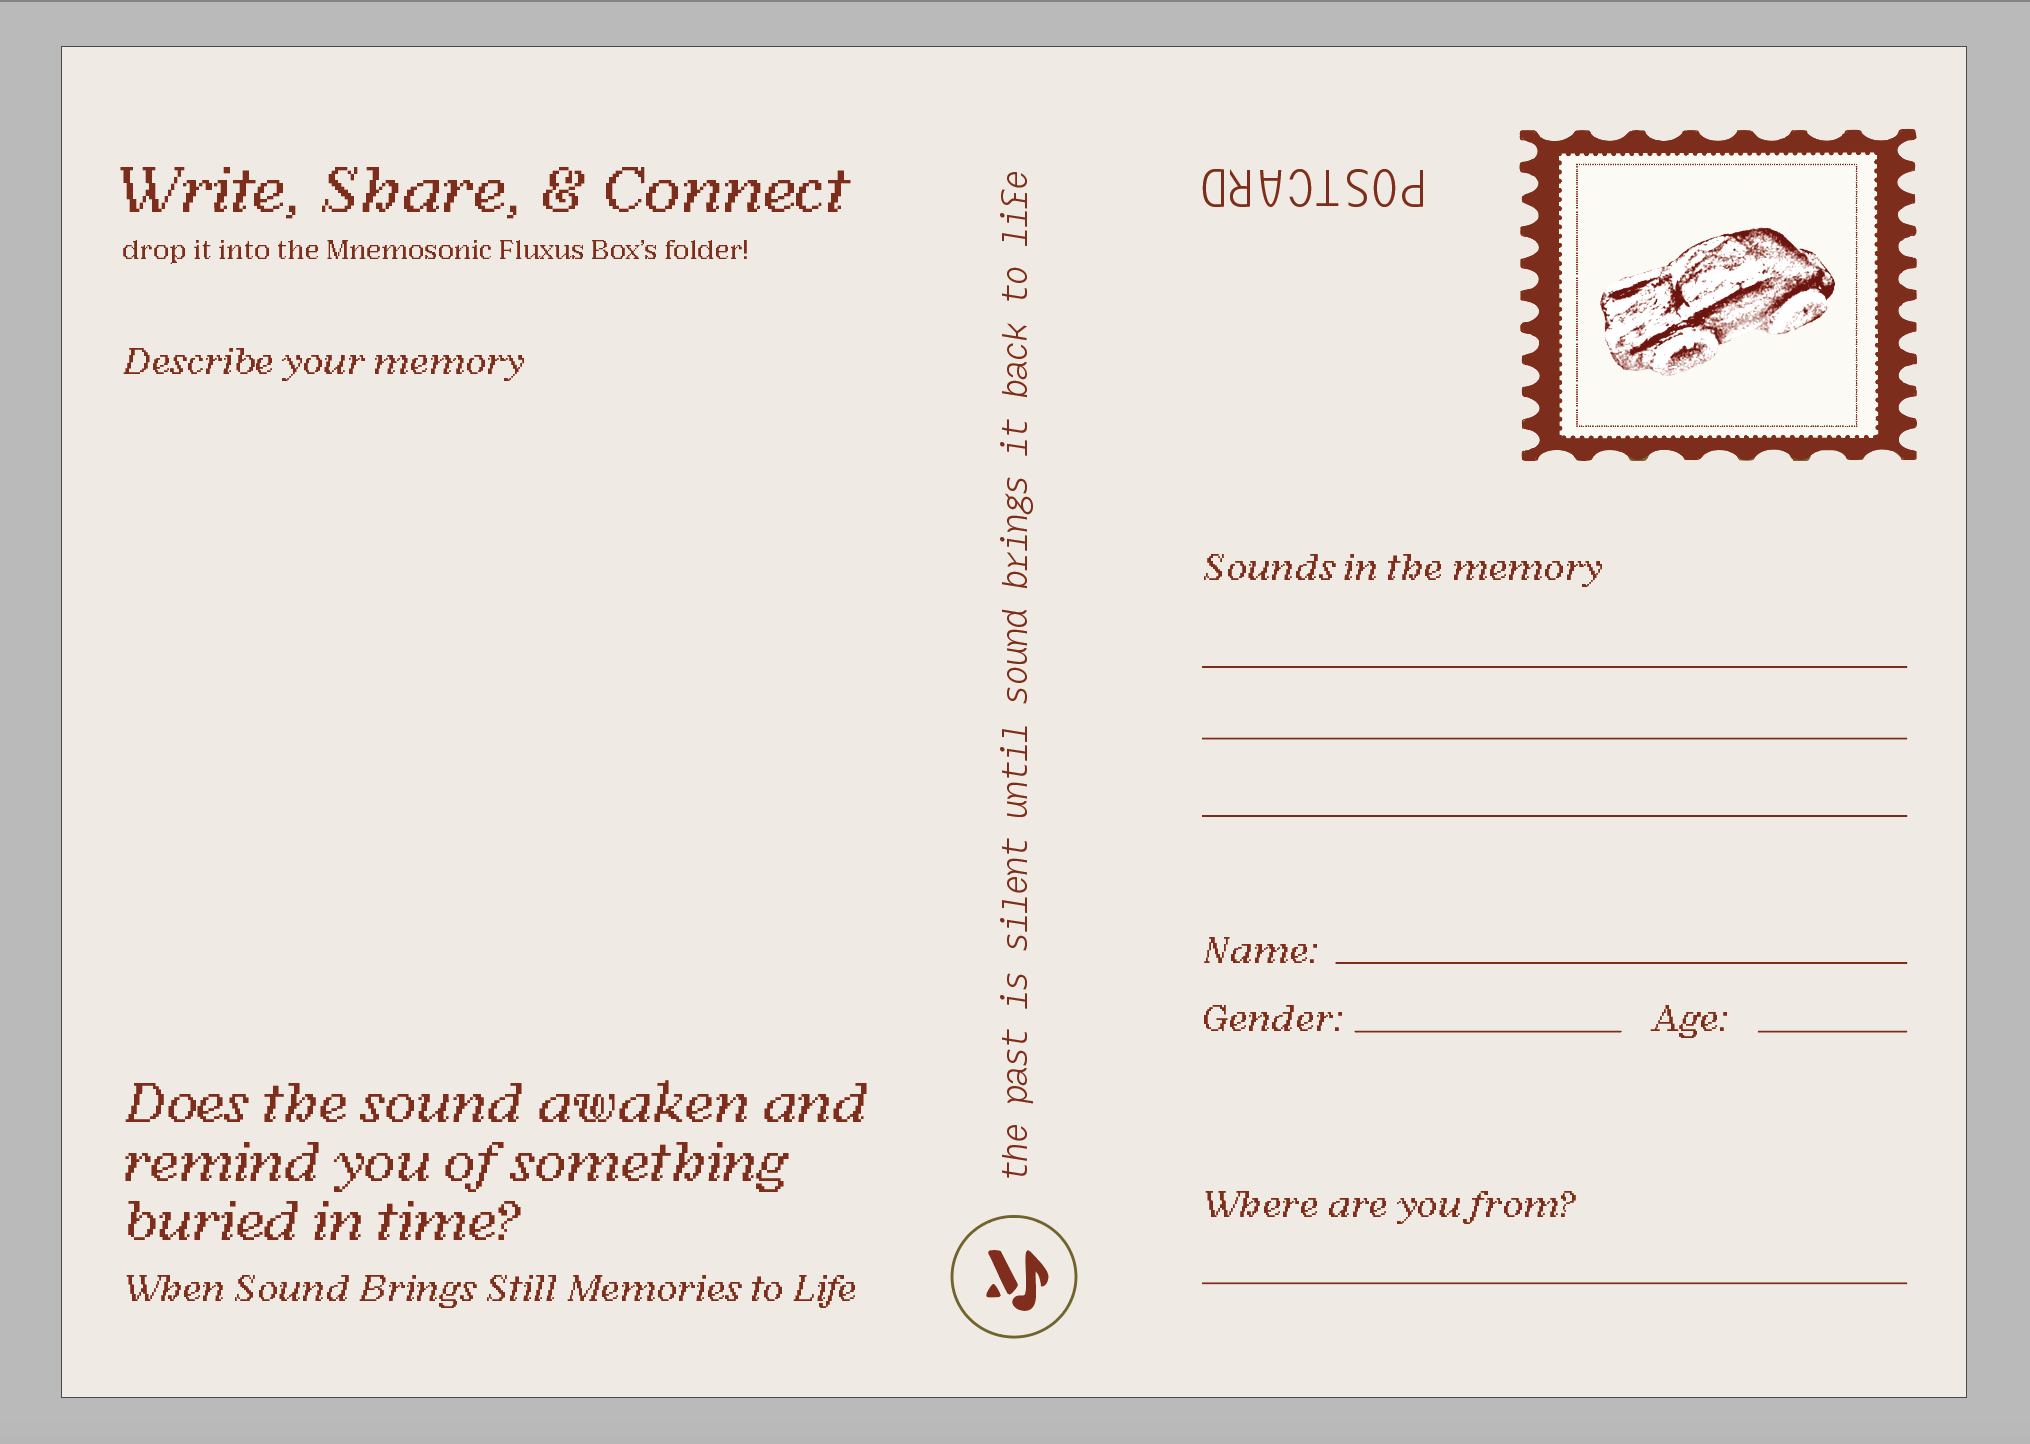
Back; describe memory — honks
Back Cover; describe memory — mourns
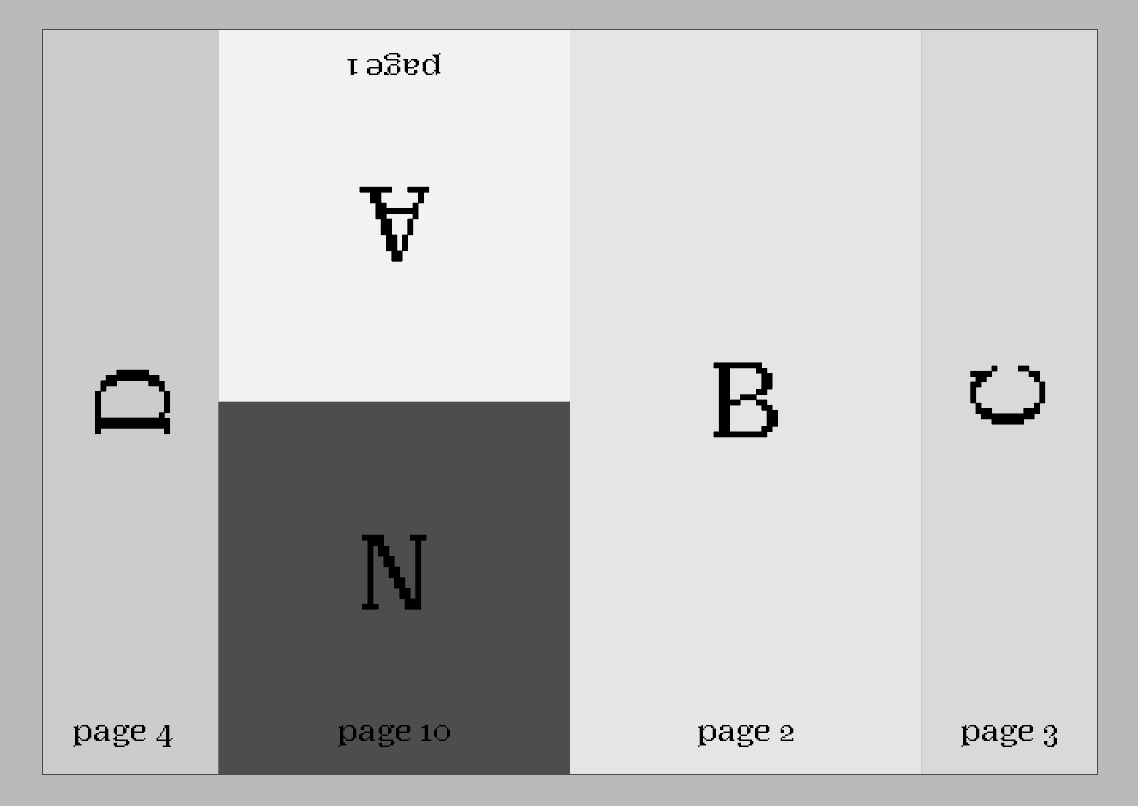
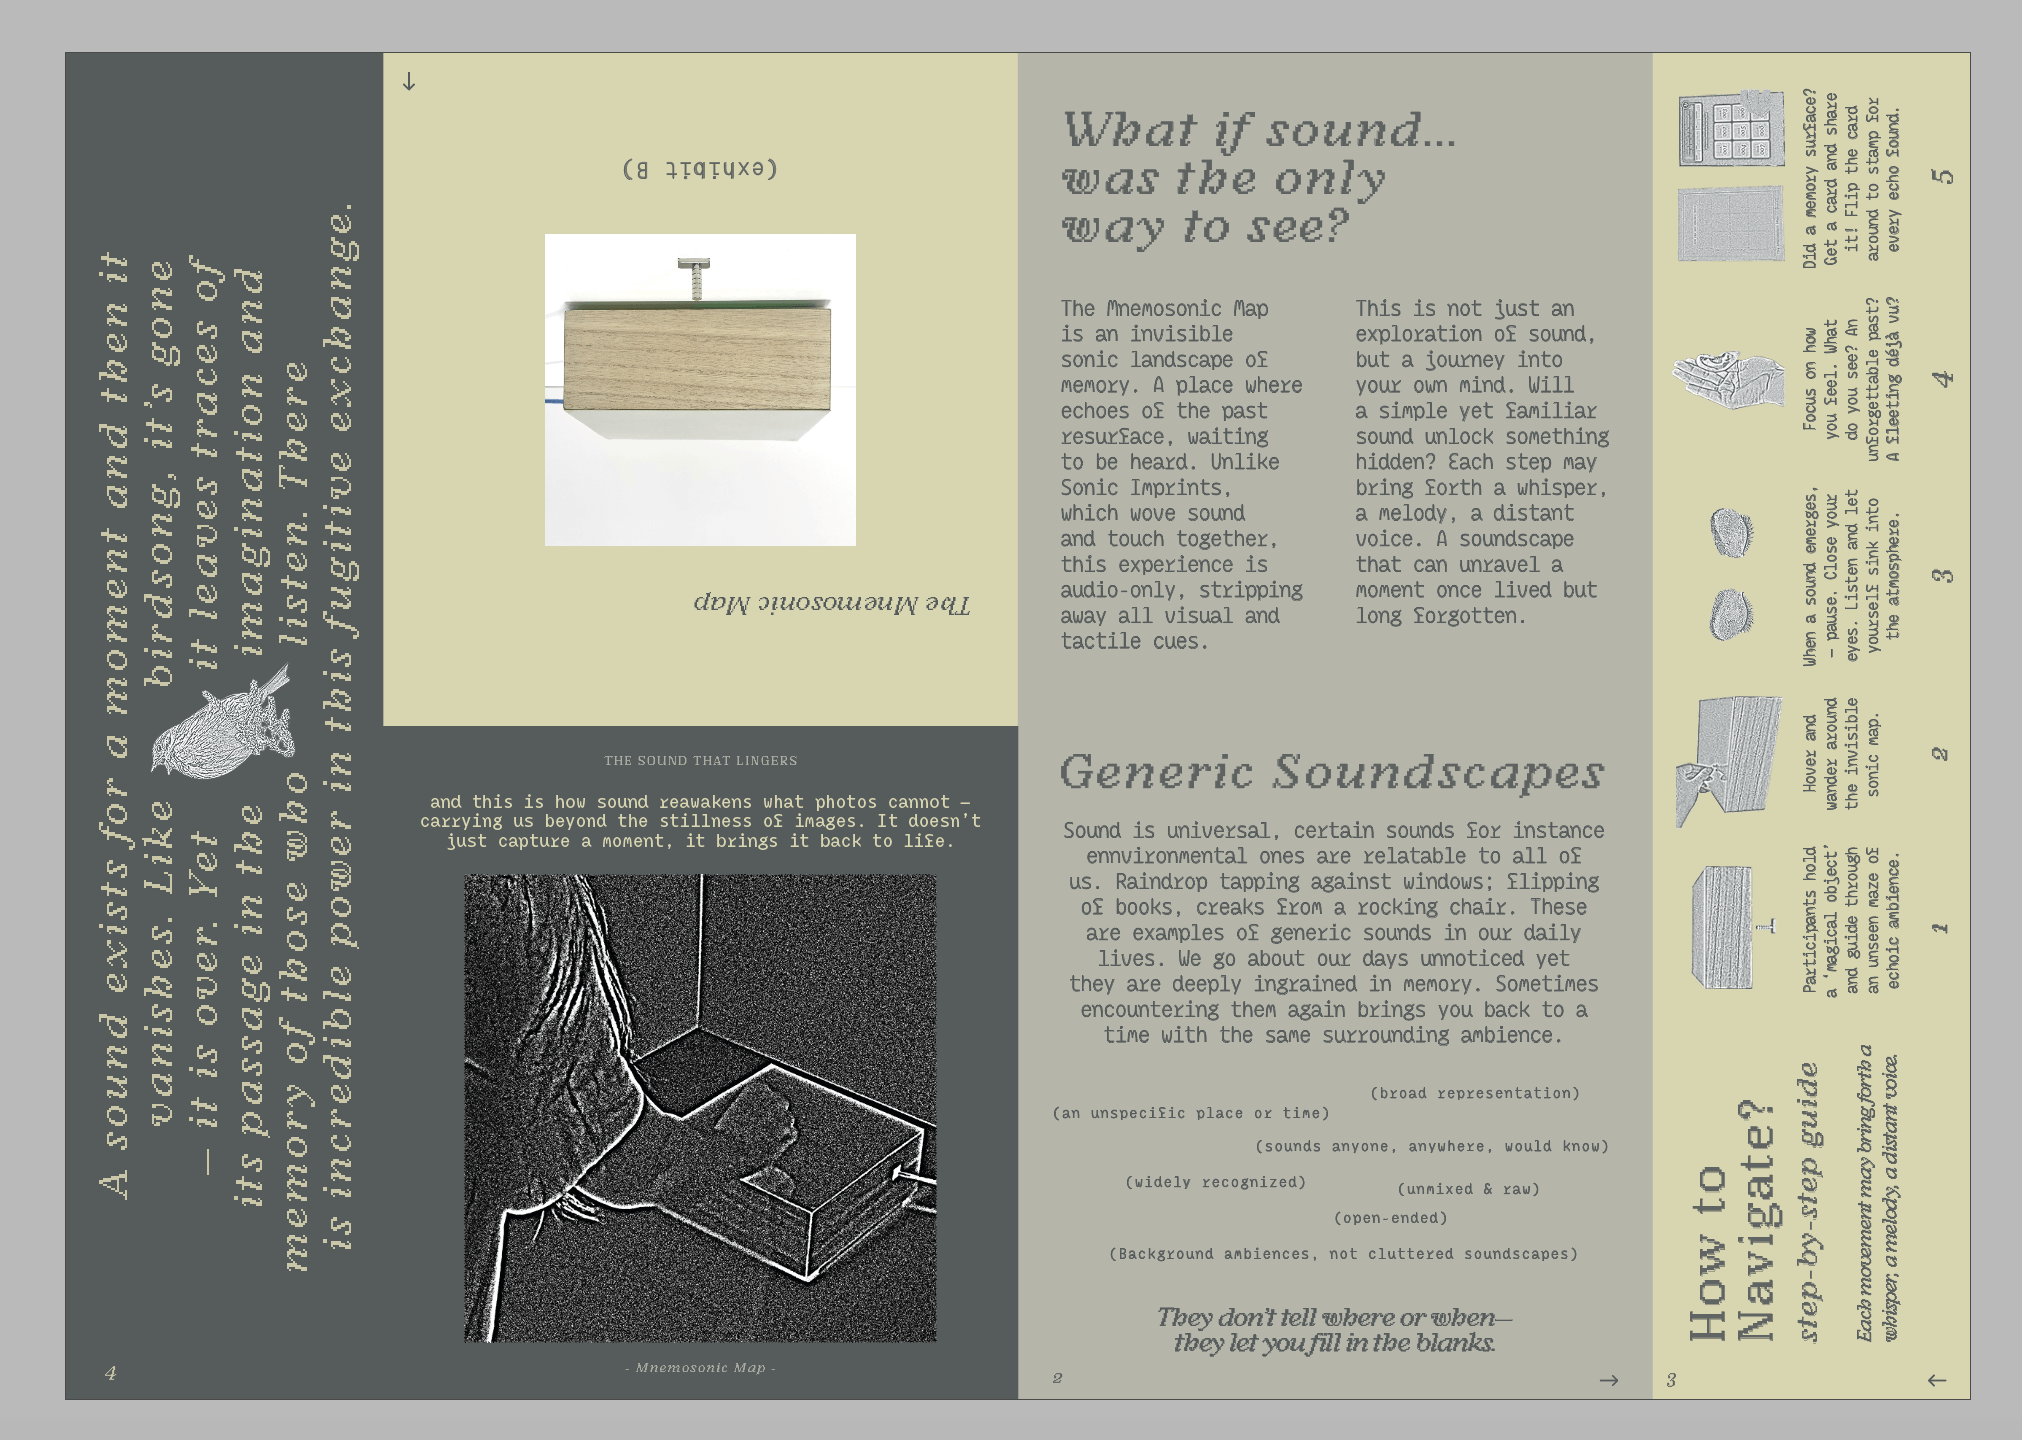
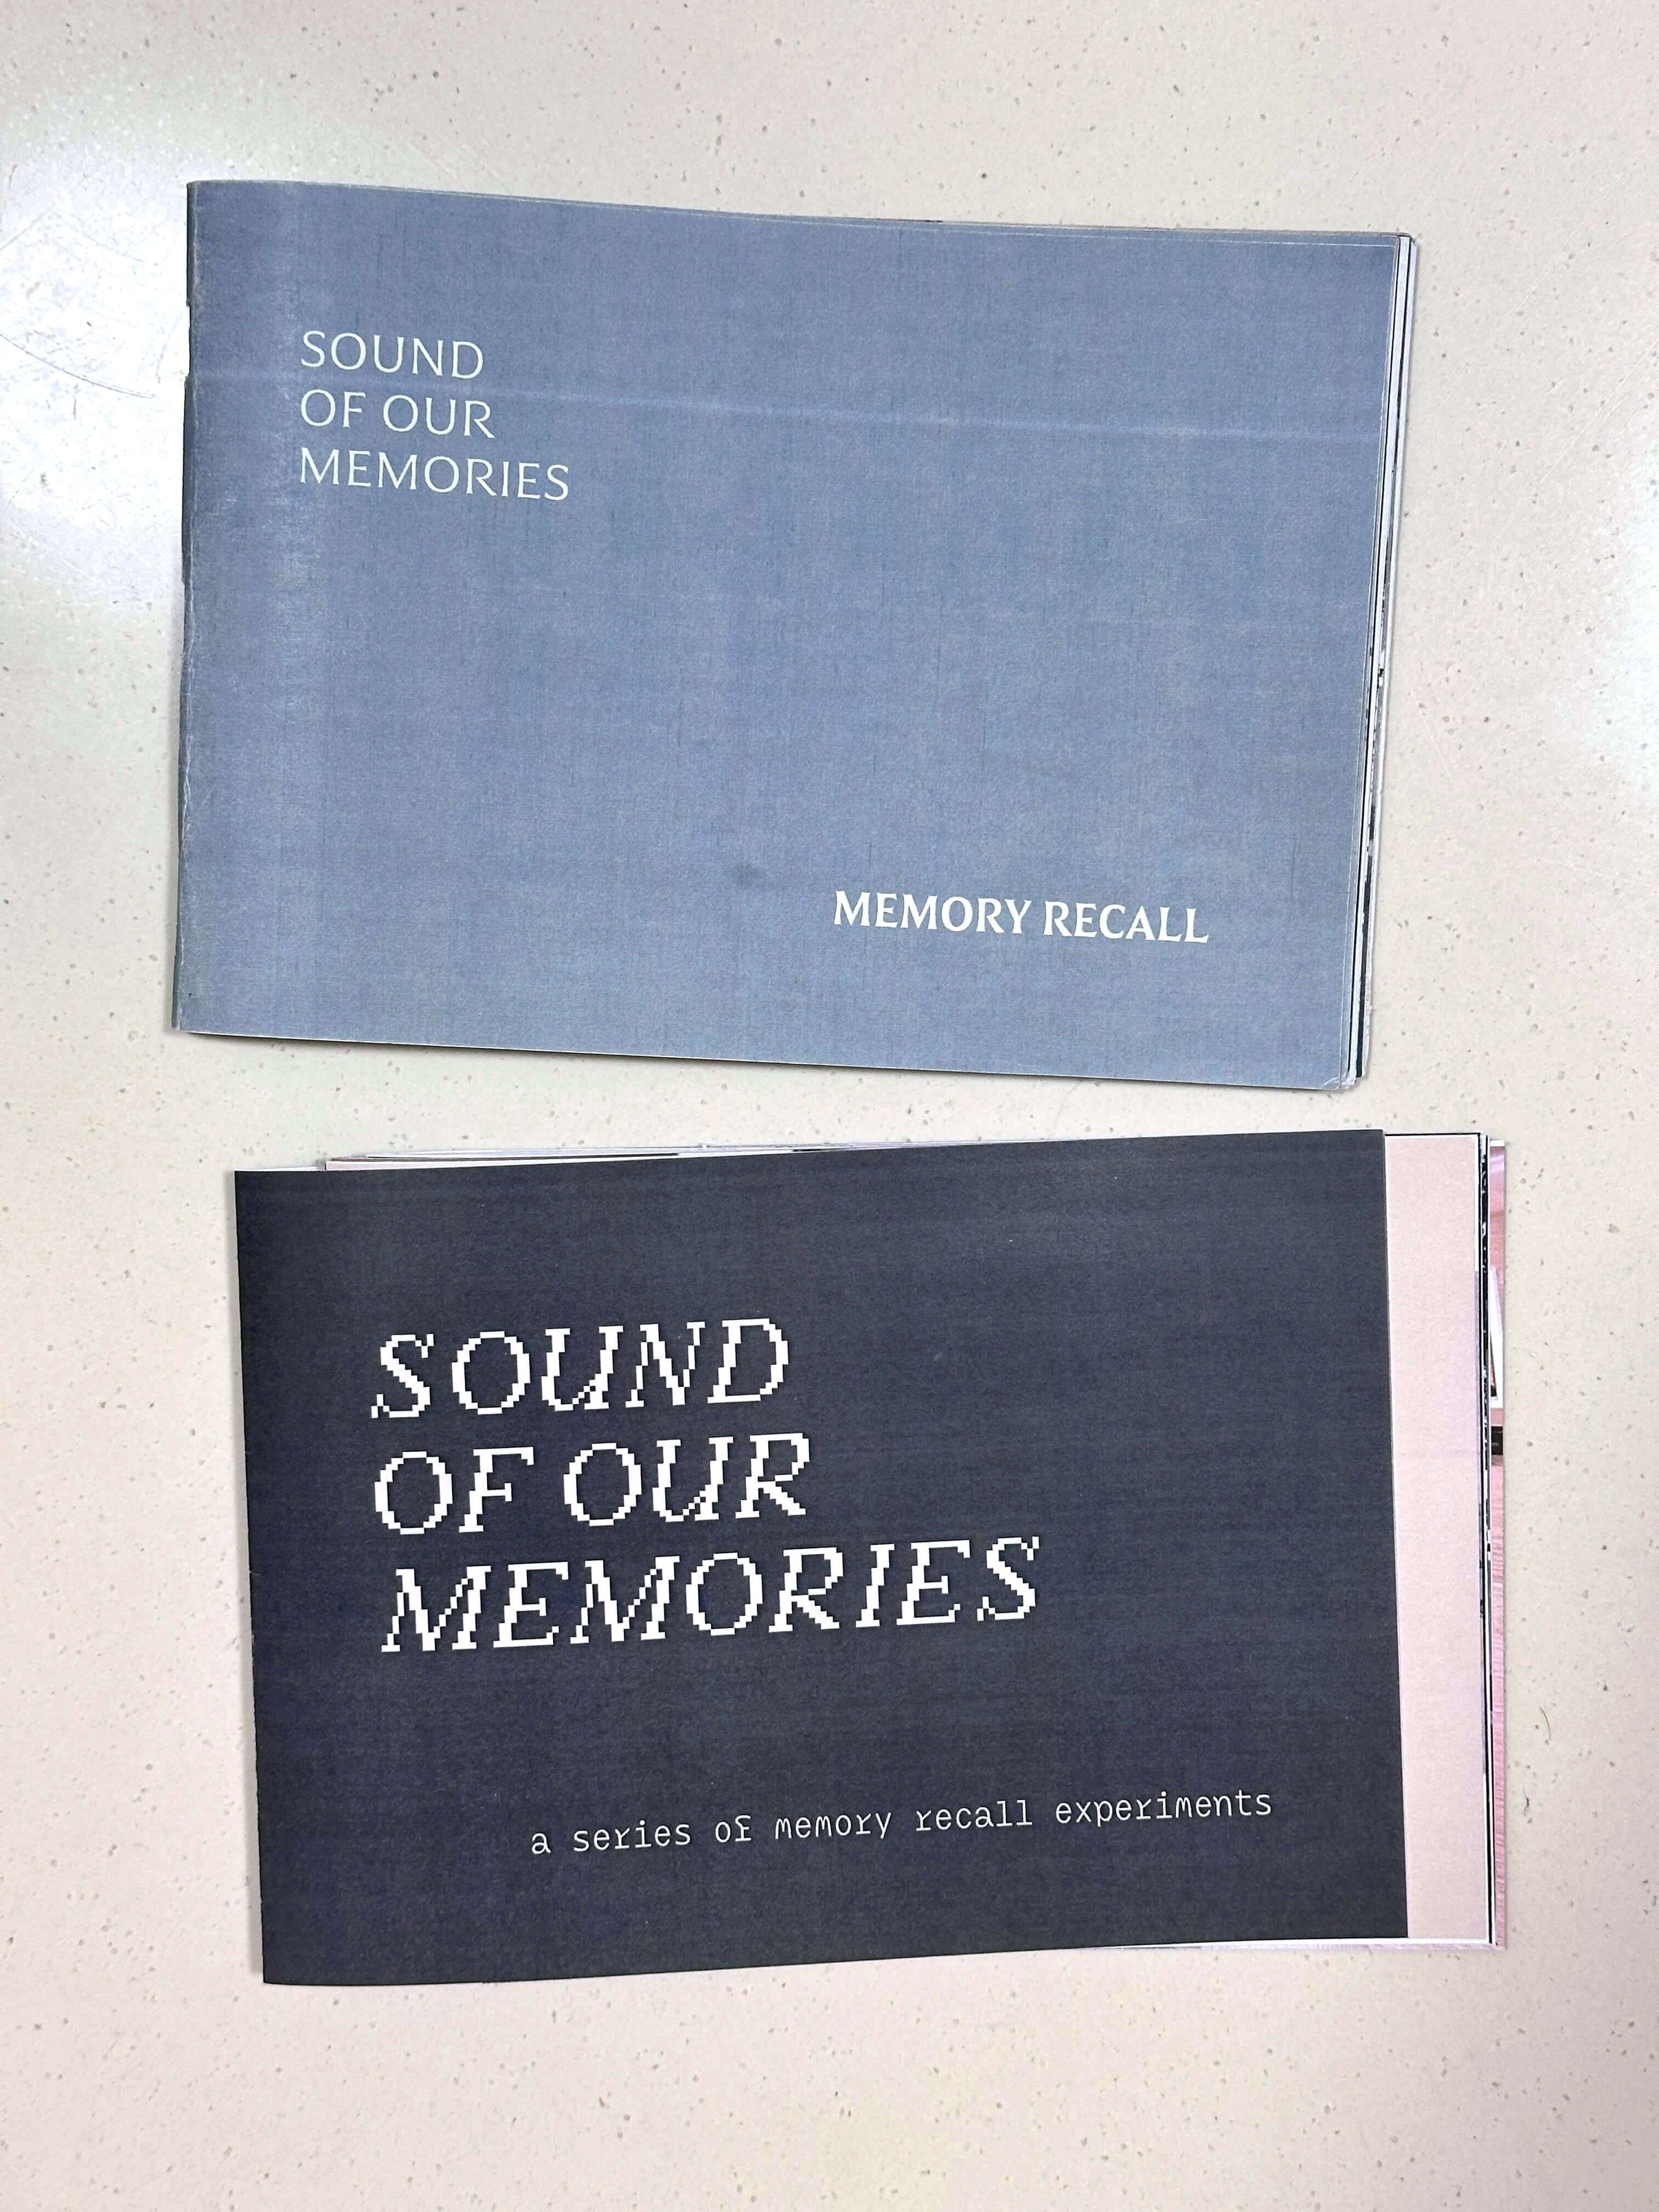
MNEMOSONIC MAP — Zine
The purpose of this zine is to introduce the concept of the Mnemosonic Map and how it works. It is intended as a way for participants to understand the difference between Prototype A — Specific sounds and Prototype B — Generic sounds. The zine is designed to be interactive and engaging, with a focus on the experience of how to navigate through the Mnemosonic Map with step-by-step guides and descriptions of each generic soundscapes.
too light 
some are unclear but still better 
best colour contrast; clearest
documenting and photographing mnemosonic box before overlaying the photocopy effect on top of grain effect
FRONT layout 
BACK layout 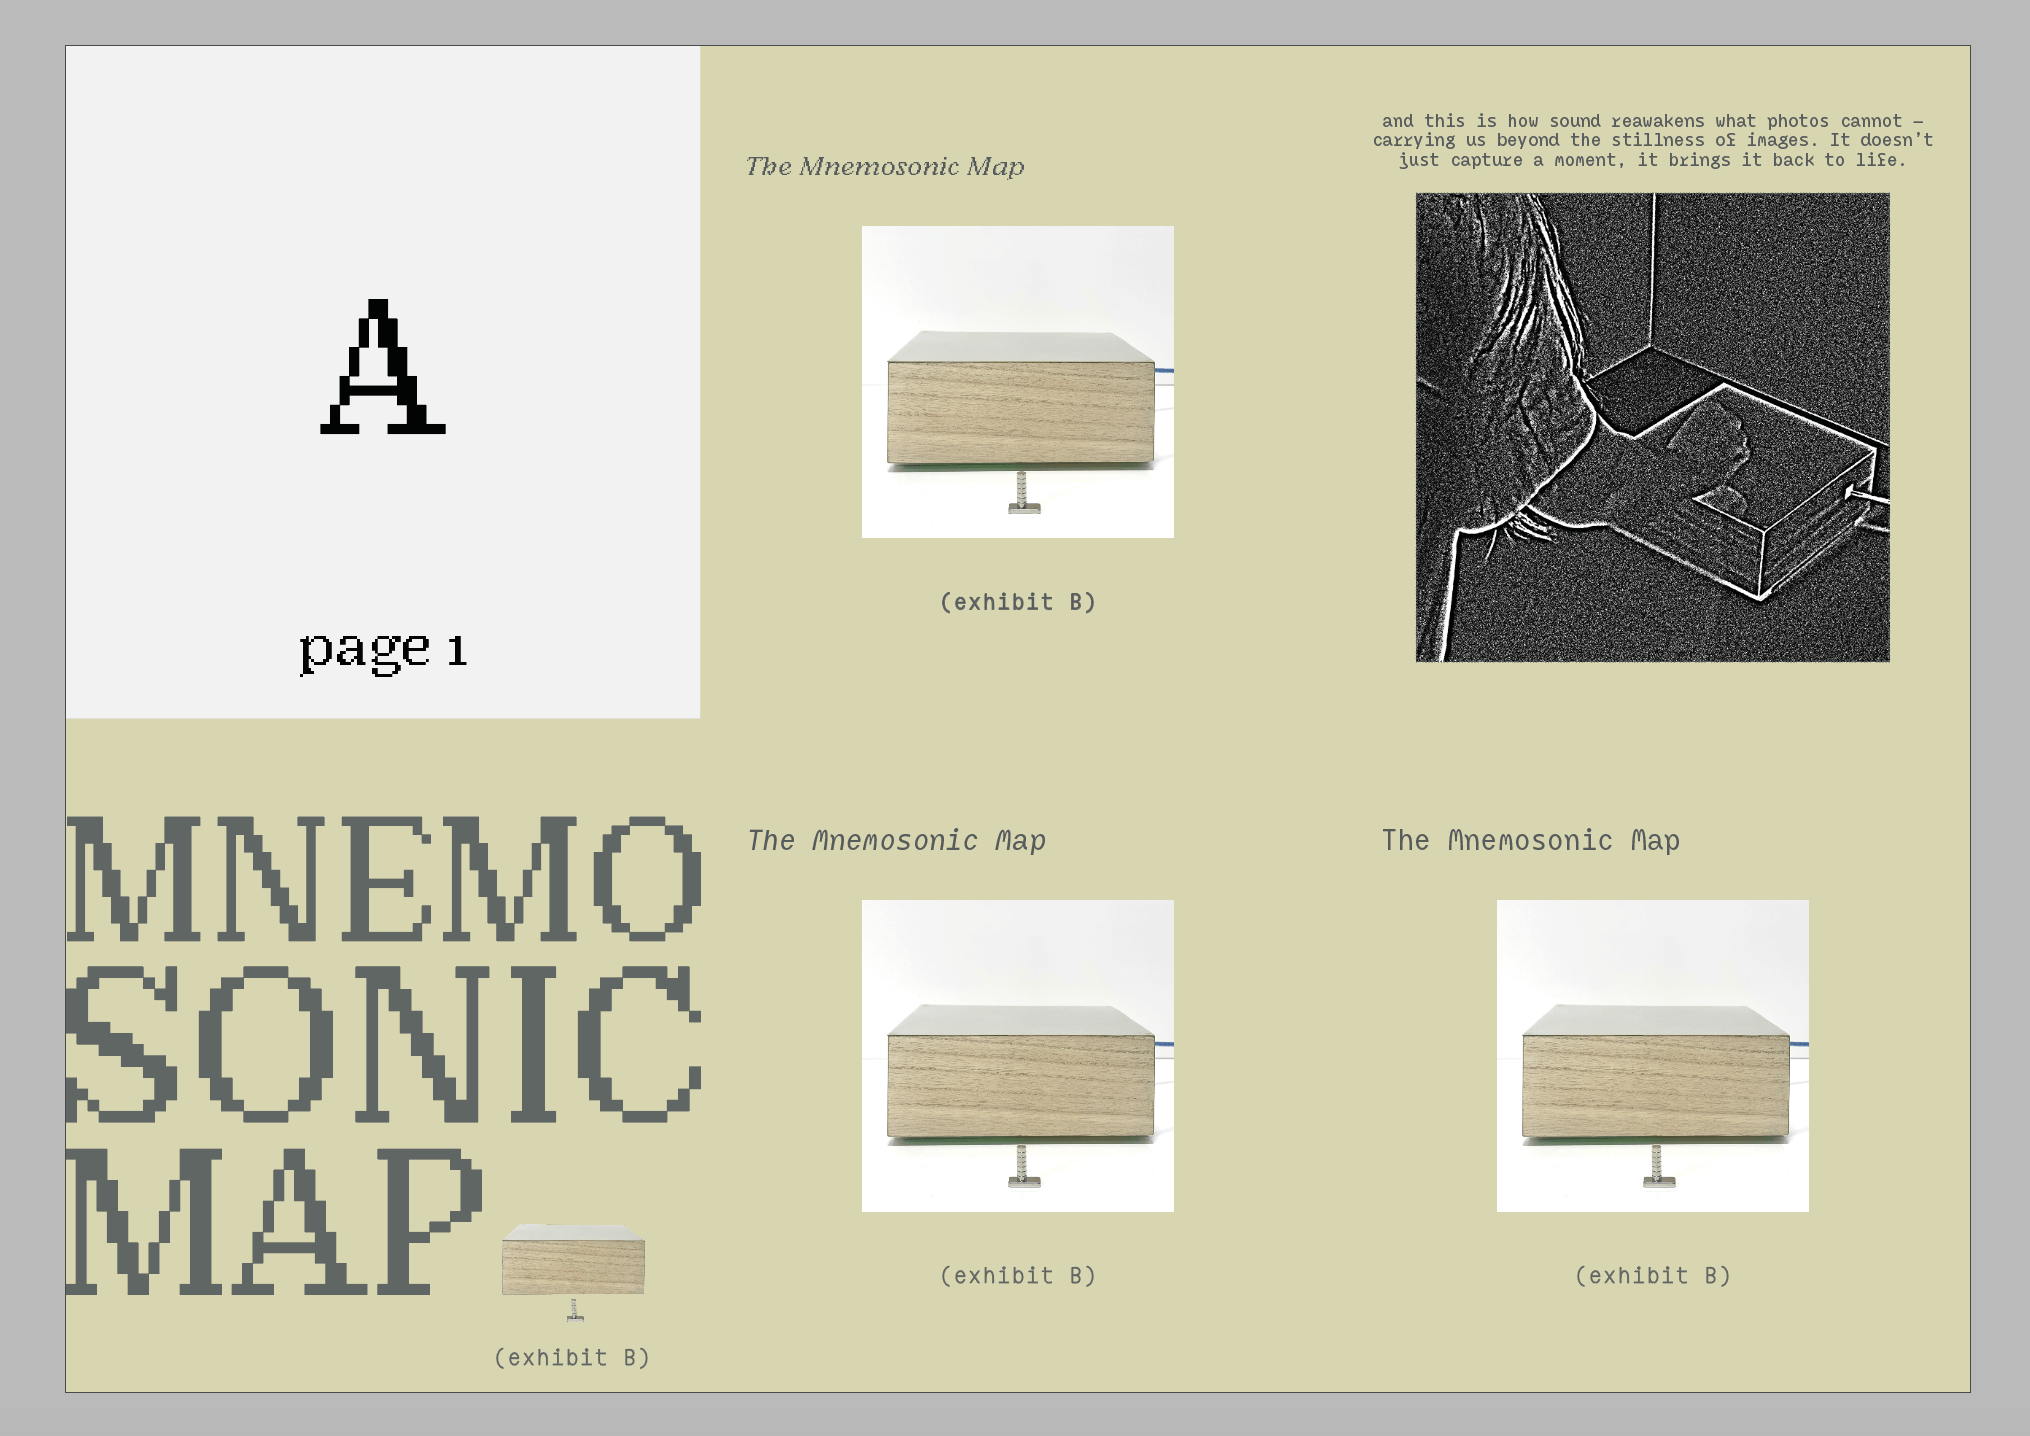
trying out different front cover layouts
FINAL Front Cover —
introduction, concept, steps on how to navigate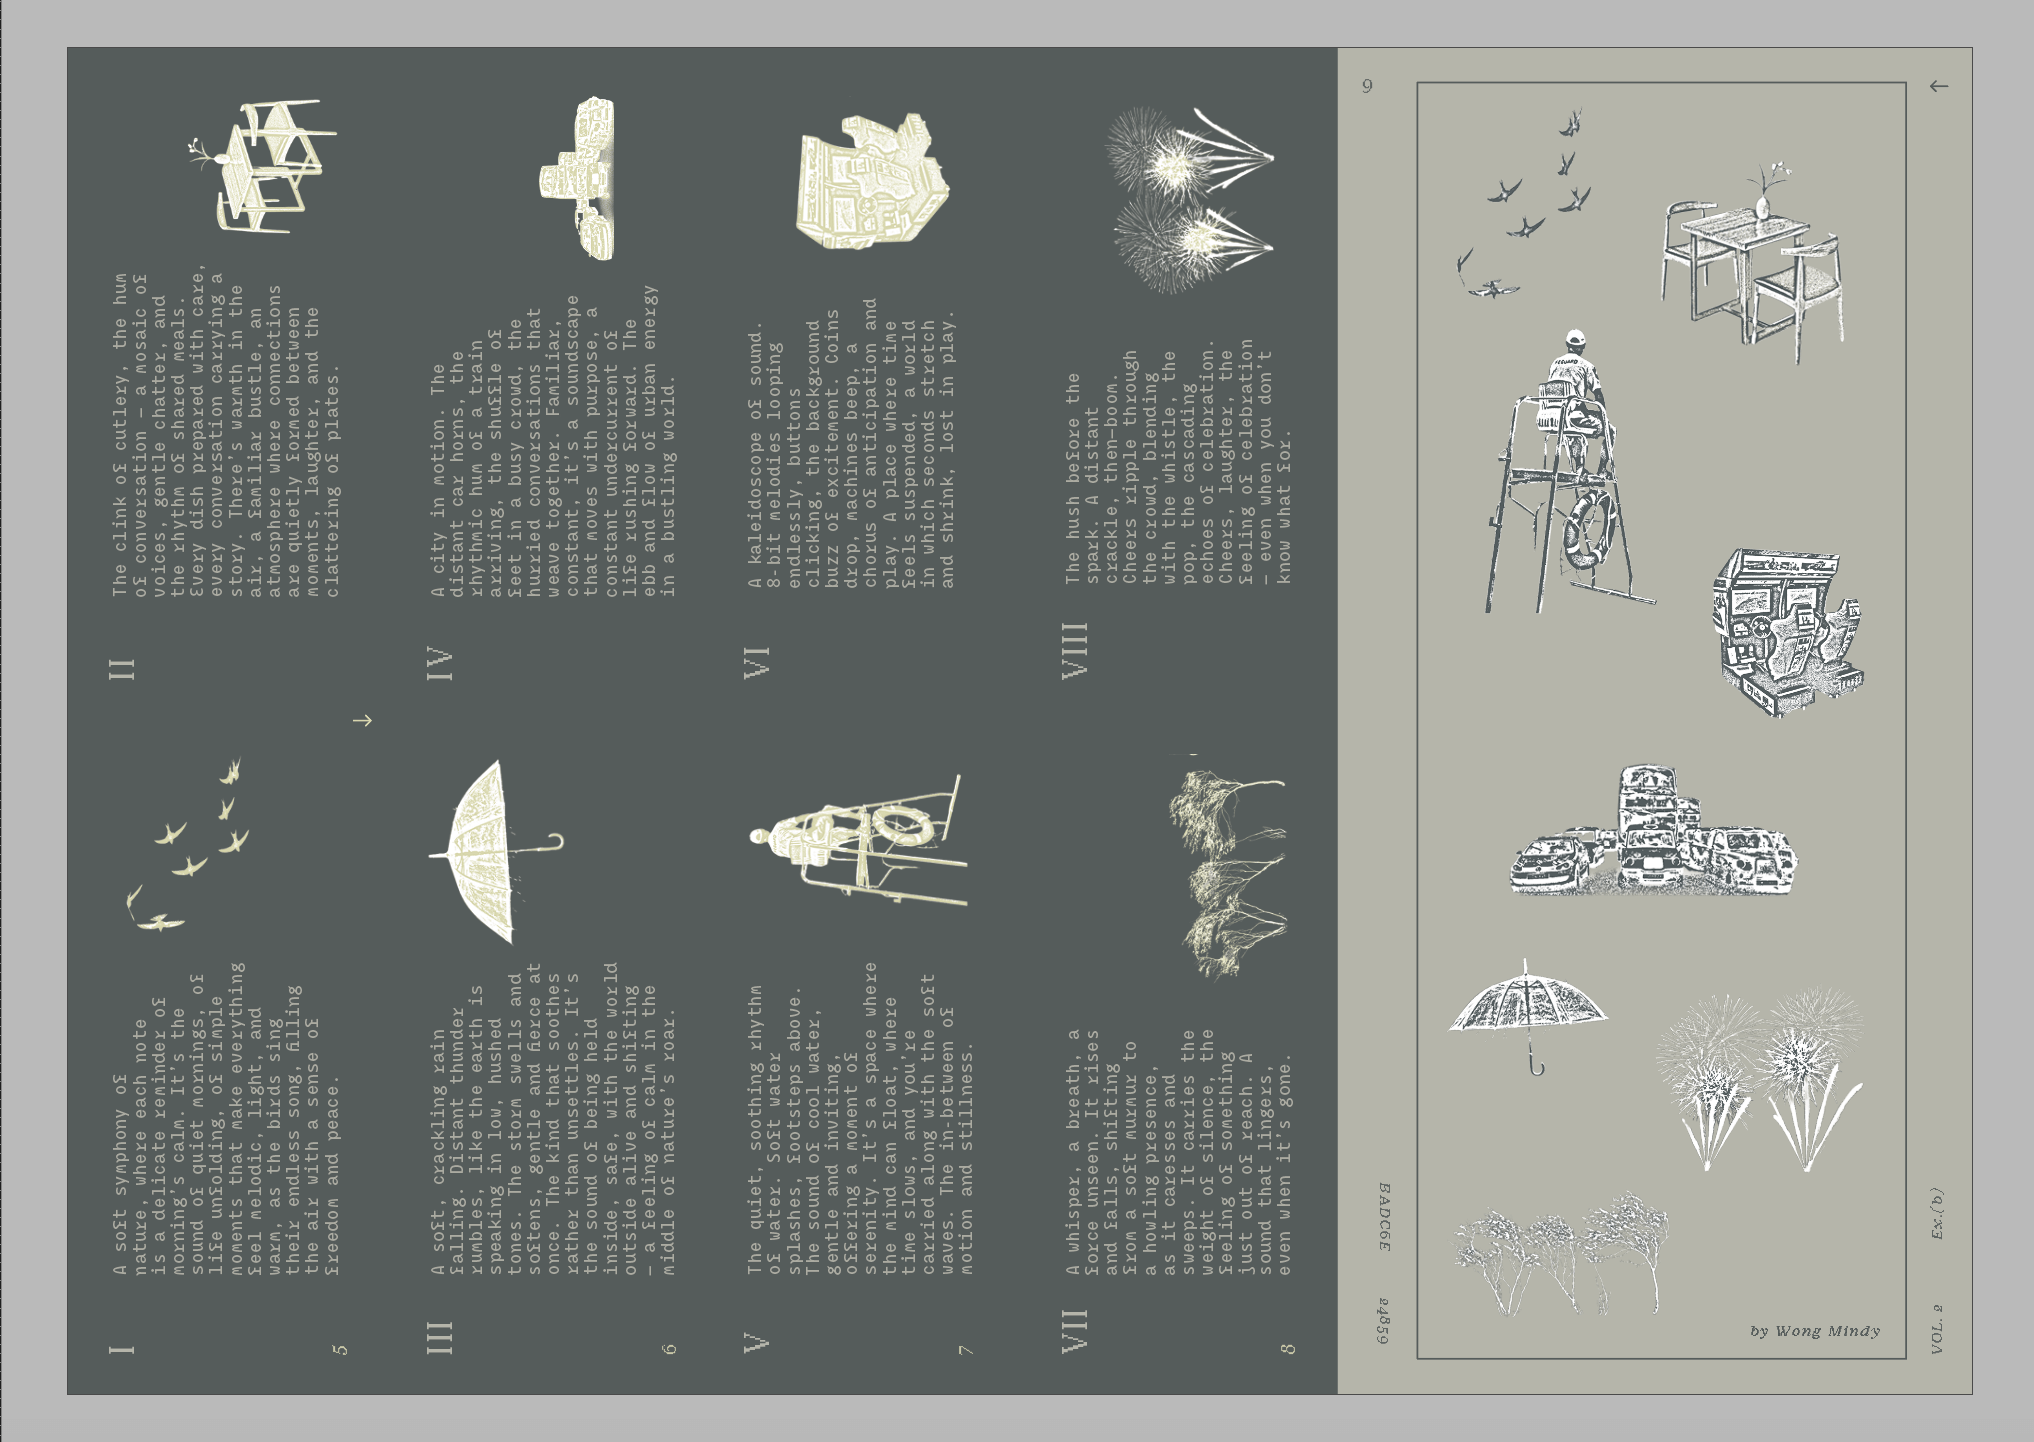
FINAL Back Cover — descriptions of soundscape and a map to show the locations of the hidden sounds
MNEMOSONIC MAP — STAMPCARD
The purpose of this stampcard is to encourage participants to engage with the exhibit and to create a sense of ownership and connection to the experience. The front of the stampcard features a blank canvas for participants to draw their memory of the soundscape that triggers their memory.
The back of the stampcard features a bingo segment where participants will find the soundscape, stamp it, listen to it and write down their memory. The stampcard is designed to increase the interactivity and engagement of the exhibit. I decided to include the same visuals that were in the Mnemosonic Map zine to create a sense of continuity and coherence between the prototype and the stampcard.
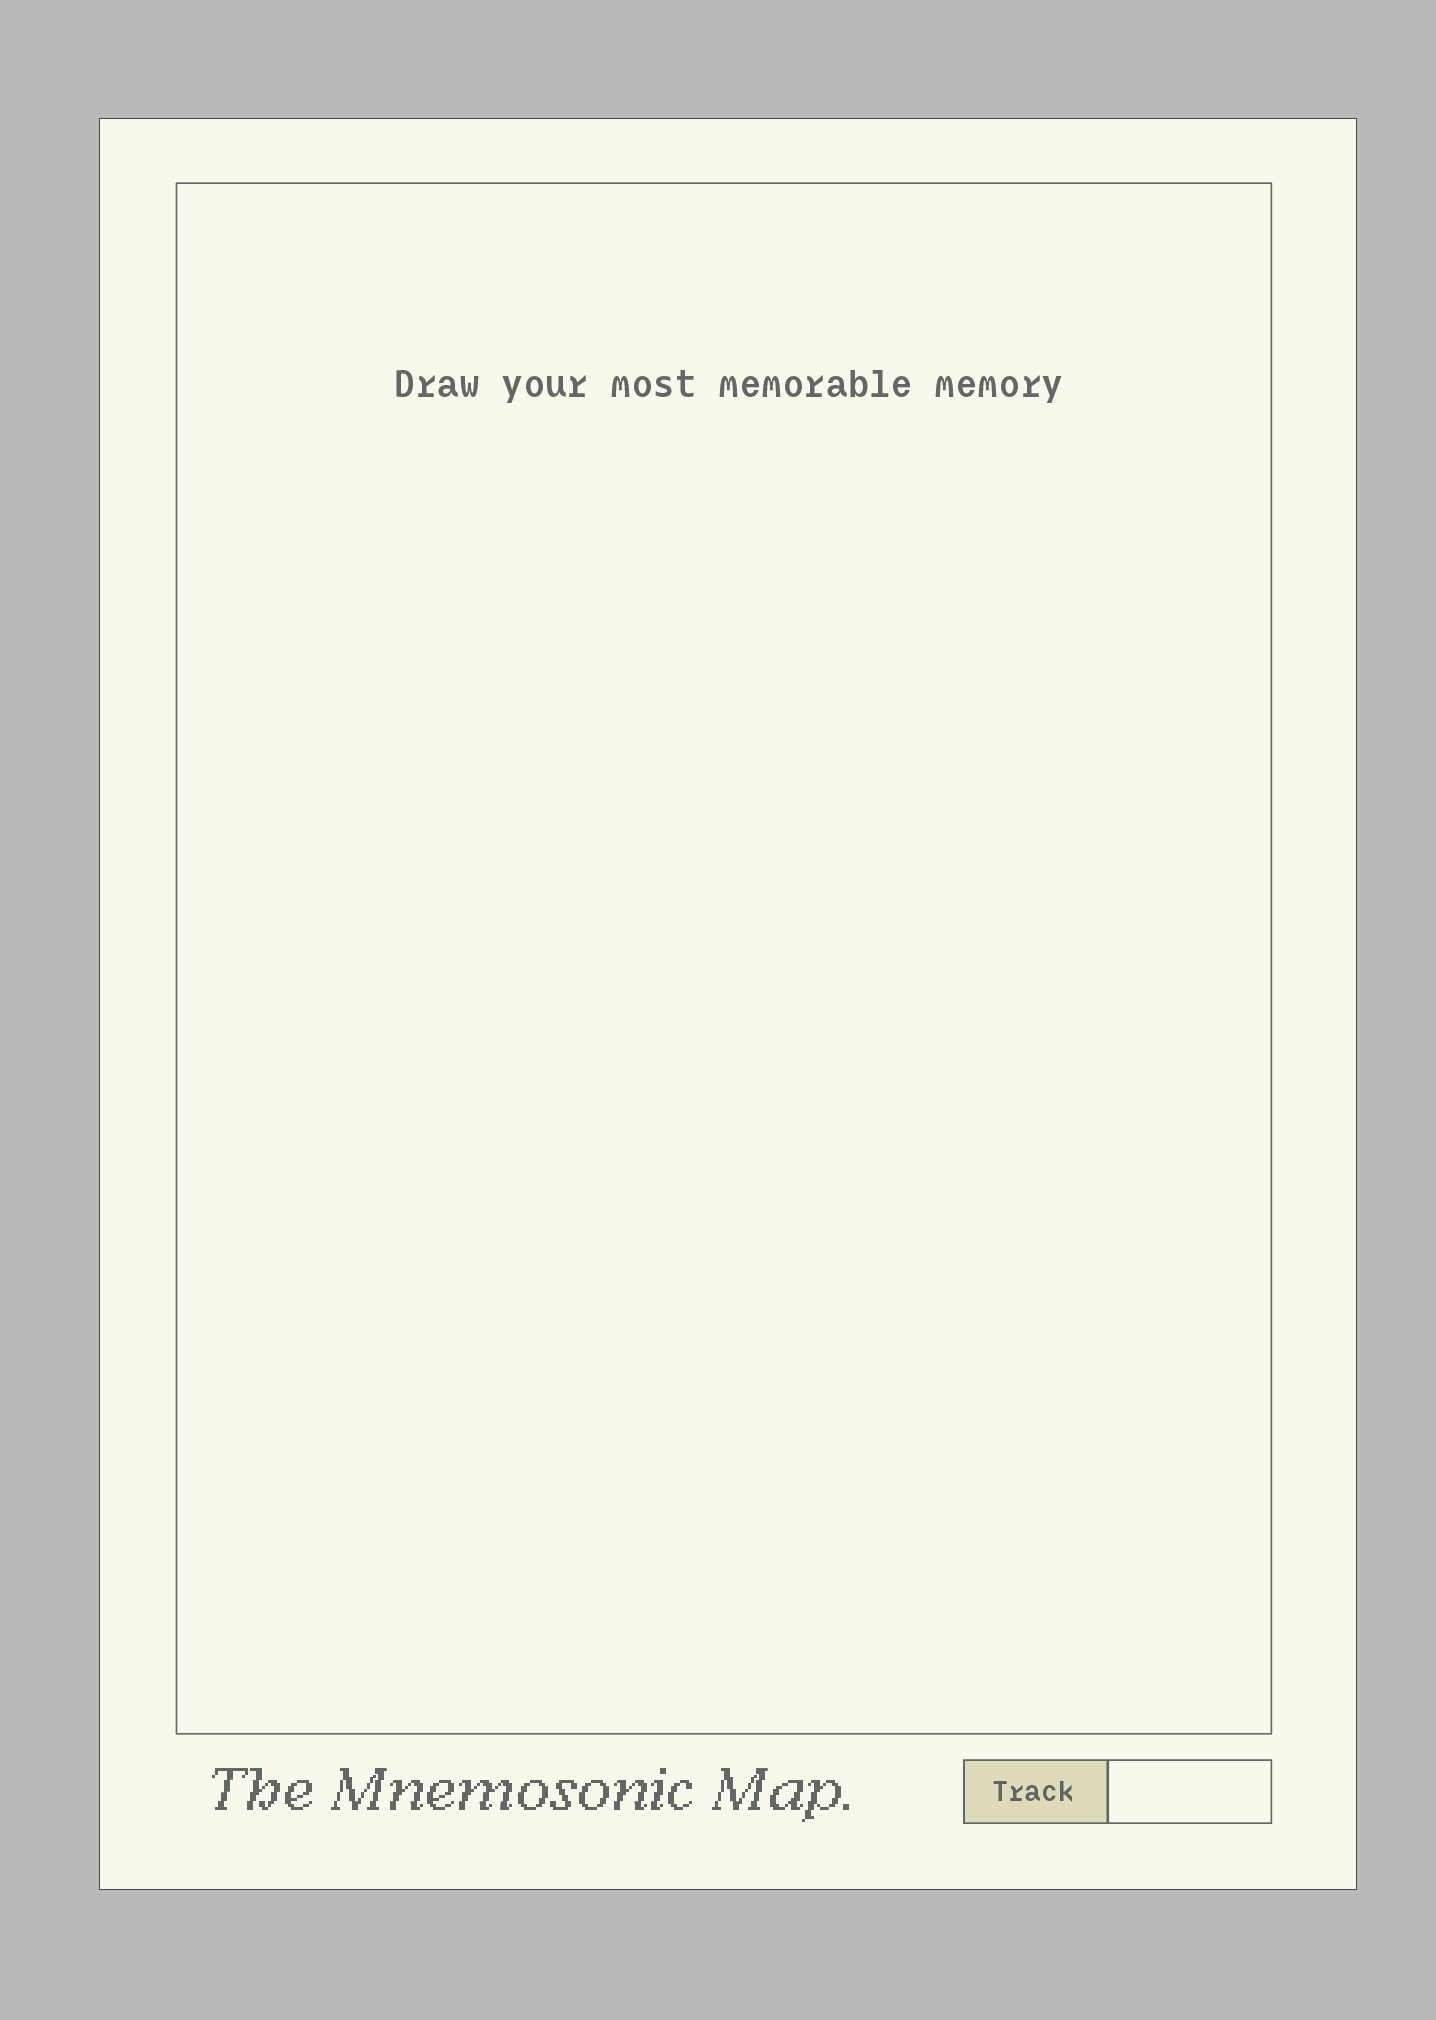
Front Cover — draw memory; which track 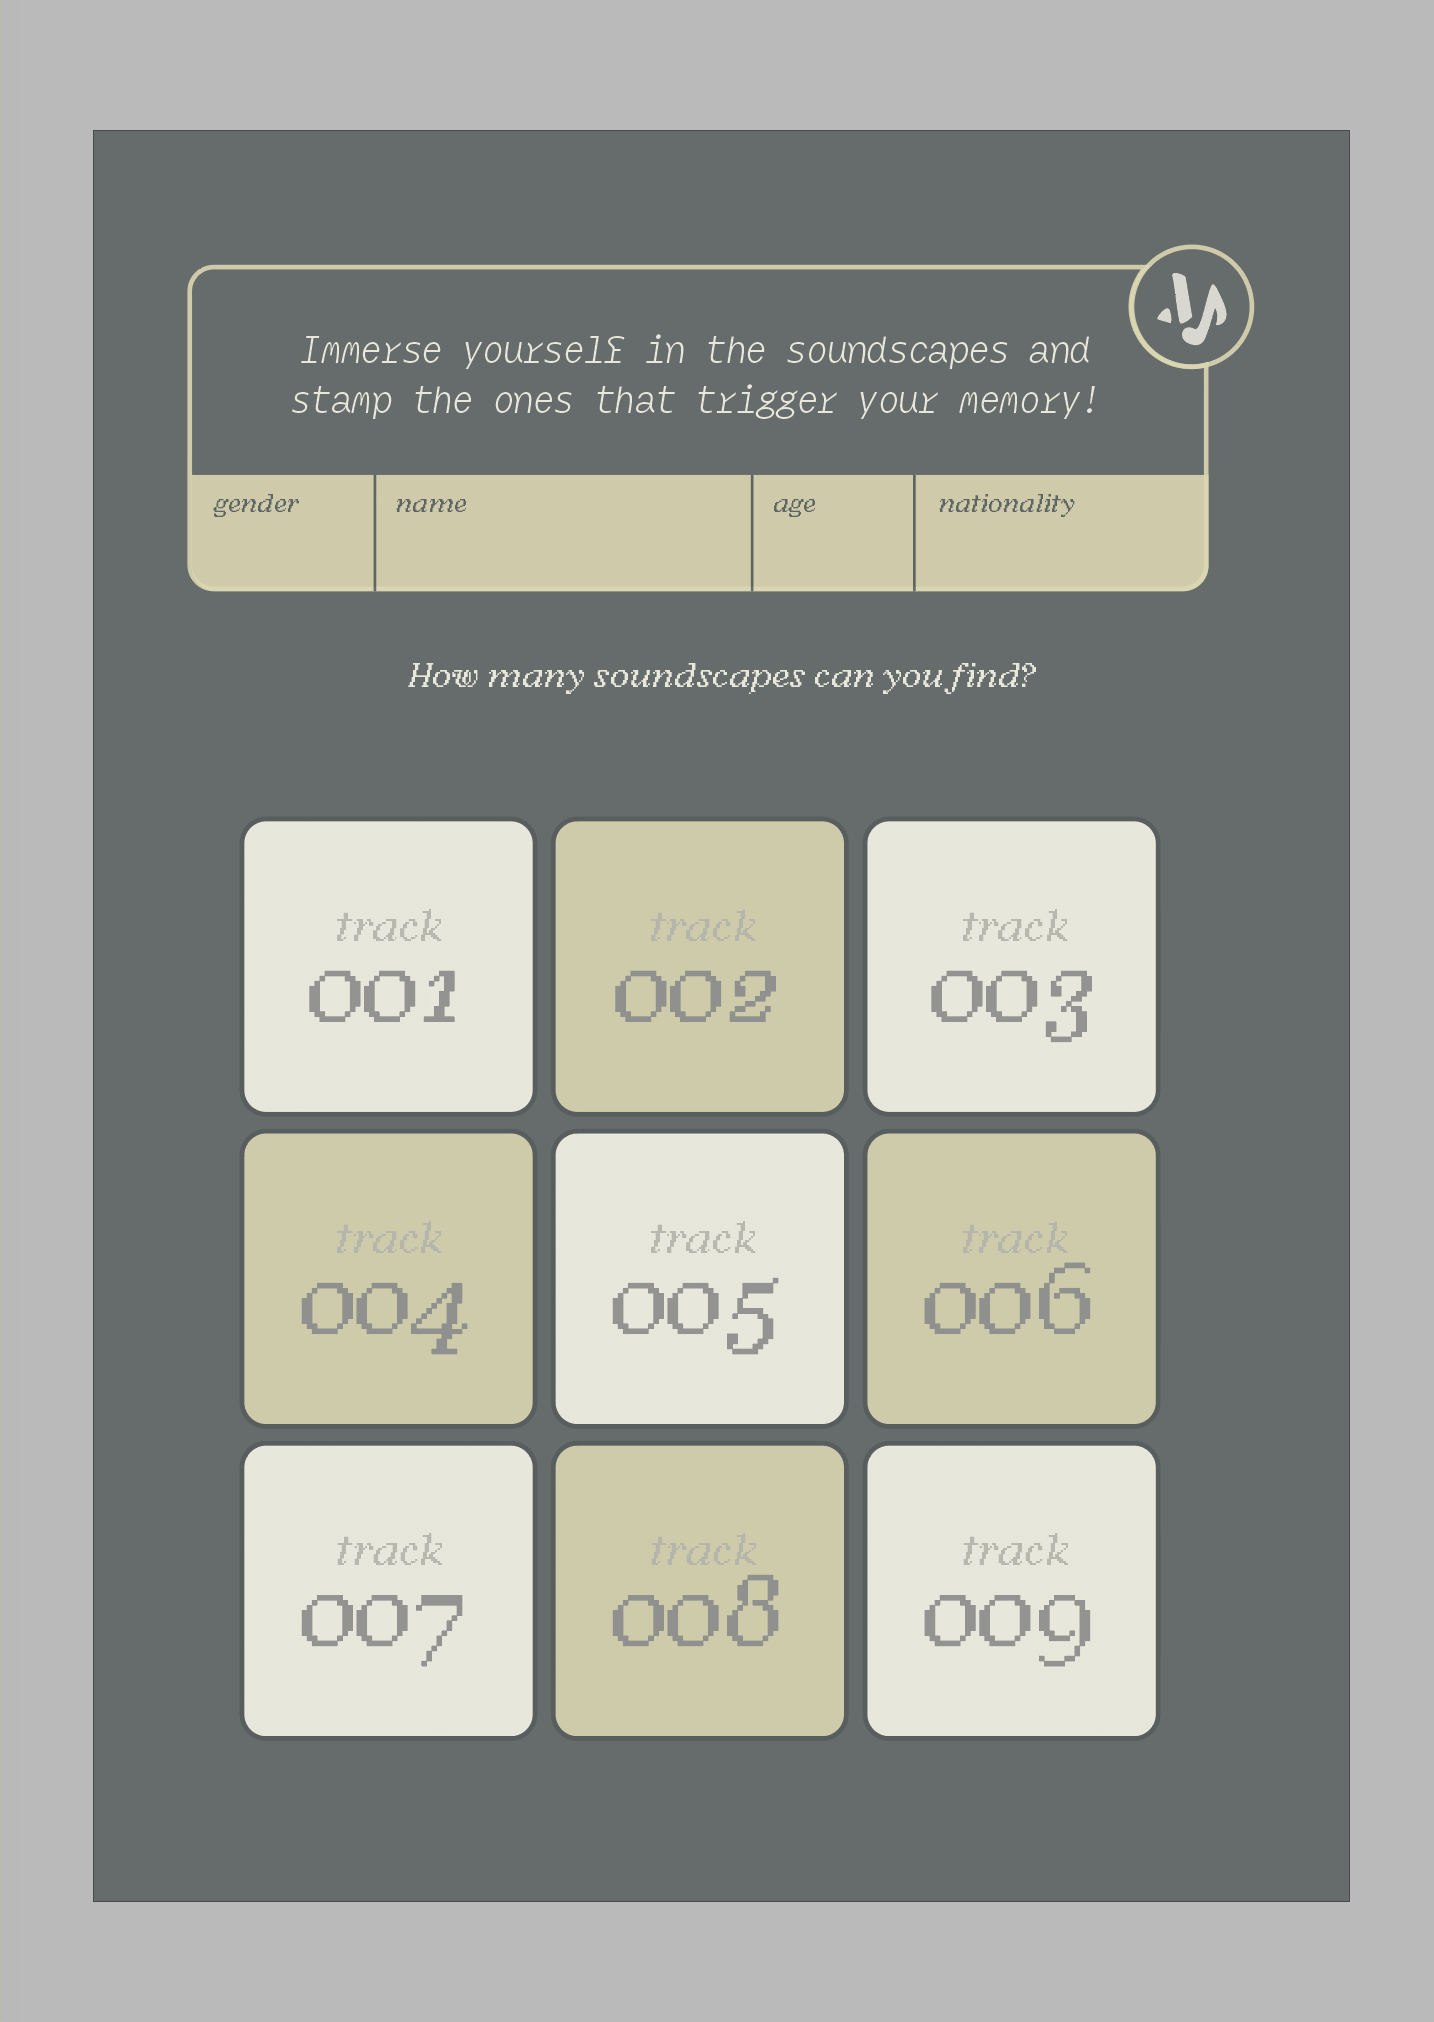
Back Cover — track numbers (draft) 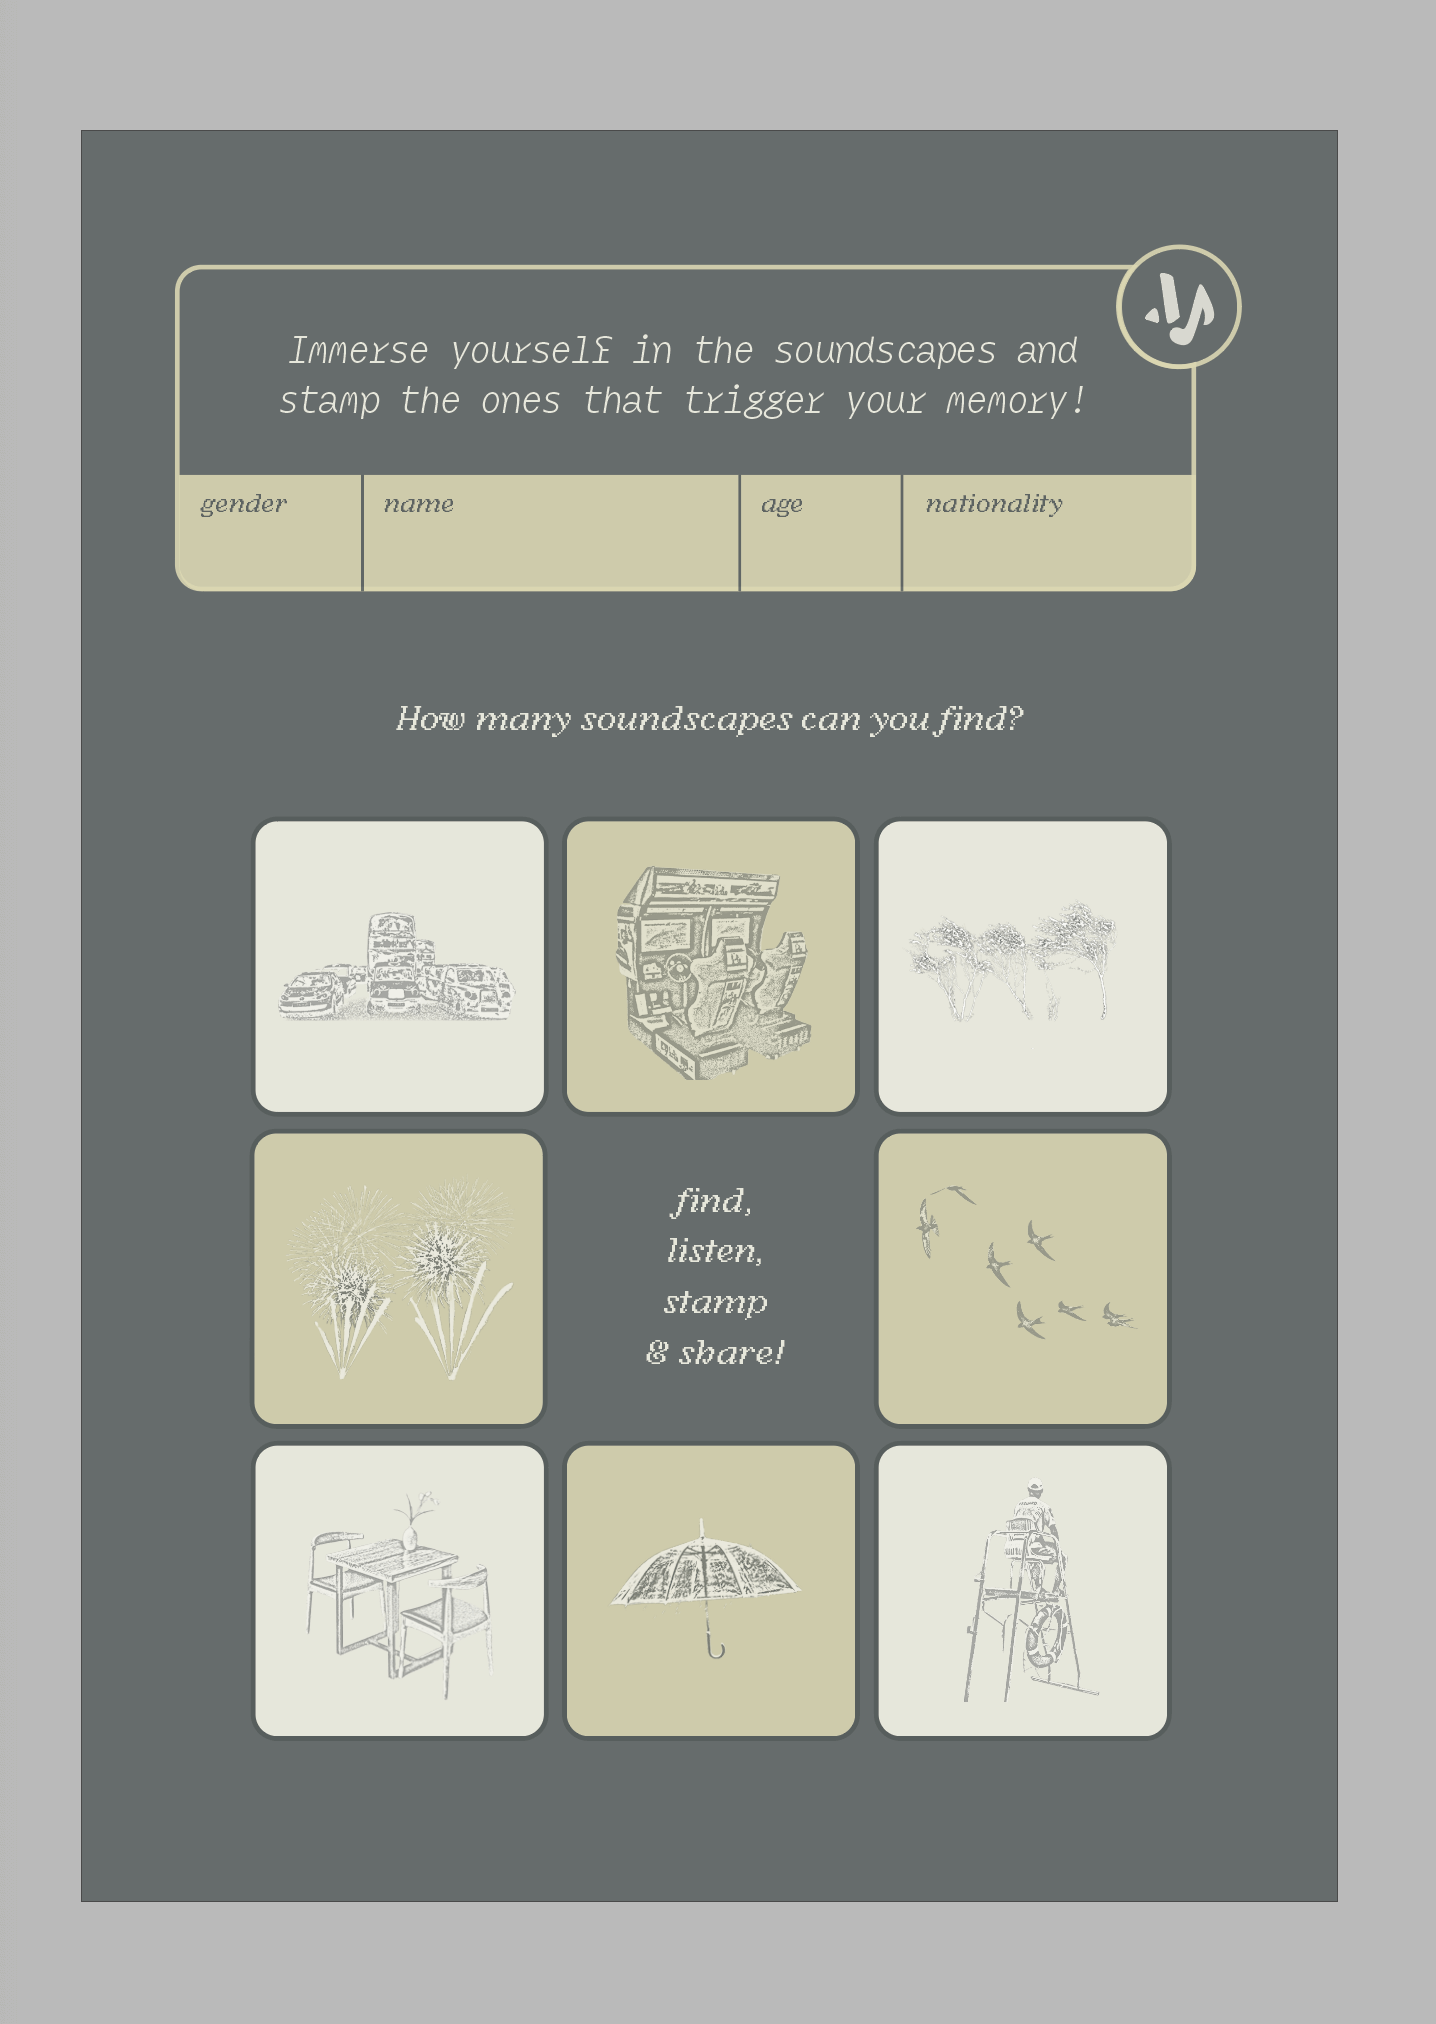
Back Cover — stamp visuals (selected)
EXPLAINER VIDEO - Filming Footages
This explainer video is still currently works in progress and I will continue to edit it after the open studios. Curently, its main purpose is to show the audience a demonstration on how to navigate through the exhibits and how the soundscapes are triggered. I have also added in voiceovers to explain the concept of the Mnemosonic Box and Map and how they work.
Prototype A - Mnemosonic Fluxus Box 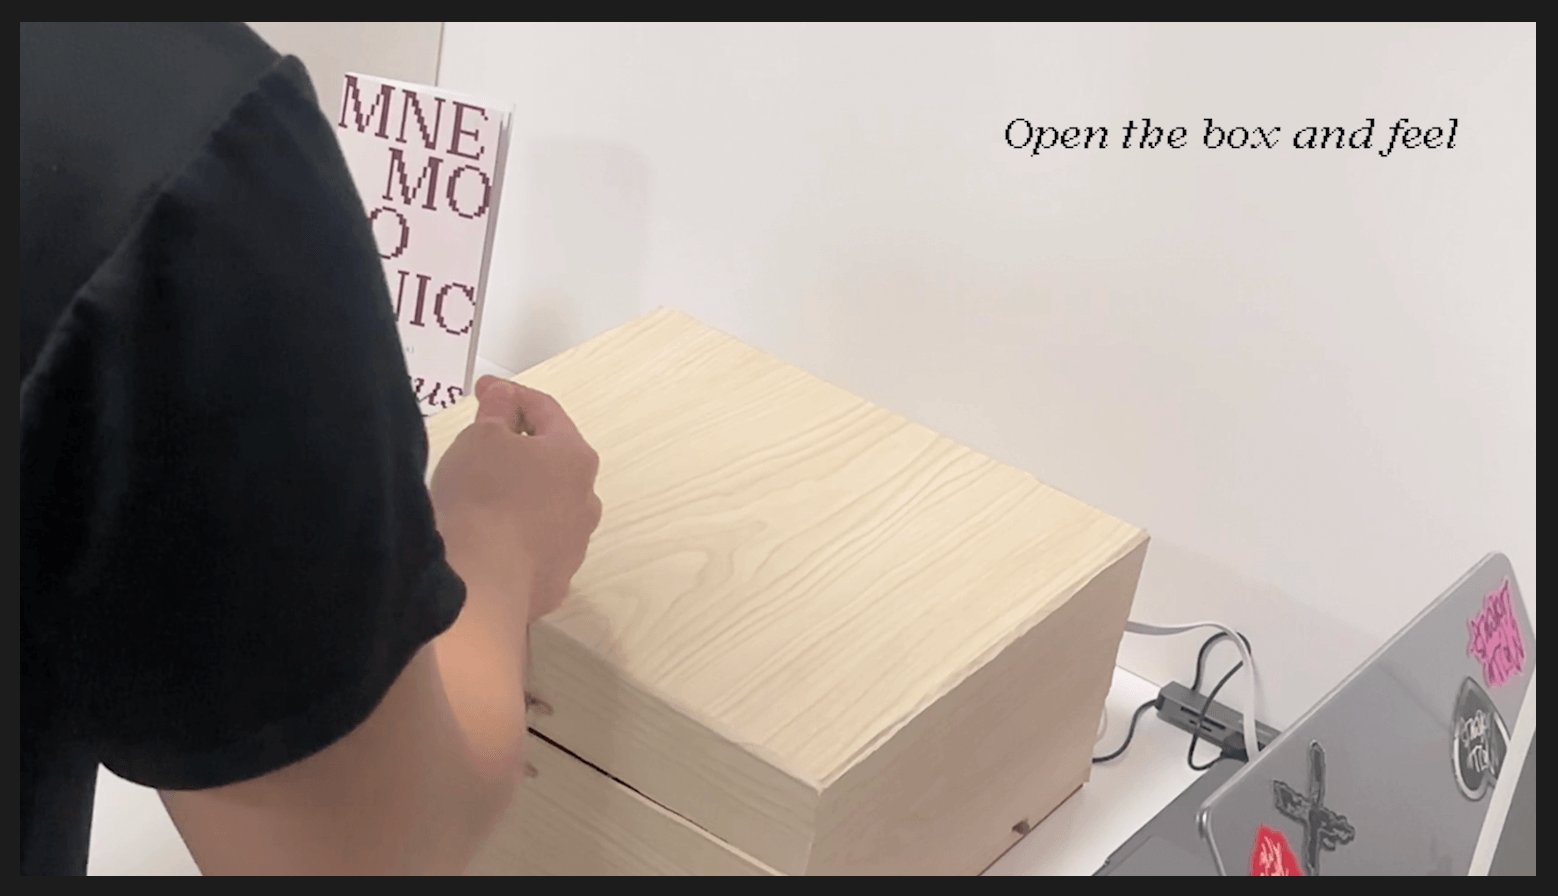
Step 1: Open box 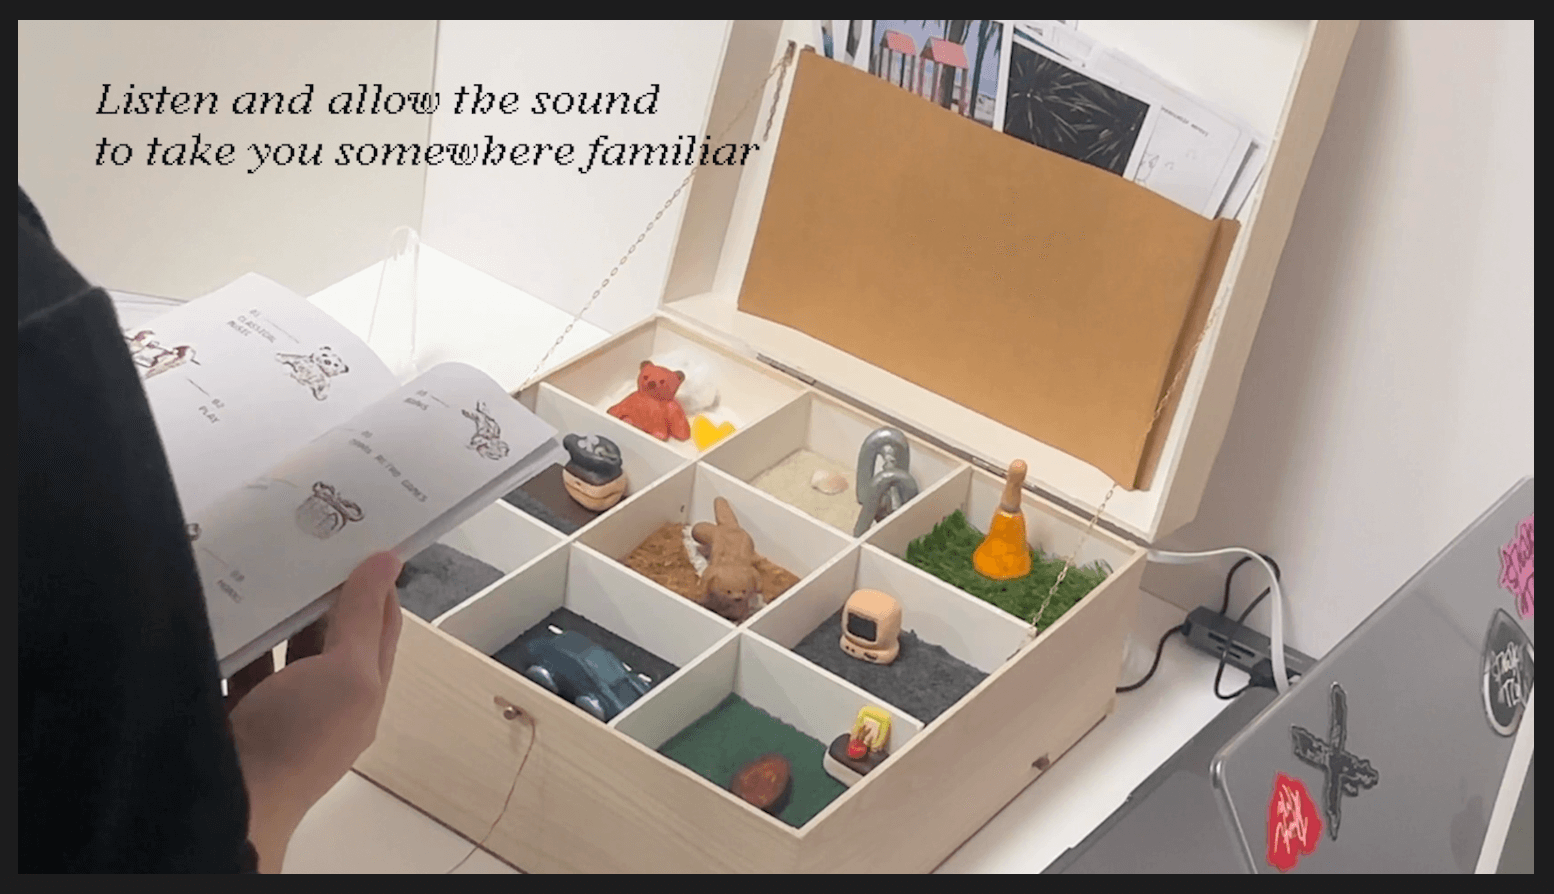
Step 2: Read booklet to understand the autobiographical memories stories in relation to the soundscapes
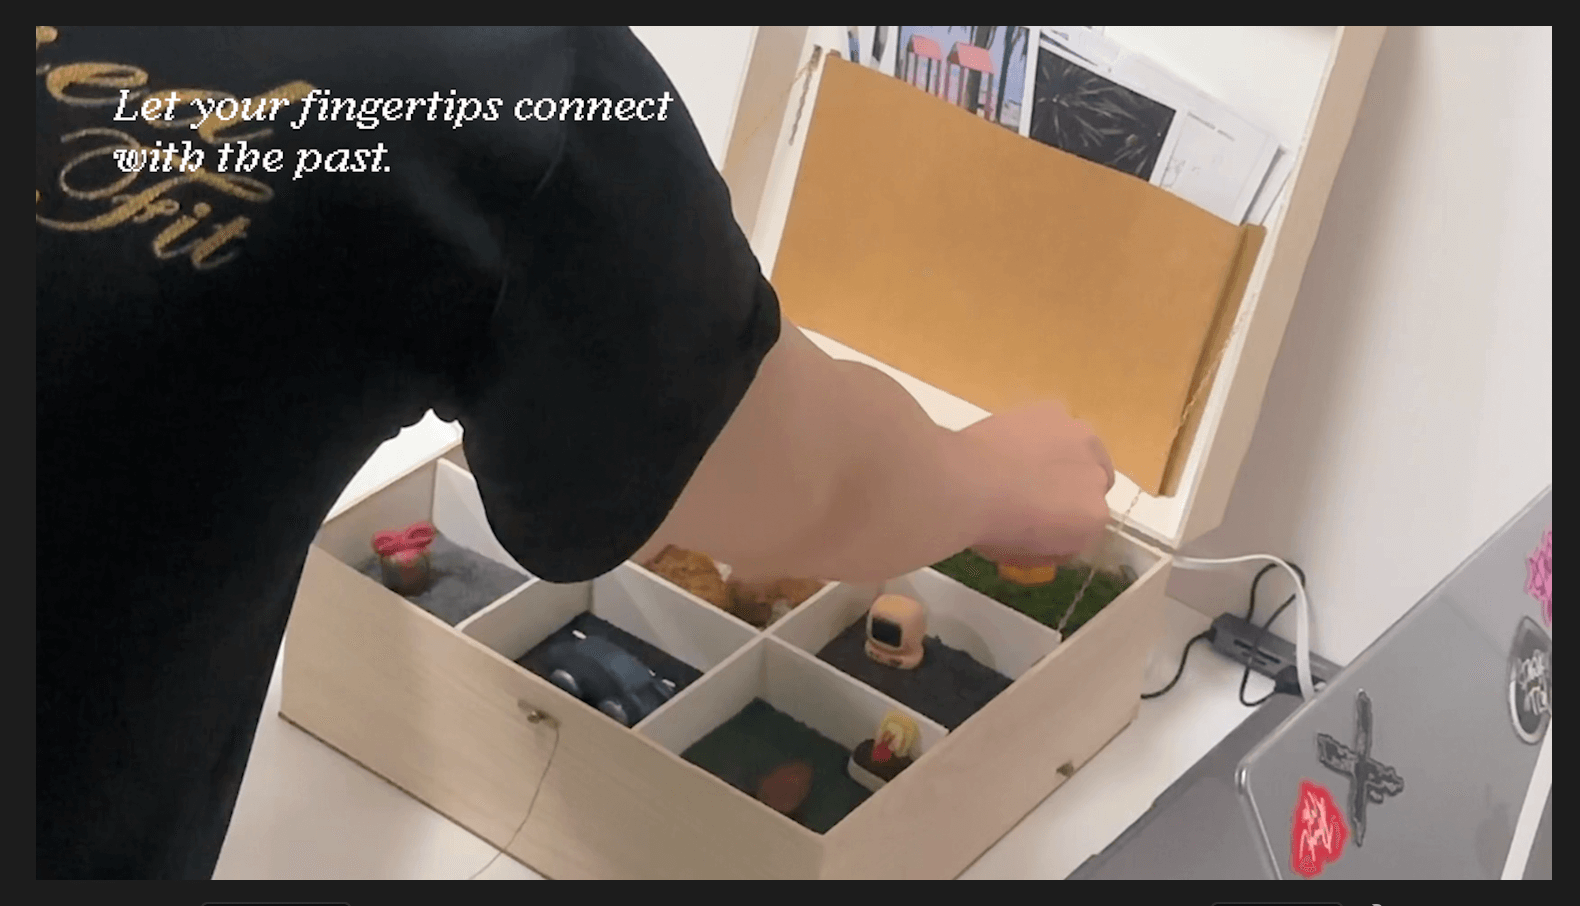
Step 3: Touch objects 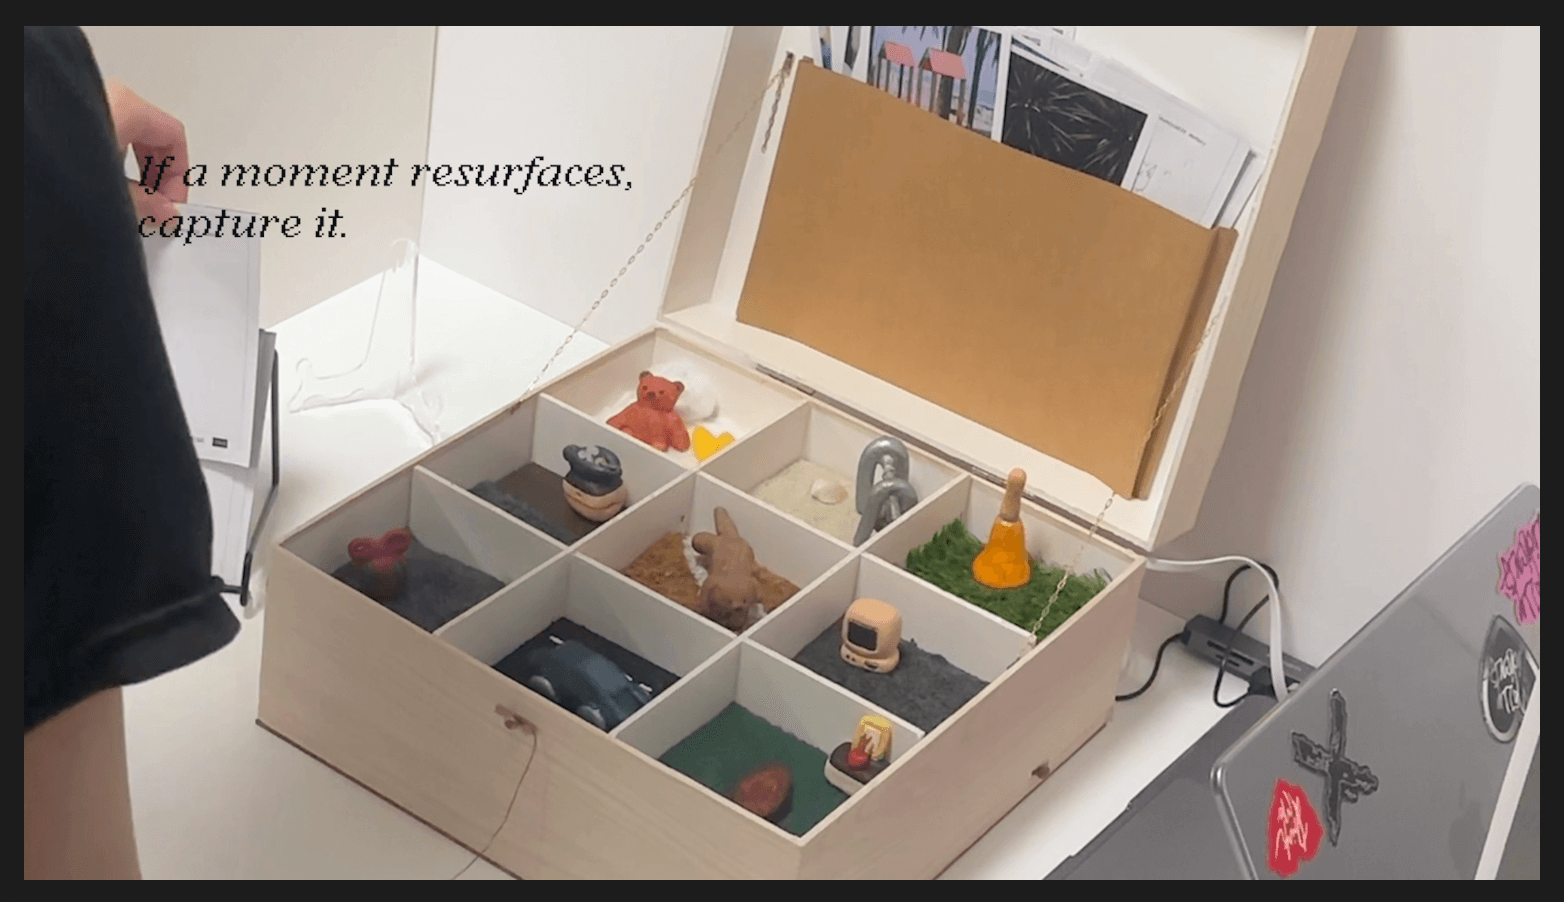
Step 4: Listen and if a memory is recalled... 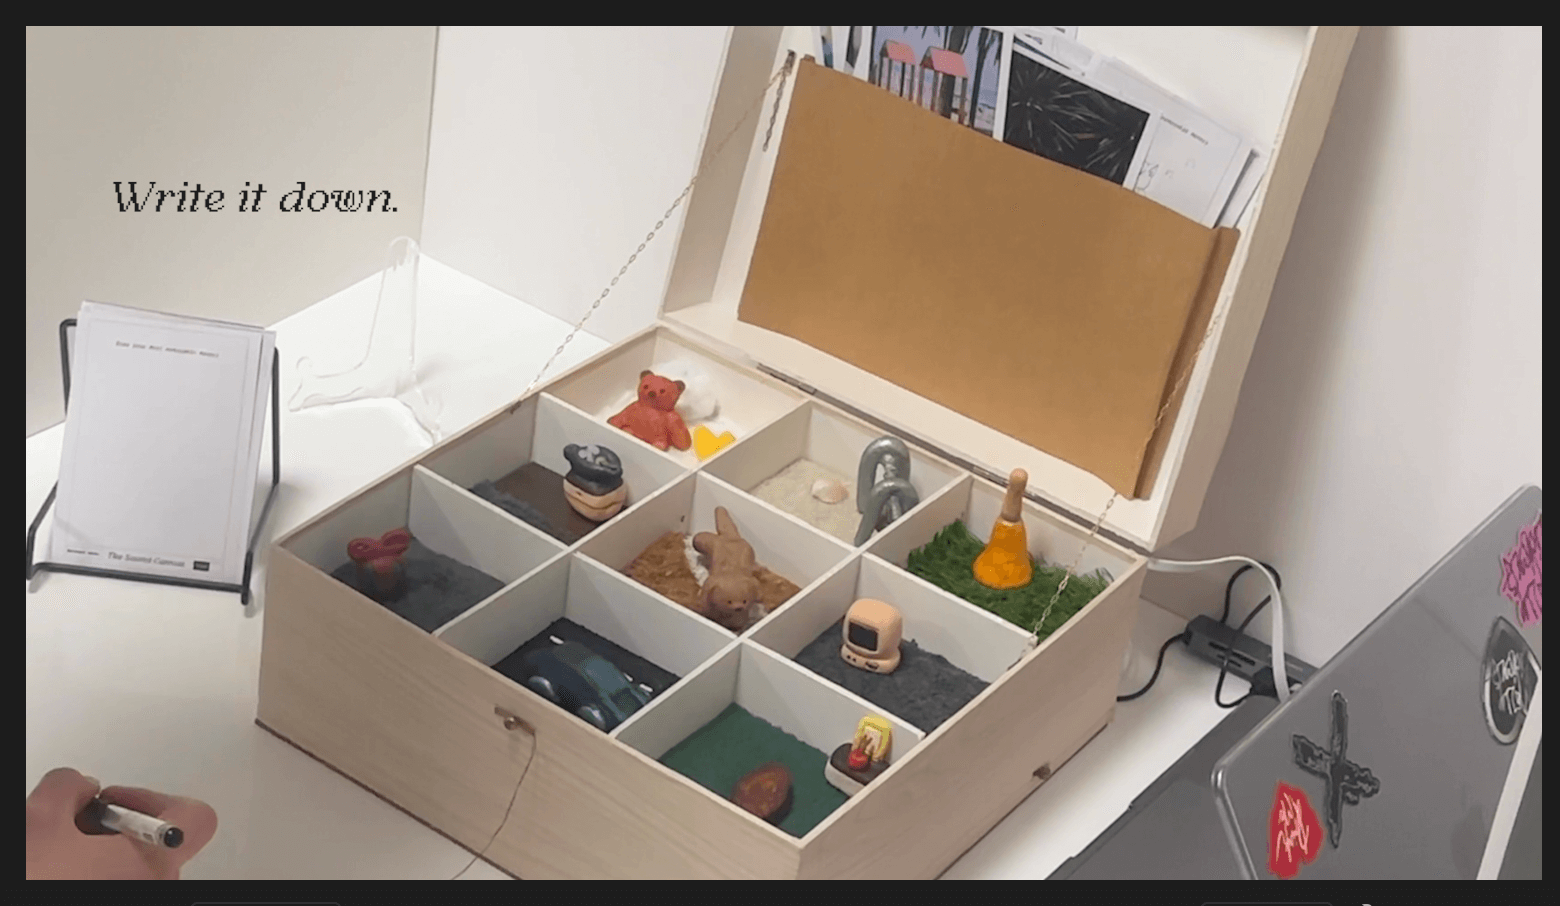
Step 5: Pick up a postcard & write it down
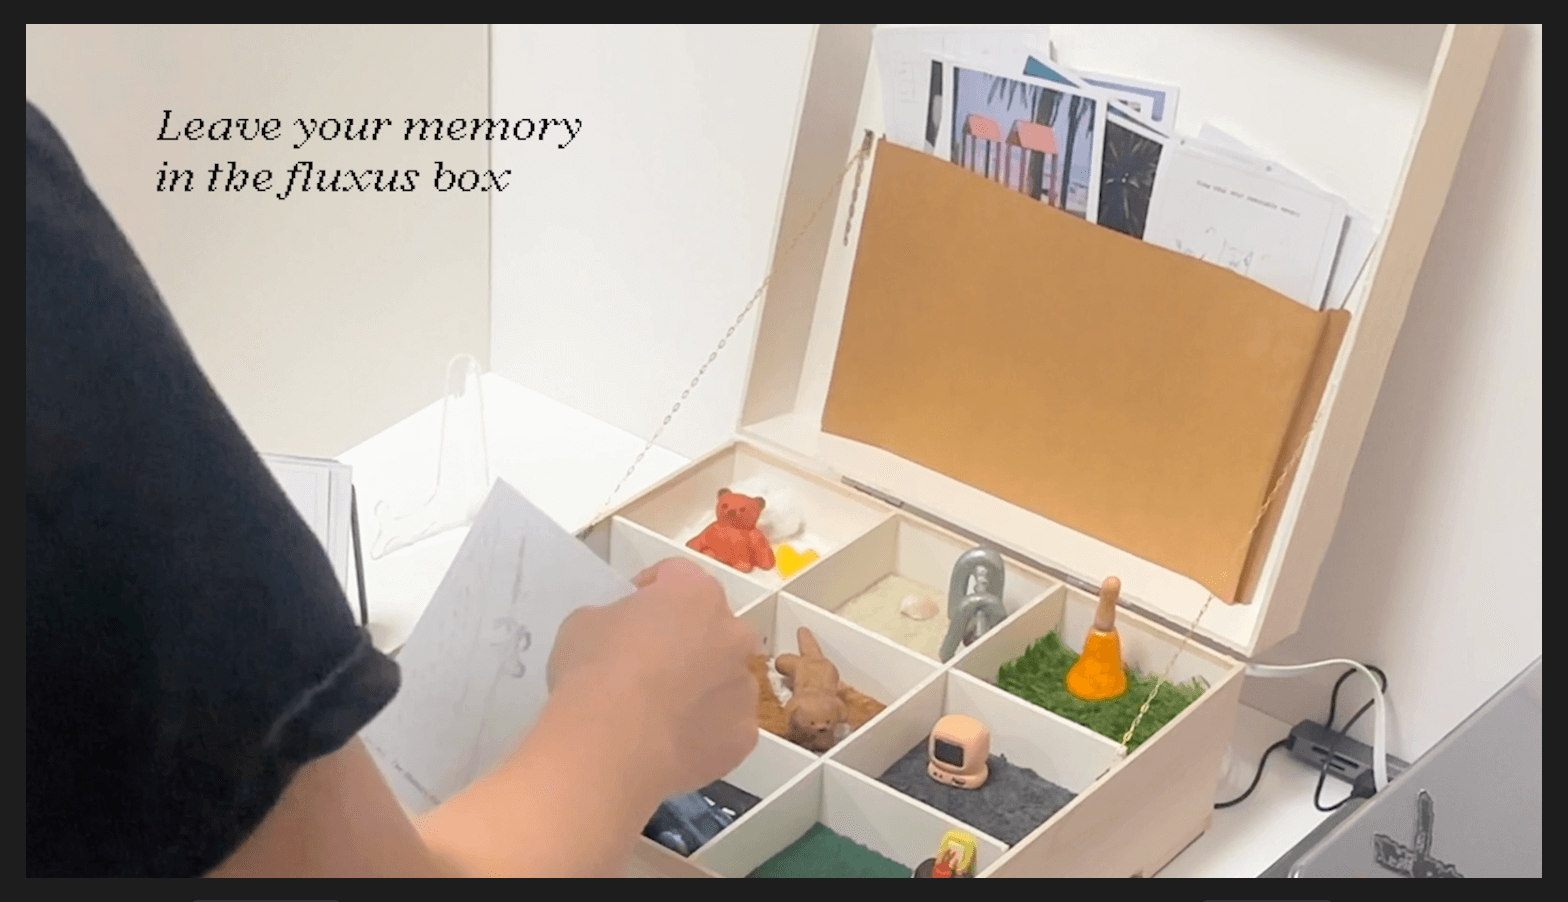
Step 6: Drop it into the fluxus box 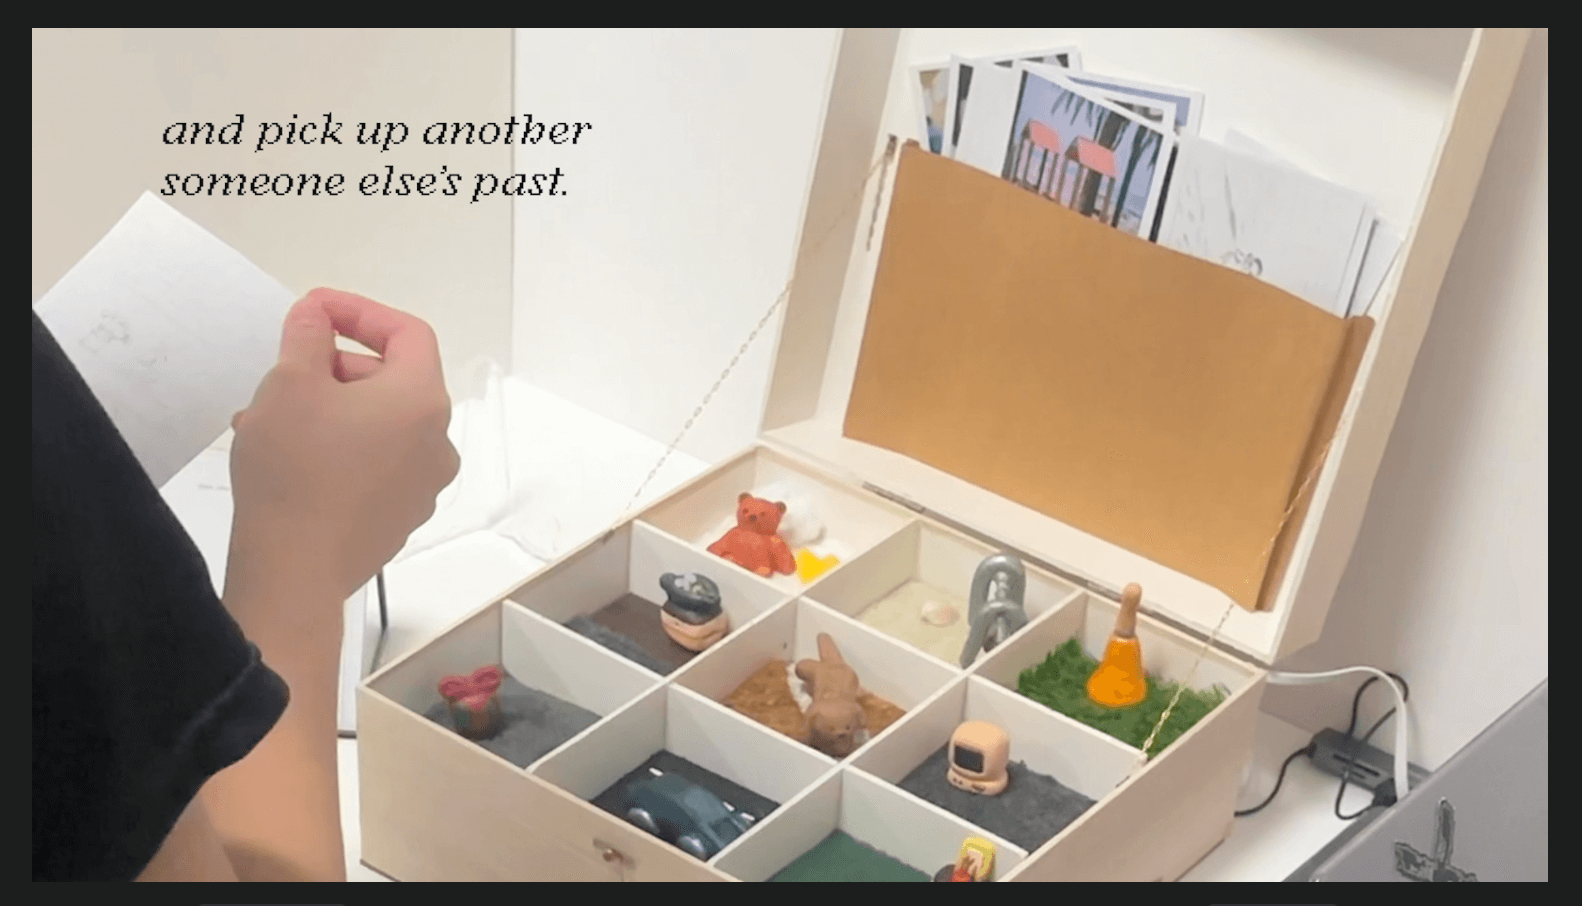
Step 7: Read someone else's memory 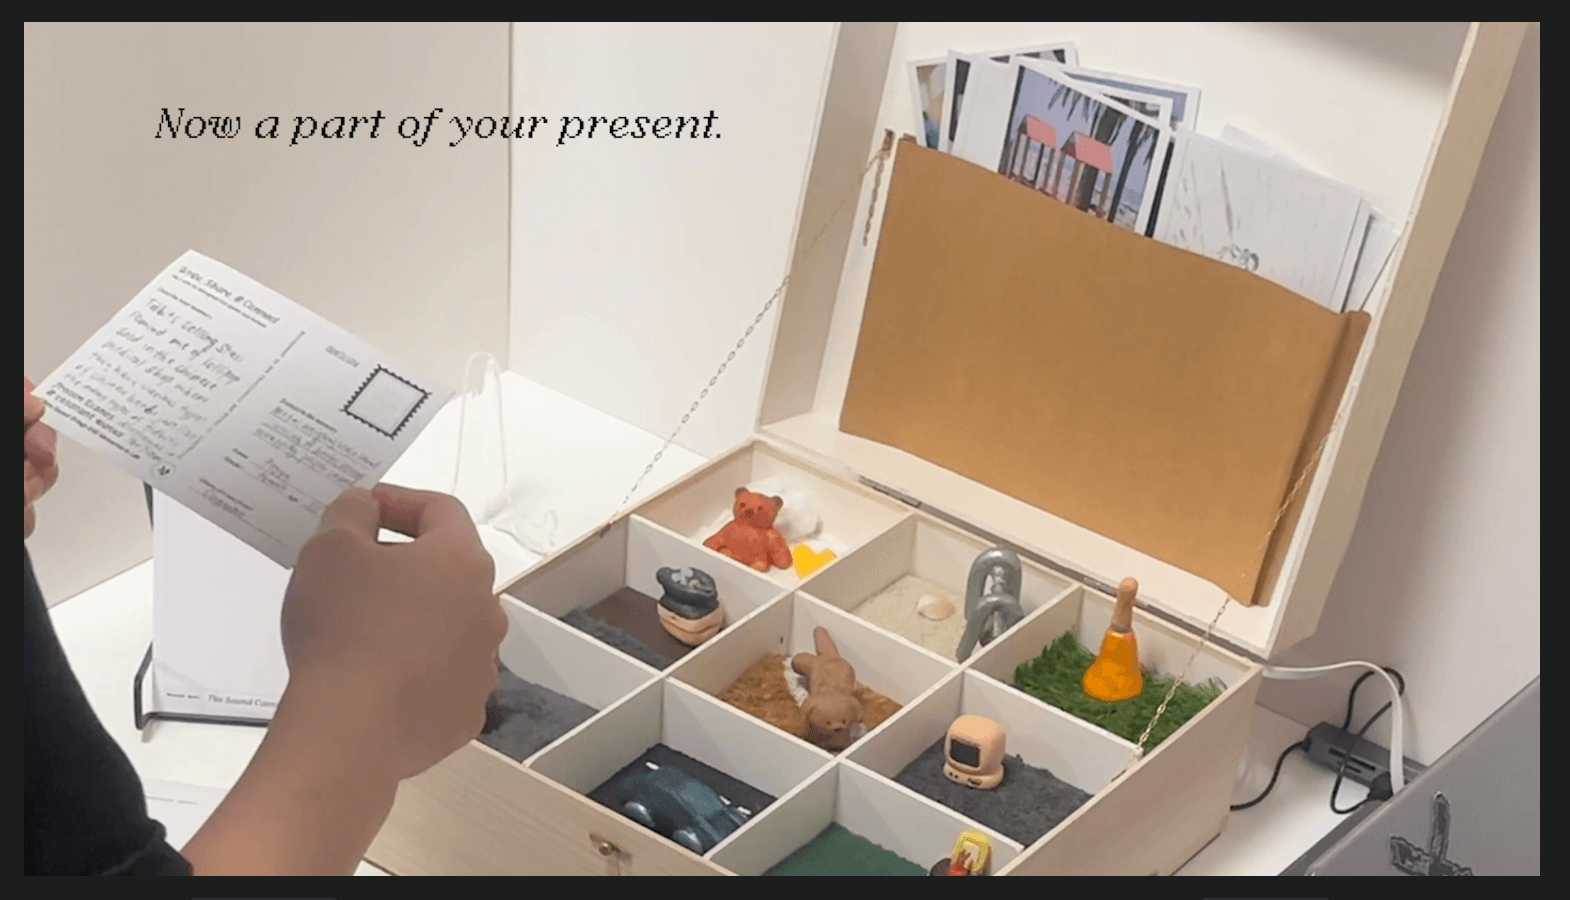
Step 8: 'Memory Penpal Booth' - sharing
Prototype B - Mnemosonic Map 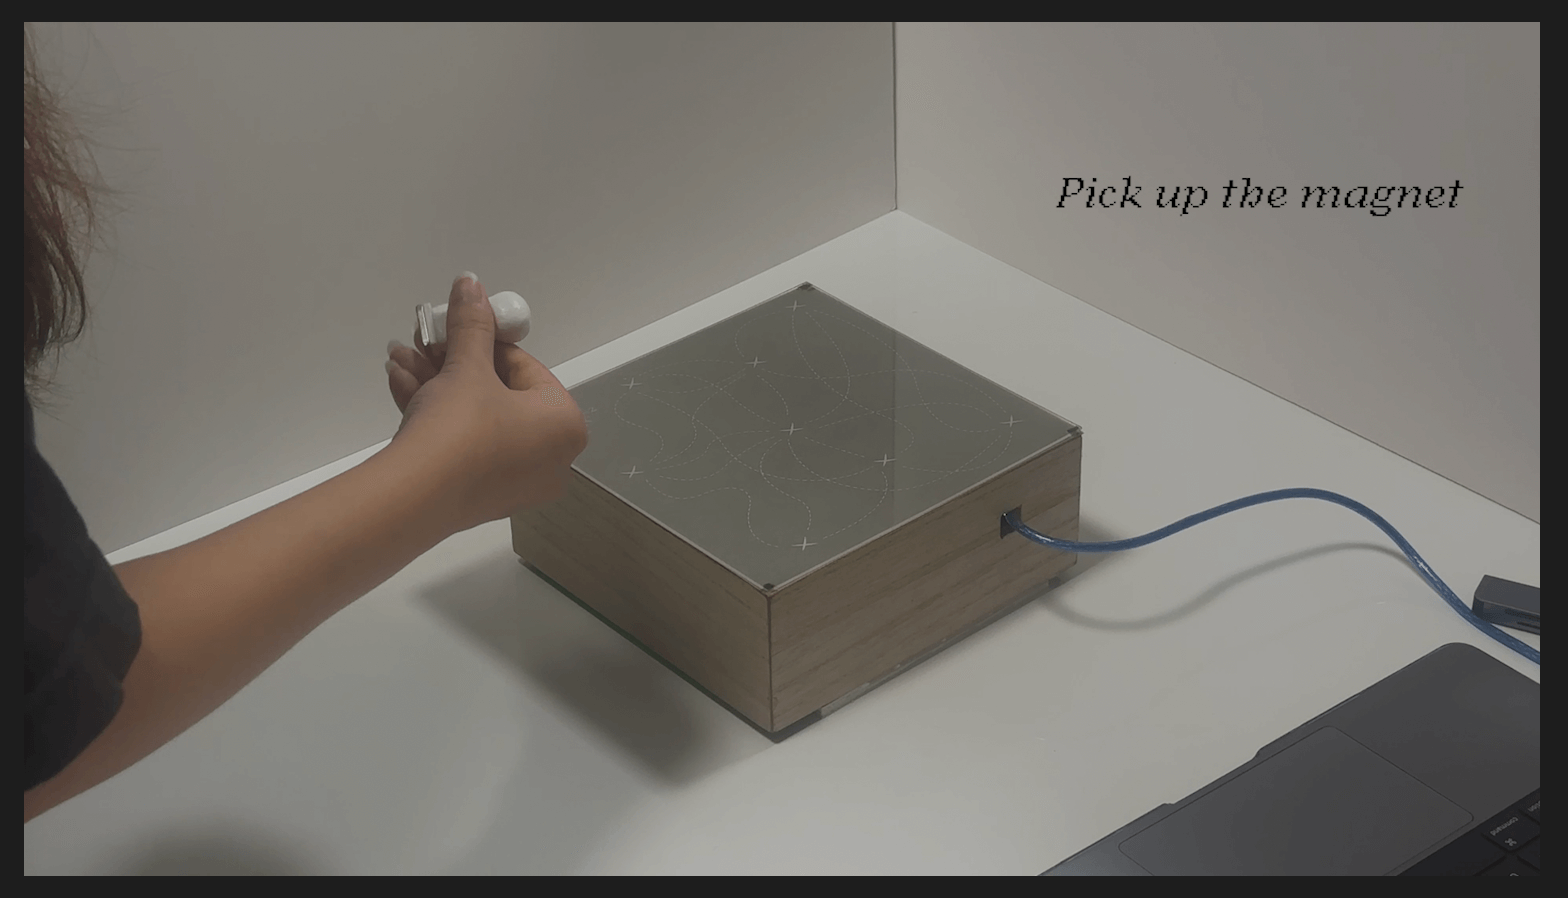
Step 1: Pick up the device 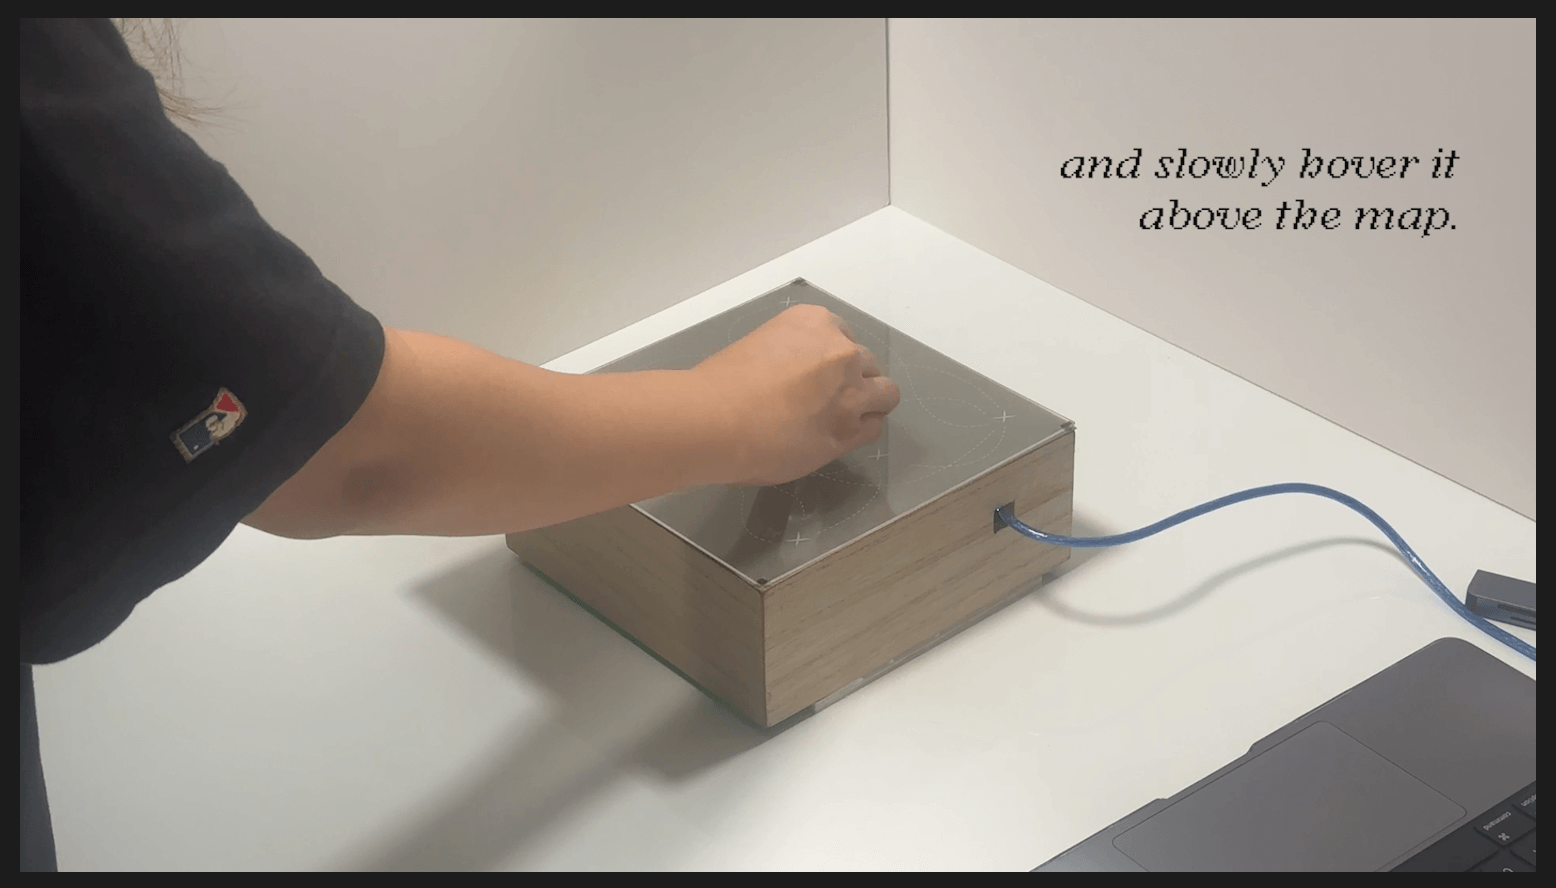
Step 2: Slowly hover device over the map
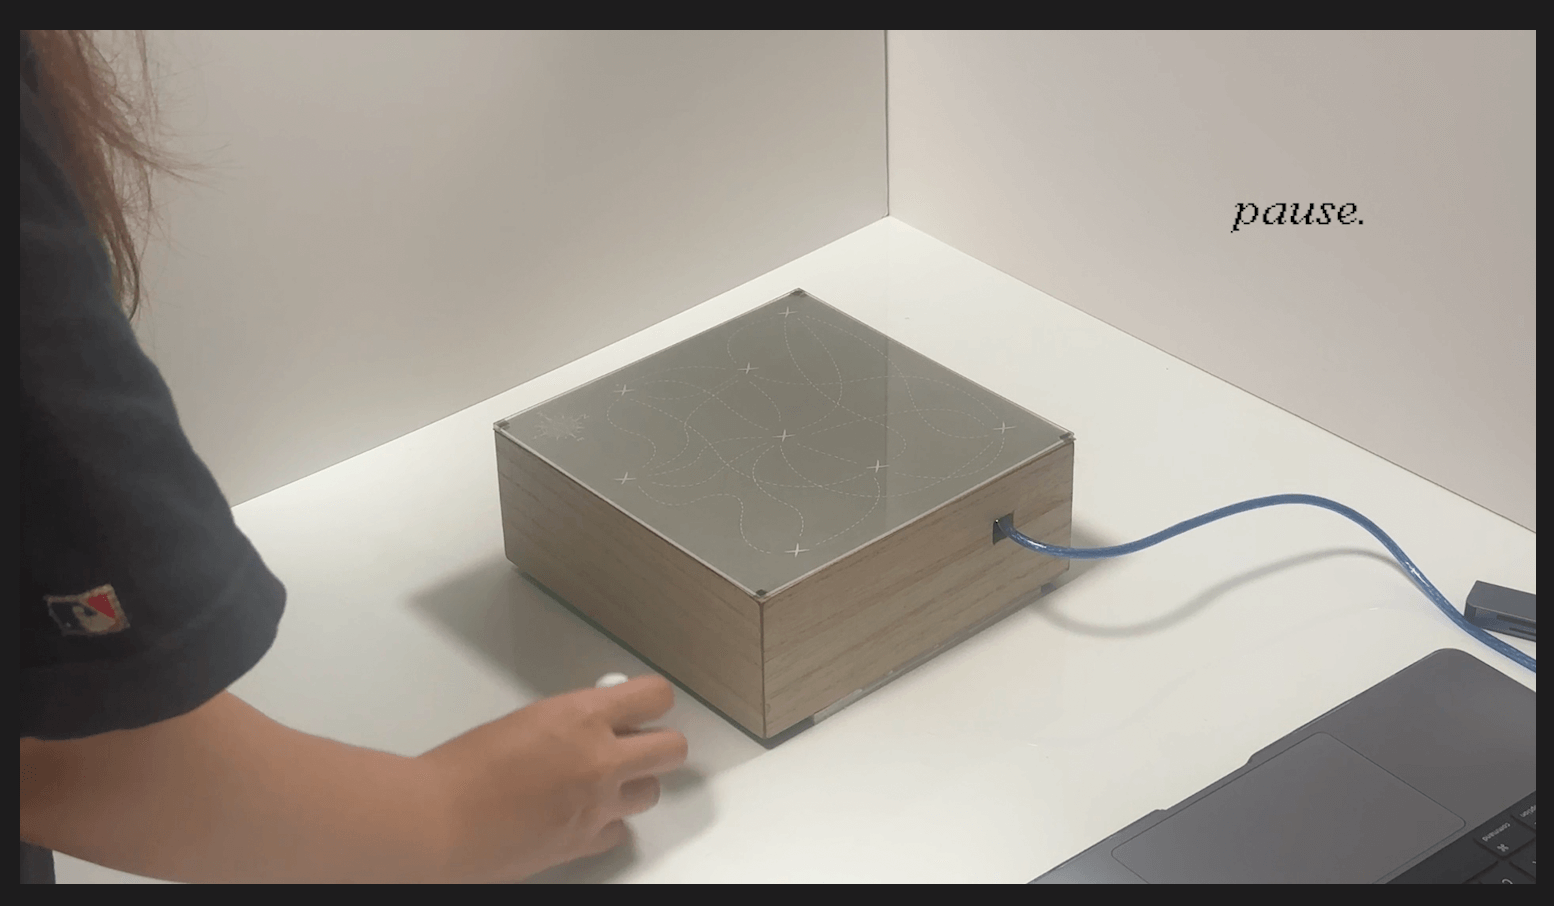
Step 3: Listen and pause 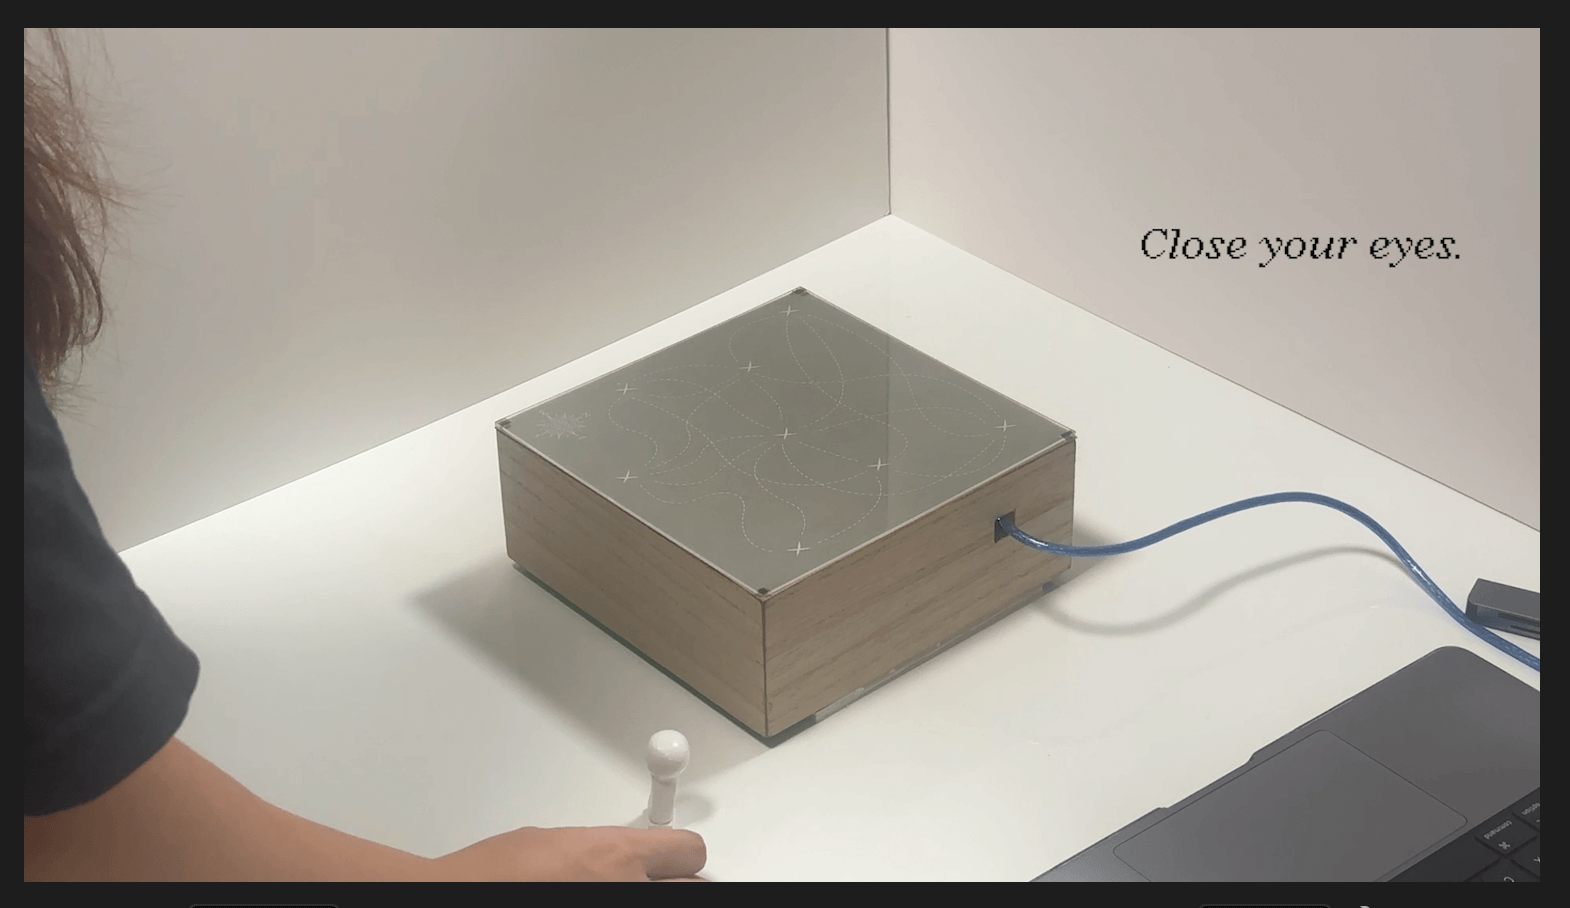
Step 4: Close your eyes 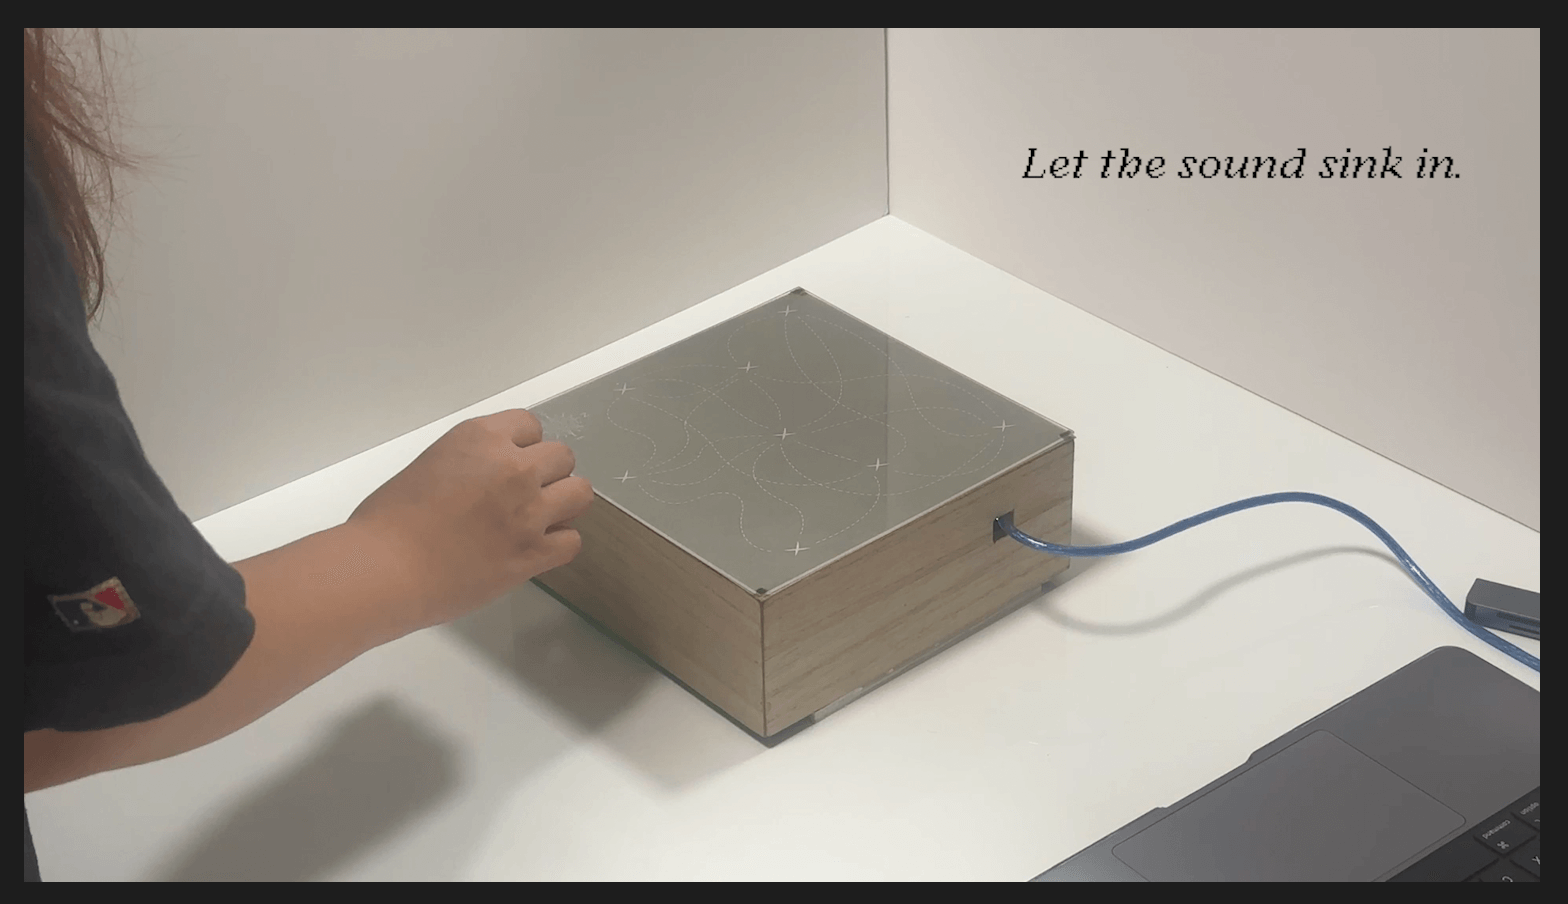
Step 5: Let the sound sink in
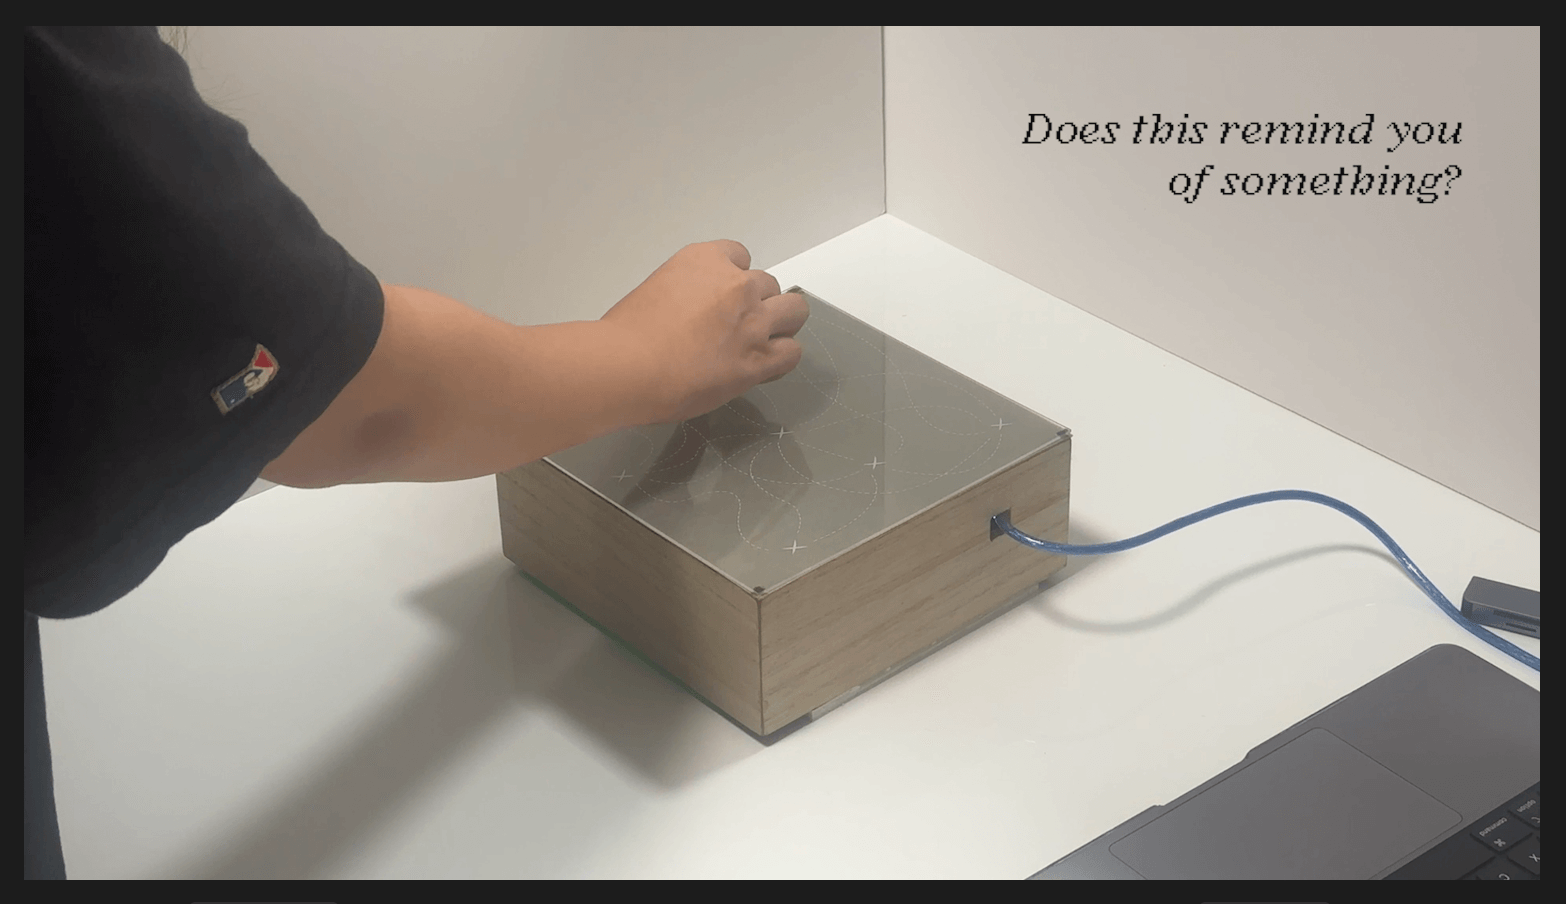
Step 6: Do you recall anything? 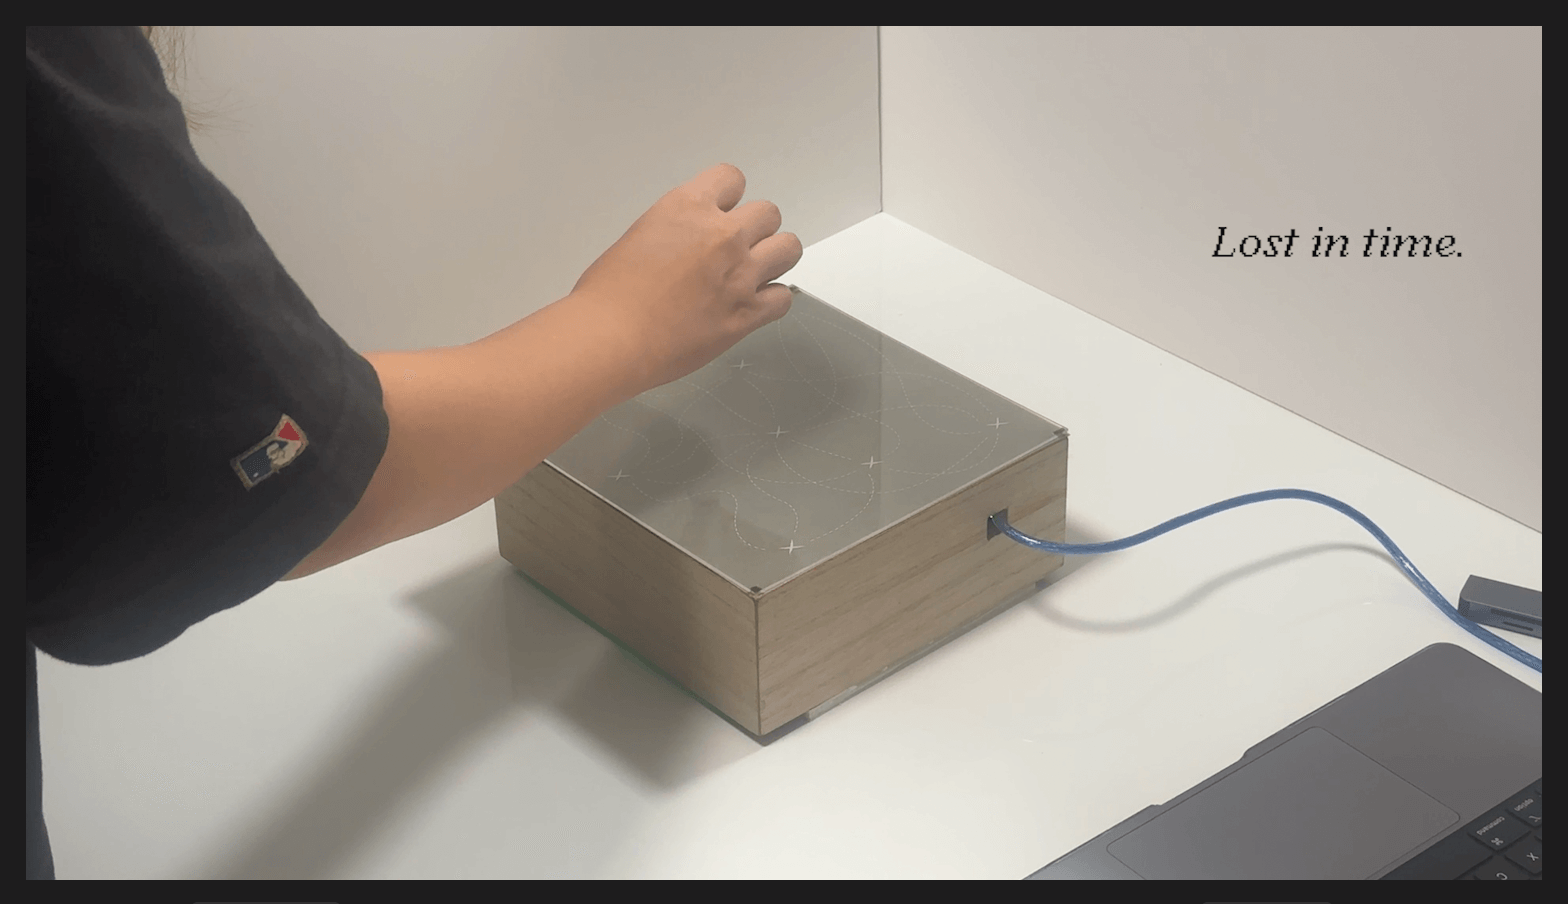
Step 7: A place, a person, a moment? 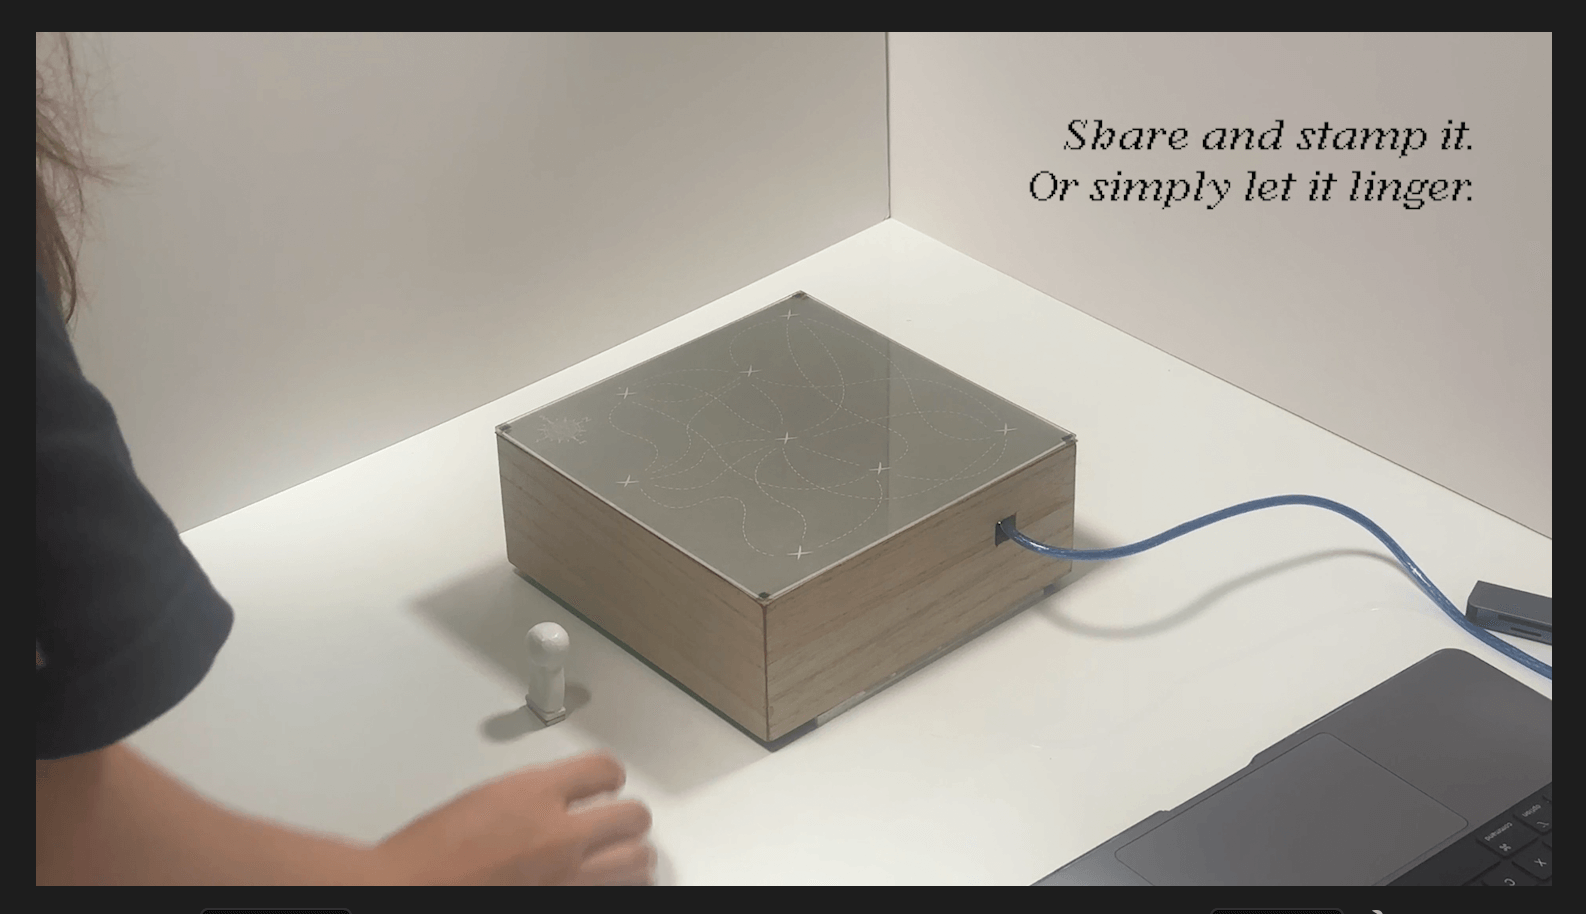
Step 8: Share and stamp memory
"Open the box" - monotone with additional prompt - 'exciting' "Pick up the magnet" - thought-provoking
EXPLAINER VIDEO - Progress
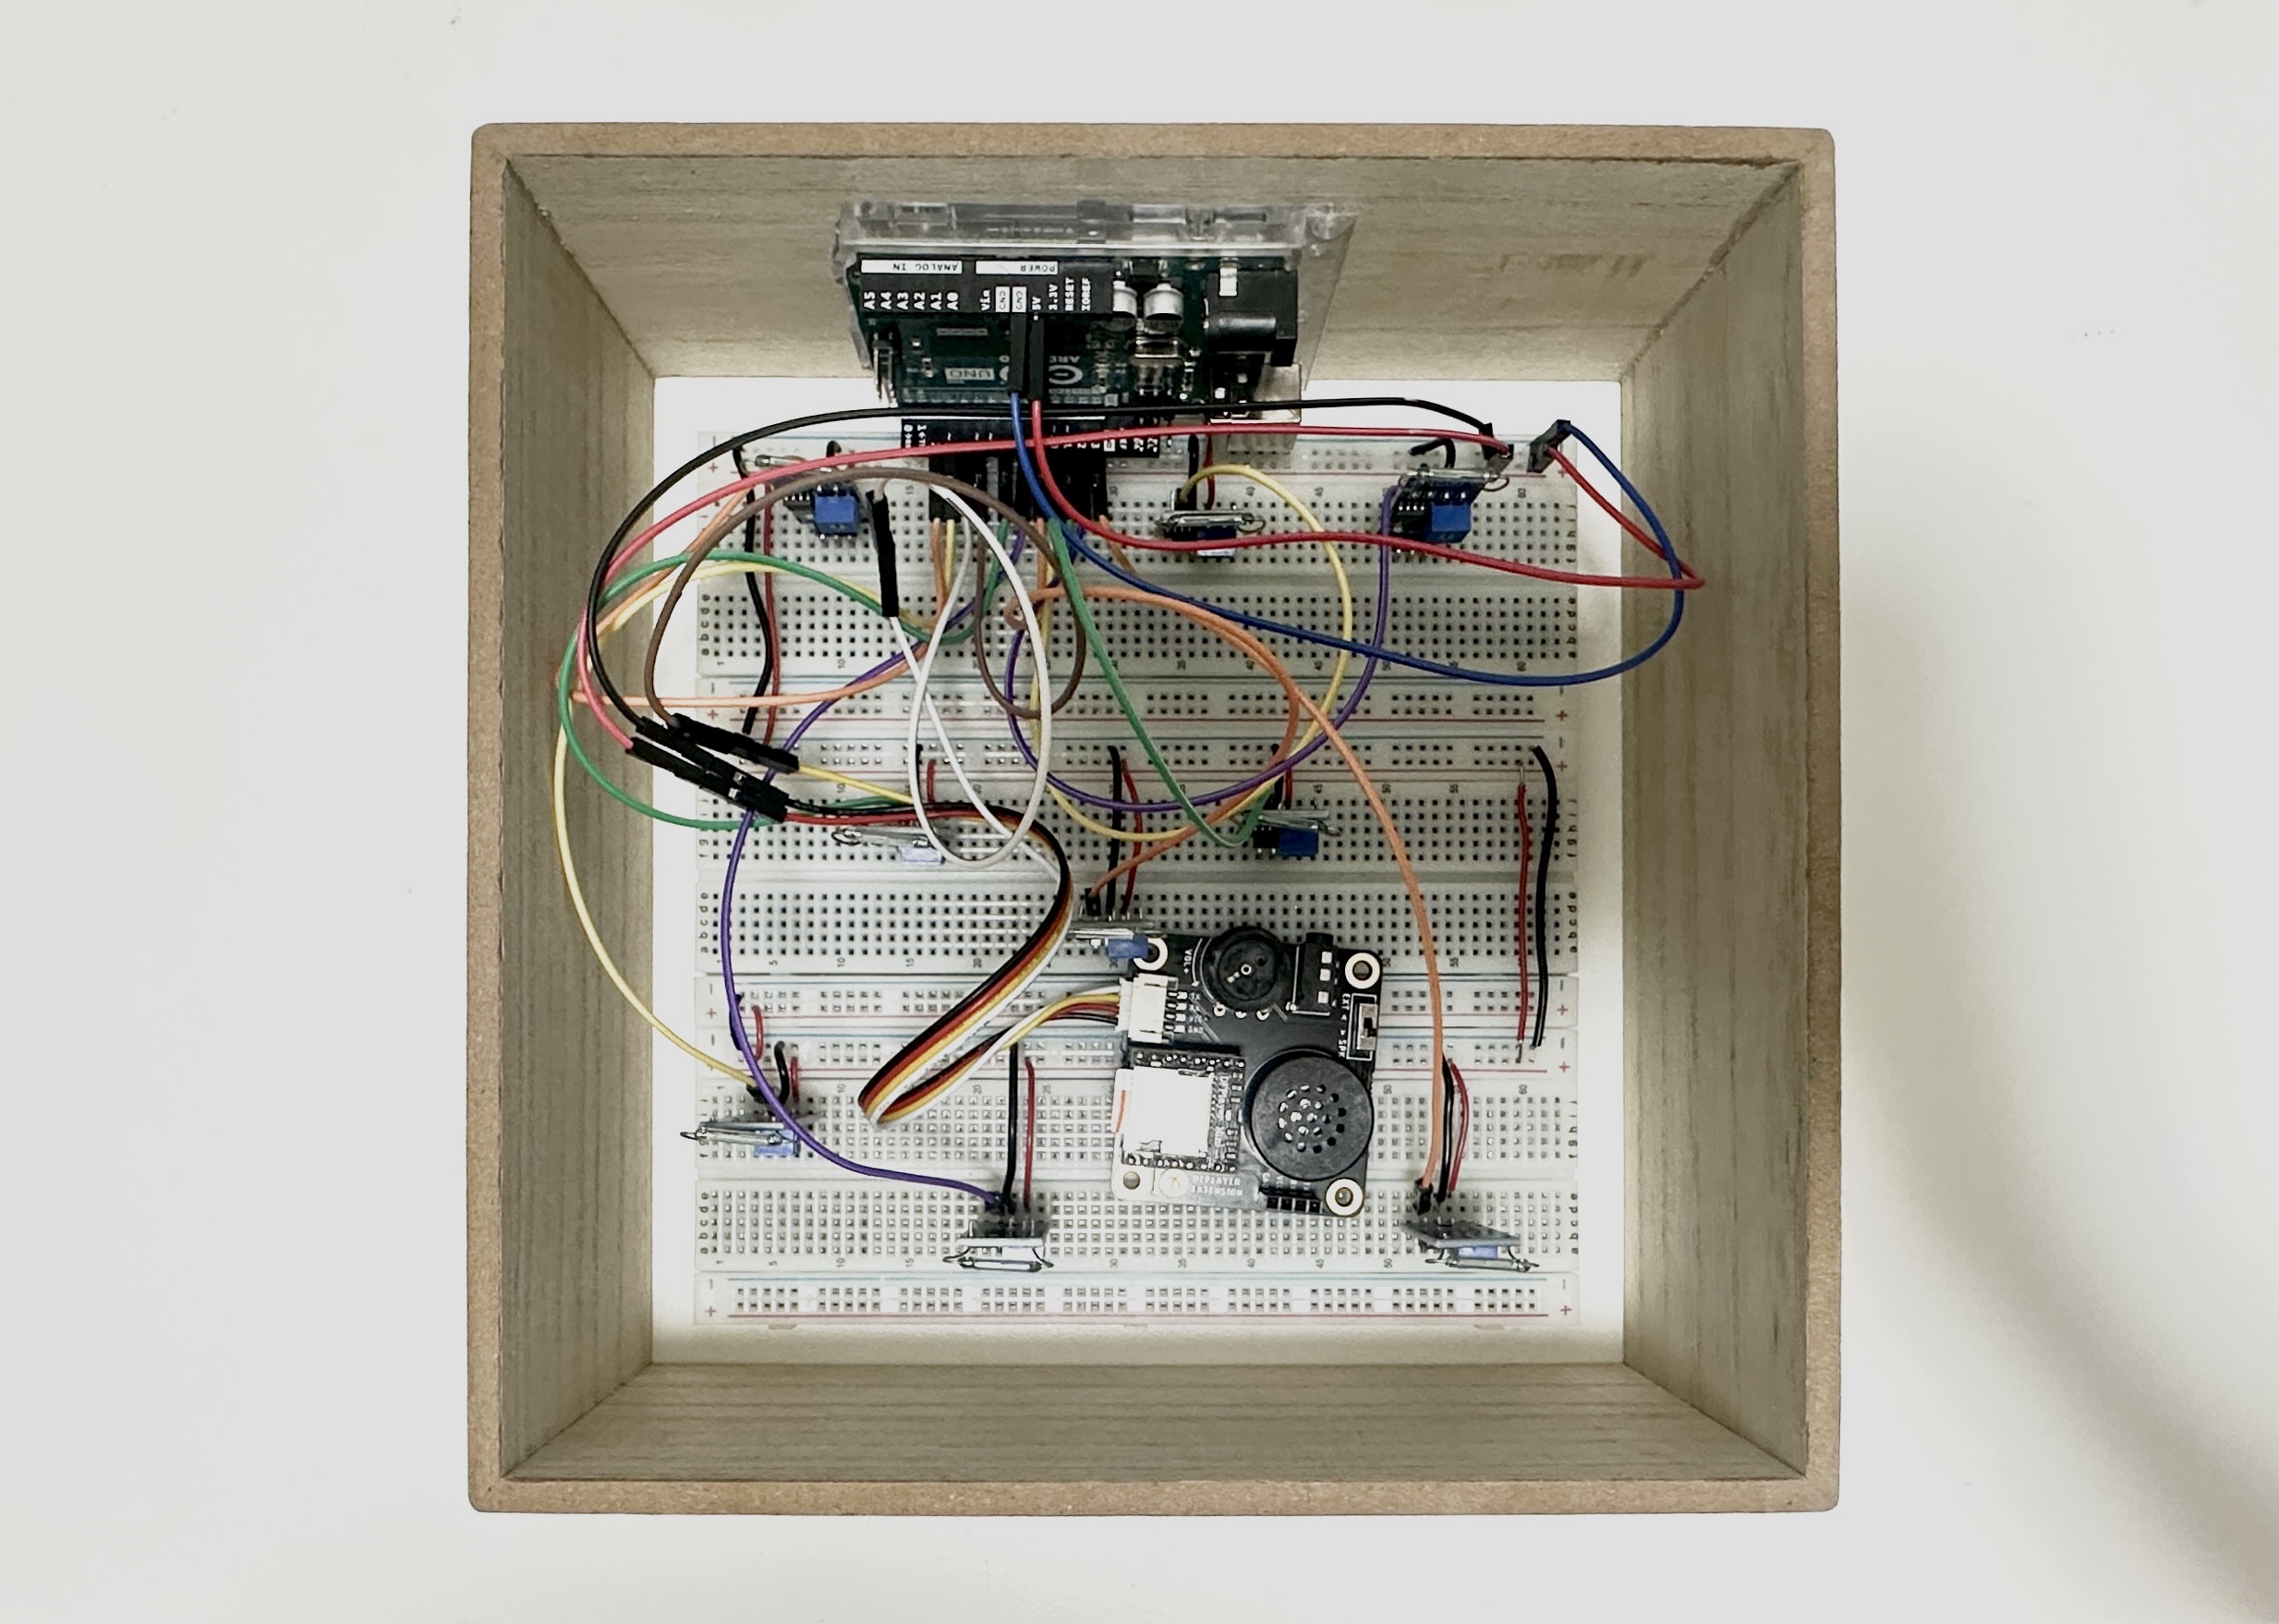
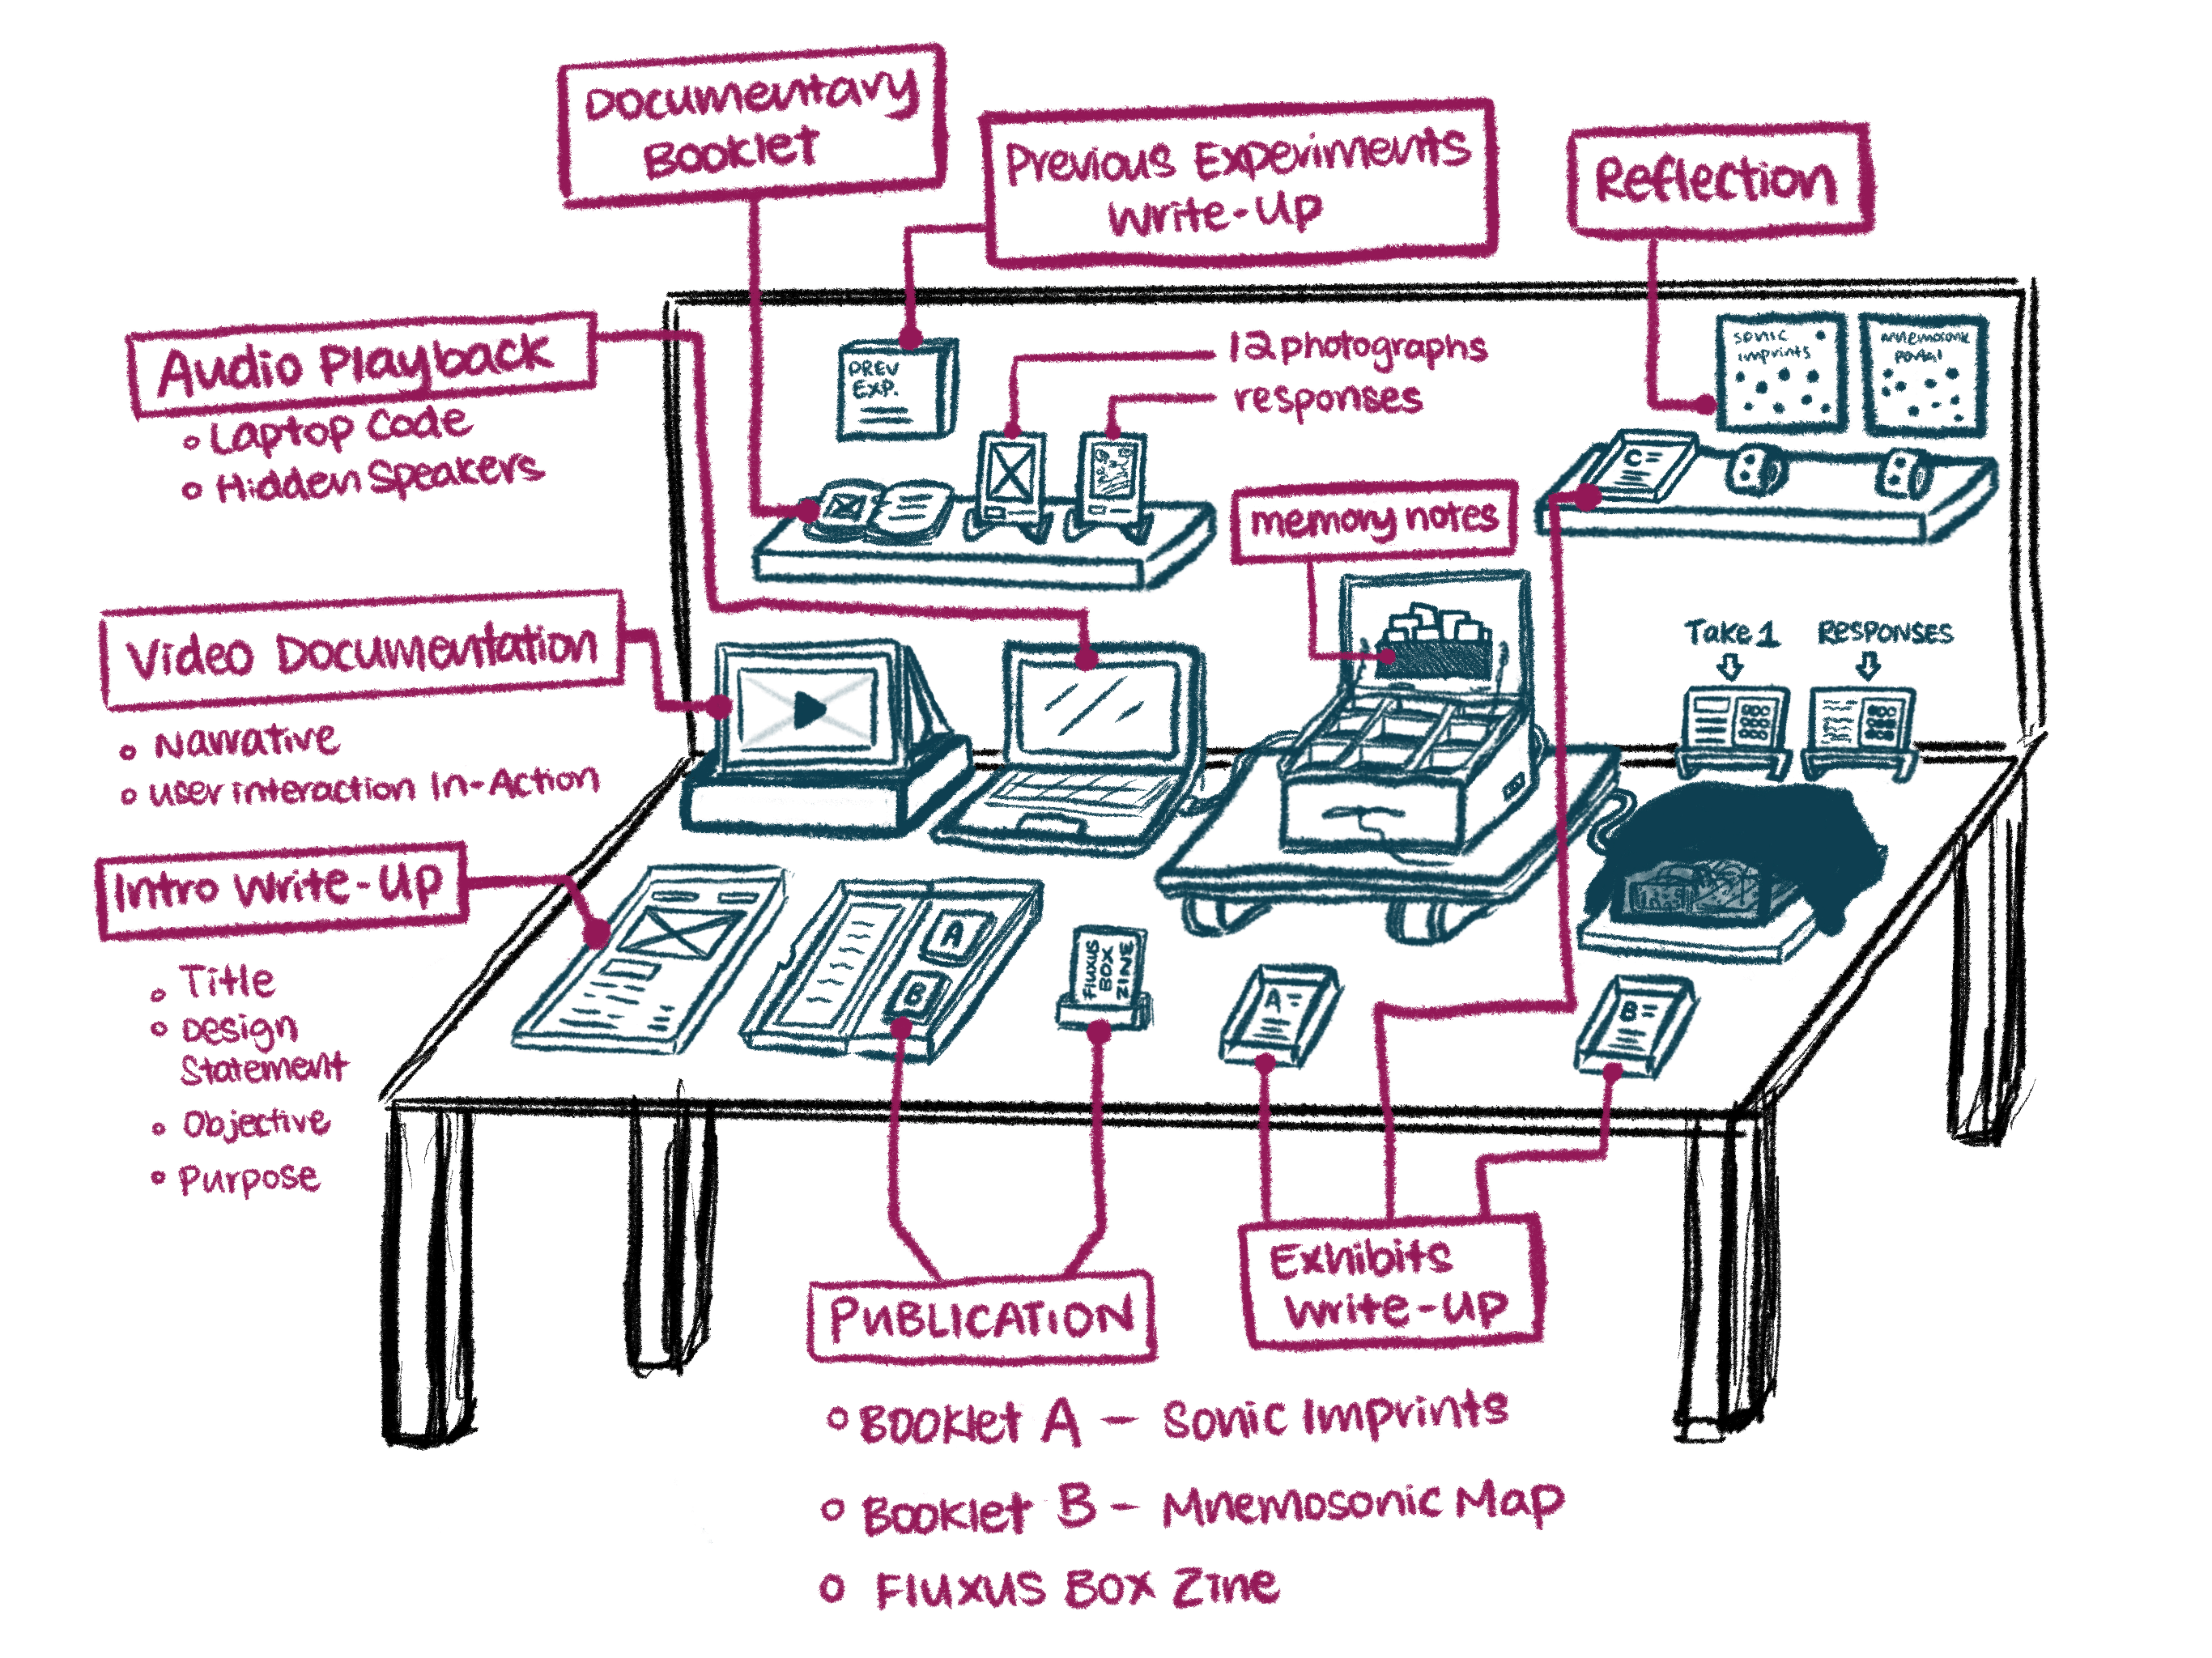
Planning Open Studios Table Set-up - New Draft Sketch
I was initially a little worried about the table setup as I know I have quite alot of things prepared for the upcoming open studios which was why I decided to draw a detailed sketch to plan the space better.
Due to the limitations of my table, I was soon running out of space when I suddenly thought of making shelvings on the partition wall behind my desk to not only create additional space, but also layerings and elevations where visitors can view my work at eye level.
- ✶ intro write-Up
- ✶ video documentation
- ✶ audio playback prototypes A & B
- ✶ documentary booklet
- ✶ previous experiments write-up
- ✶ 2 publications A & B
- ✶ exhibits write-ups
DIY SHELVINGS and Q&A BOARDS (Making)
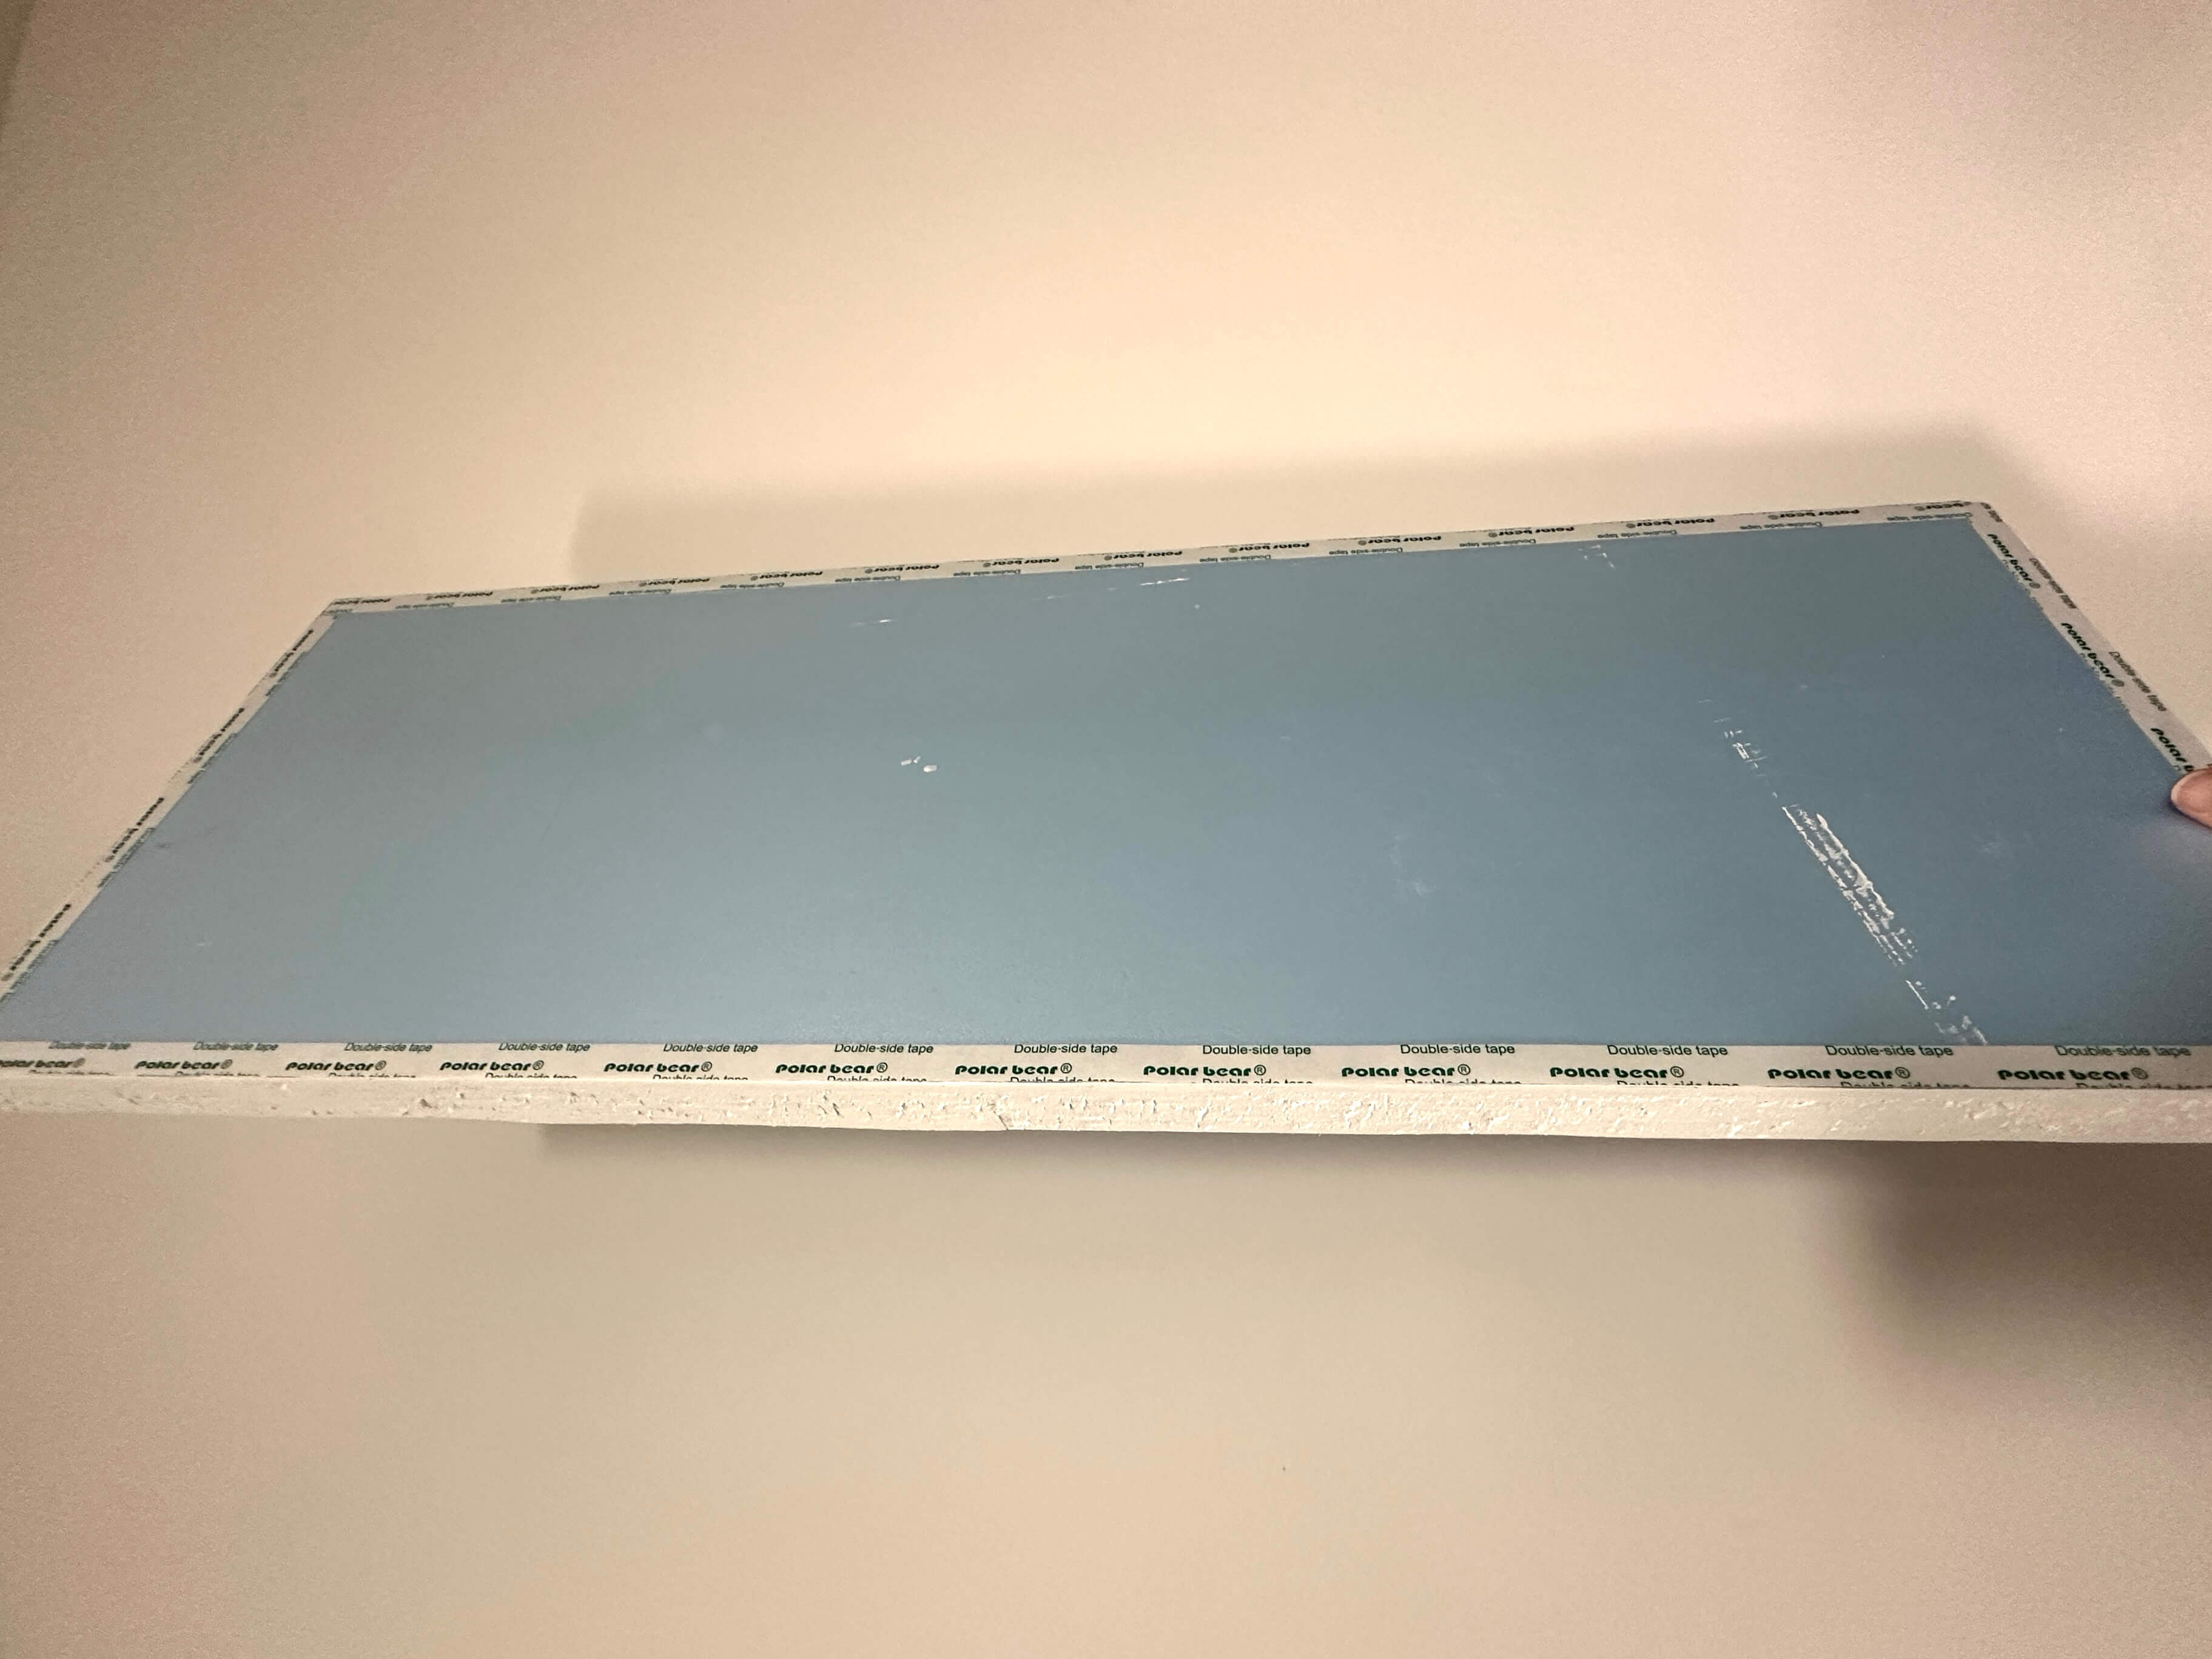
Using blue foam bords to create a panel of questionnaires for the thoughts and reflection corner. I decided to use this method whereby I can stick the foam boards onto the partition wall using double sided tape and nano tape. I also used the same method to create a shelving for my publications and booklets. I was initially worried that the foam boards would fall off but it was surprisingly very sturdy and stable.
The thoughts and reflection process is made easy for the visitors where they can just use the provided dot stickers and stick them onto the different questionnaires that I have prepared. I also provided a blank booklet on one of the shelvings; a space for them to write down and share their thoughts and reflections. This is a way for me to collect data and feedback from the visitors and participants.
using double sided and nano tape to stick it to the partition wall 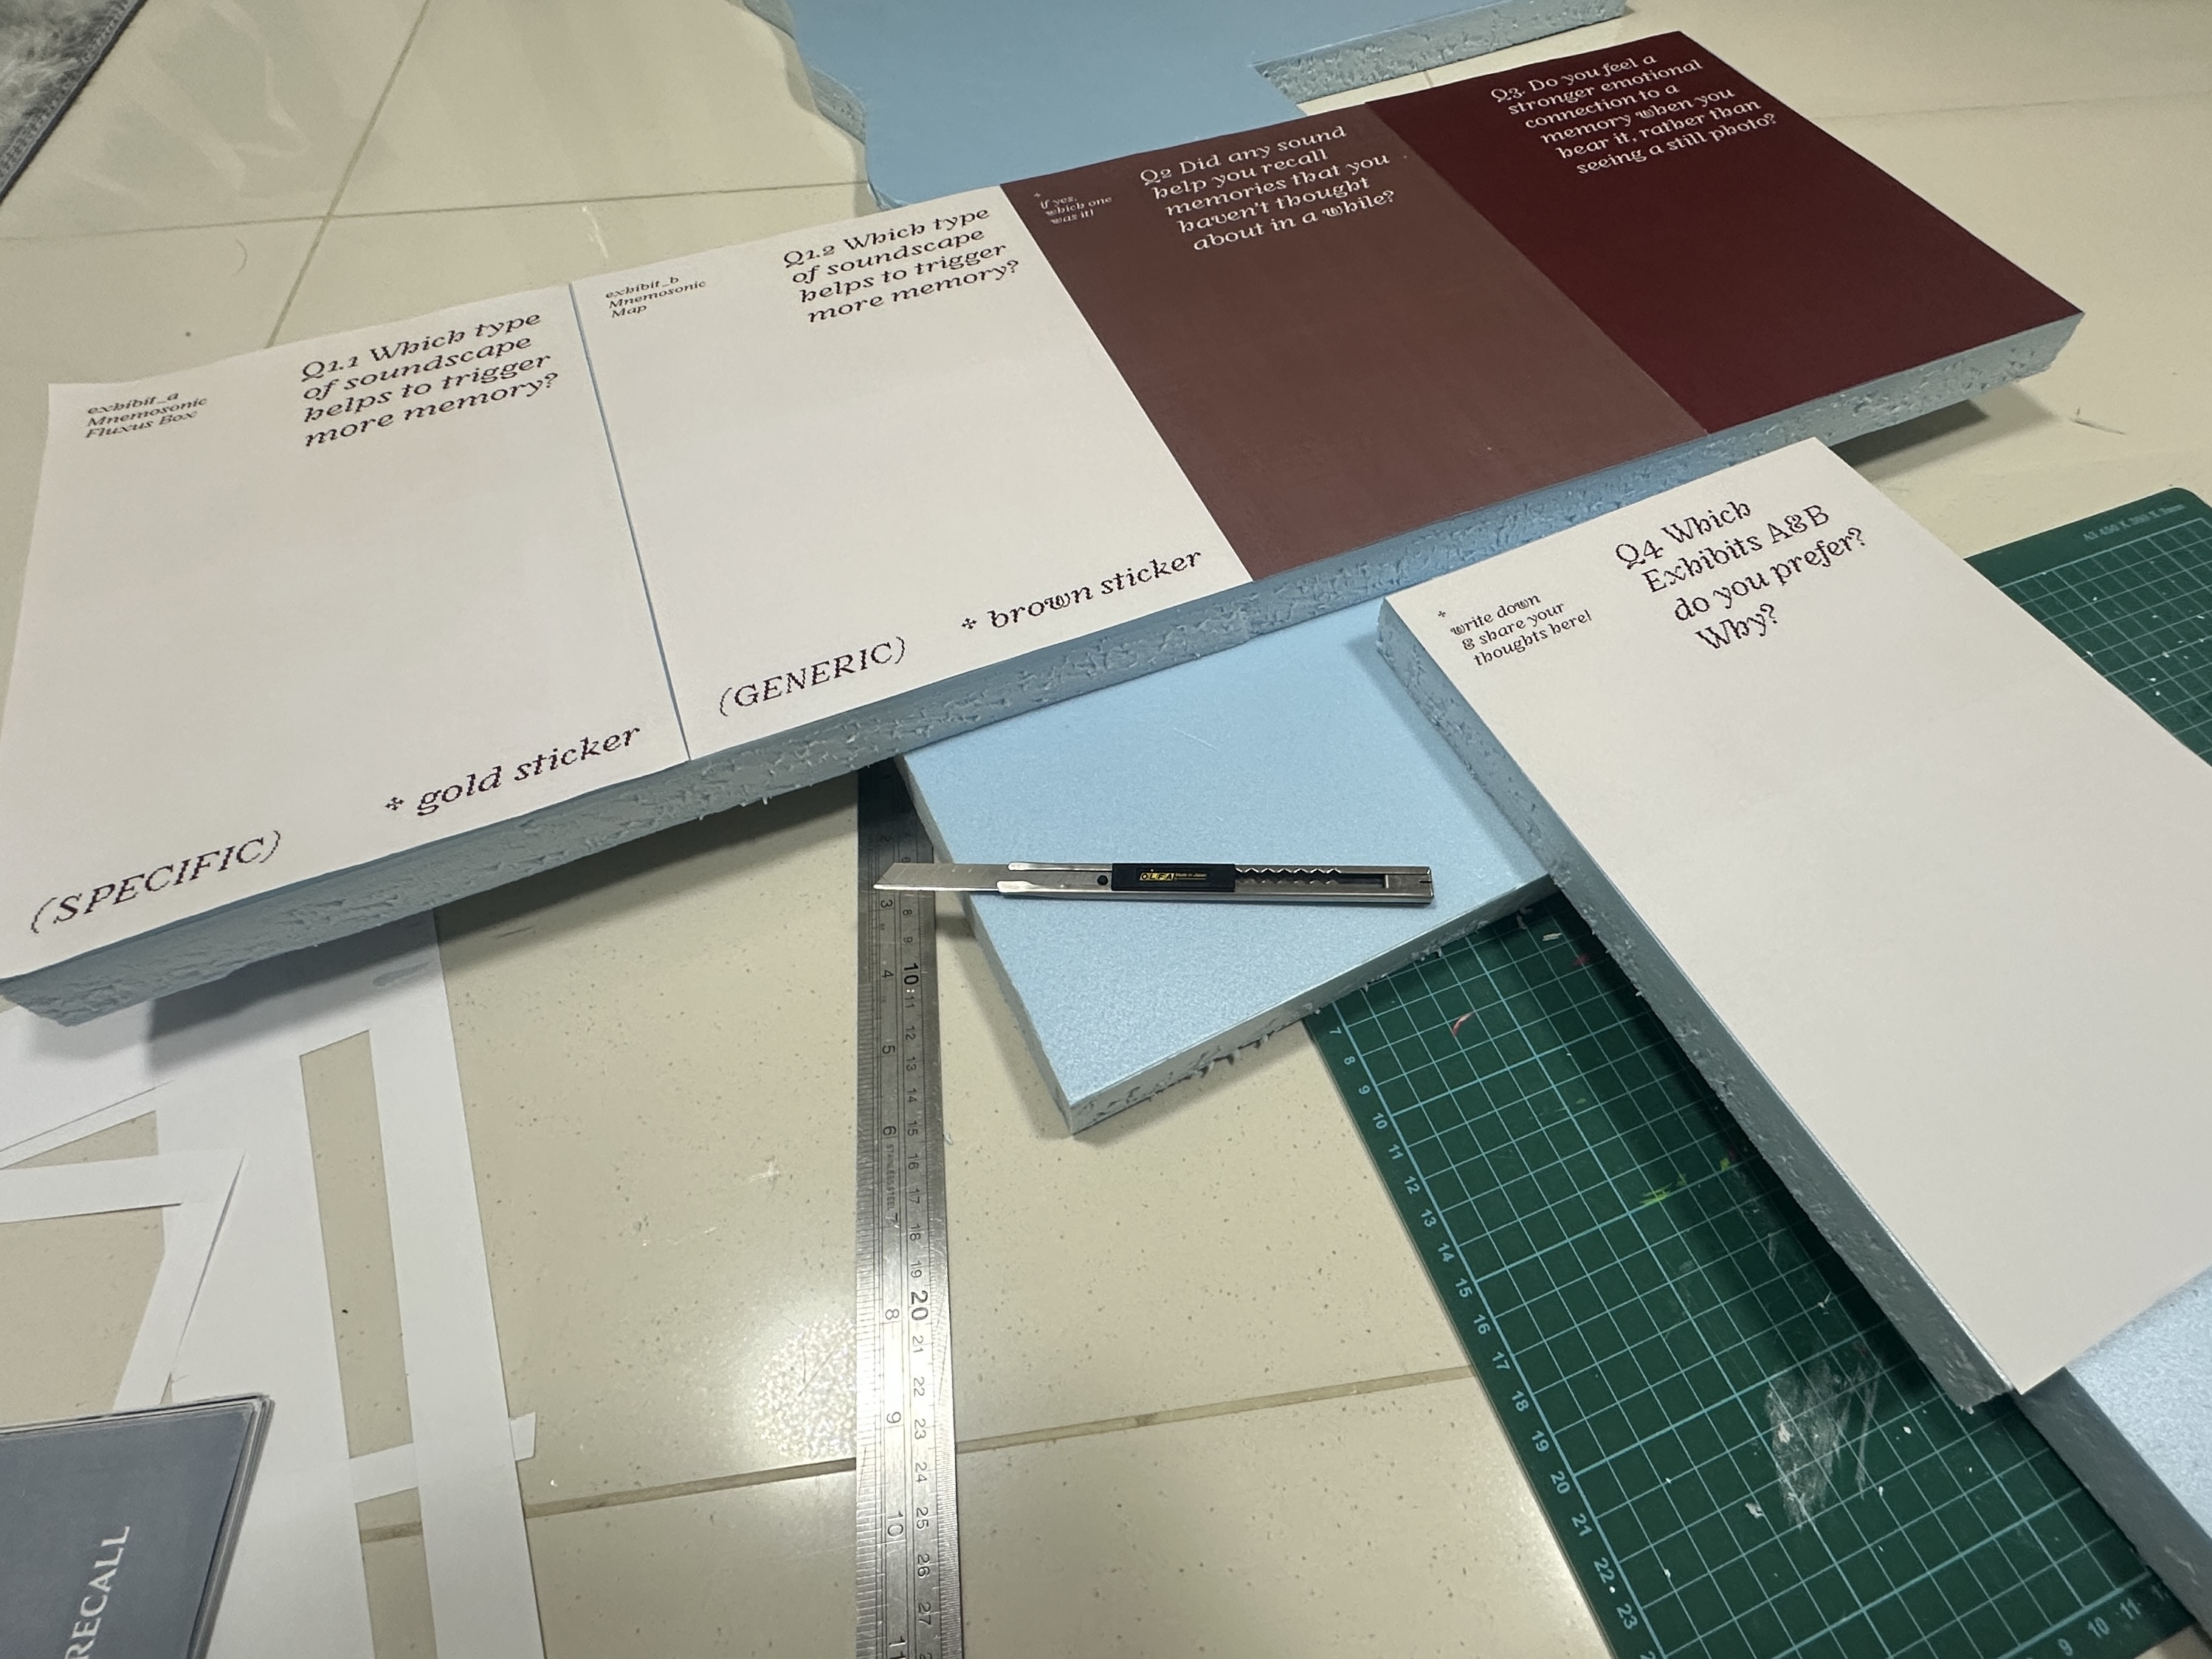
pasting questionnaires onto the foam boards
REPRINT Previous Experiments Booklet
The colour of the booklet was too light and the text was not clear enough. I decided to reprint the booklet with a slightly better colour contrast and clearer text. The booklet is intended as a way for visitors to understand the initial concept of the project and how it has evolved over the course of the semester. It is also a way for them to see the different experiments and iterations that I have gone through in order to reach the final prototype.
changed to the new typeface 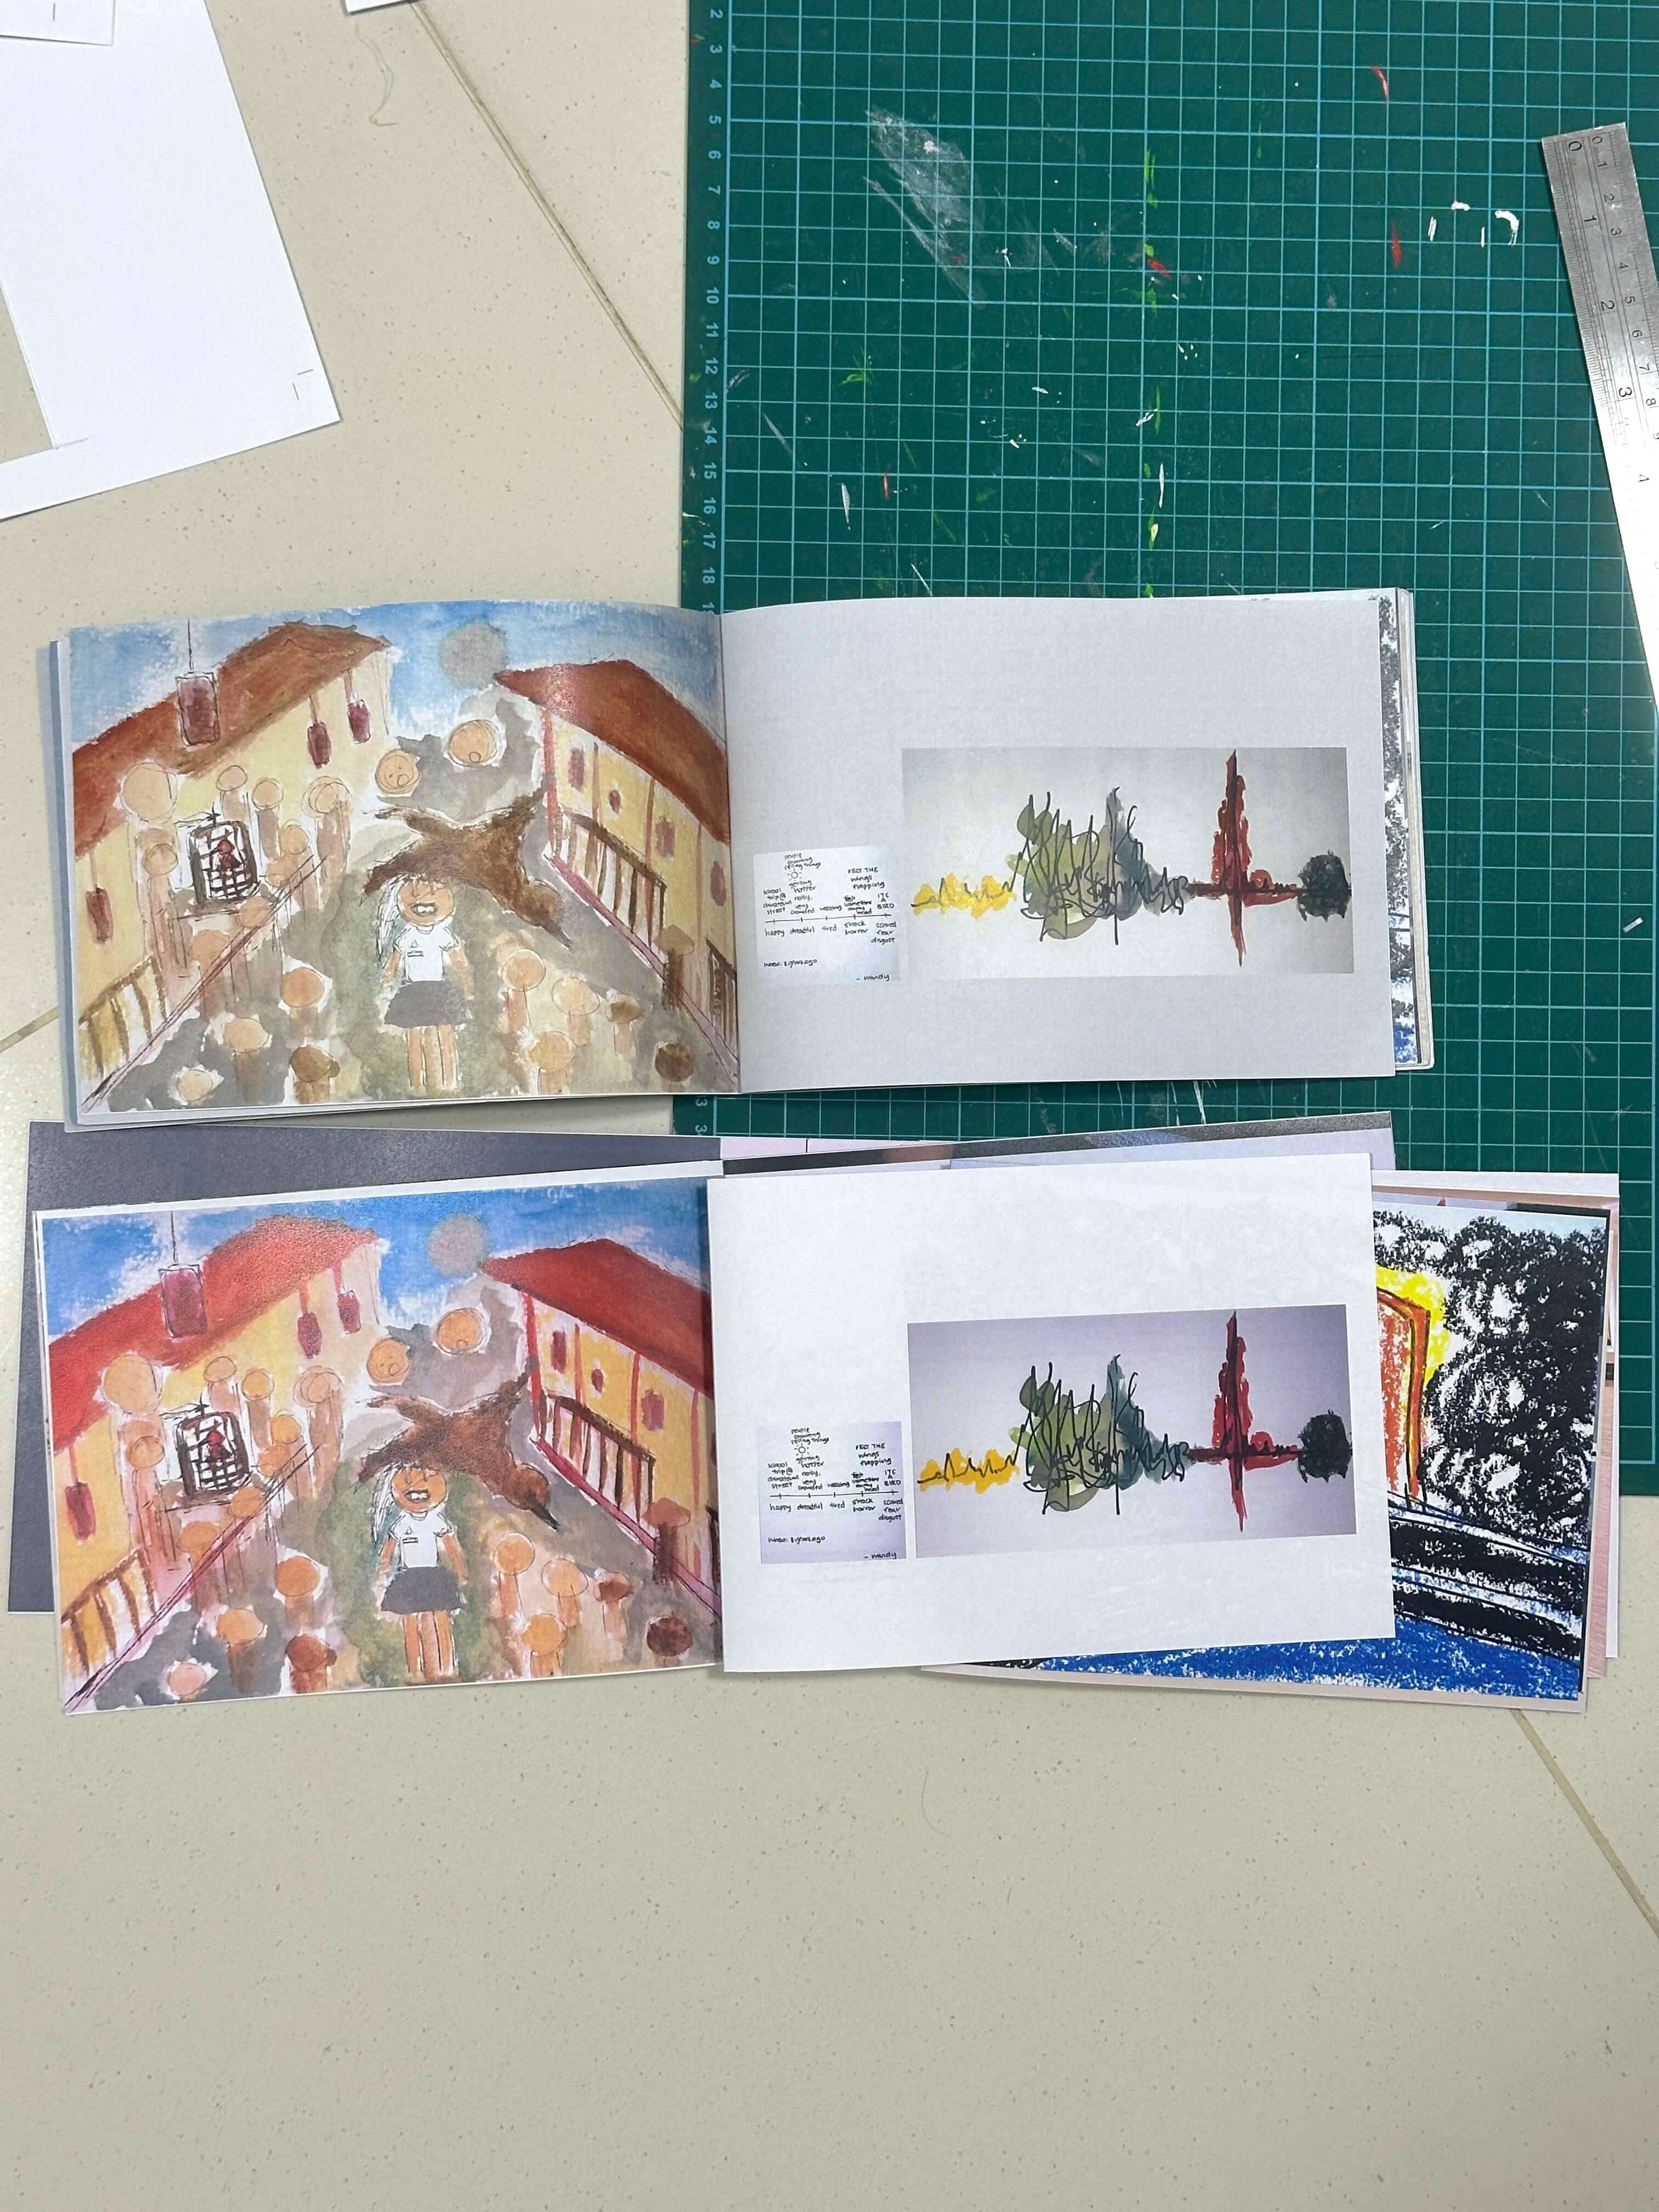
colour saturation difference 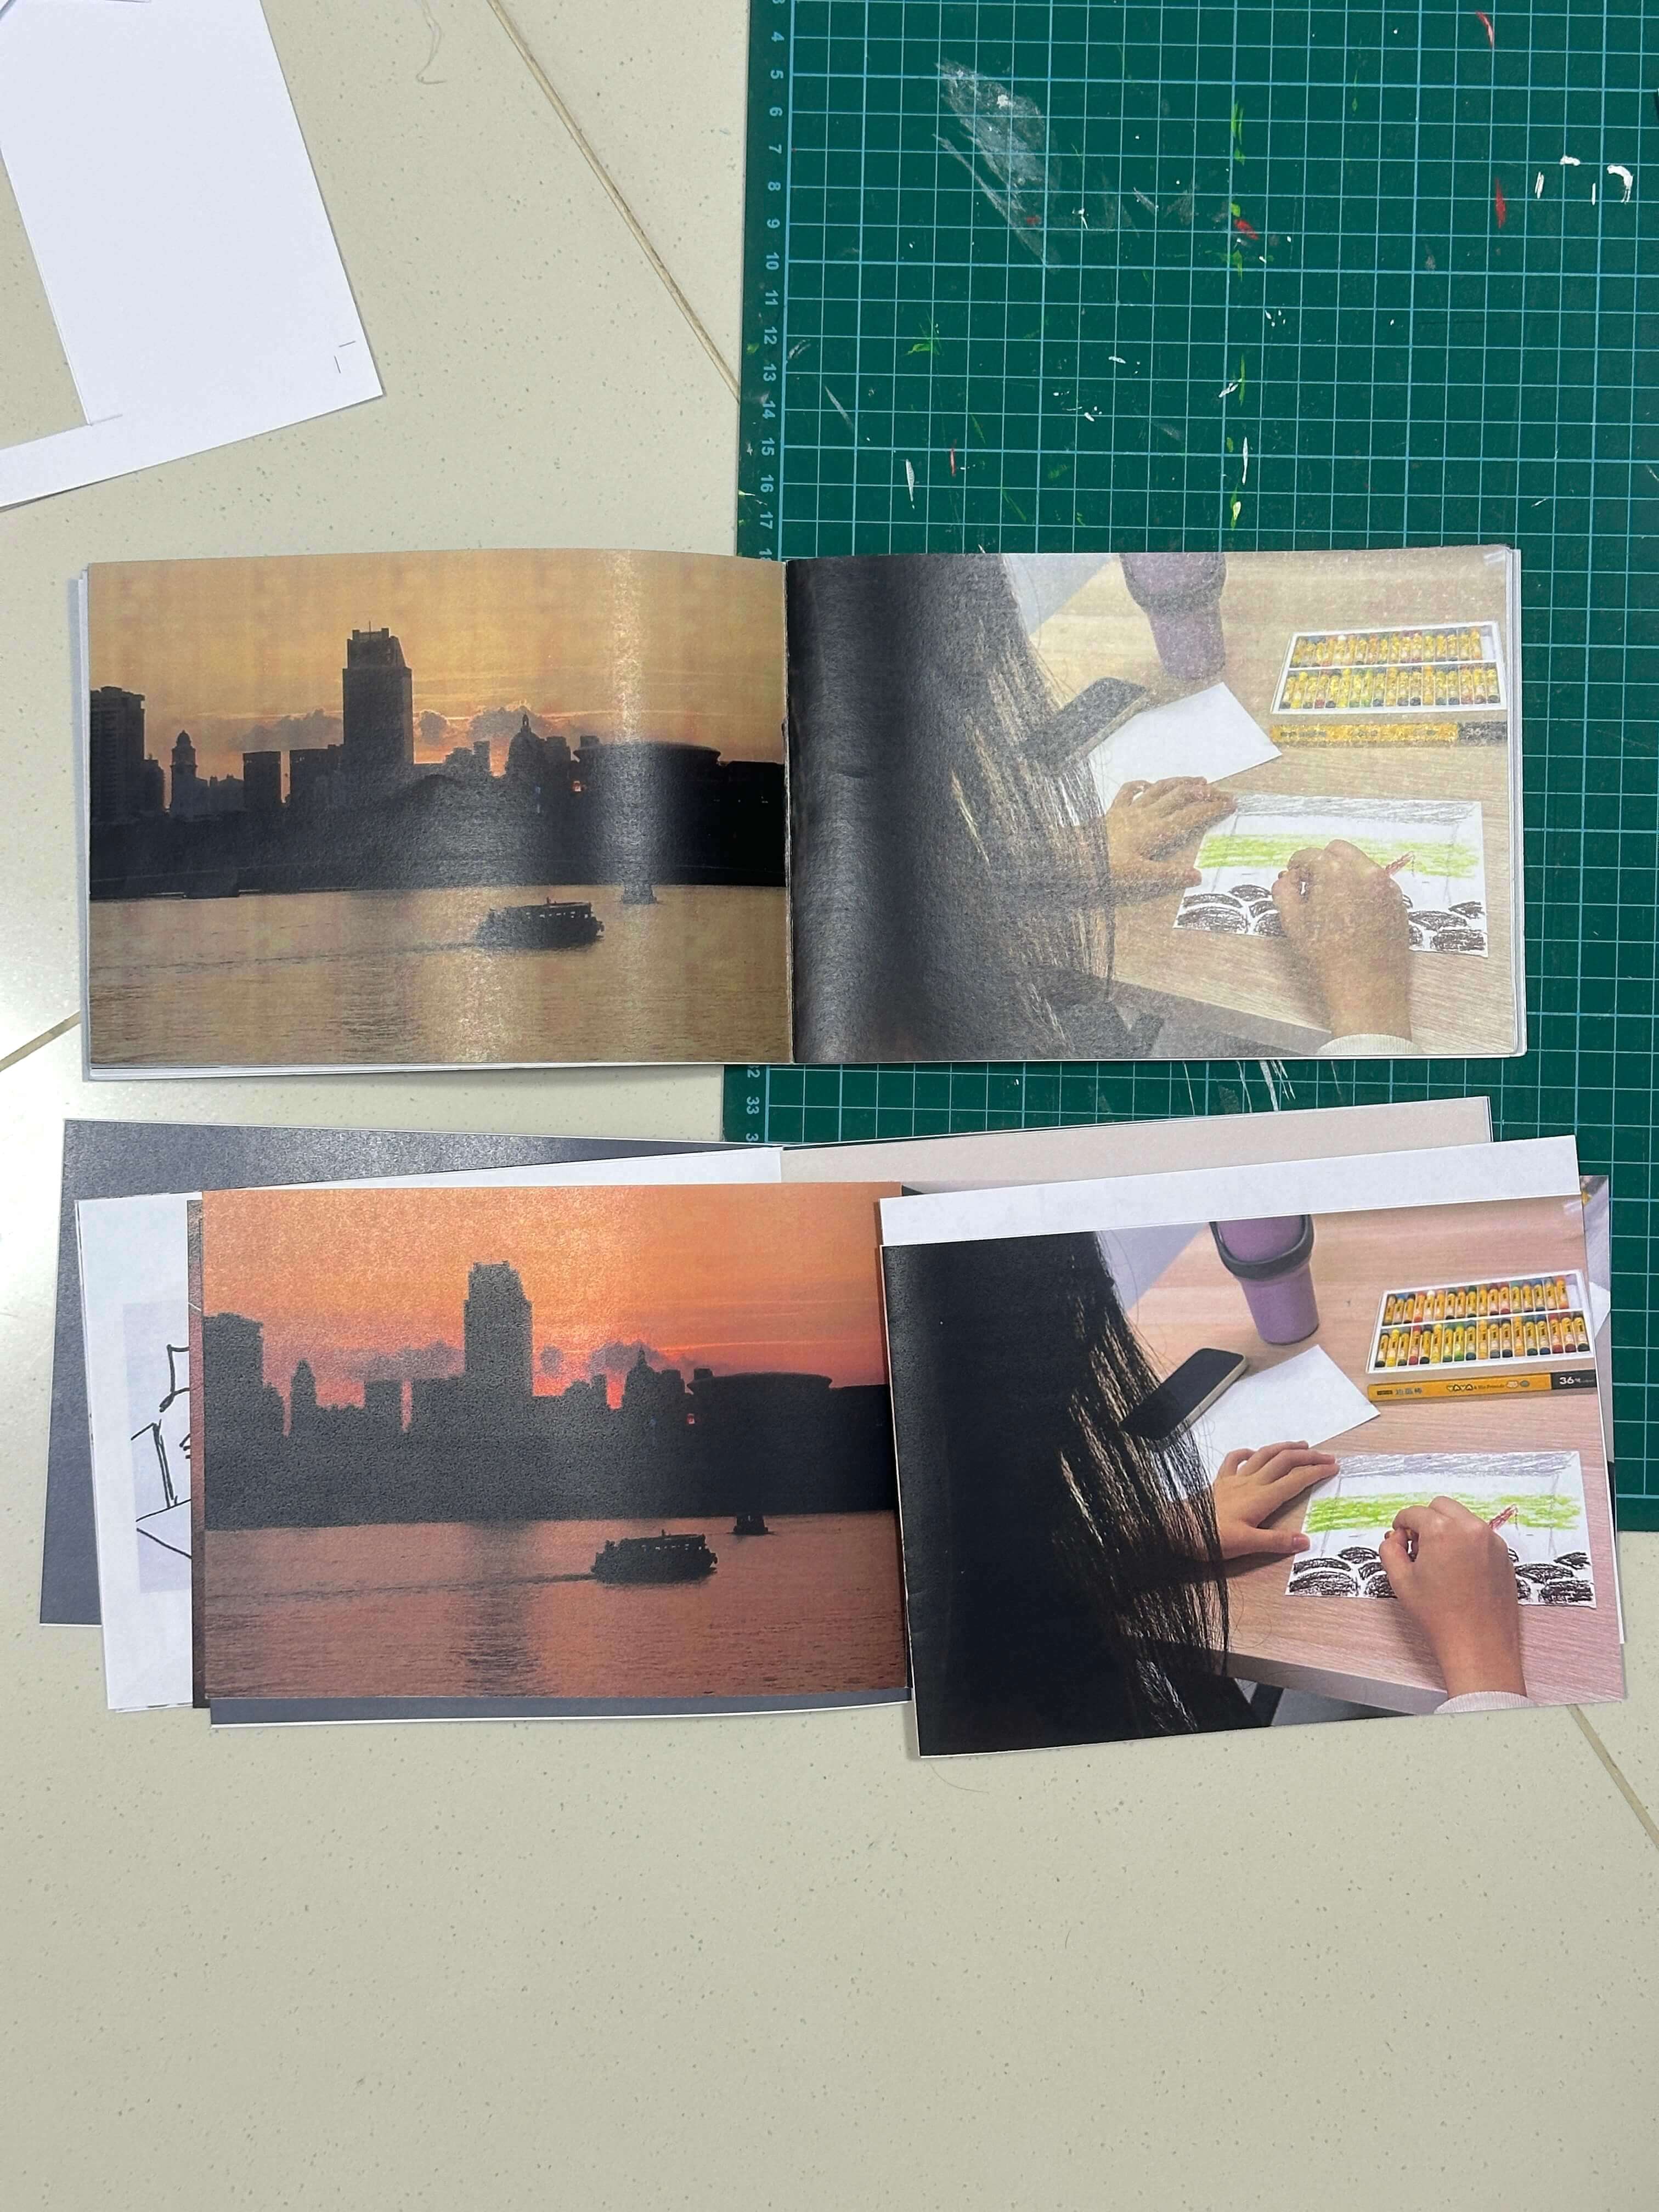
much brighter and saturated
In the midst of setting up...
I borrowed 2 40x40cm wooden planks for my 2 protoypes and a few 6-8mm acrylic sheets from Andreas to ovelay on my descriptions which elevated the overall set-up, making it look more professional, clean and presentable.
changed to the new typeface 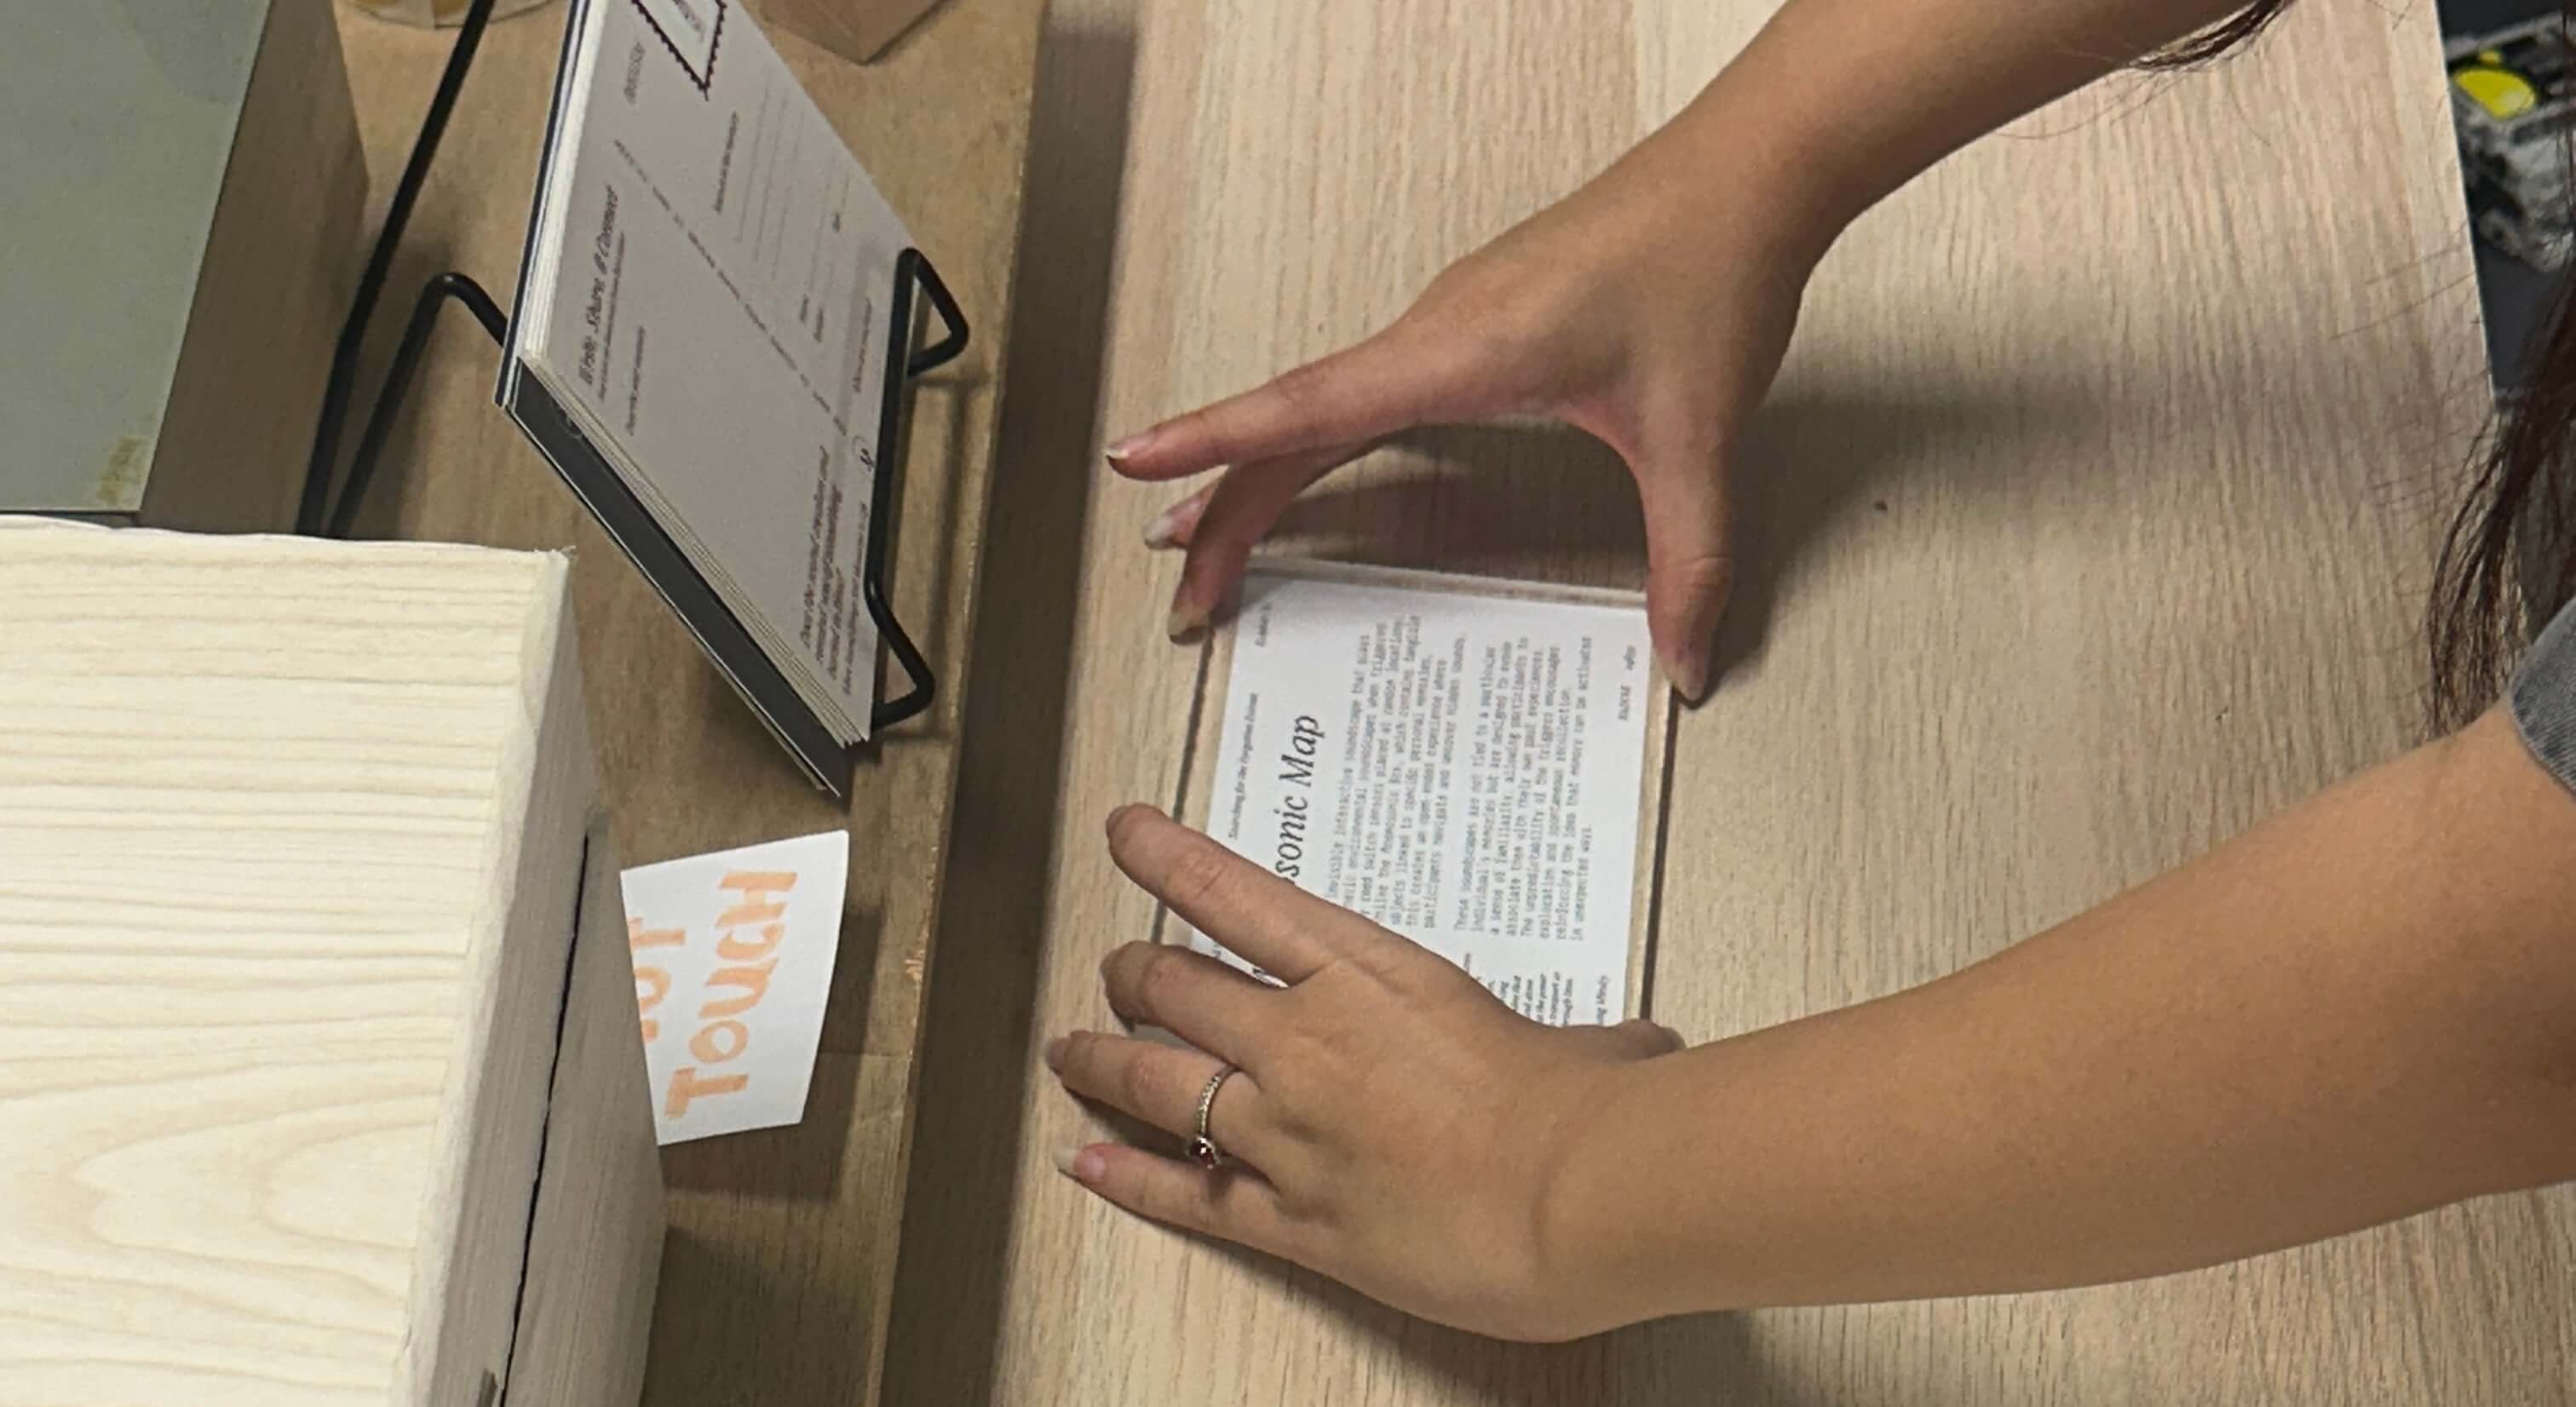
colour saturation difference