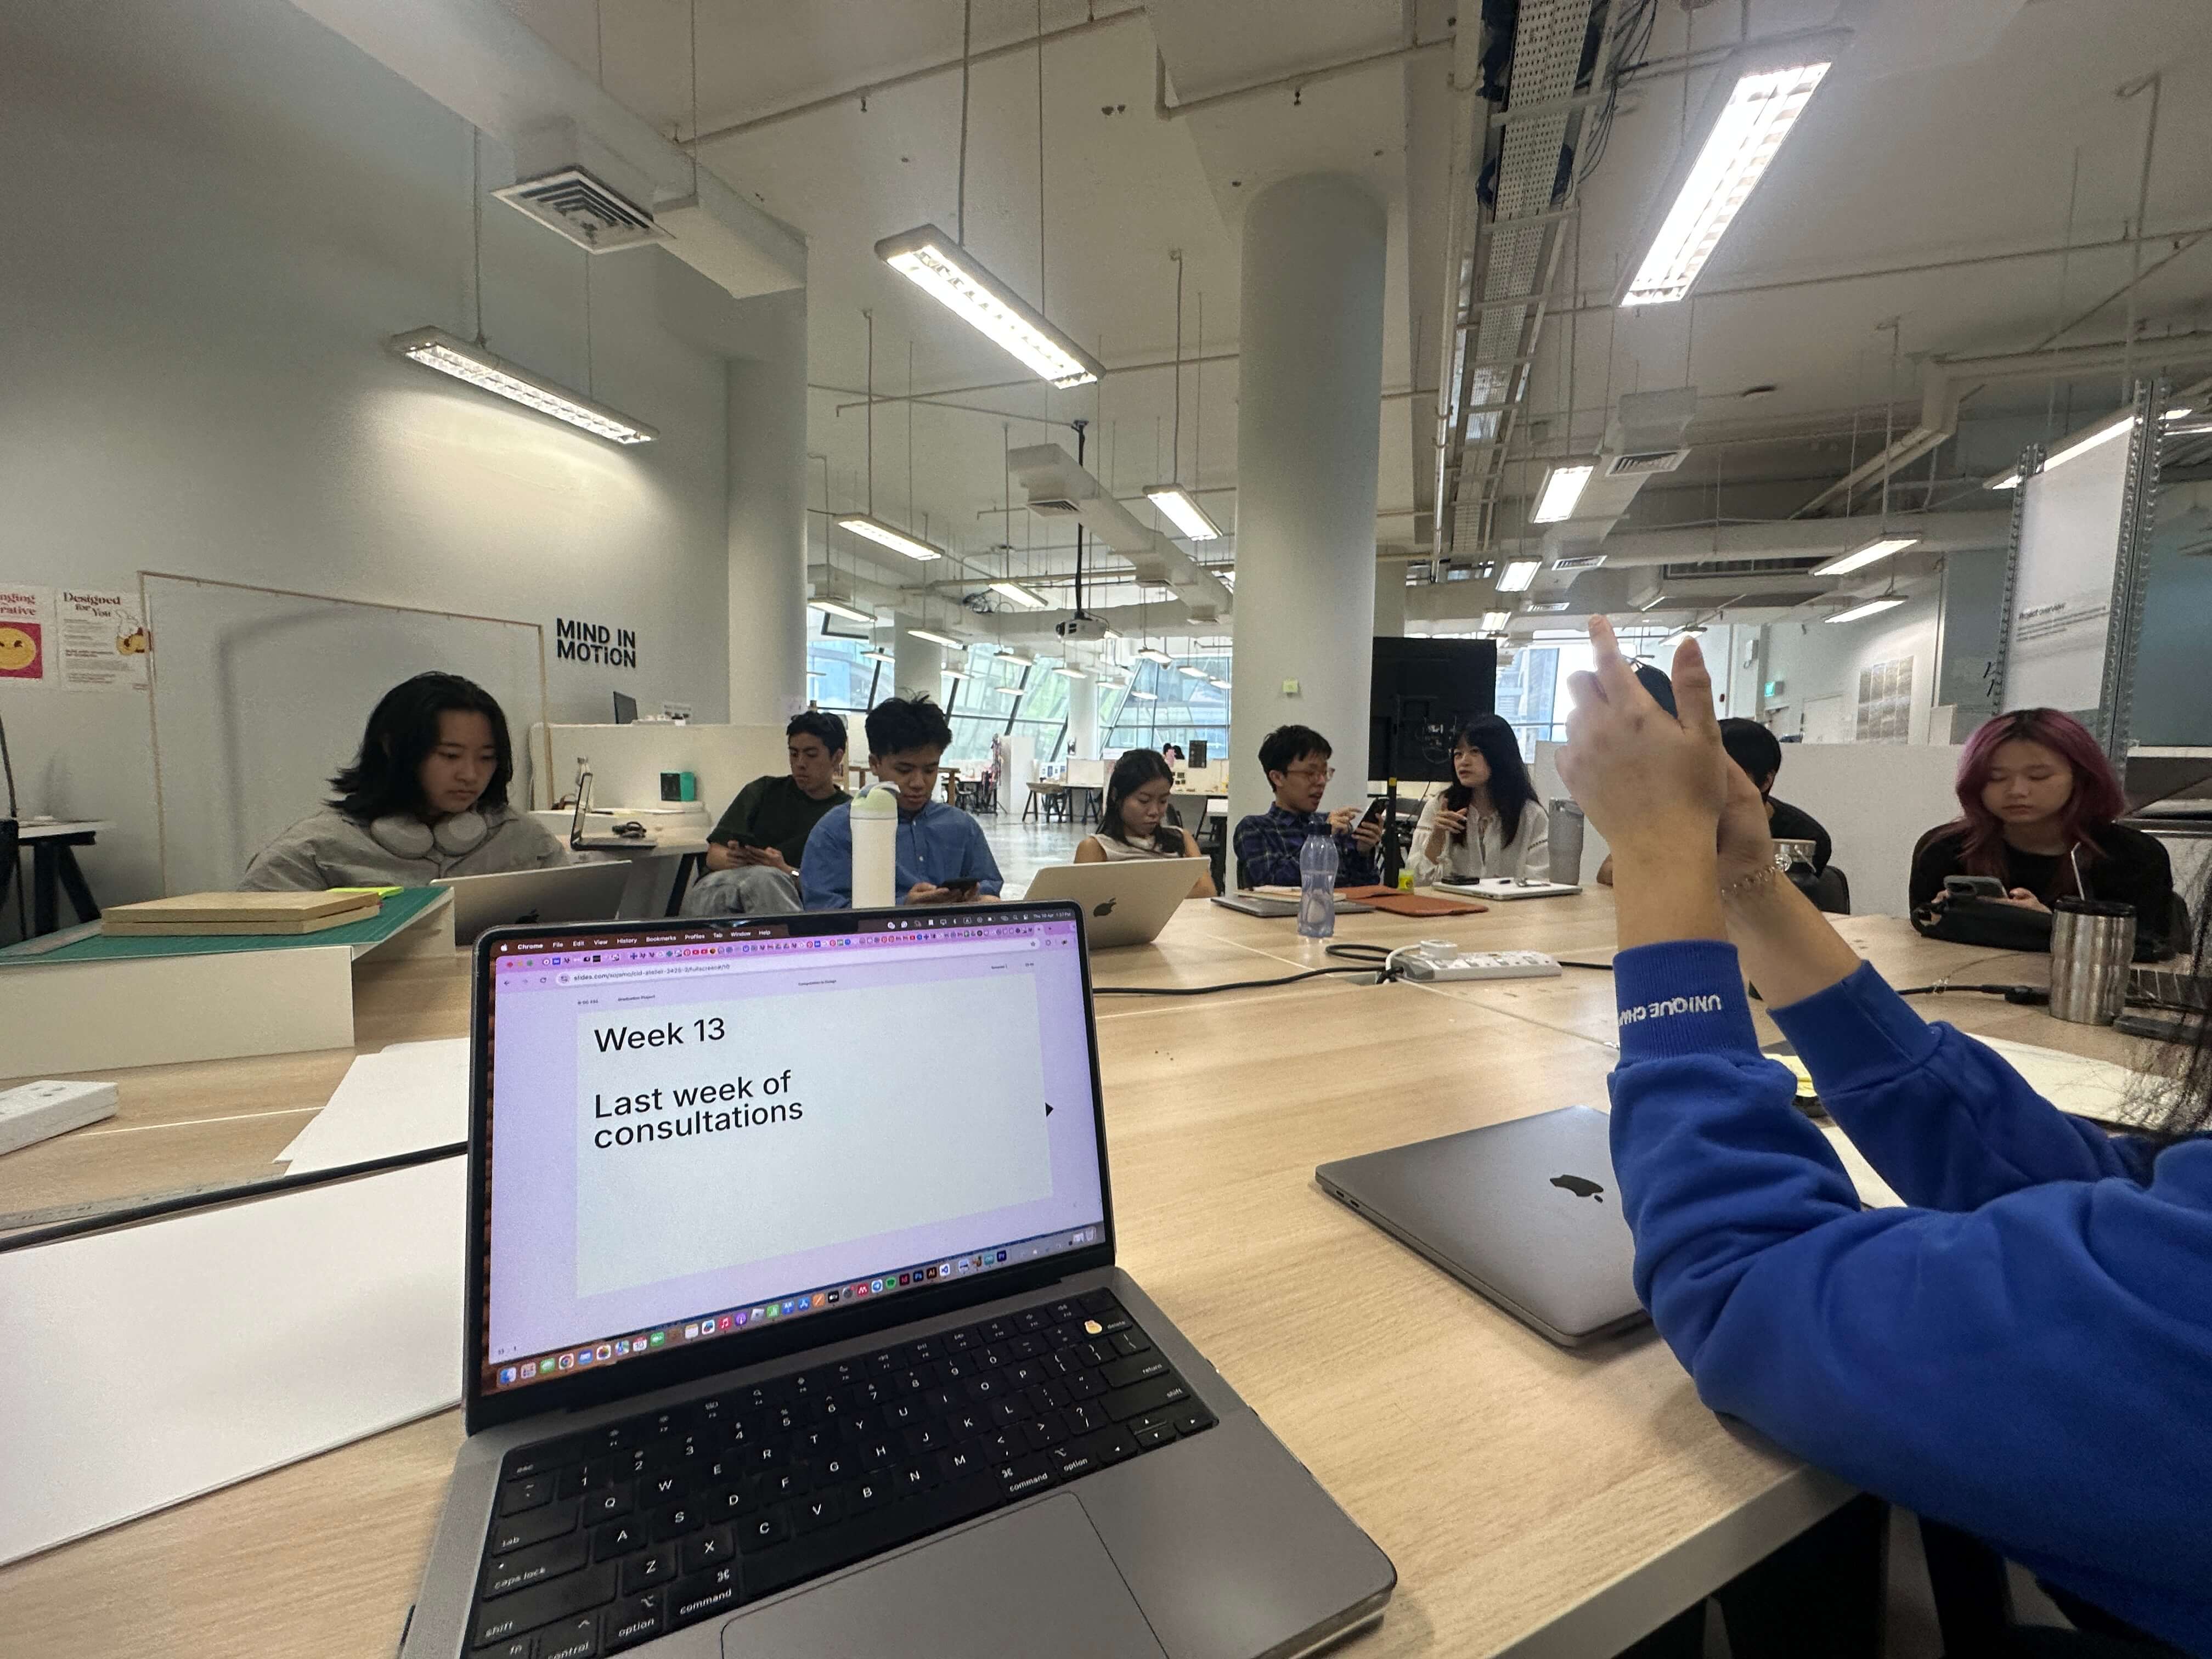
ོ࿐˖✶⊹₊𖦹 W.13 LAST WEEK OF CONSULTATION 𖦹₊⊹✶ ࣪˖࿐ོ
FINAL CONSULTATION (THURS)
This week's focus is to have a final consult with Andreas discussing my challenges and sharing my insights, improving and finalising my experiential prototypes and getting ready for Week 16's set-up and upcoming Viva Voce.
-
Areas I need Andreas' input on:
- ✶ Technical Challenges
(Speaker & Touch-Sound Sensitivity) - ✶ Materials (Magnetic Device)
- ✶ D501 Set-up Visualisation
- ✶ Finishing
- ✶ Photography
Briefing for last 3 ad-hoc weeks before Vica Voce
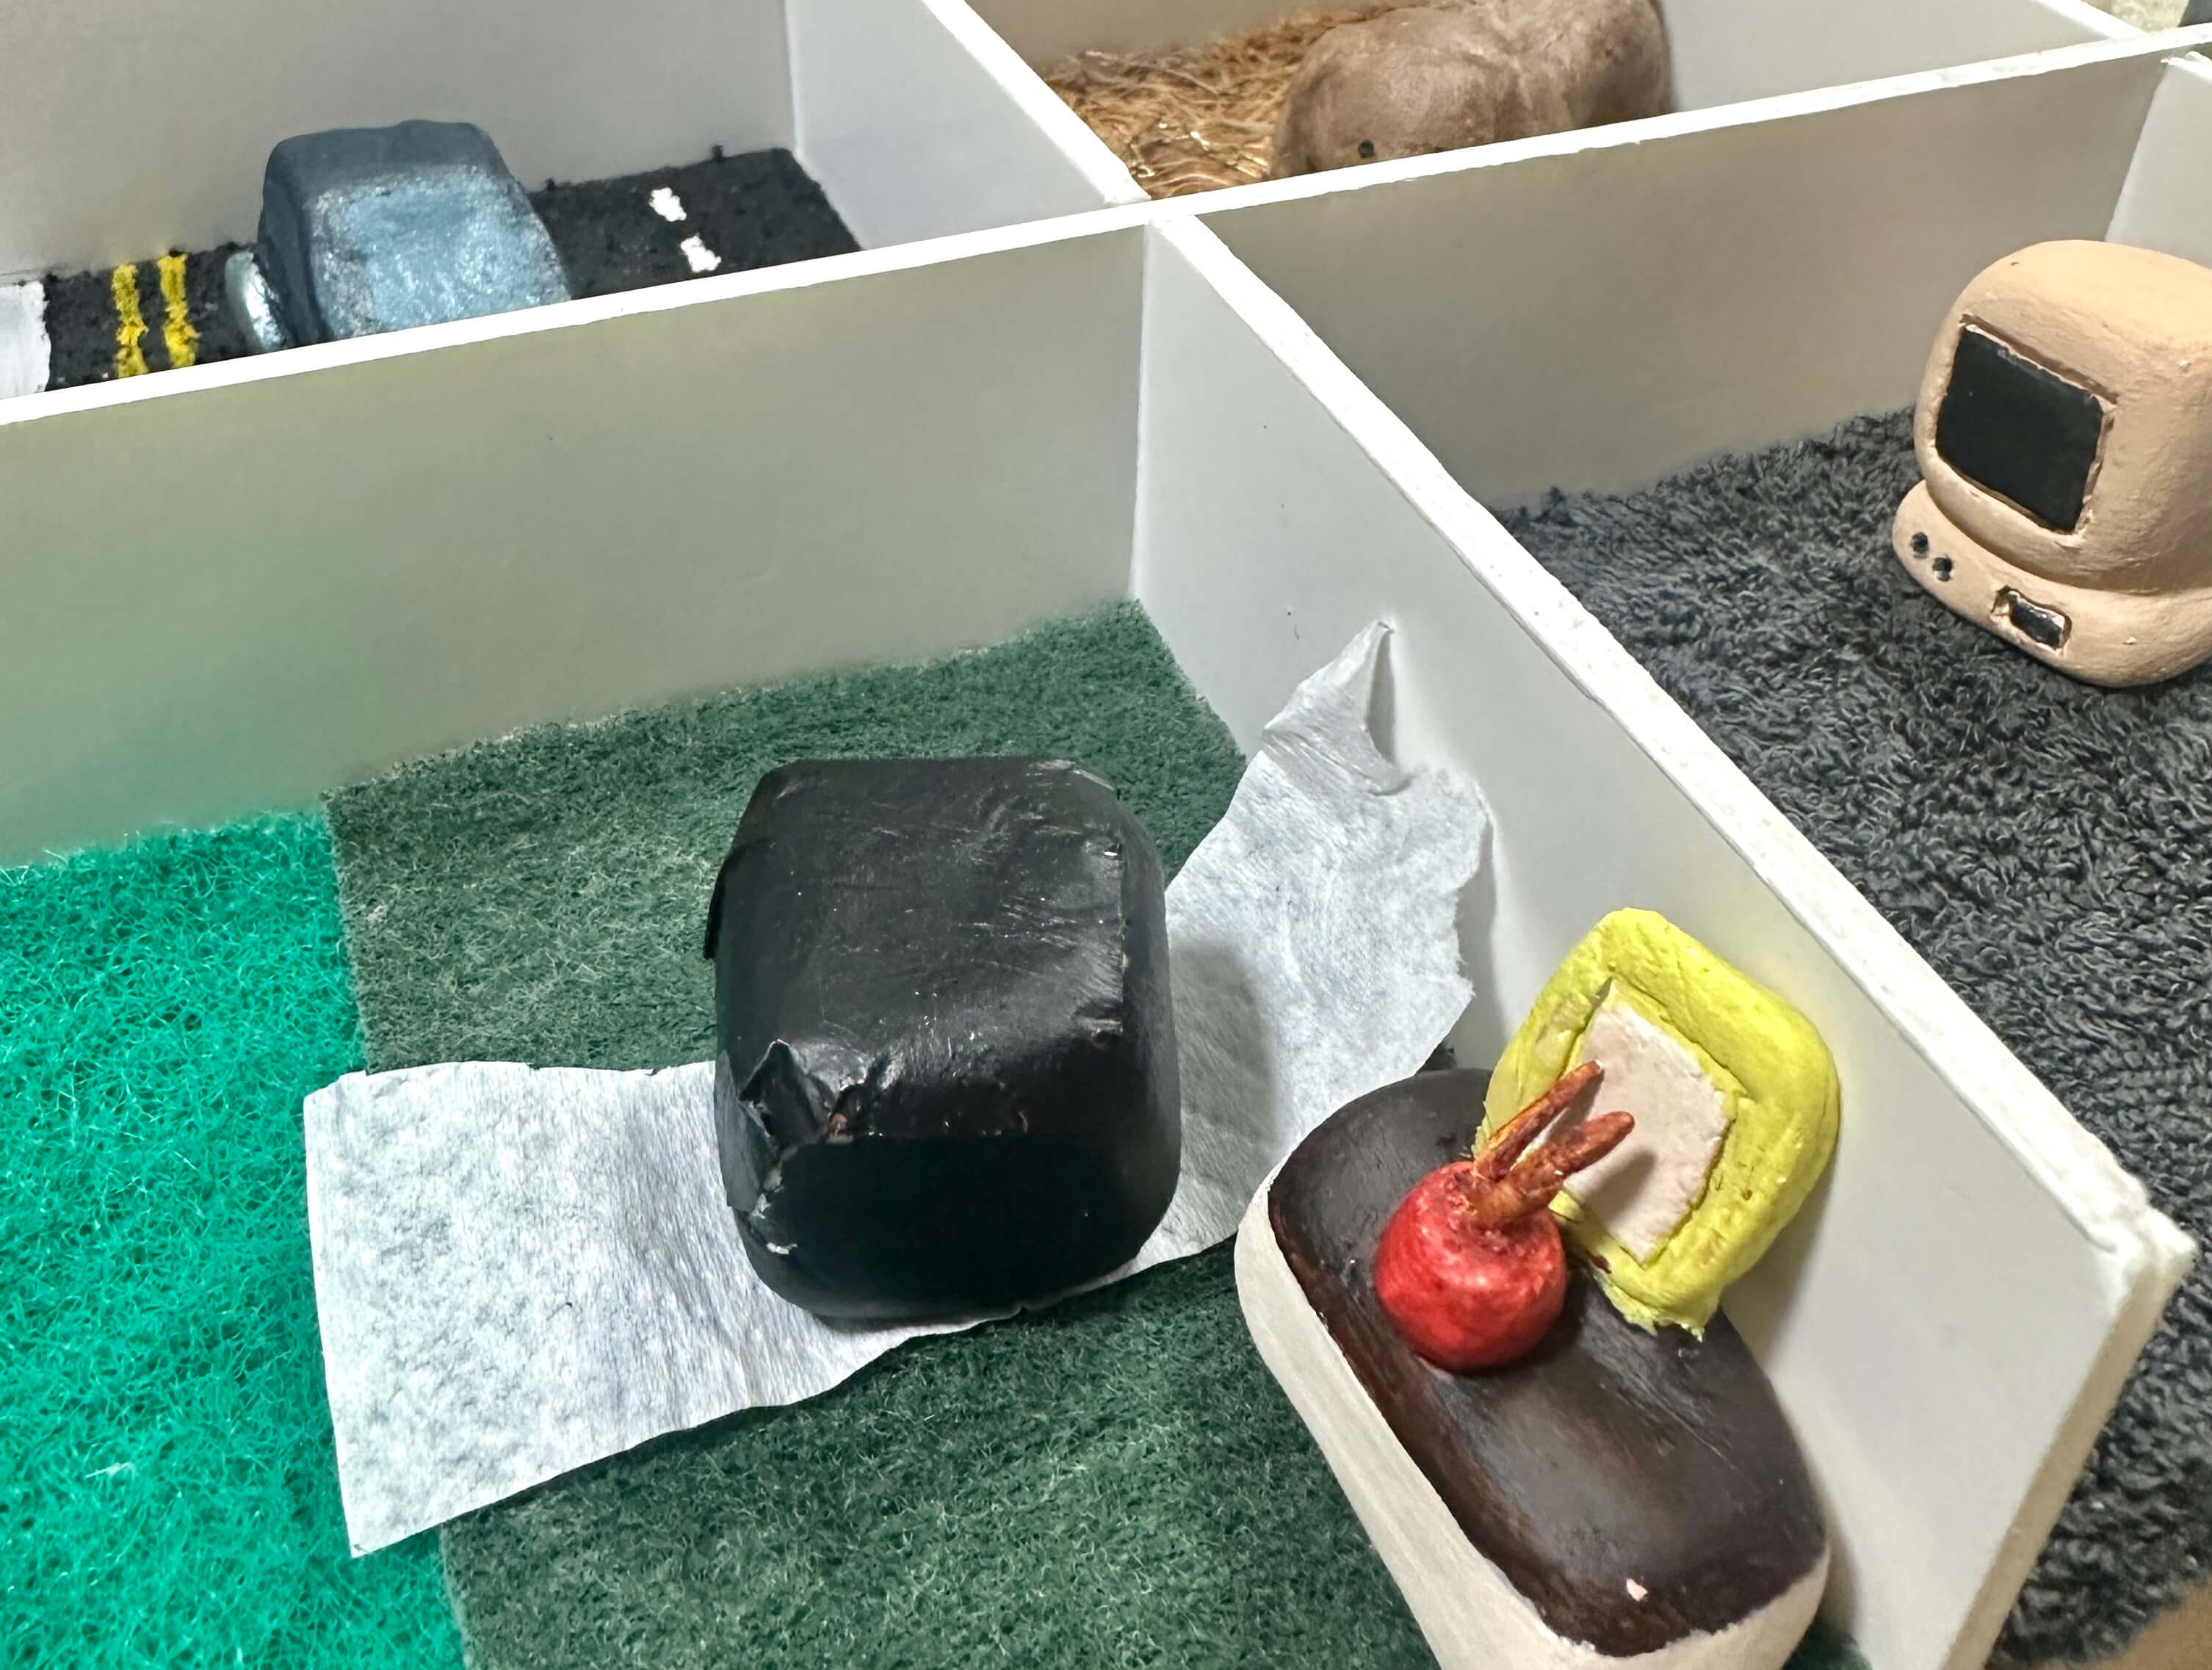
Andreas shared that there were big improvements in my work visually wise, however the set-up space was abit too cramped up.
There should be a clearer separation between introduction, exhibit A, exhibit B and the reflection and thoughts corner. He mentioned that he liked that there were layering in my setup (the shelvings and elevated planks) which I can also implement similar layout for the second showcase at D501. Moving on, I should focus on what I want to improve on by Week 16.
I shared that the explainer video was useful as some visitors actually referenced the video and guided themselves through the exhibits without my guidance as I was away from my table. I was observing from afar as I realised some people were hesitant to approach my table if I was there, which was interesting. Hence, most of the times I decided to only come forward and interact with them if I feel that they are confused or if I saw them wandering around my table aimlessly.
Moving forward, I mentioned that I wanted to edit my explainer video as currently it only serves the purpose of showing how the exhibits work through POV demonstrations, texts and AI voiceovers. I was thinking of adding a short segment at the start for people to understand the purpose of the project and enhance its relatability by introducing a storyline. For eg. 'We are always so caught up in technology in this fast-paced world, when was the last time you ever paused and listen... to the sounds around you?' The tone would be more poetic, warm, calming and thought-provoking to match the ambience of the project. Also, instead of using AI voiceovers, maybe I could use my own voice to narrate the video to give it a more personal and human touch.
Areas of focus Week 13-16:
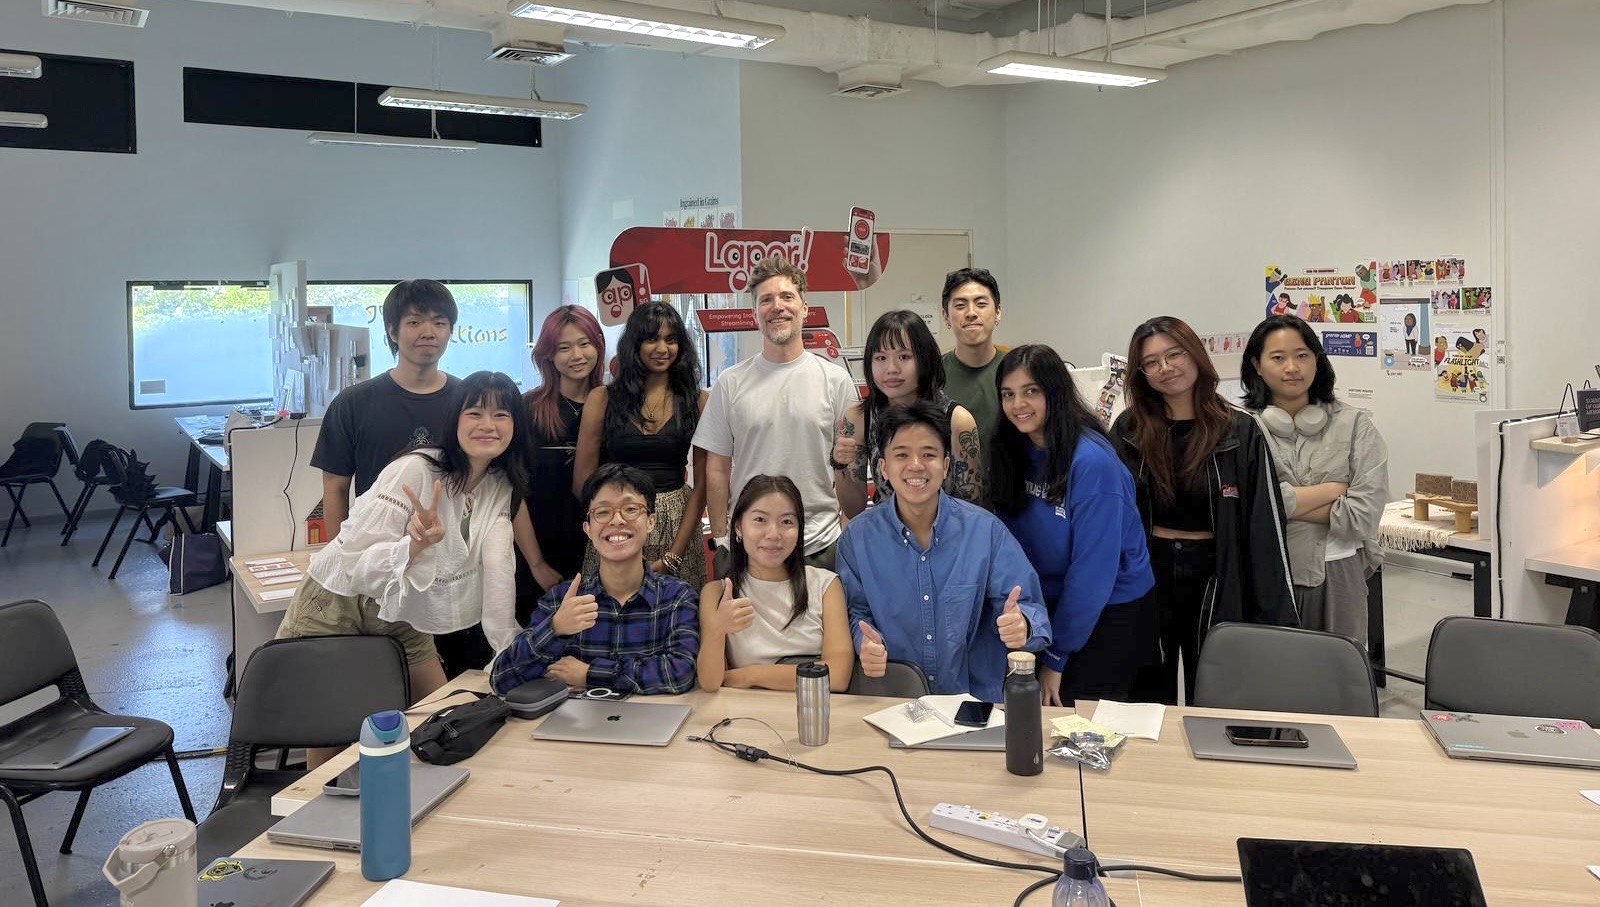
Class BADC6E 2025!
MAGNETIC DEVICE DESIGN (Ideation draft Sketches)
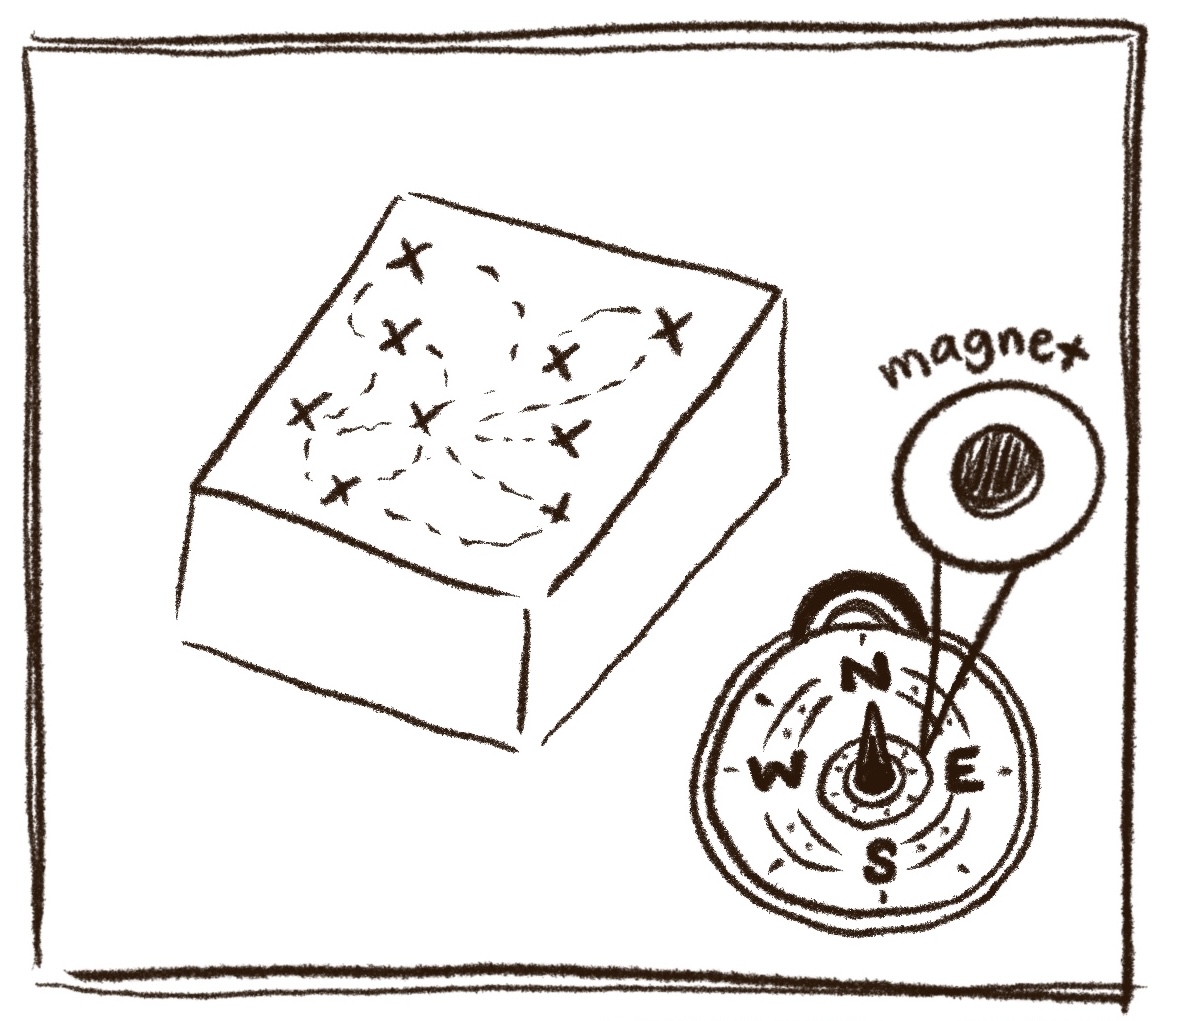
idea 1 - compass 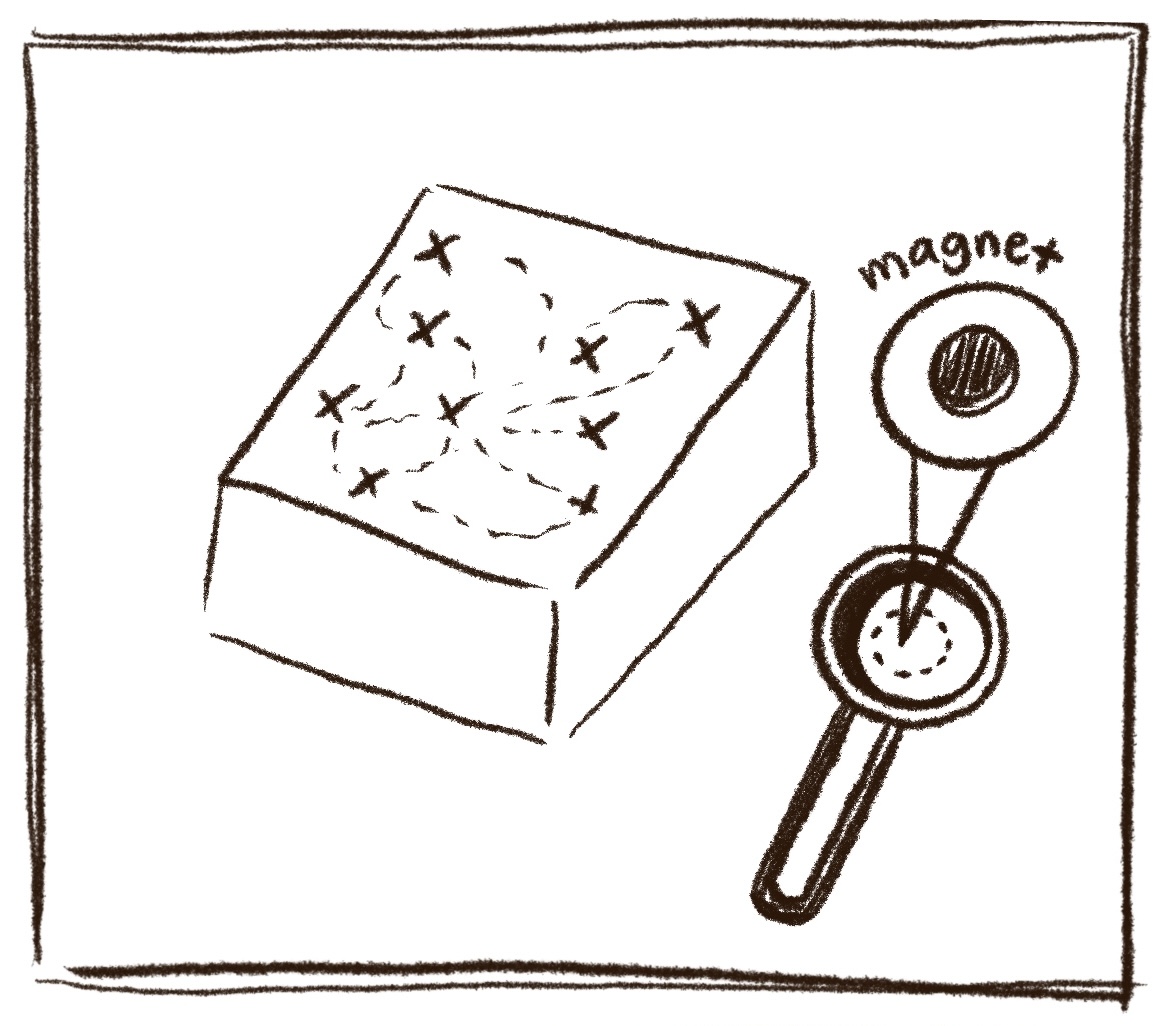
idea 2 - magnifying glass 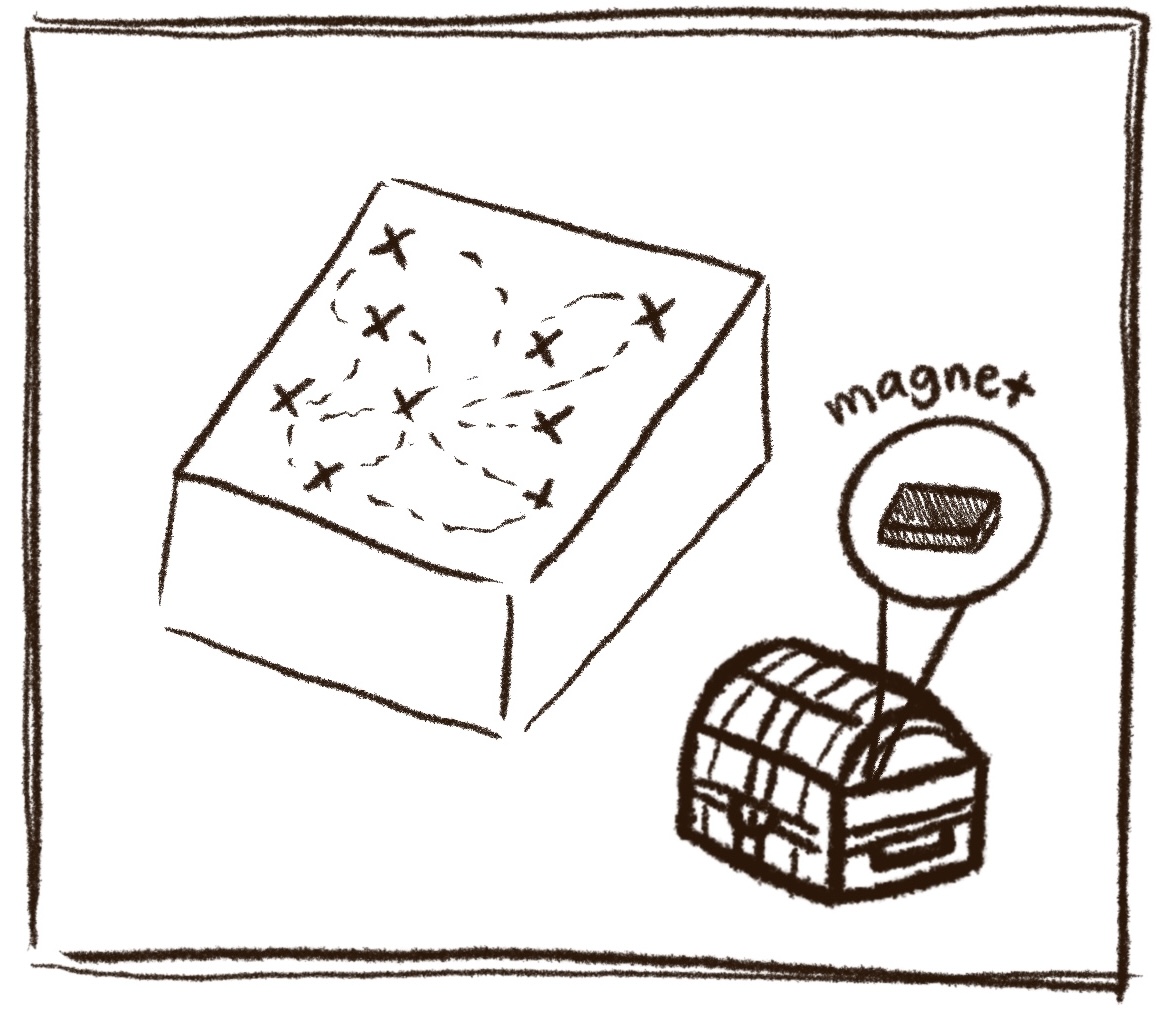
idea 3 - treasure chest 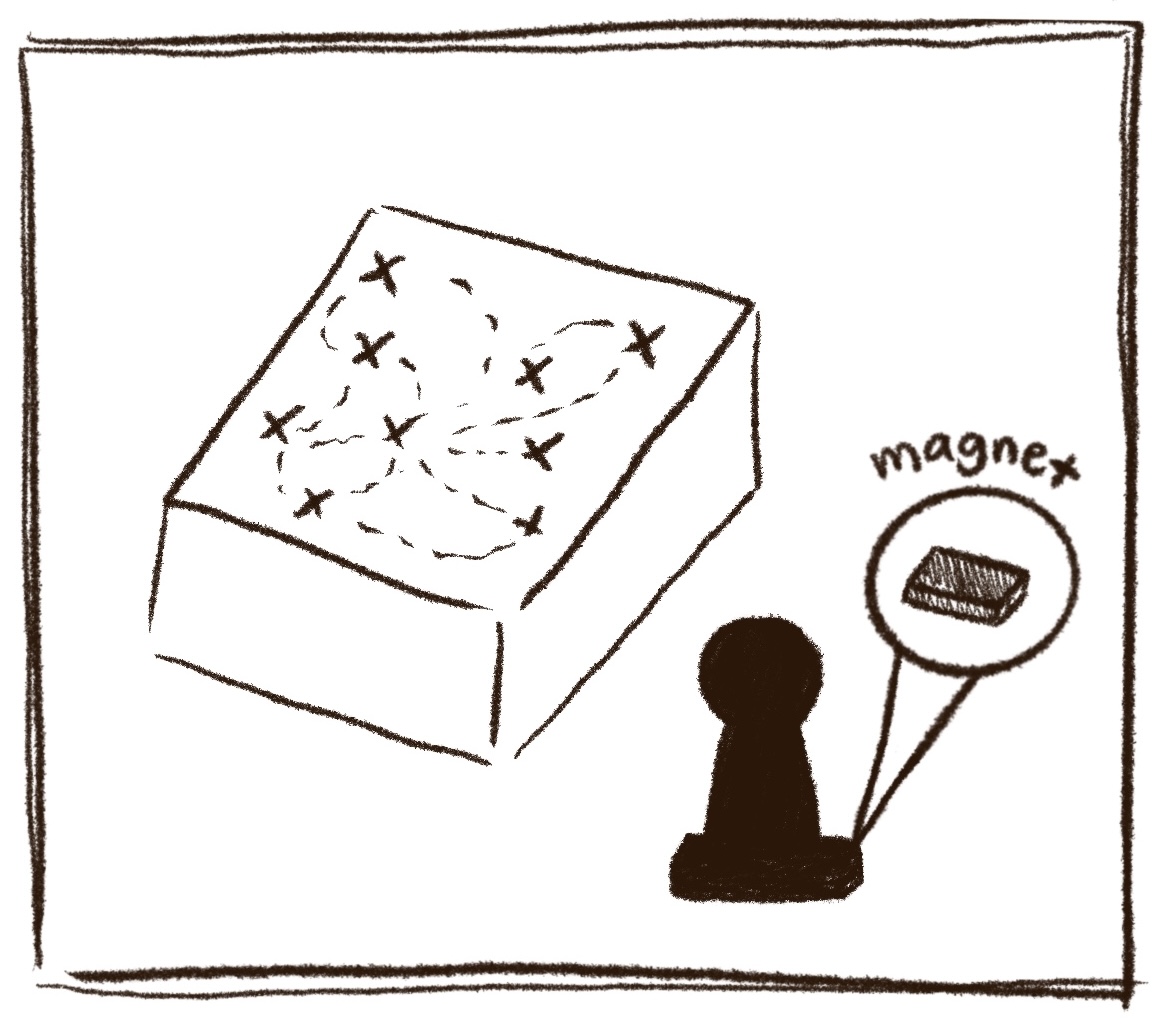
idea 4 - human chess pieces
I had 2 magnet shapes one circular and one rectangular and I took the time to ideate and sketch out some ideas for the magnetic device. The whole idea is to hide the magnet but still retain its magnetic sensitivity. I was thinking of using a compass, magnifying glass, treasure chest and chess pieces as the shapes for the magnets. I thought it would be interesting to use a compass as it relates to the theme of memory and exploration, while the magnifying glass is a symbol of discovery and curiosity. The treasure chest represents the idea of hidden memories and treasures, while the human chess piece is a representation of ourselves.
Upon further considerations, I decided to go for draft 4 - the human chess pieces as I thought the idea of the participants seeing themselves as the chess pieces was interesting and most easiest to relate to. They will move around the map to uncover different soundscapes just like the real world where we walk around different places and hear different sounds, creating different memories. The human chess piece also makes sense as the Mnemosonic Map is a more intuitive and kinda gamified experiential prototype compared to the Mnemosonic Box, so participants would know that they are supposed to move around the map to find something at first glance.
Laser Cut Visuals MNEMOSONIC MAP
So I actually thought of 3 ideas to have the visuals on the Mnemosonic Map. The first one was to draw the visuals on the map itself, the second one was to have the visuals printed on it and the third one was to have the visuals laser cut out of the acrylic sheet. I decided to go for the third option as I thought it would be more interesting and visually appealing. The idea is to have the visuals laser engraved on the acrylic sheet so that when the participants place their magnets on top of the visuals, the visuals will not be so obvious so as to not give away the location of the sounds and still encourage participants to explore the map without guides. I have not used the laser machine before so I was looking forward to using this time to at least try it once before I graduate.
When choosing the acrylic sheet I was considering between 1mm and 2mm. My main concern was that the magnet would not be strong enough to trigger the reed switches if I used a thicker acrylic sheet. I was also worried that the 1mm acrylic sheet would be too thin to laser engrave or the overall look would not be as nice as having a thicker one. In the end, I decided to go for the 1mm acrylic sheet as I thought it is safer to use a thinner one in case there's problem which sensitivity (which would be a big issue) and I can always add a layer of 2mm acrylic sheet on top of it to make it look thicker.
After purchasing it, I then tested out the magnet sensitivity by placing the magnet on top of the acrylic sheet and seeing if it can trigger the reed switch. I was surprised to find that it actually worked! I was so relieved as I thought I would have to go back to the shop to get a thicker one. I also tested out the location of the 'X' on the map and it was accurate (only slightly off by 1-2cm), but it doesn't affect the results which was great. However, I realised the 1mm acrylic sheet already had some issues with the magnetic sensitivity randomly at different locations on the map but most of the times it still worked fine. Hence, I was so relieved that I did not go for the 2mm acrylic sheet as I think it would have definitely been a bigger problem.
I was really happy with the results and I can't wait to see how it looks like when it's all put together. I think the laser cut visuals will add a really nice touch to the Mnemosonic Map and make it more profesional for a final experiential prototype. I am now excited to learn how to use the laser machine.
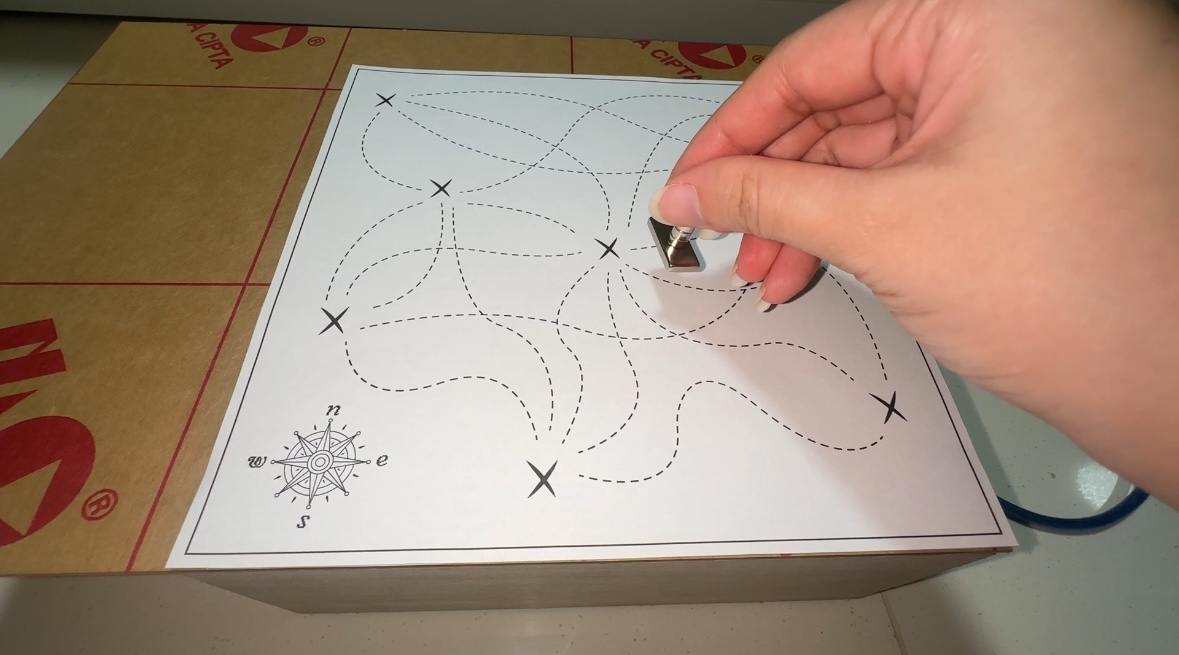
testing the magnet sensitivity above a 1mm acrylic sheet testing to see if the location of the 'X' are accurate
Improving the
TOUCH SENSITIVITY
Now, I am pondering over how to solve the biggest problem that surfaced during last week's Open Studios, where there were quite a few clay objects that were not sensitive to touch at all. When visitors were pariticipating in interacting with the objects, there was either no sound playback when the objects were being touched, or it requires them to touch specific areas, or multiple times before sound starts playing, which unfortunately made the experience less engaging and immersive.
This even led to a few visitors giving up and leaving the table without even trying to touch the objects. There was one visitor who even tried lifting up the clay object too high and with too much strength, (even though I specifically emphasised gently) which caused the things inside the clay object to fly out and the clay object together with the whole copper wire underneath was completely out of the box. I was so shocked and felt so bad for the visitor as I was worried that they would think that the clay object was broken and not working or if it was poorly made. I quickly reassured them that it was not their fault and that it was just a technical issue with the clay object. I also apologised for the inconvenience and explained to them how the clay object works, which made them feel better.
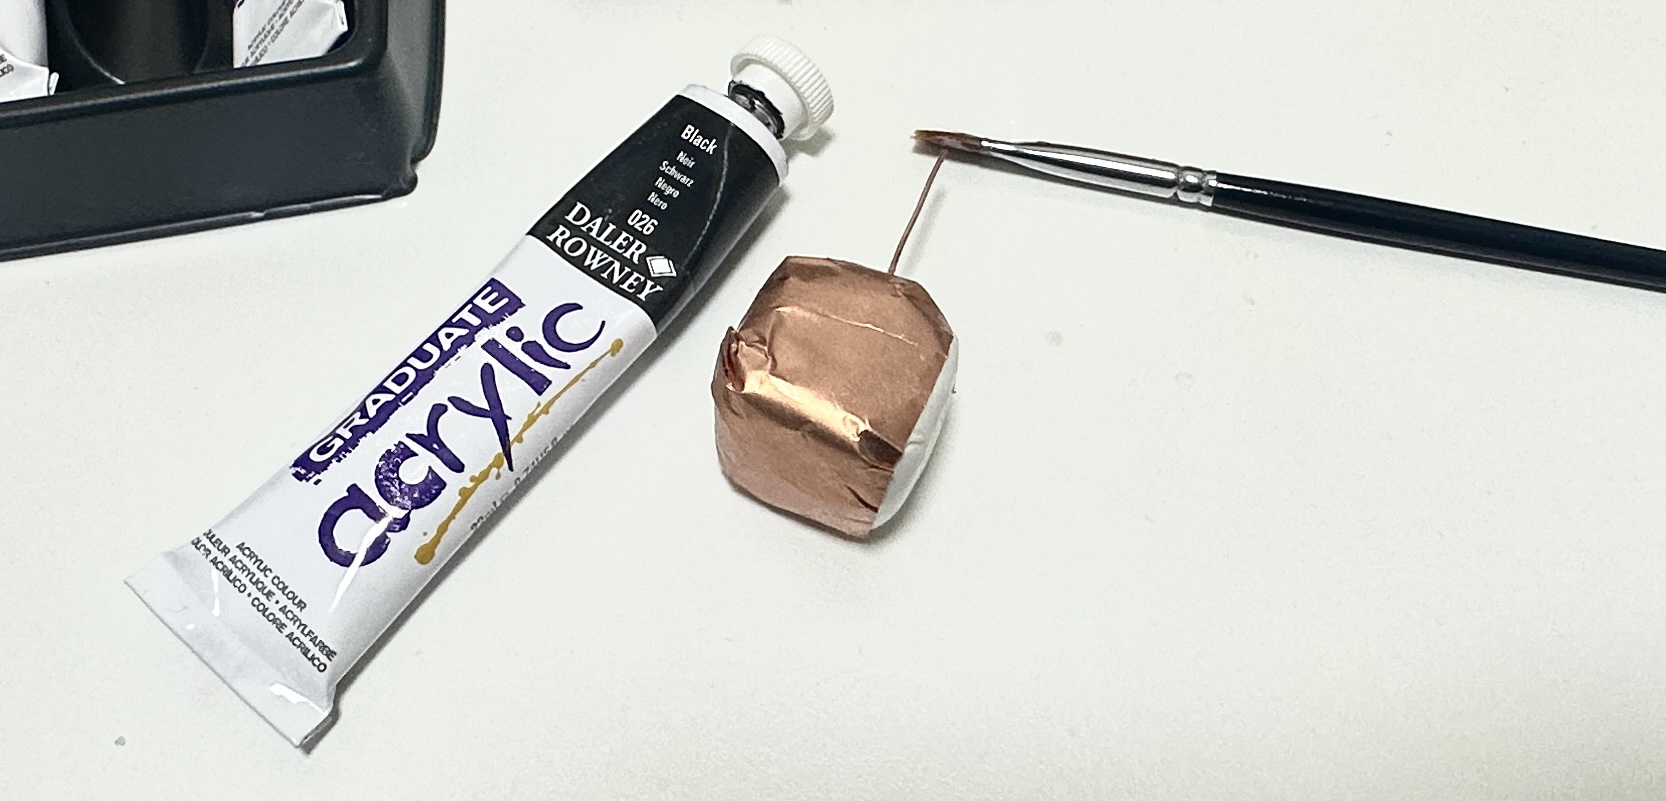
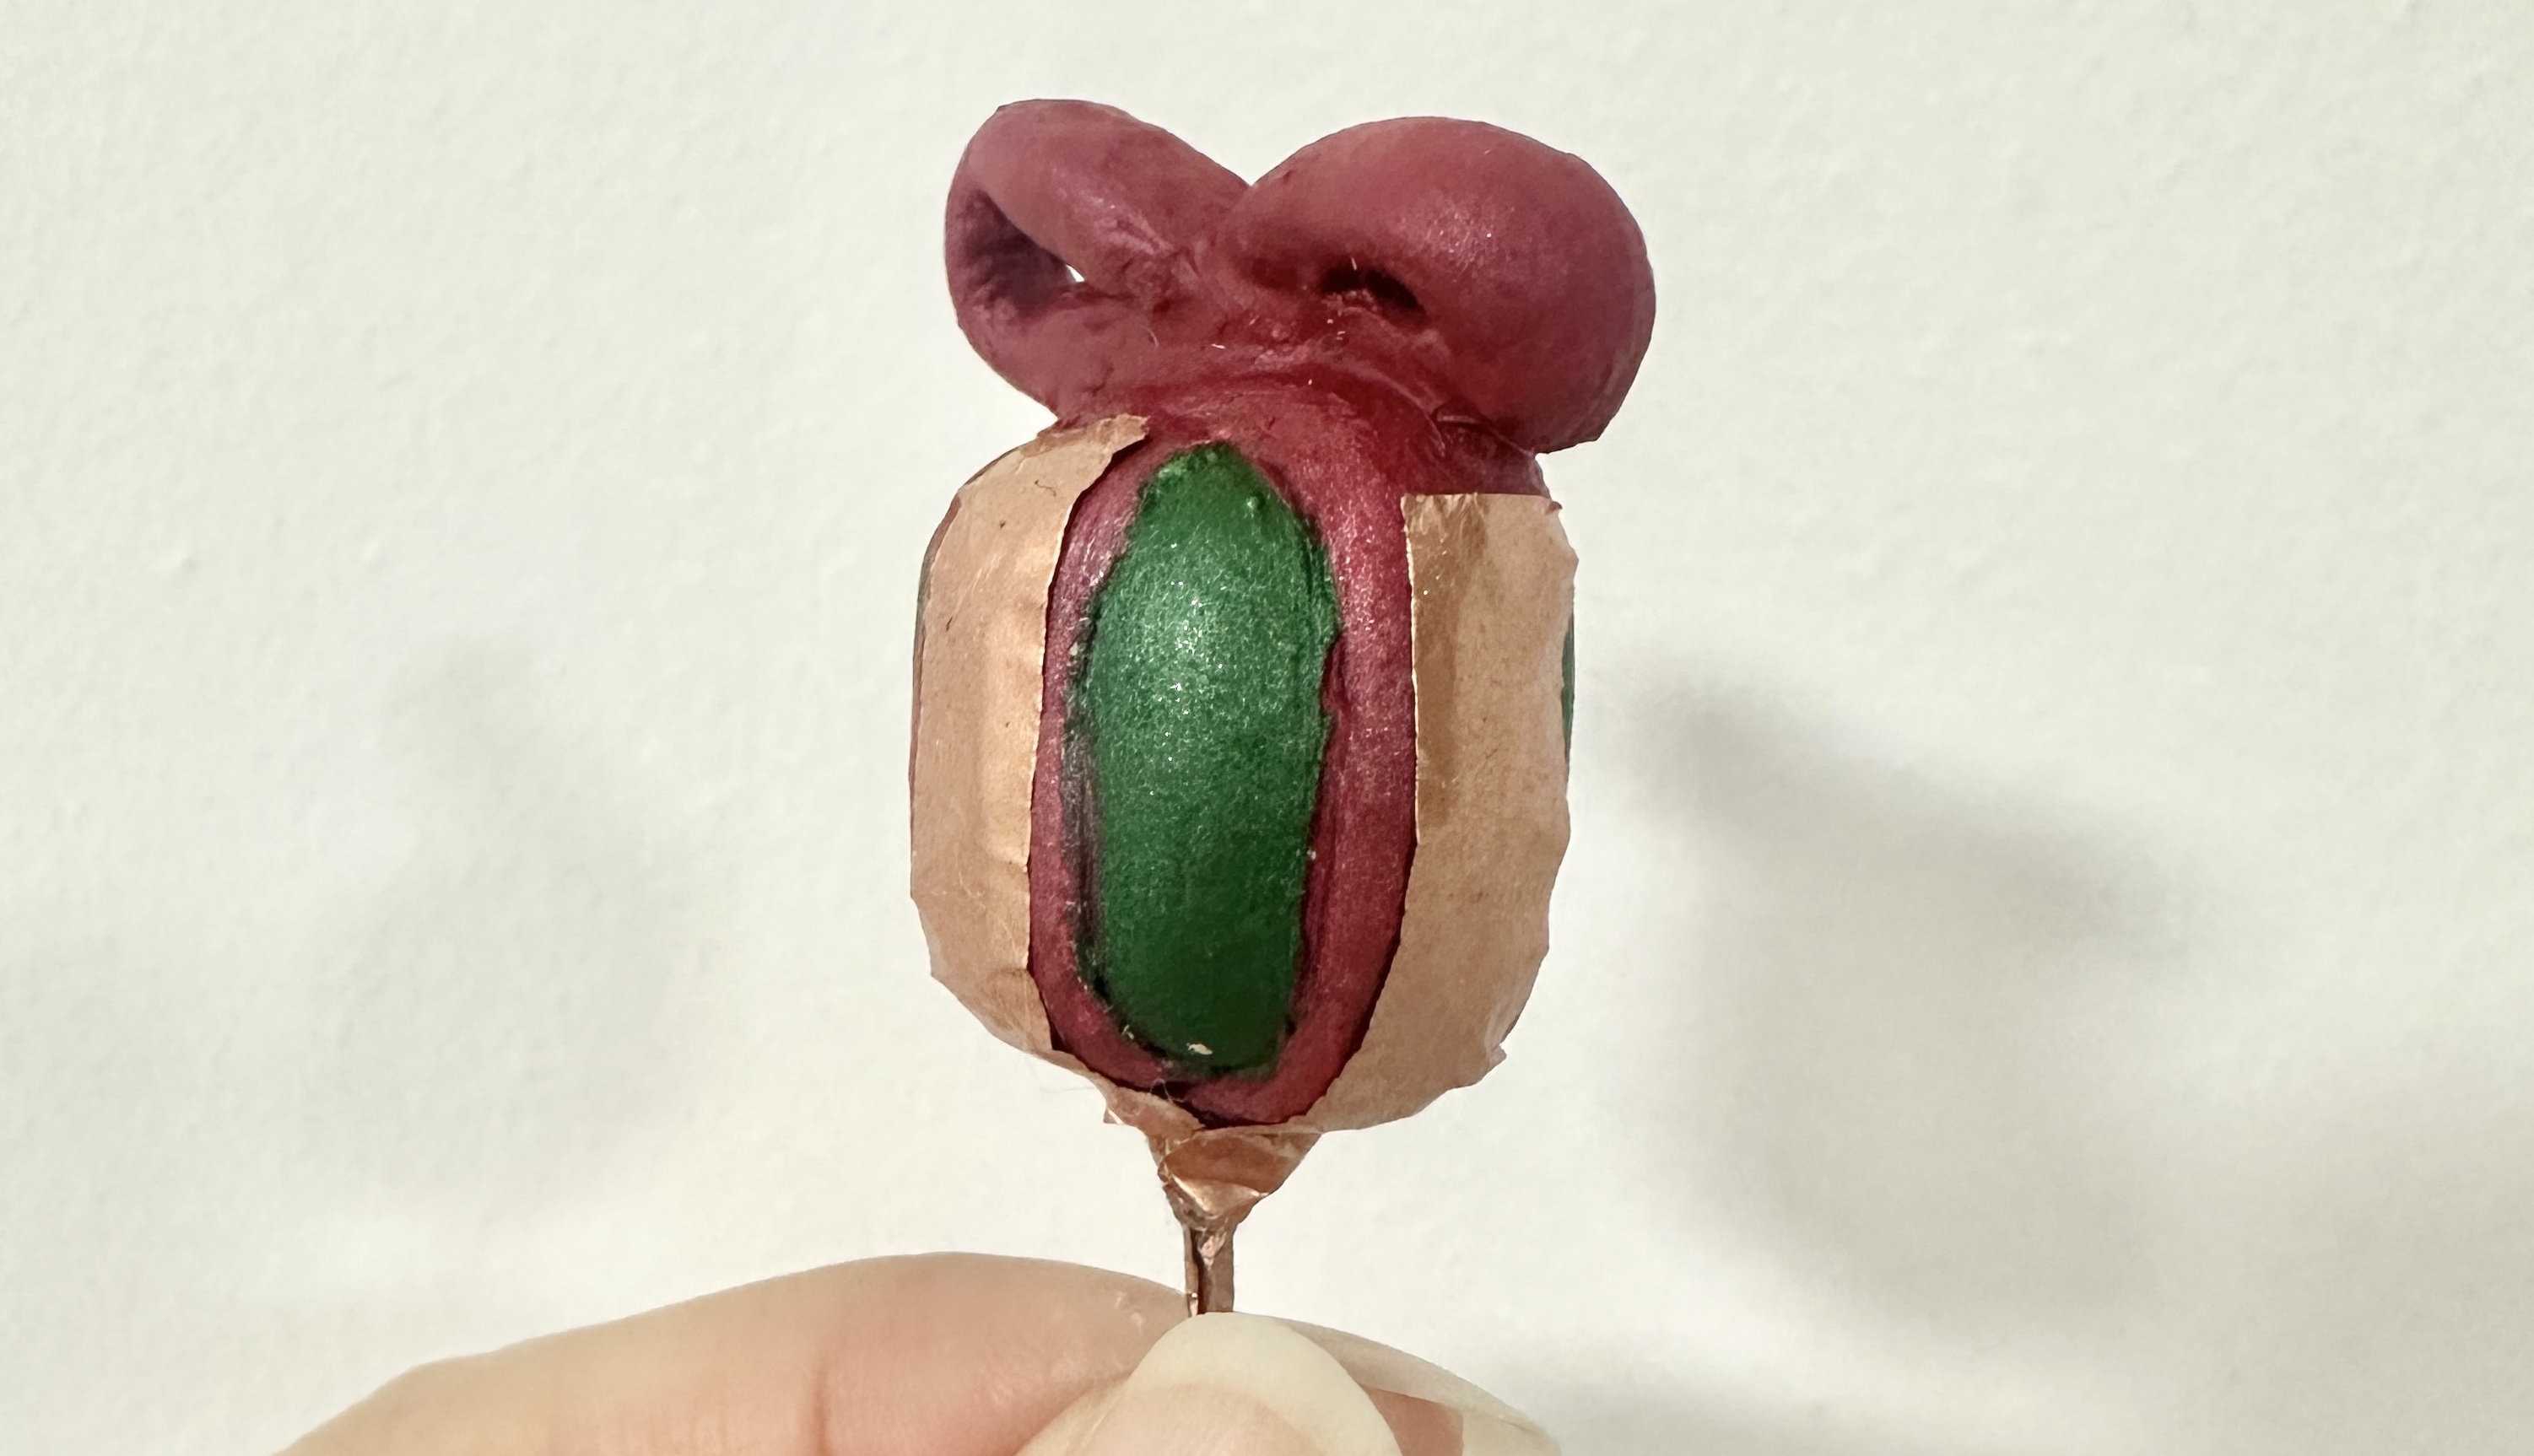
After this incident I was really worried that this would affect the overall quality and experience of the project and I was determined to find a solution to this problem. I spent a lot of time brainstorming and researching different ways to improve the sensitivity of the clay objects, but I was not sure if any of them would actually work. I was thinking of using copper tape to improve the sensitivity of the clay objects, and eventually took it to the test. I decided to test it out by pasting copper tape all over a test clay object and painting over it with black acrylic paint to see if it would still work. To my relief, it ended up working so well - the sensitivity is now 10x better! The sound playback was triggered immediately when I touched the object without having to lift it up and touch the bottom copper wire. I was so glad that I finally found a solution and fixed the problem.
Improving the
VOLUME CONTROL and
SOUND QUALITY
- ✧ Volume Control
- ✧ Sound Quality
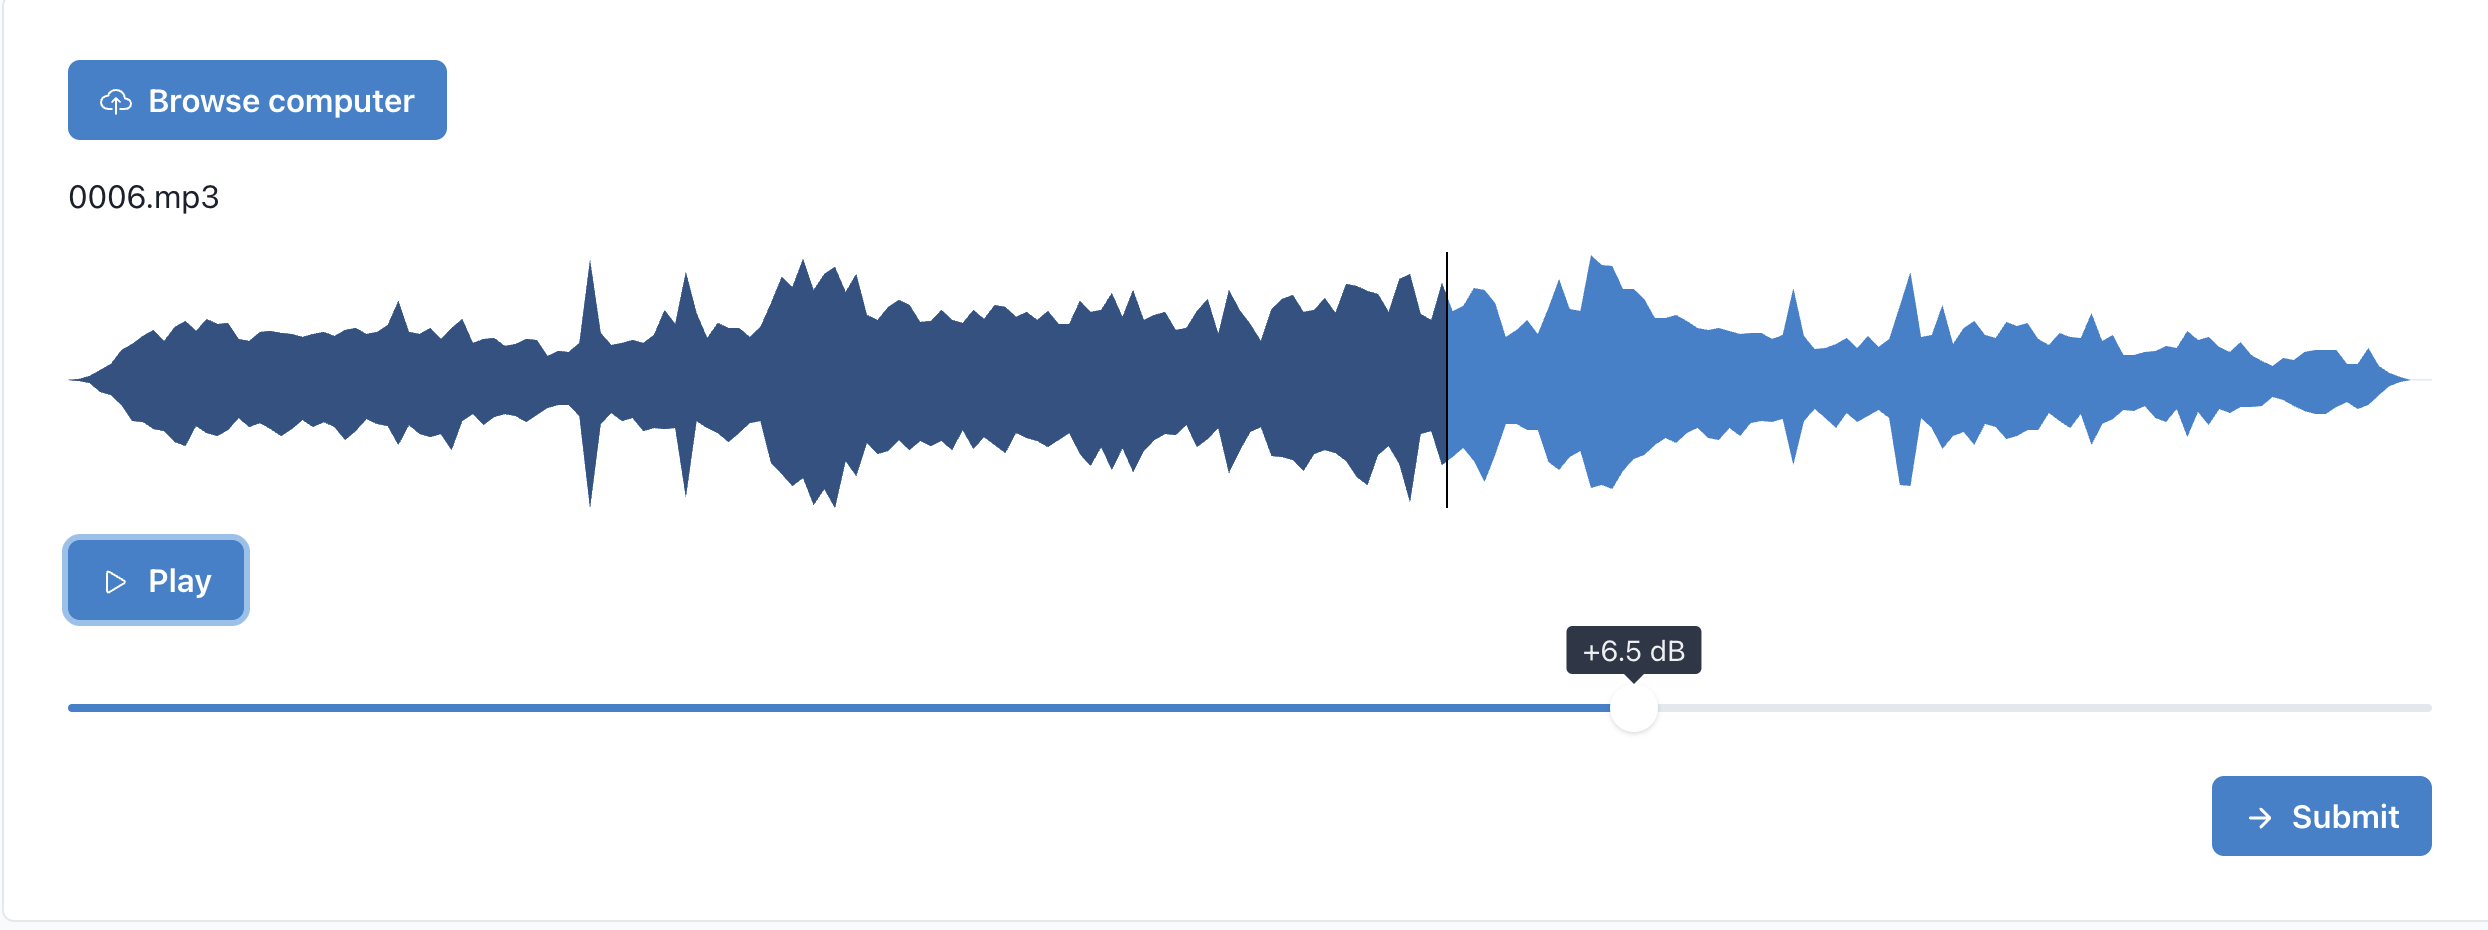
So there were also times during the Open Studios when some people thought that there were no sound playback after touching an object, when in reality the sound had already started playing - it was just a little too soft, or there's only sound after 3 seconds.
I then trimmed the excess front parts that were too soft to make sure that the audio is already loud and clear at 0.1 seconds so it would resolve this problem for participans who were a little more excited or impatient.
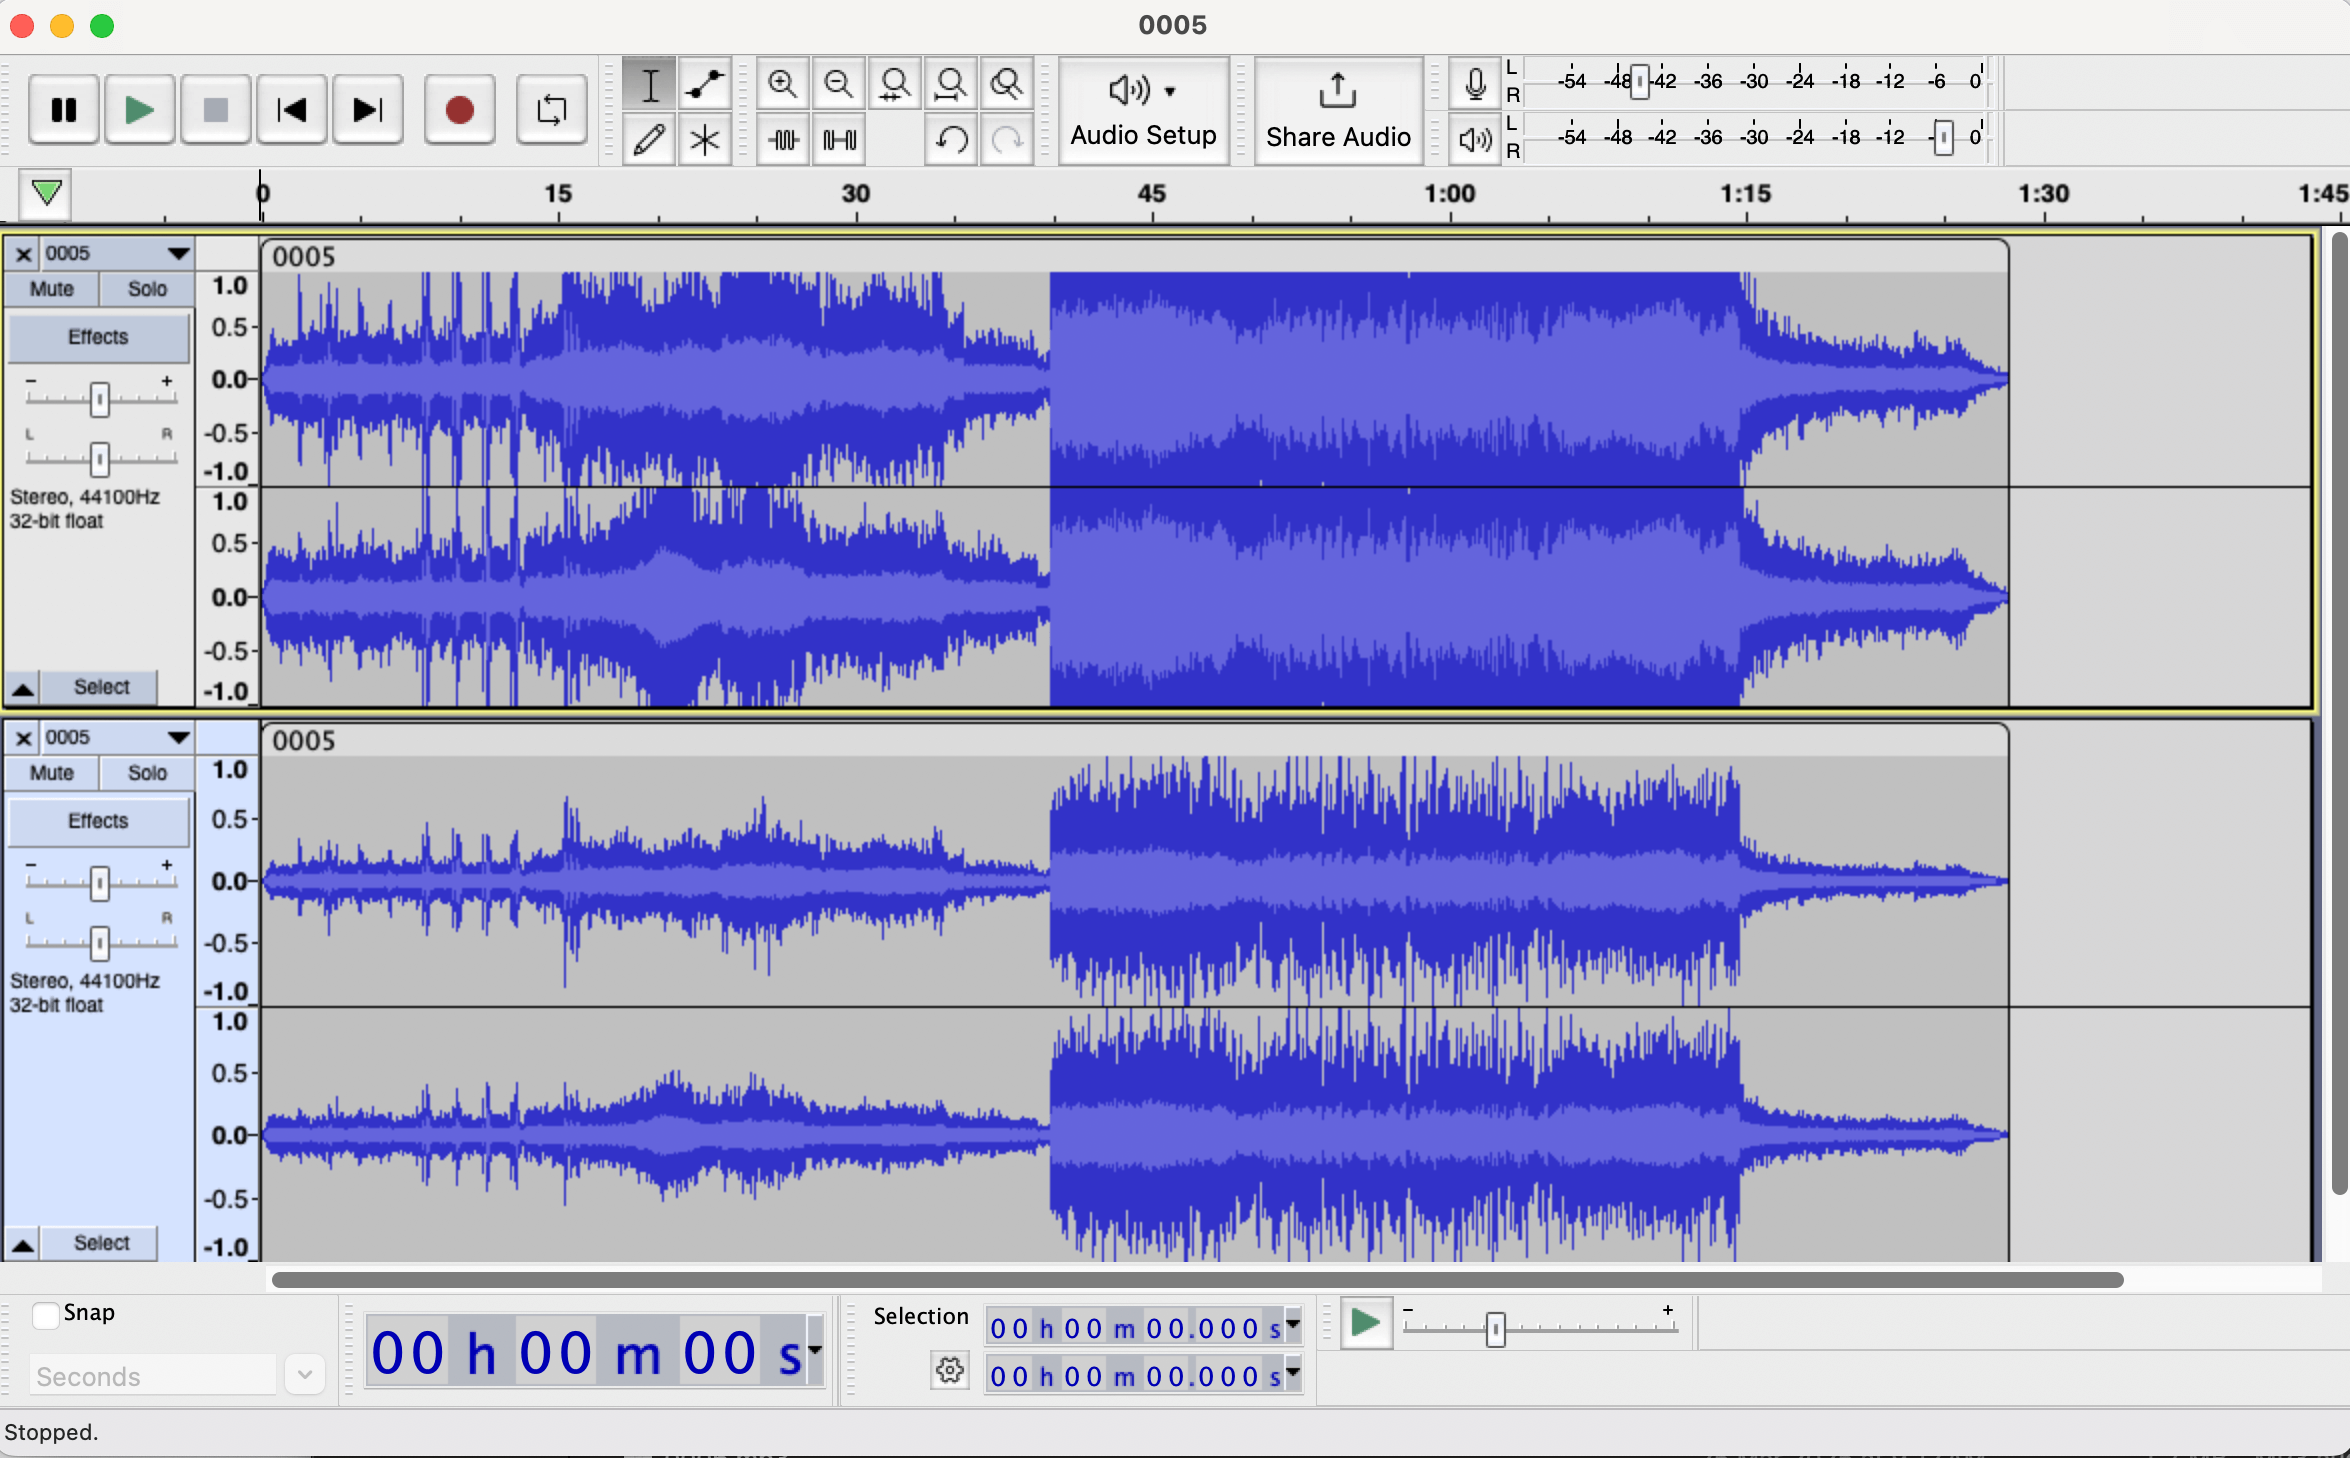
I also took the audio tracks to softwares like MP3cut and Audacity to increase the decibels +6.5dB while making sure the sound quality is not compromised. Audacity's interface allowed me to compare the original and edited audio tracks , as well as all 9 tracks together side by side, which was really helpful and made a big difference in the overall listening experience.