ོ࿐˖✶⊹₊𖦹 W.14 FINAL REFINEMENTS 𖦹₊⊹✶ ࣪˖࿐ོ
LASER CUTTING CID LAB (MON)
This week's focus is to cut and engrave an acrylic sheet using the laser machine for Mnemosonic Map and prepare all the deliverables for submission.
-
List of Deliverables:
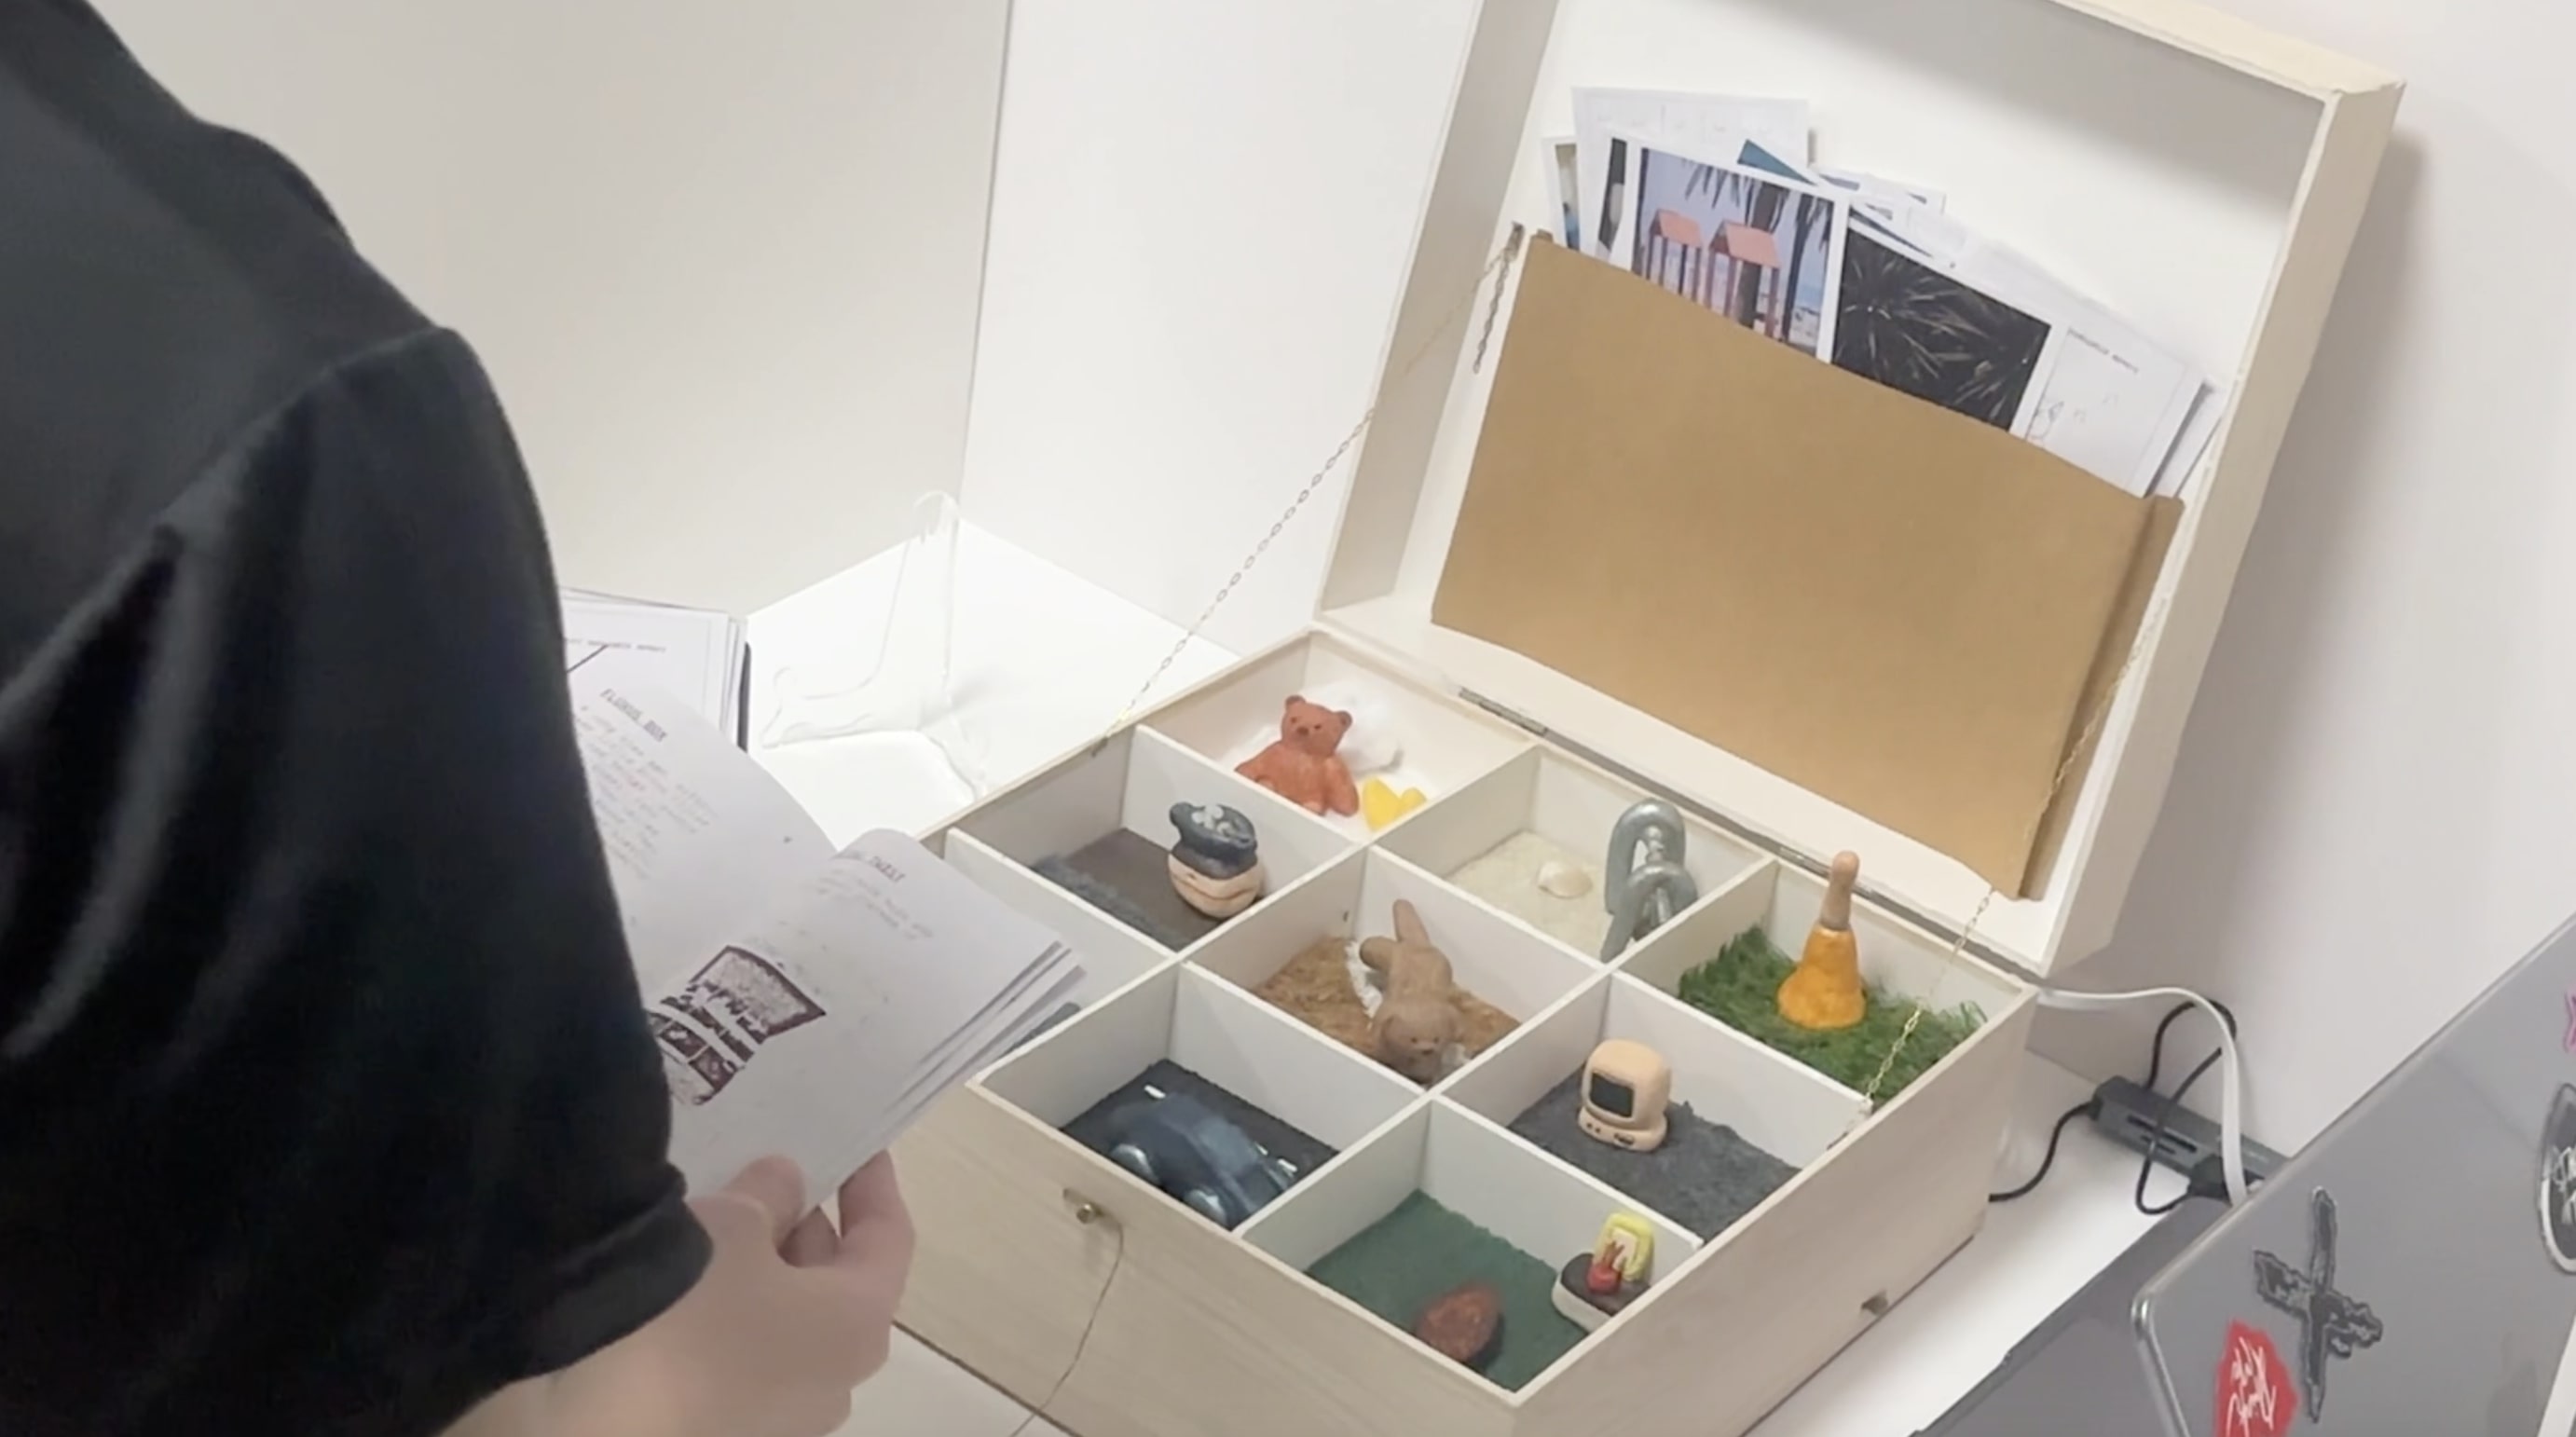
- ✶ A - Mnemosonic Box ✓
- ✶ B - Mnemosonic Map ✓
- ✶ Booklet and Zine ✓
- ✶ Postcards and Stampcards ✓
- ✶ Explainer Video (TBC)
- ✶ Catalogue of Making Web - A&B (TBC)
- ✶ Cover Documentation (TBC)
- ✶ Archive Body of Work (TBC)
- ✶ Presentation Deck (TBC)
- ✶ CPJ Website (TBC)
- * TBC - To Be Completed
The Process and Steps
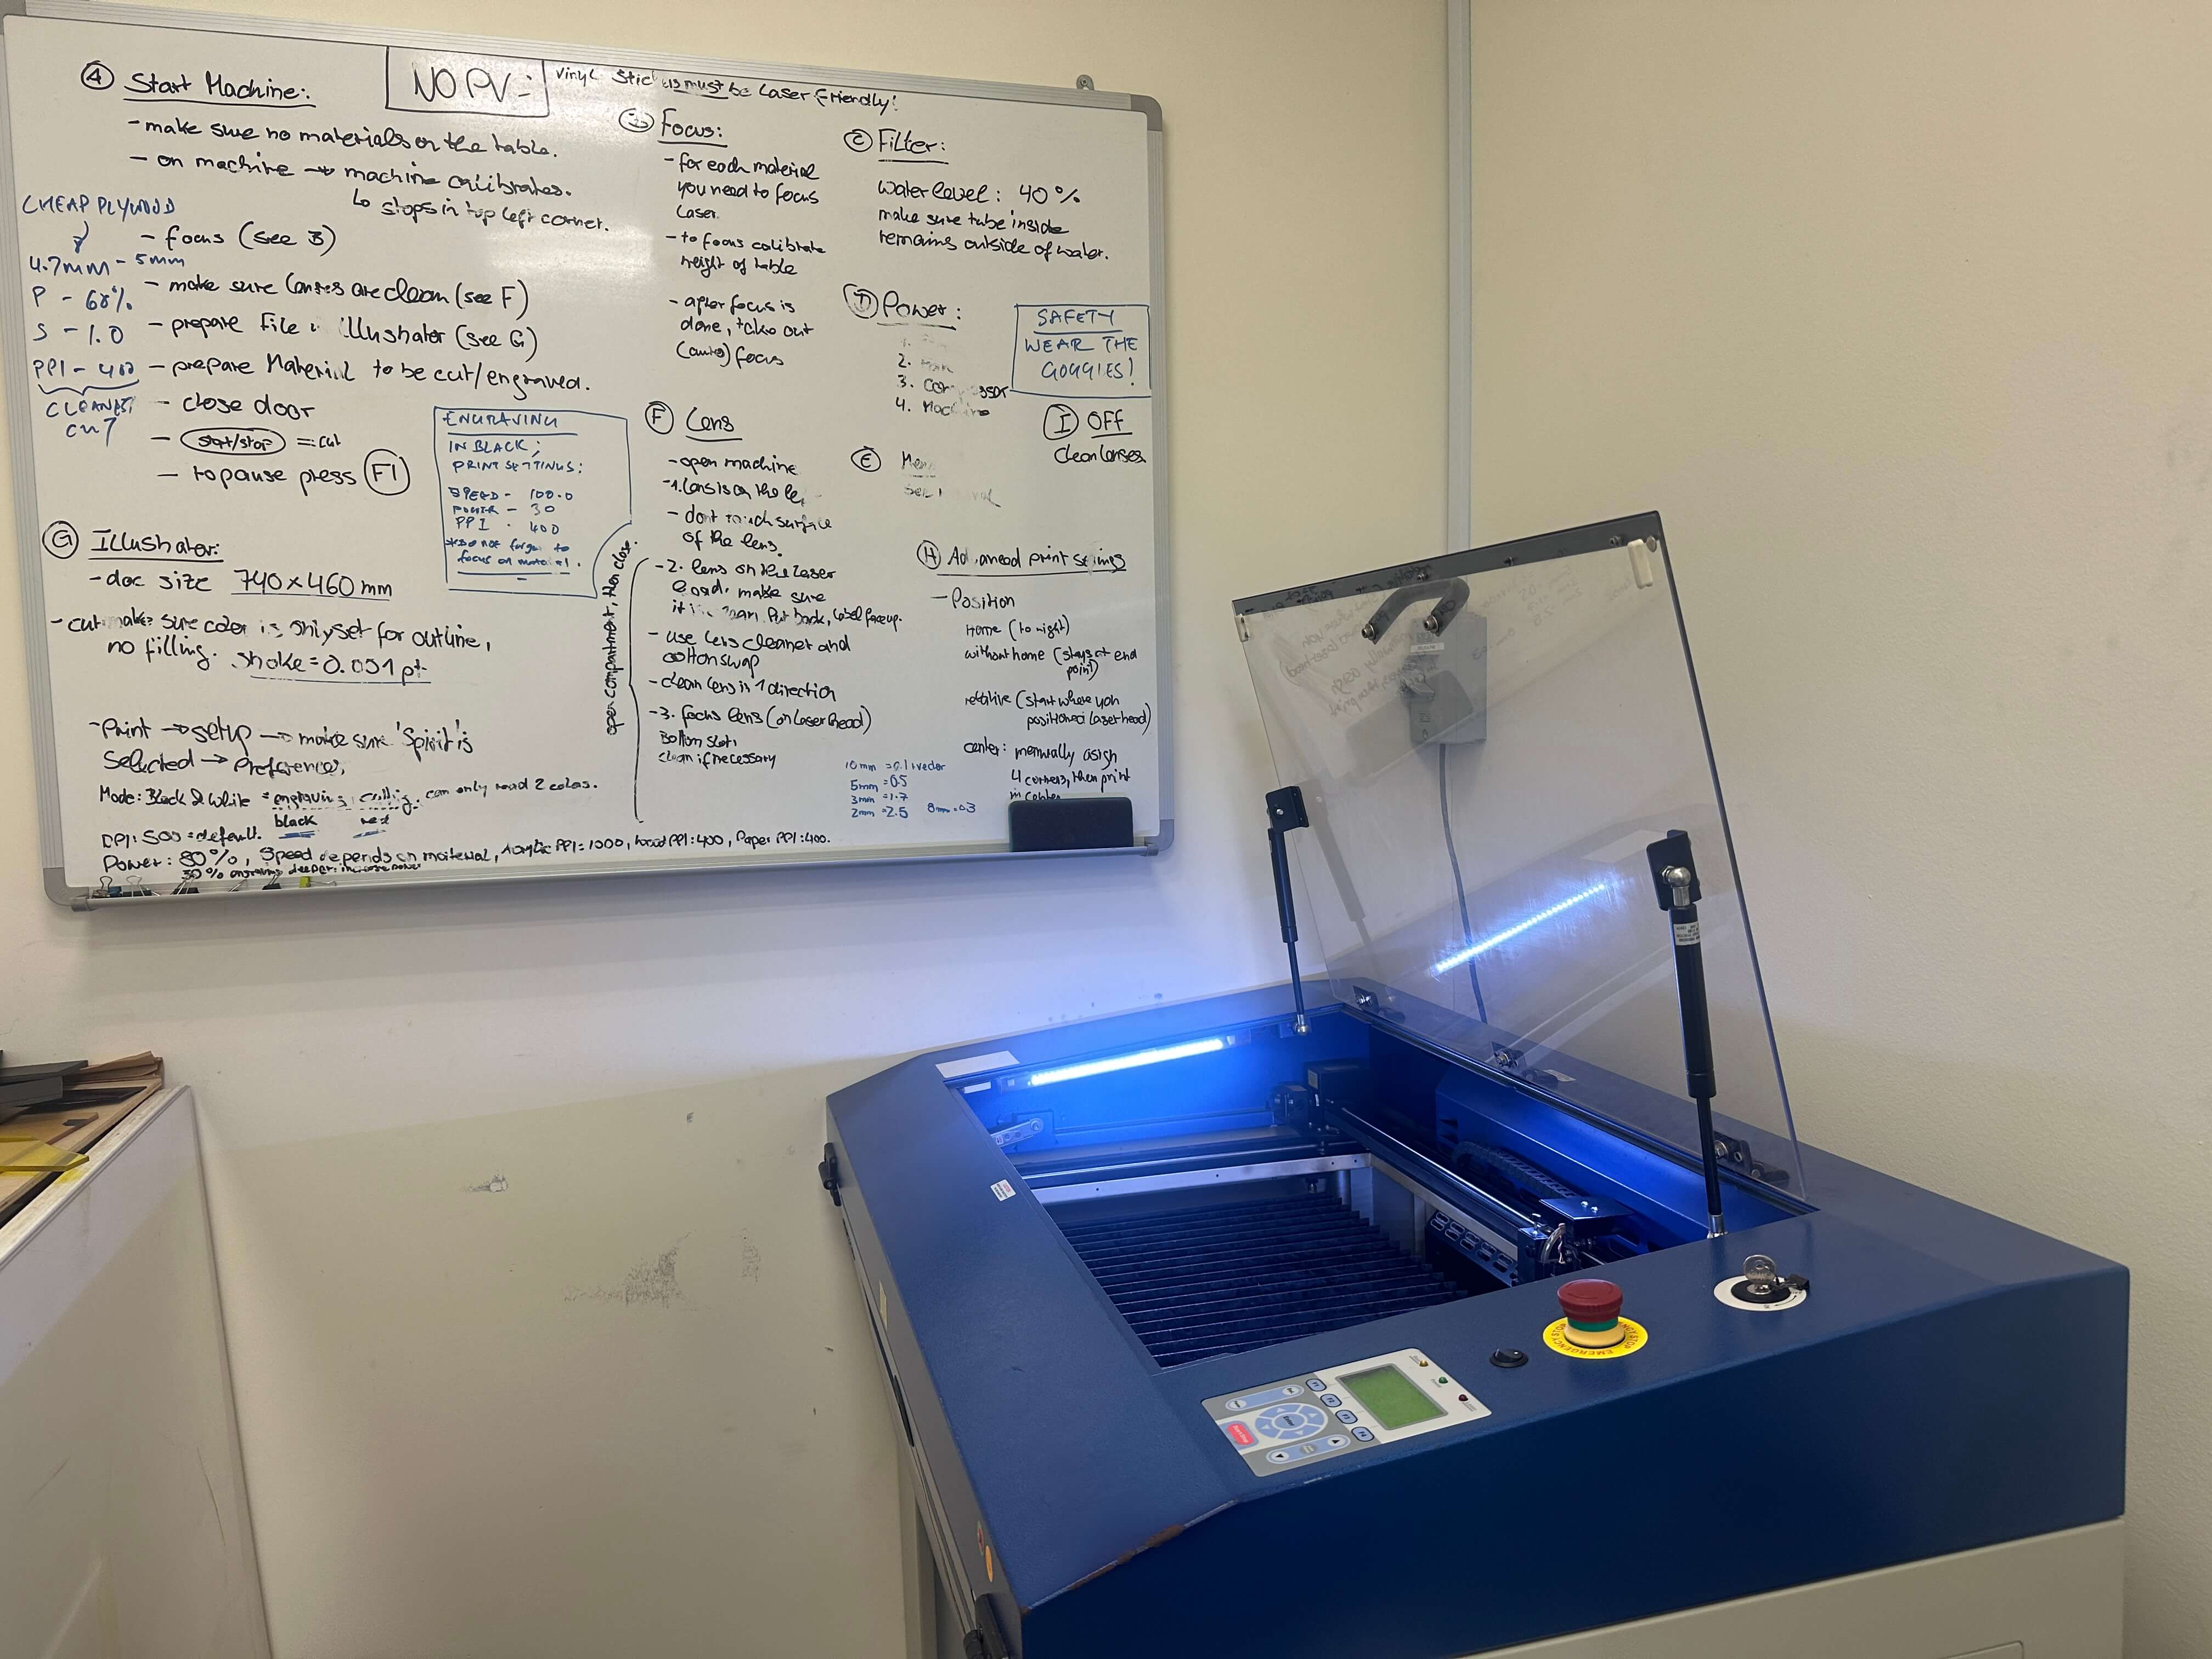
I was taught that after importing and checking the preferences information on the laser machine, I should always do a test run for each function - engrave and cut; to make sure that the position, alignment and speed are correct. The most important thing is to turn the key to off the machine when I want to open the cover or when not in use and only turn on when I am ready to test run or start printing.
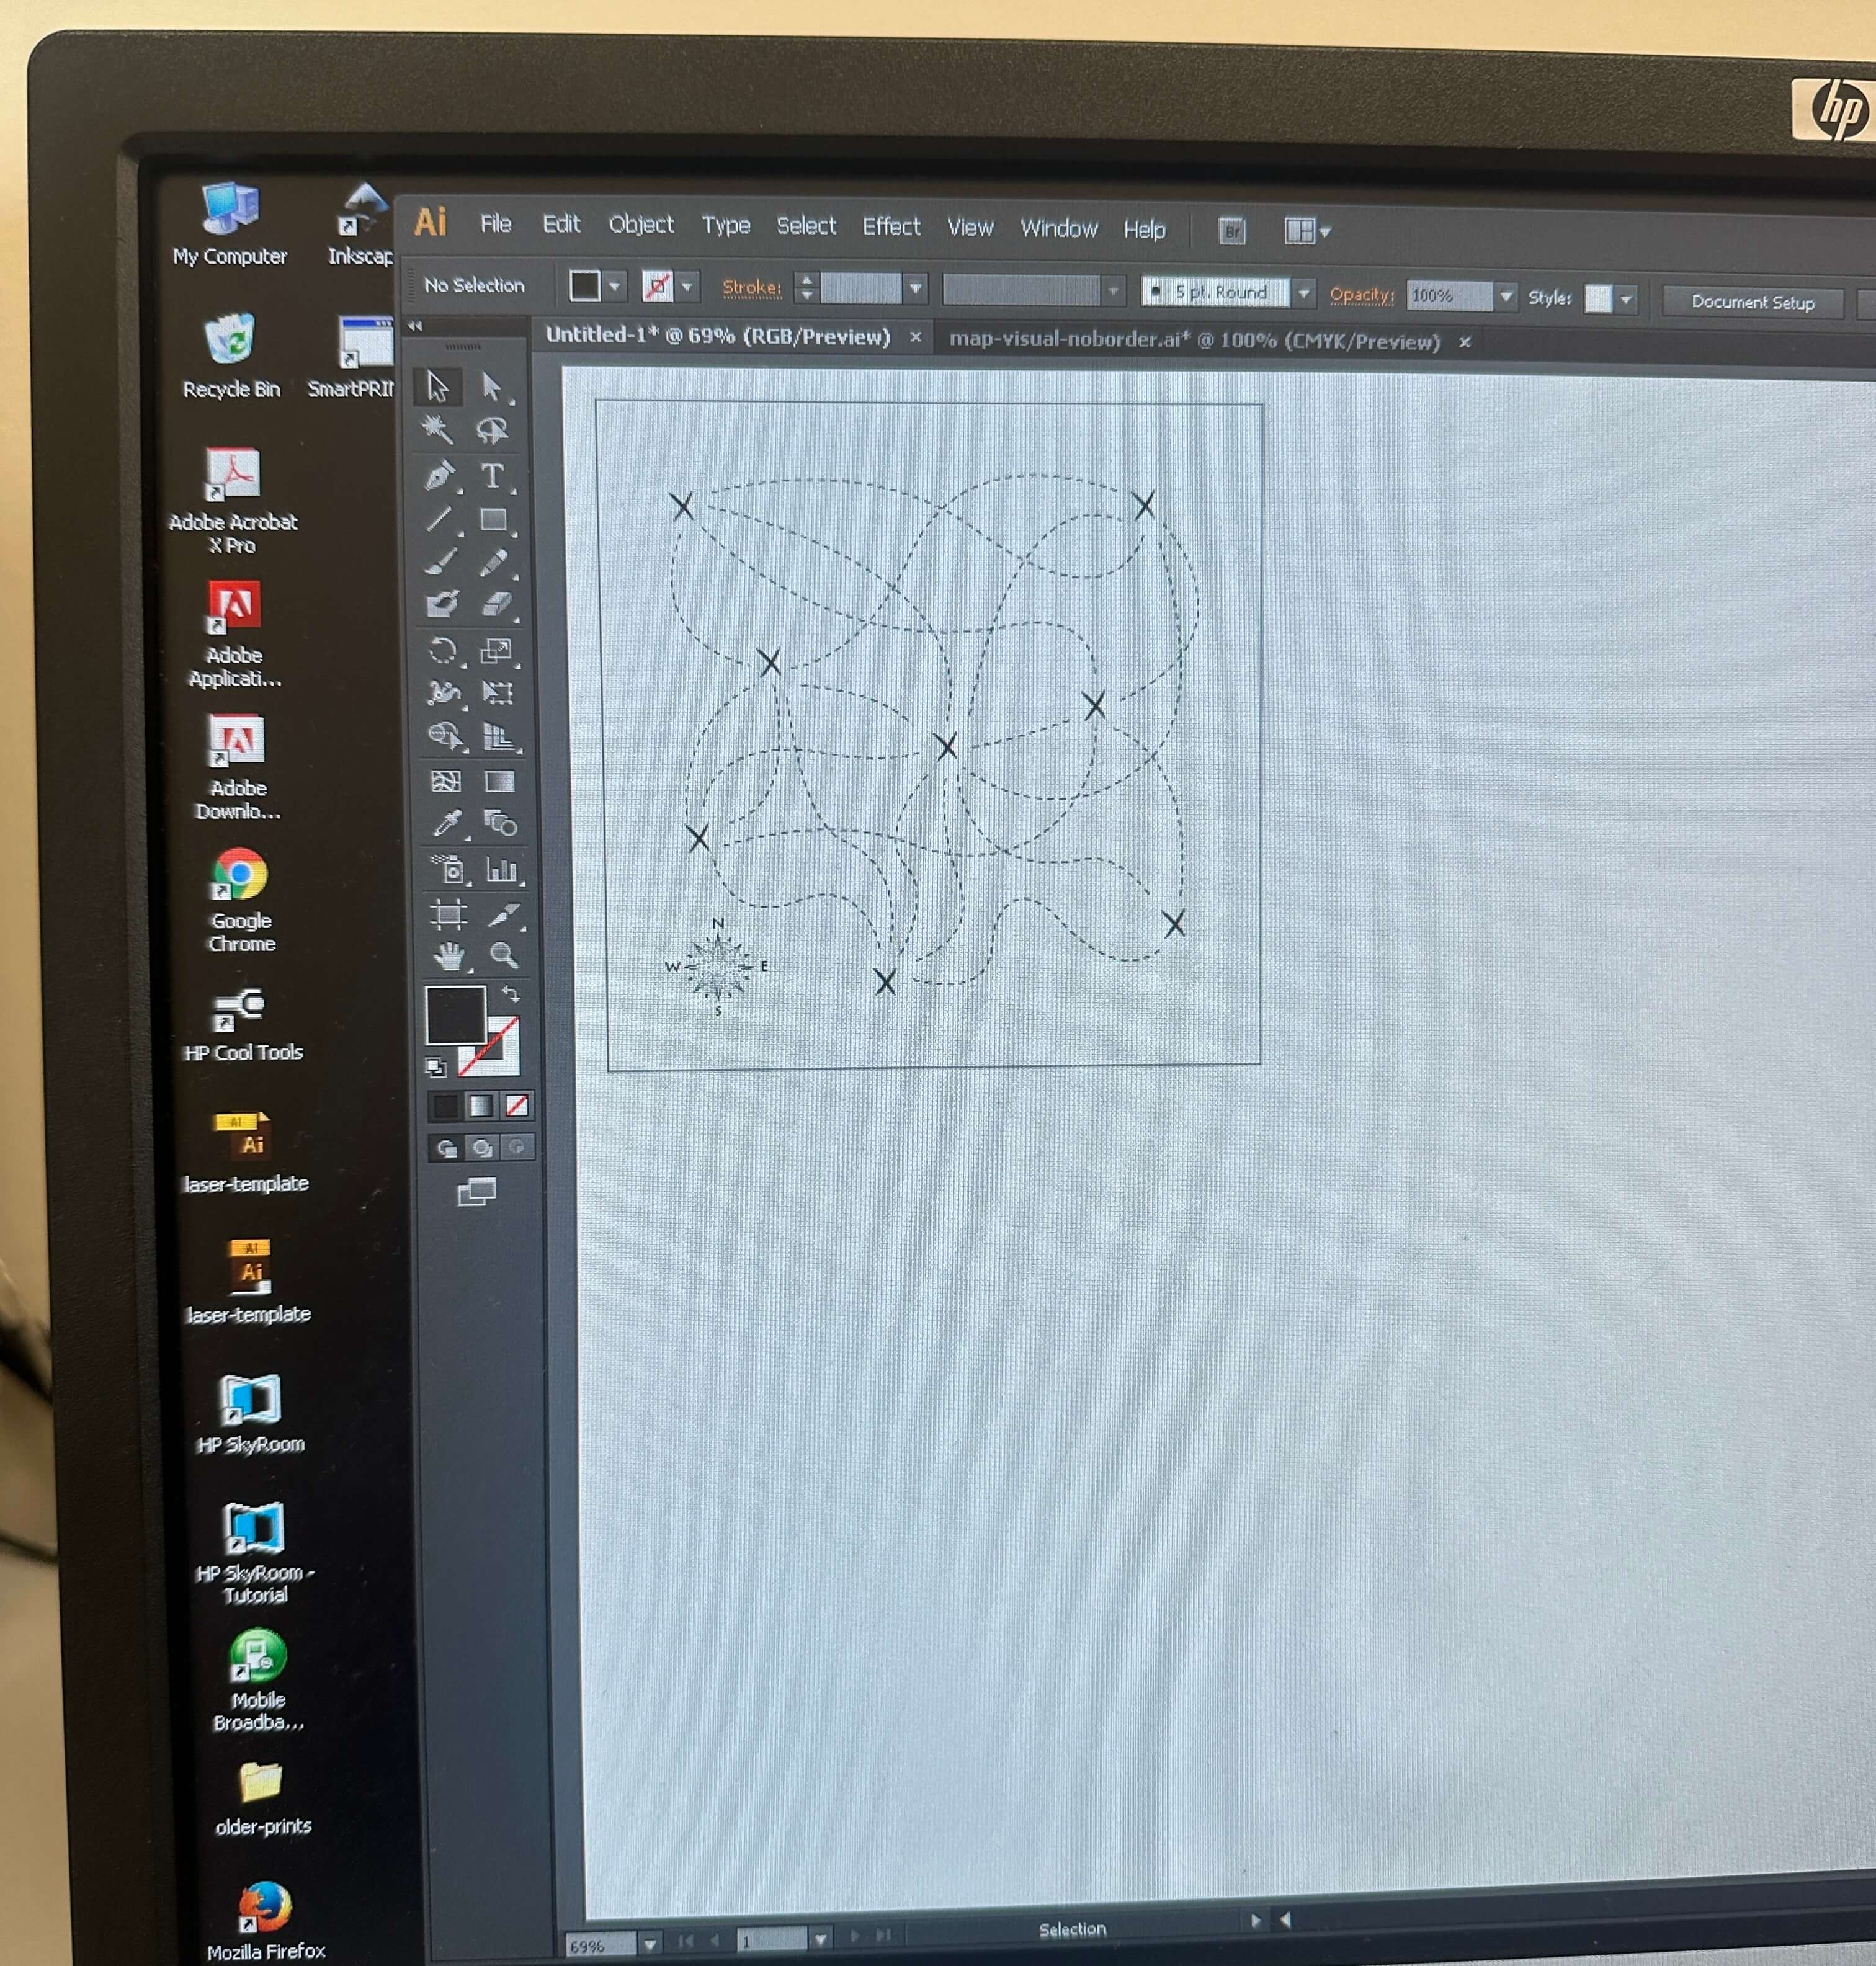
importing AI graphics file 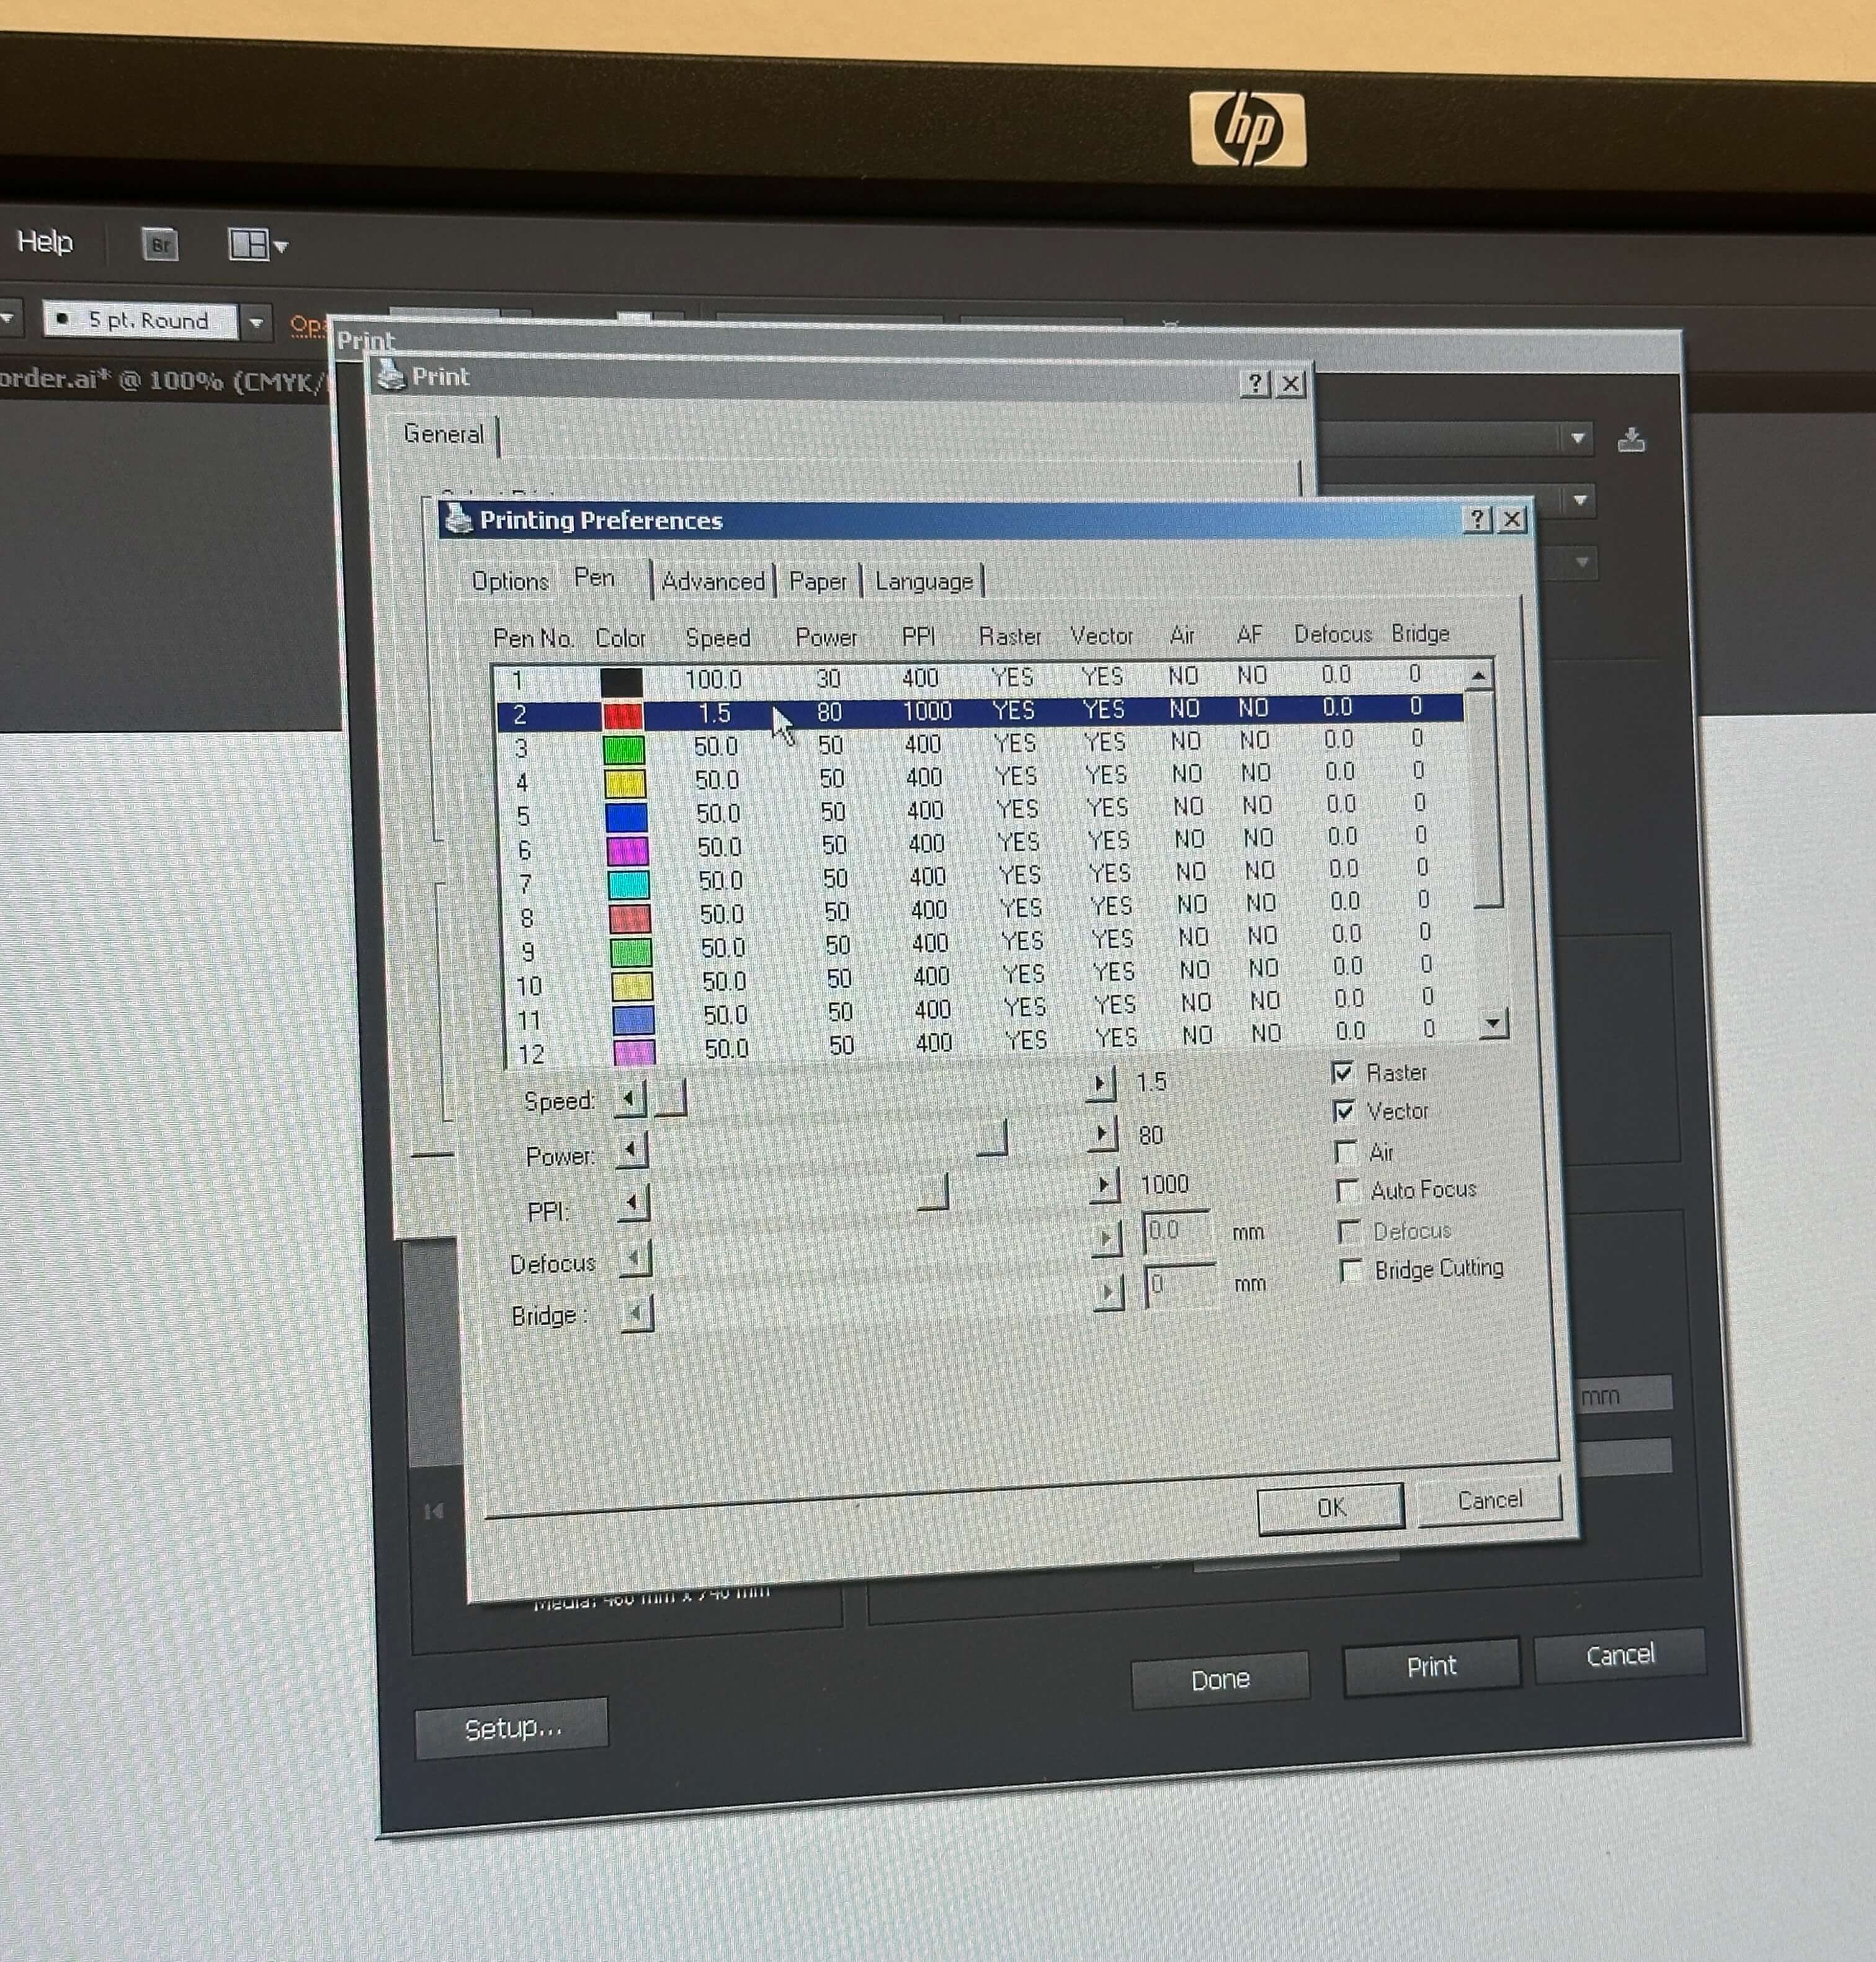
setting laser printing preferences data (speed, power PPI)
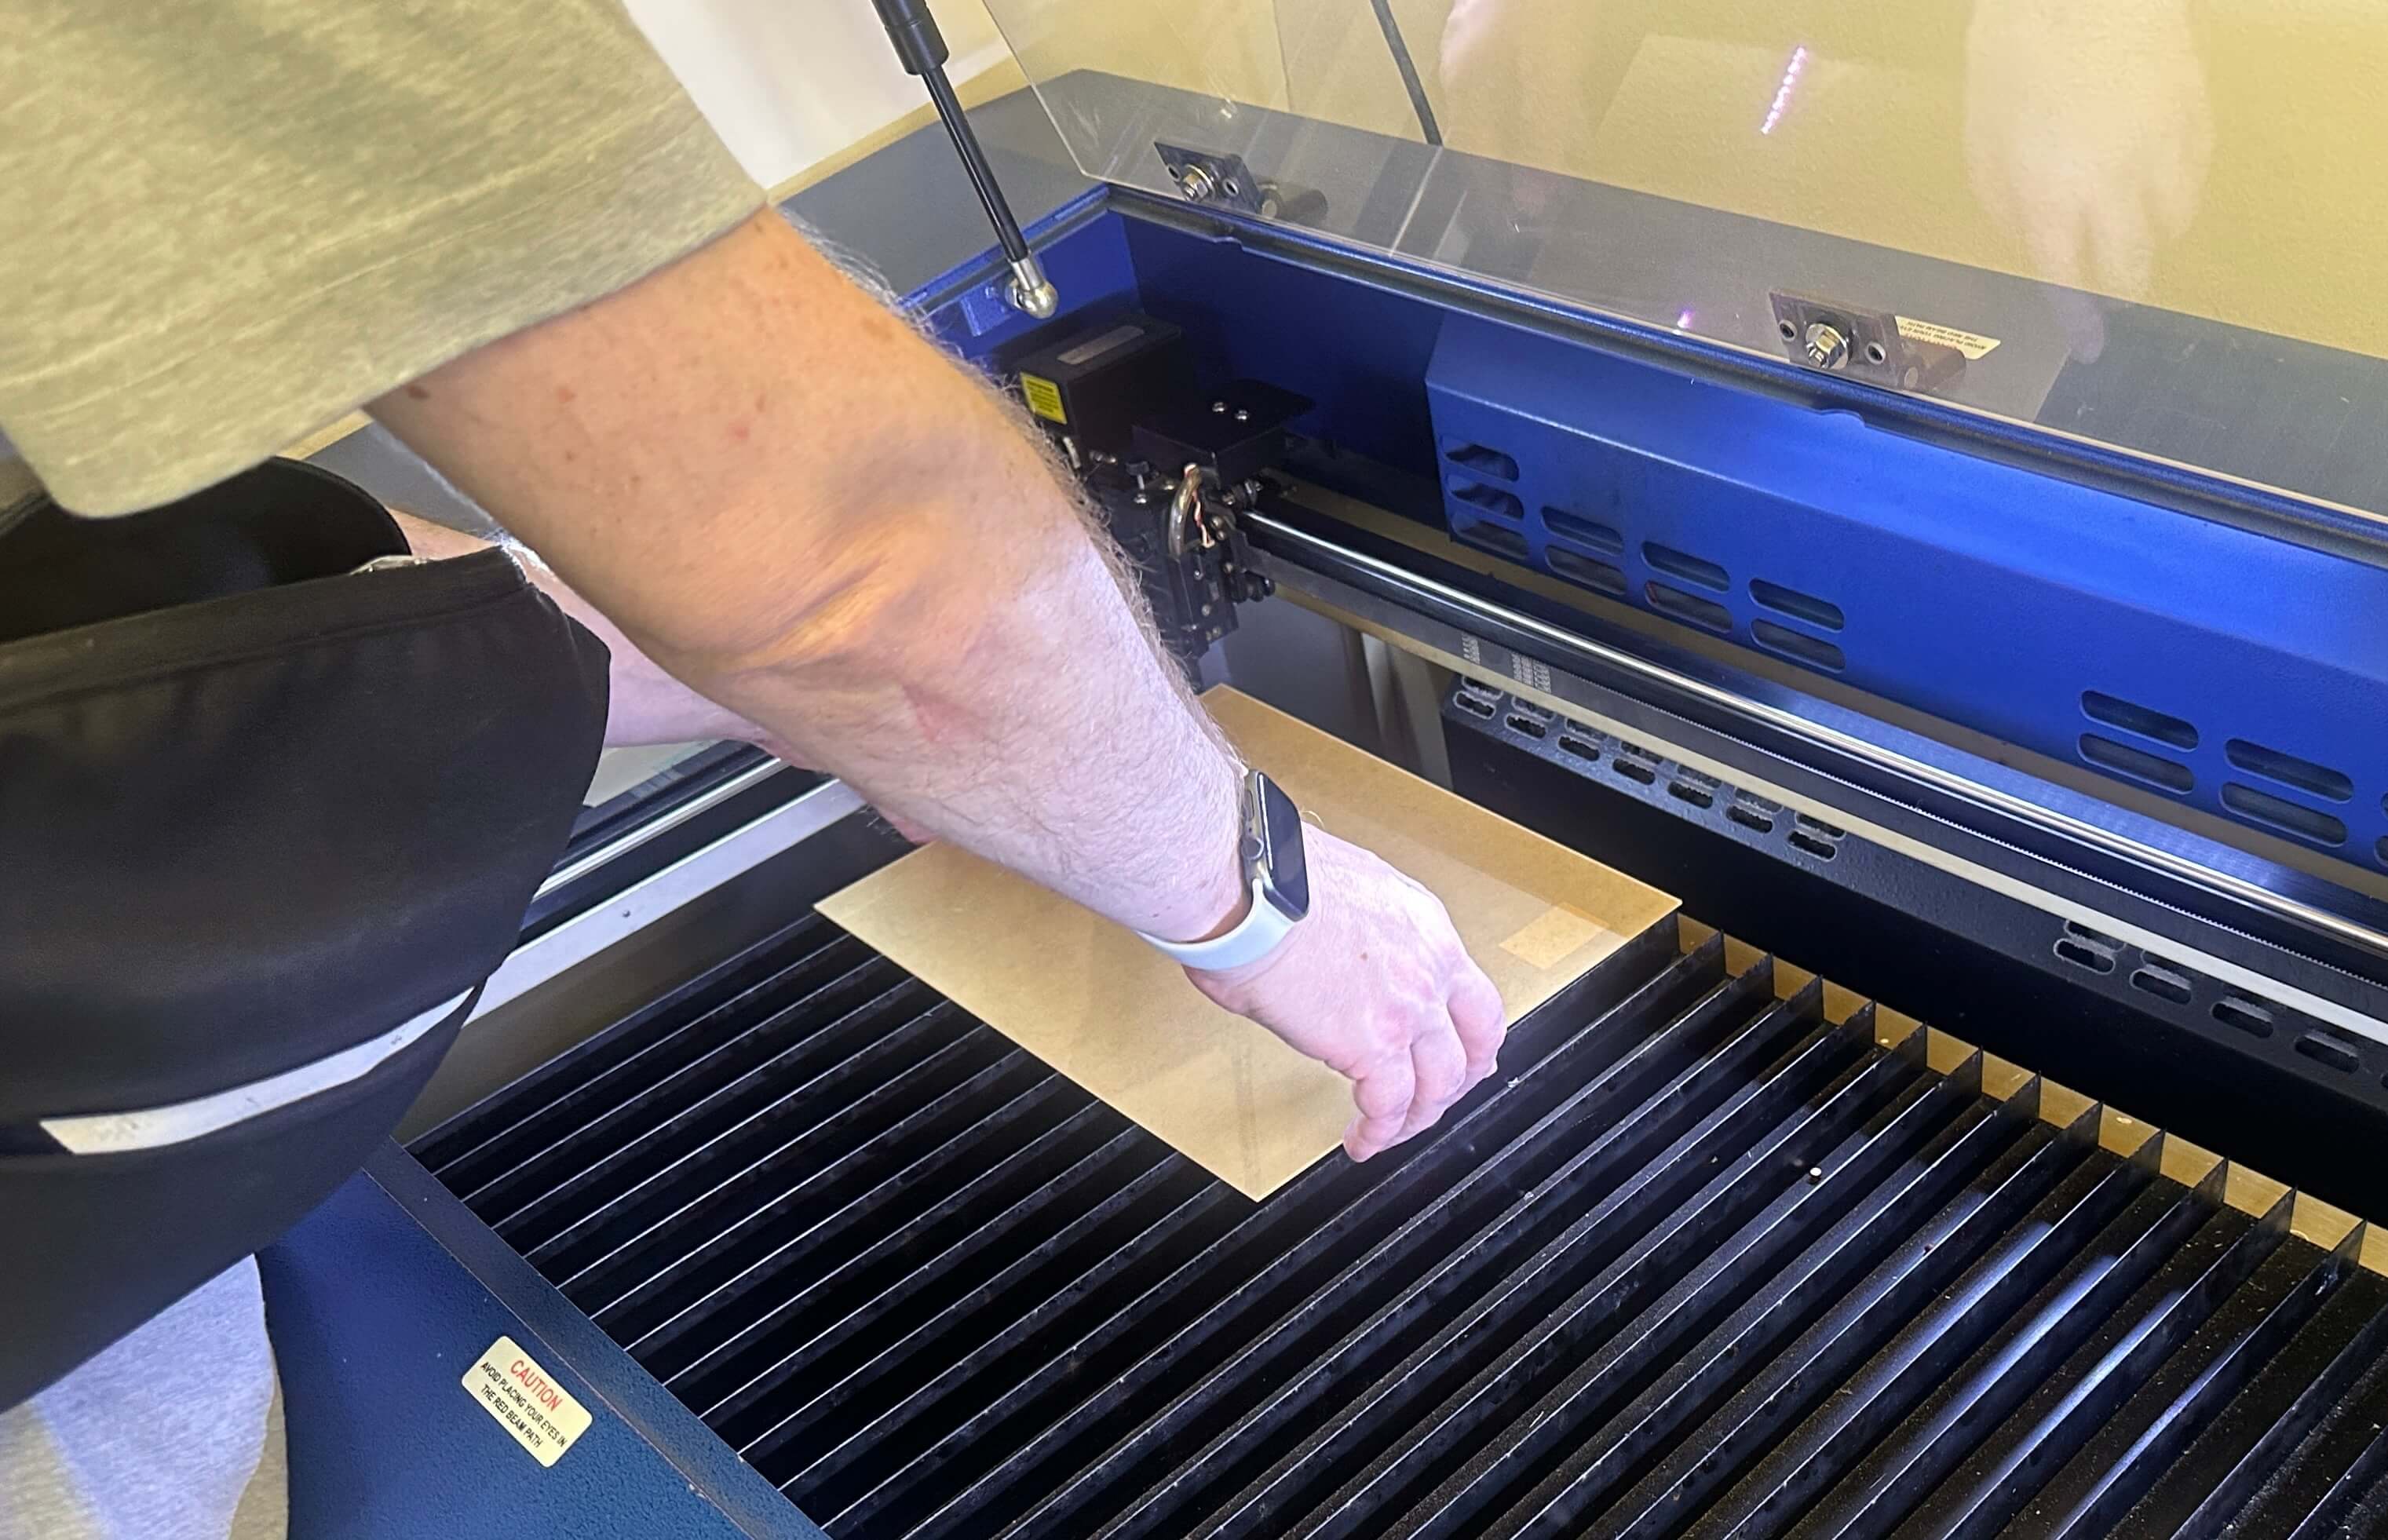
aligning the acrylic sheet edges and making sure they are straight 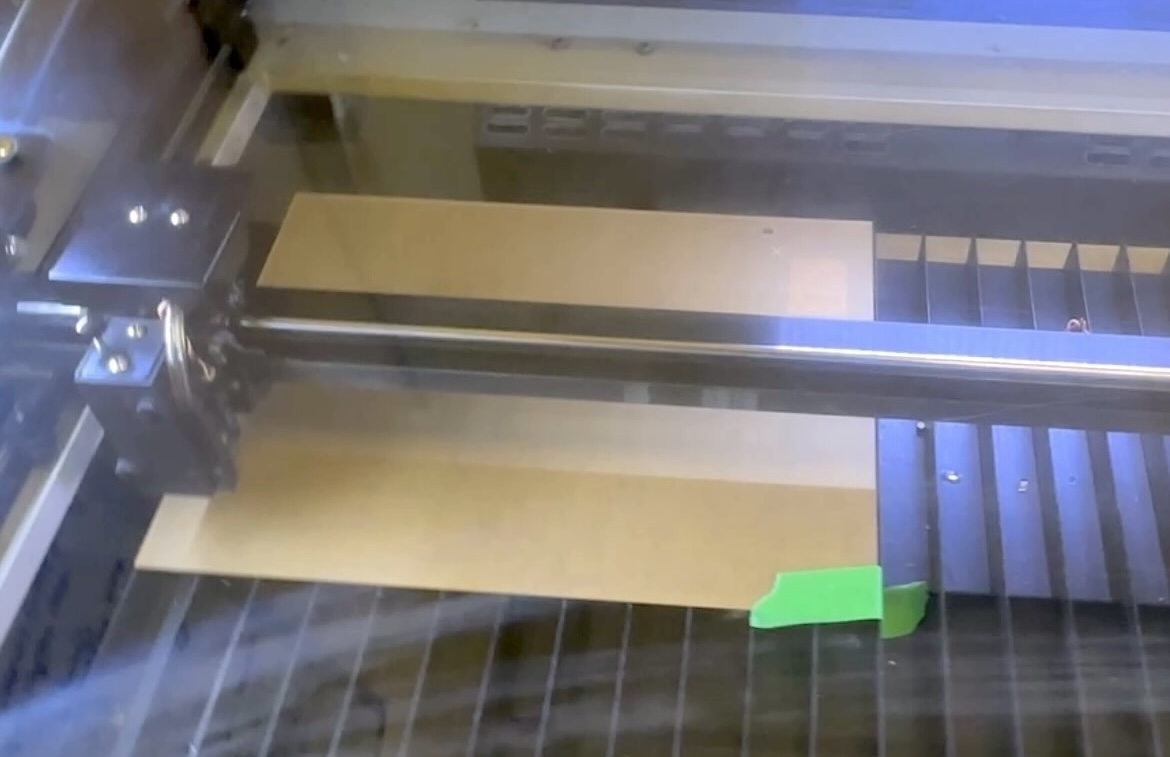
tape the corner to prevent the 1mm from moving around as it is light
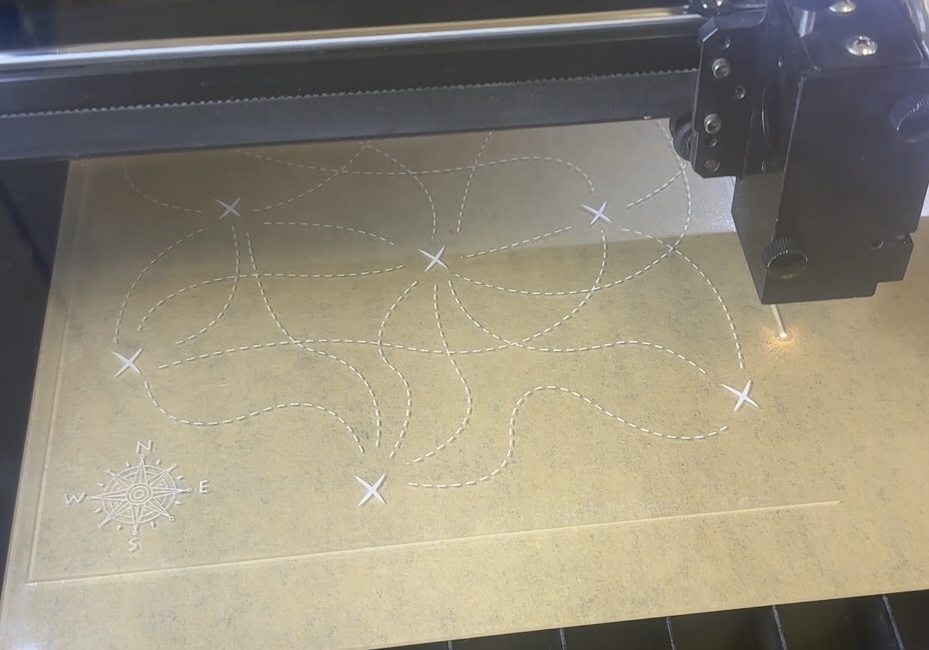
engraving and cutting in progress... 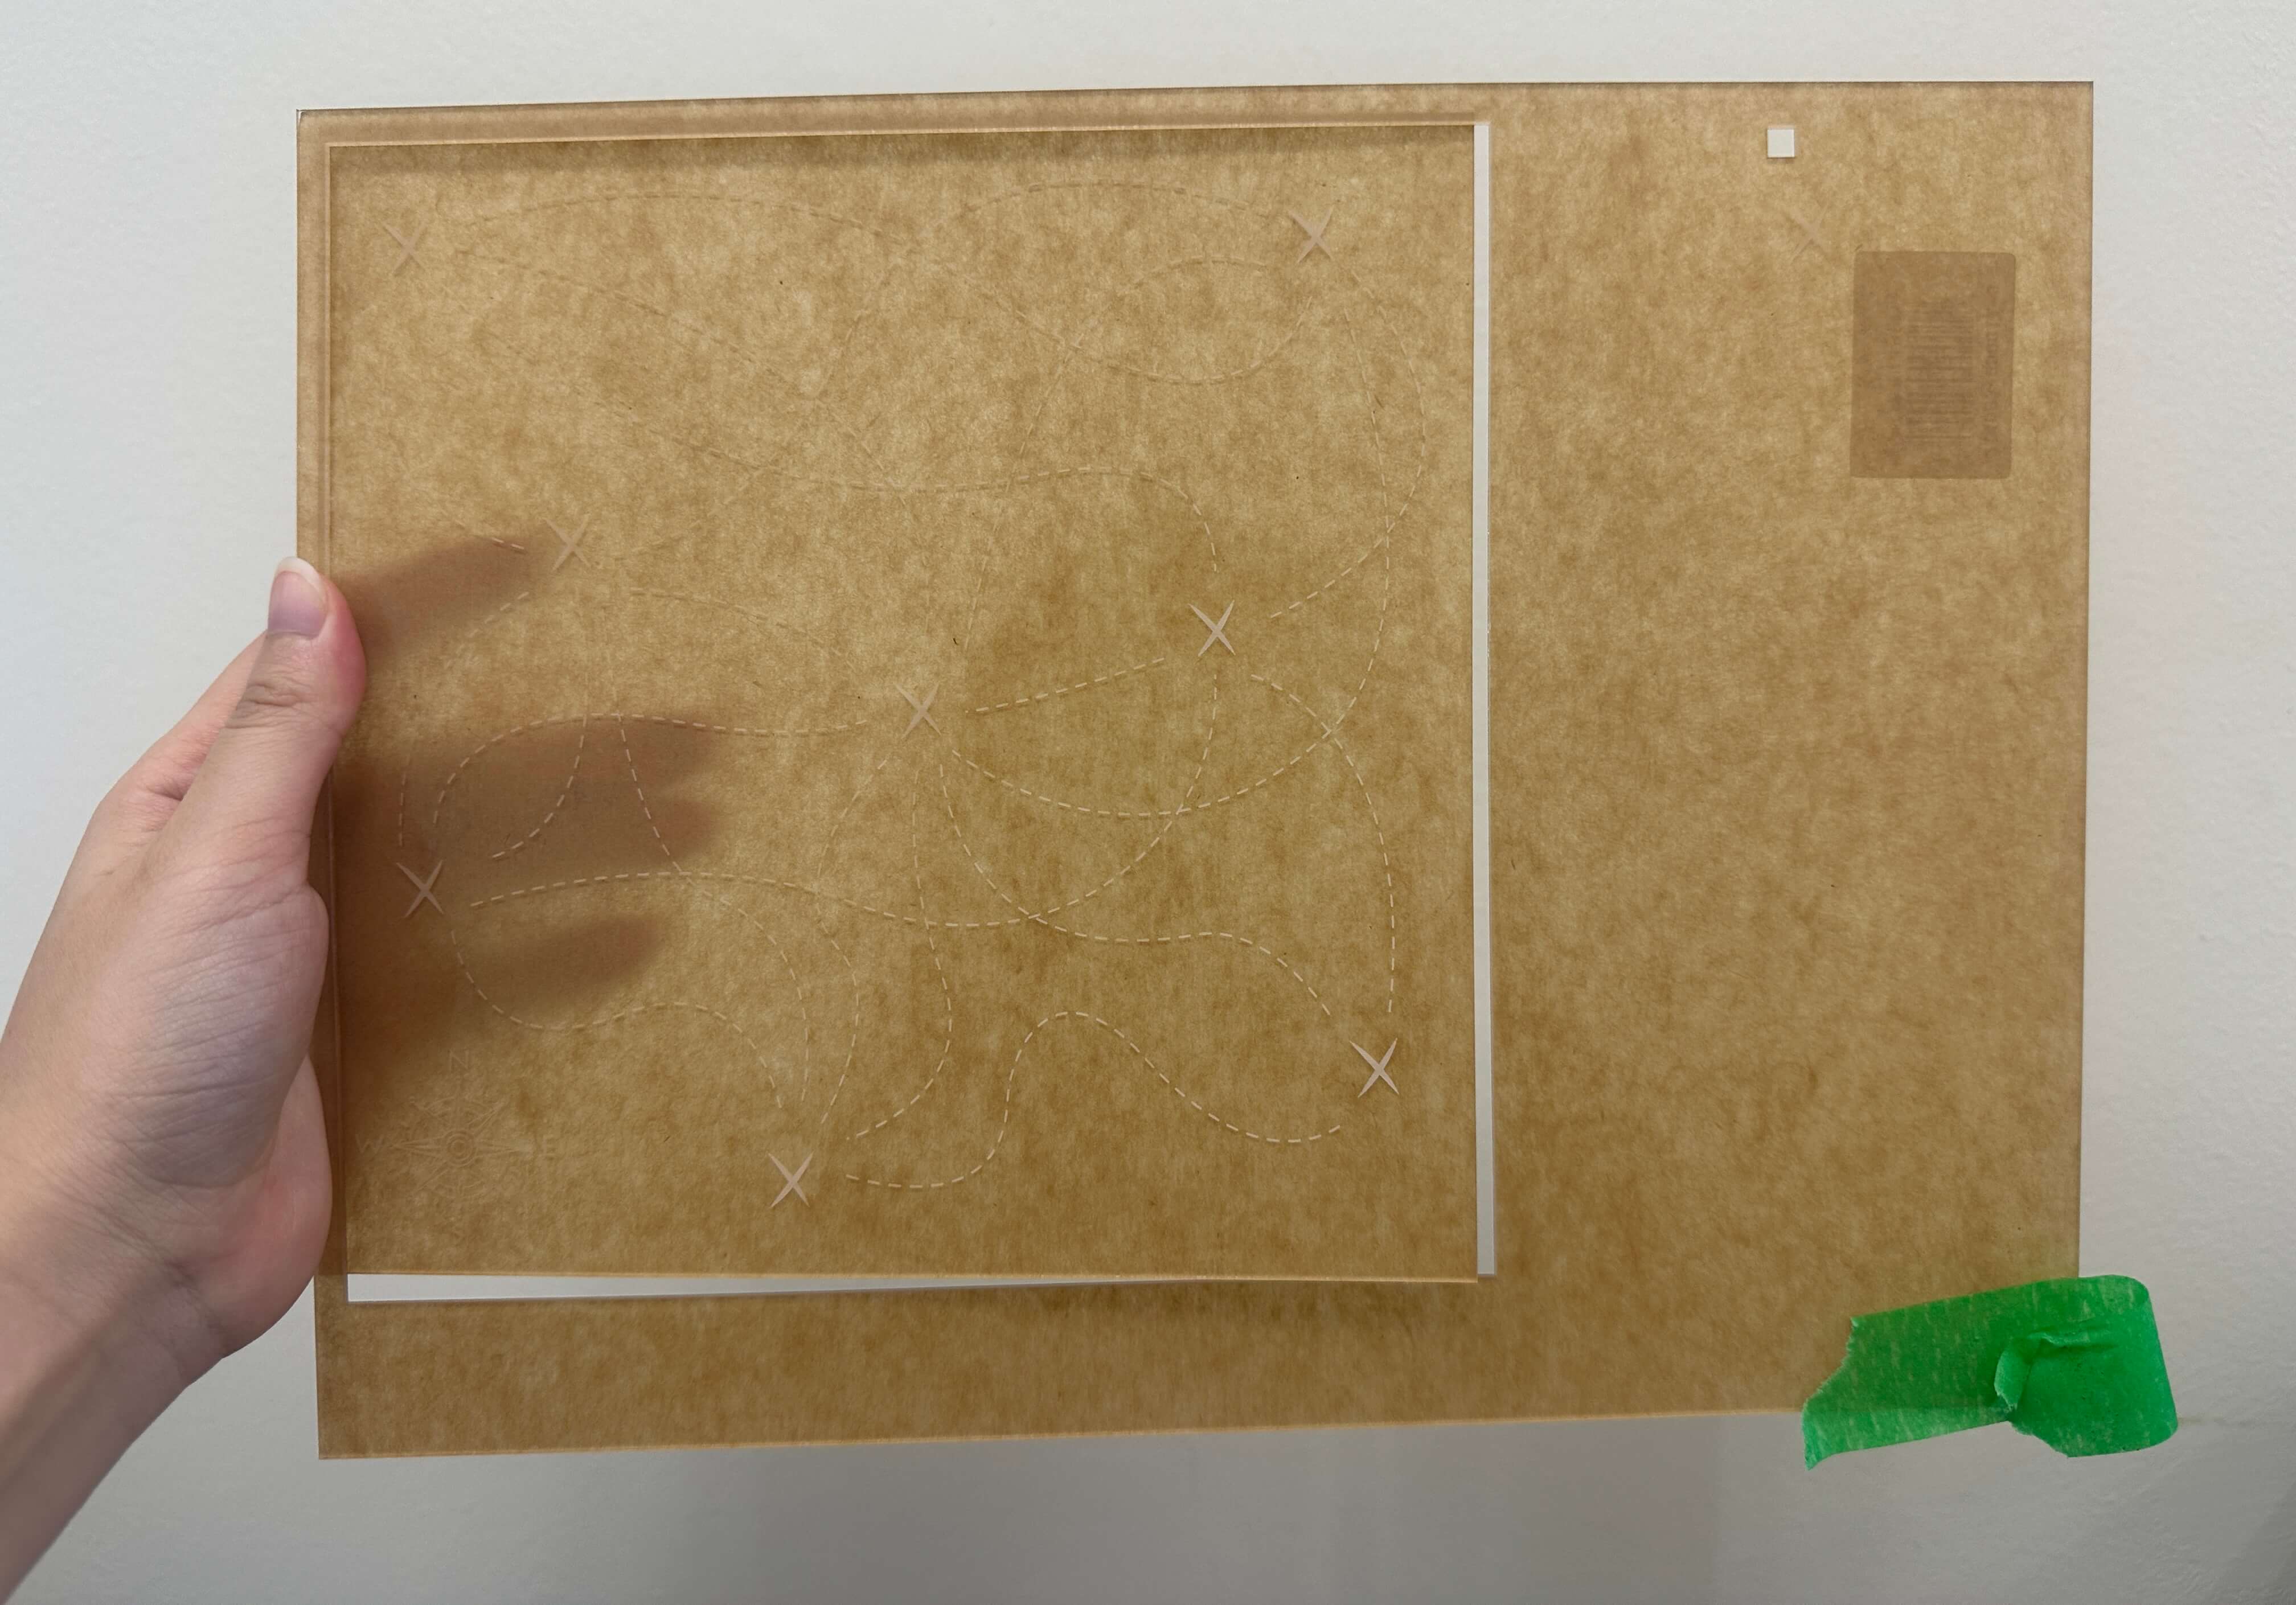
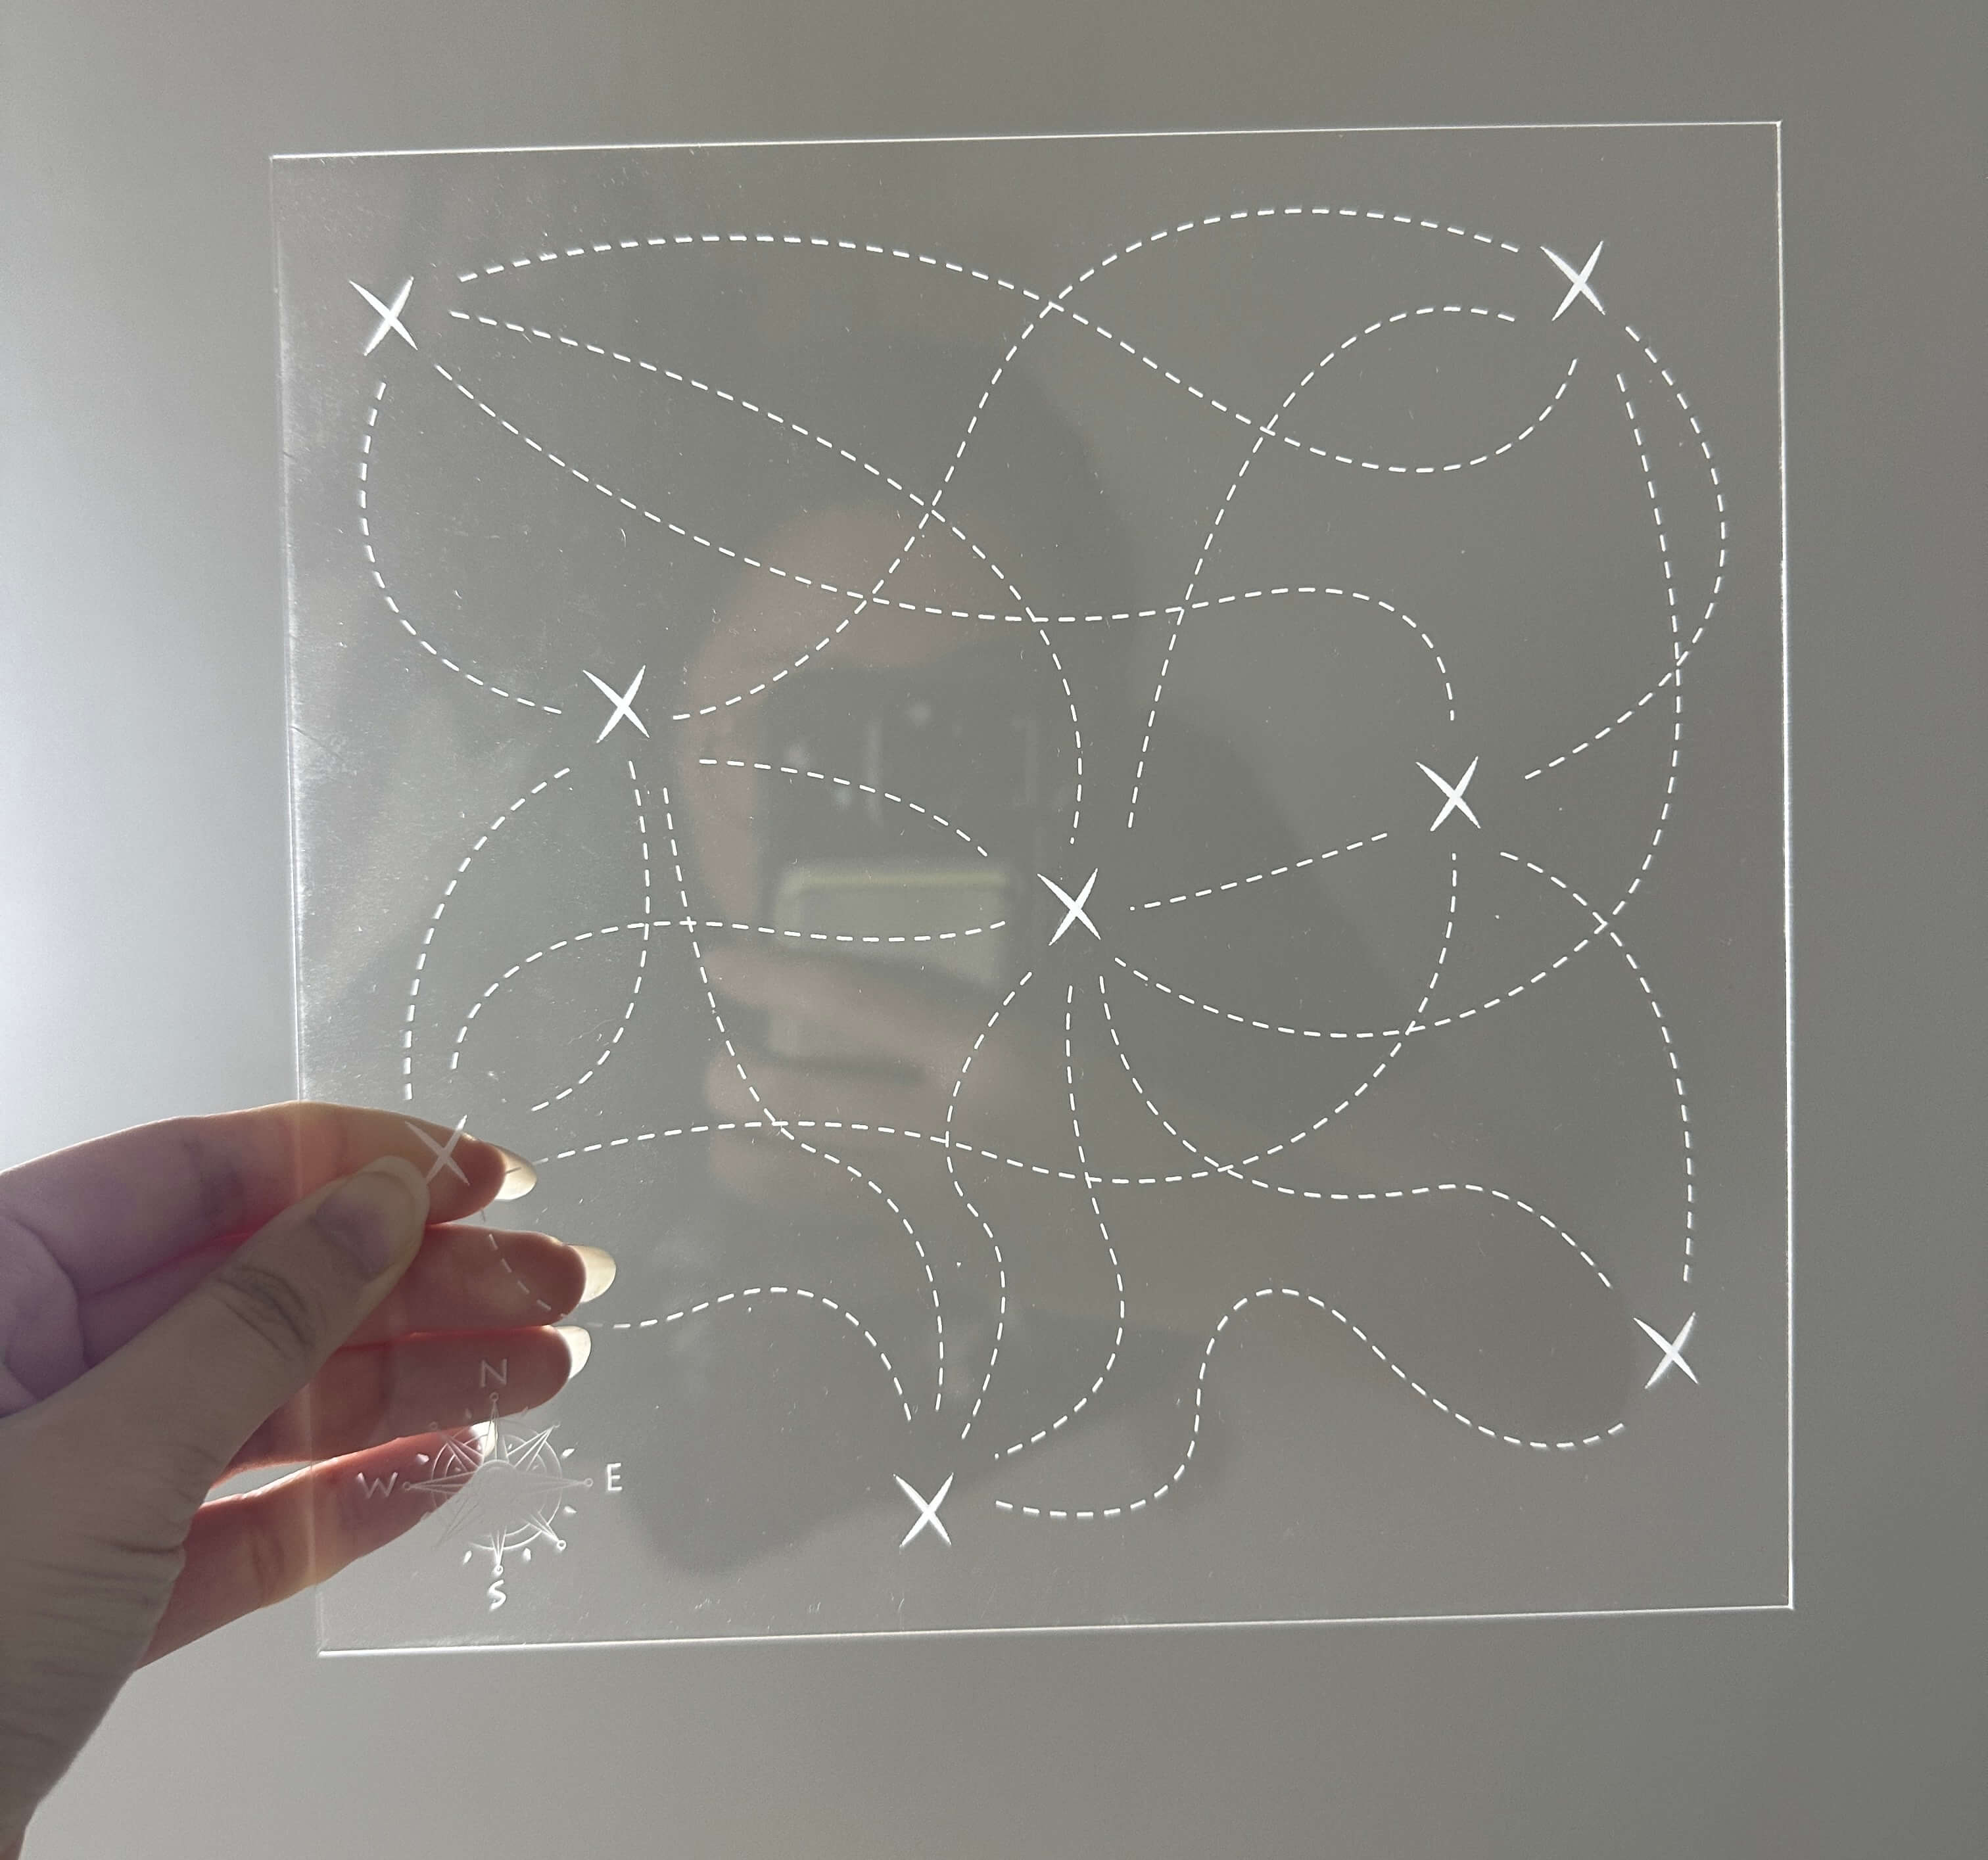
finished!
During the process, I realised that the engraving took longer than I expected, it took about 10-15 minutes to engrave the whole 19.6cm x 19.6cm acrylic sheet. Despite that, I was really impressed with the quality of the engraving, it was really clear and sharp. But I was also surprised to find out that the laser machine was able to cut through the acrylic sheet so quickly and easily, it only took 45 seconds to cut through the whole sheet. I was really happy with the results and I think it turned out really well. I think the laser machine is a really powerful tool and I am really glad that I had the opportunity to use it for my project.
Process Documentation (Making)
End Result under the light
Human Chess Piece Magnet (Making)
There were however problems faced as somehow after super glueing the clay to the magnet, the clay was not able to stick to the magnet and it kept falling off. I had to use a stronger glue and superglue it again. Another problem was that the addition of clay on the magnet somehow affected the sensitivity between the magnet and reed switches as it was not able to trigger the sound when I placed the magnet on top of the reed switch. I had to add another magnet to the bottom of the human chess piece to increase the sensitivity. Lastly, the additional magnet made the sensitivity too strong and the sound kept buffering and loading. A solution is to lift up the human chess piece and place it on an empty area of the map (which happens to be the top middle area or the bottom left area where the compass visual is at) to prevent the sound playback from buffering.
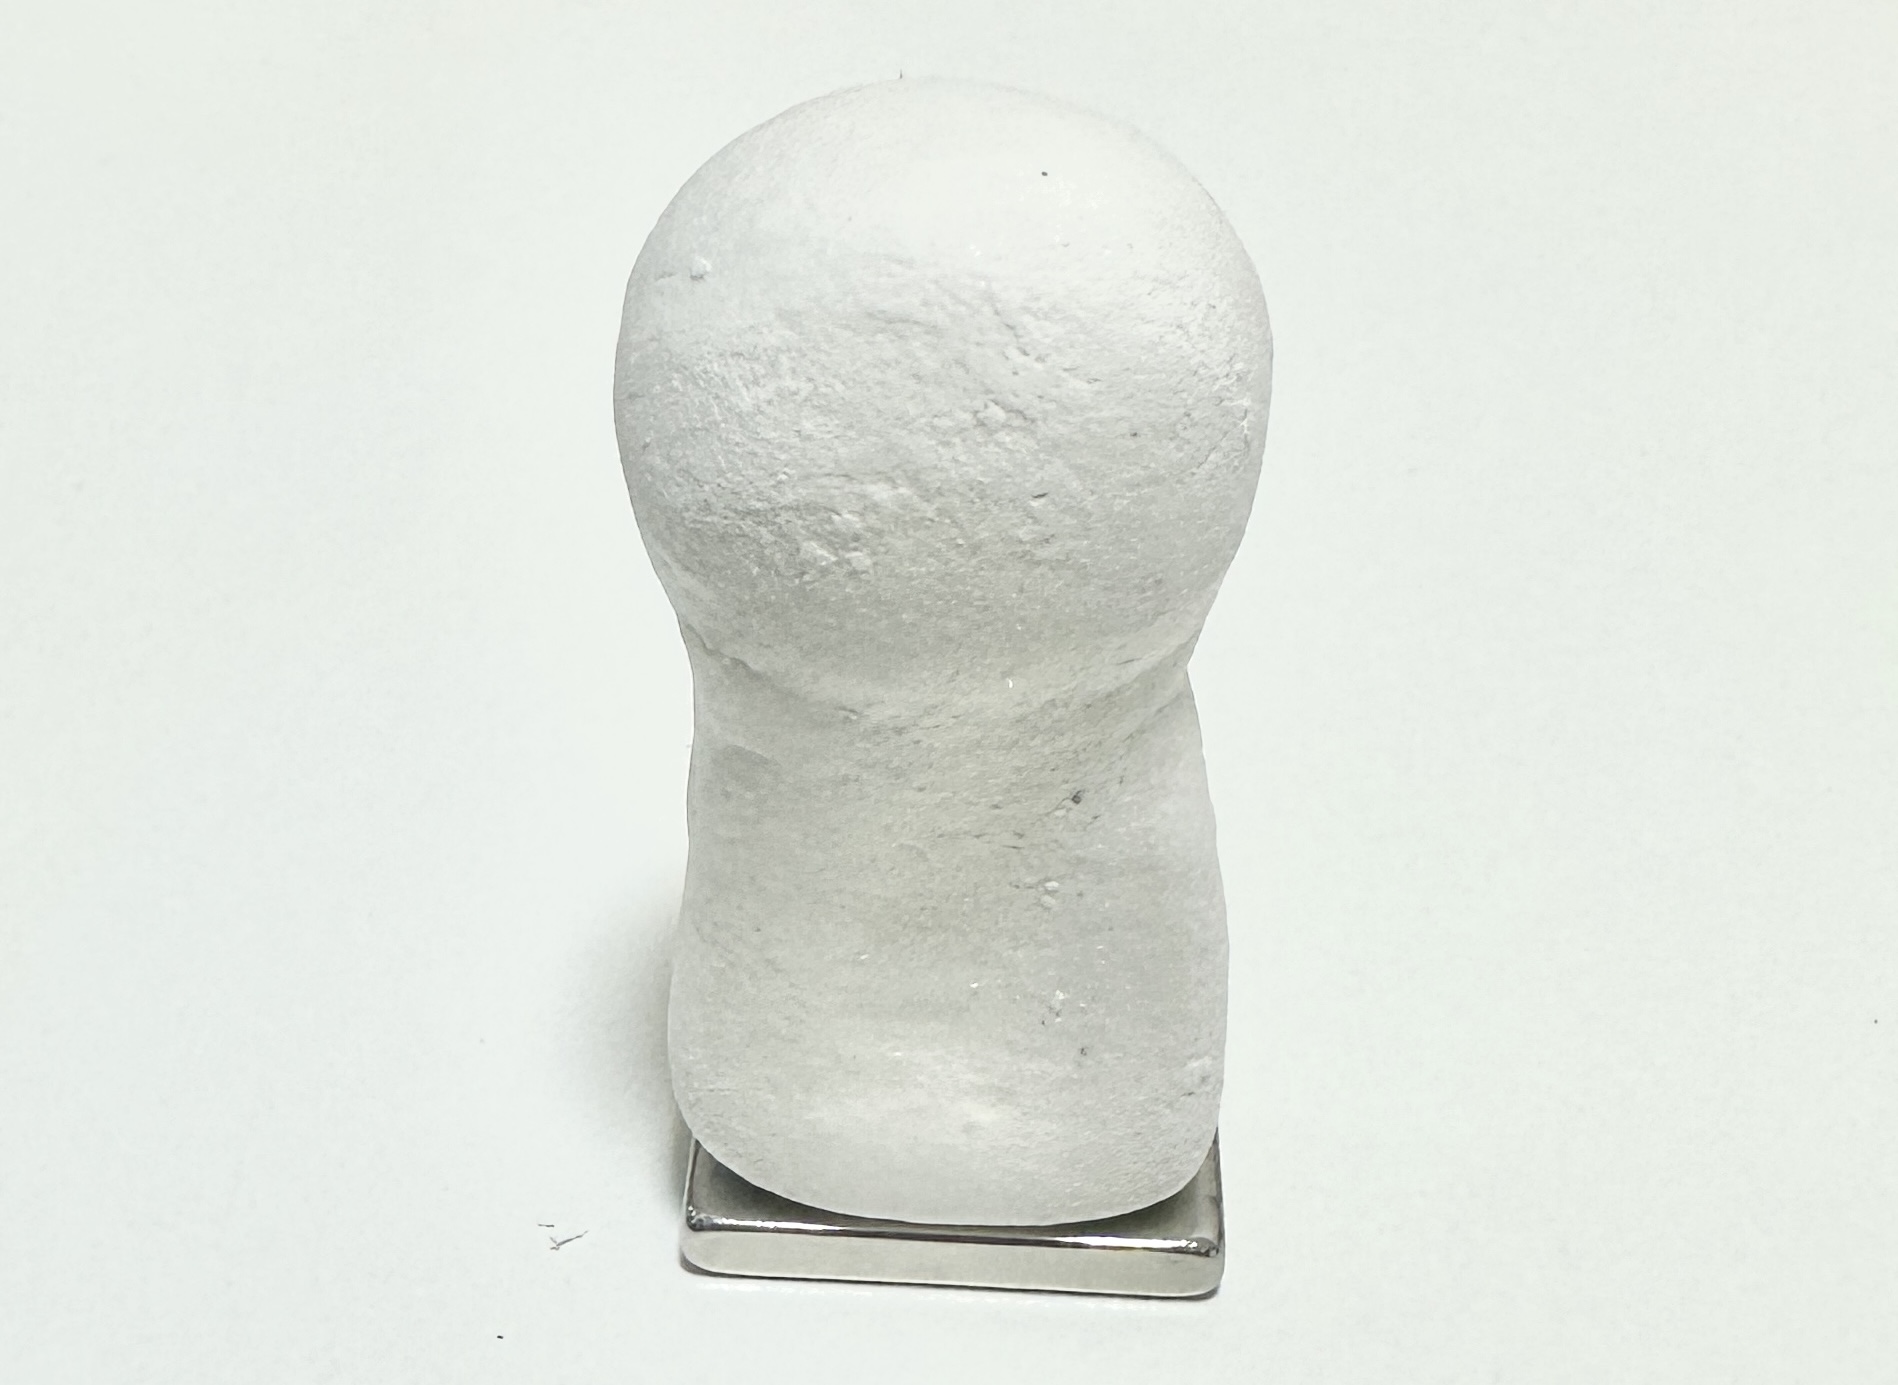
using clay to make the human chess piece and painting it white 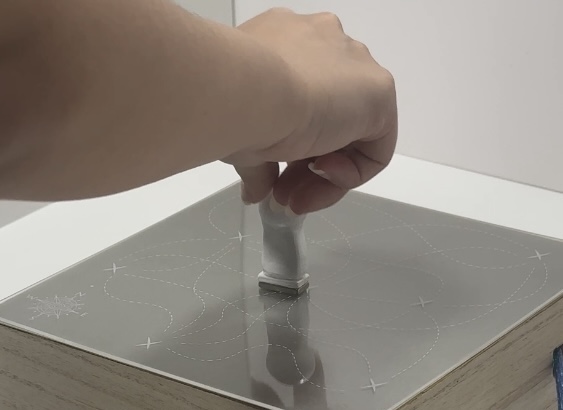
testing the sensitivity of the human chess piece magnet
EXPLAINER VIDEO
Editing
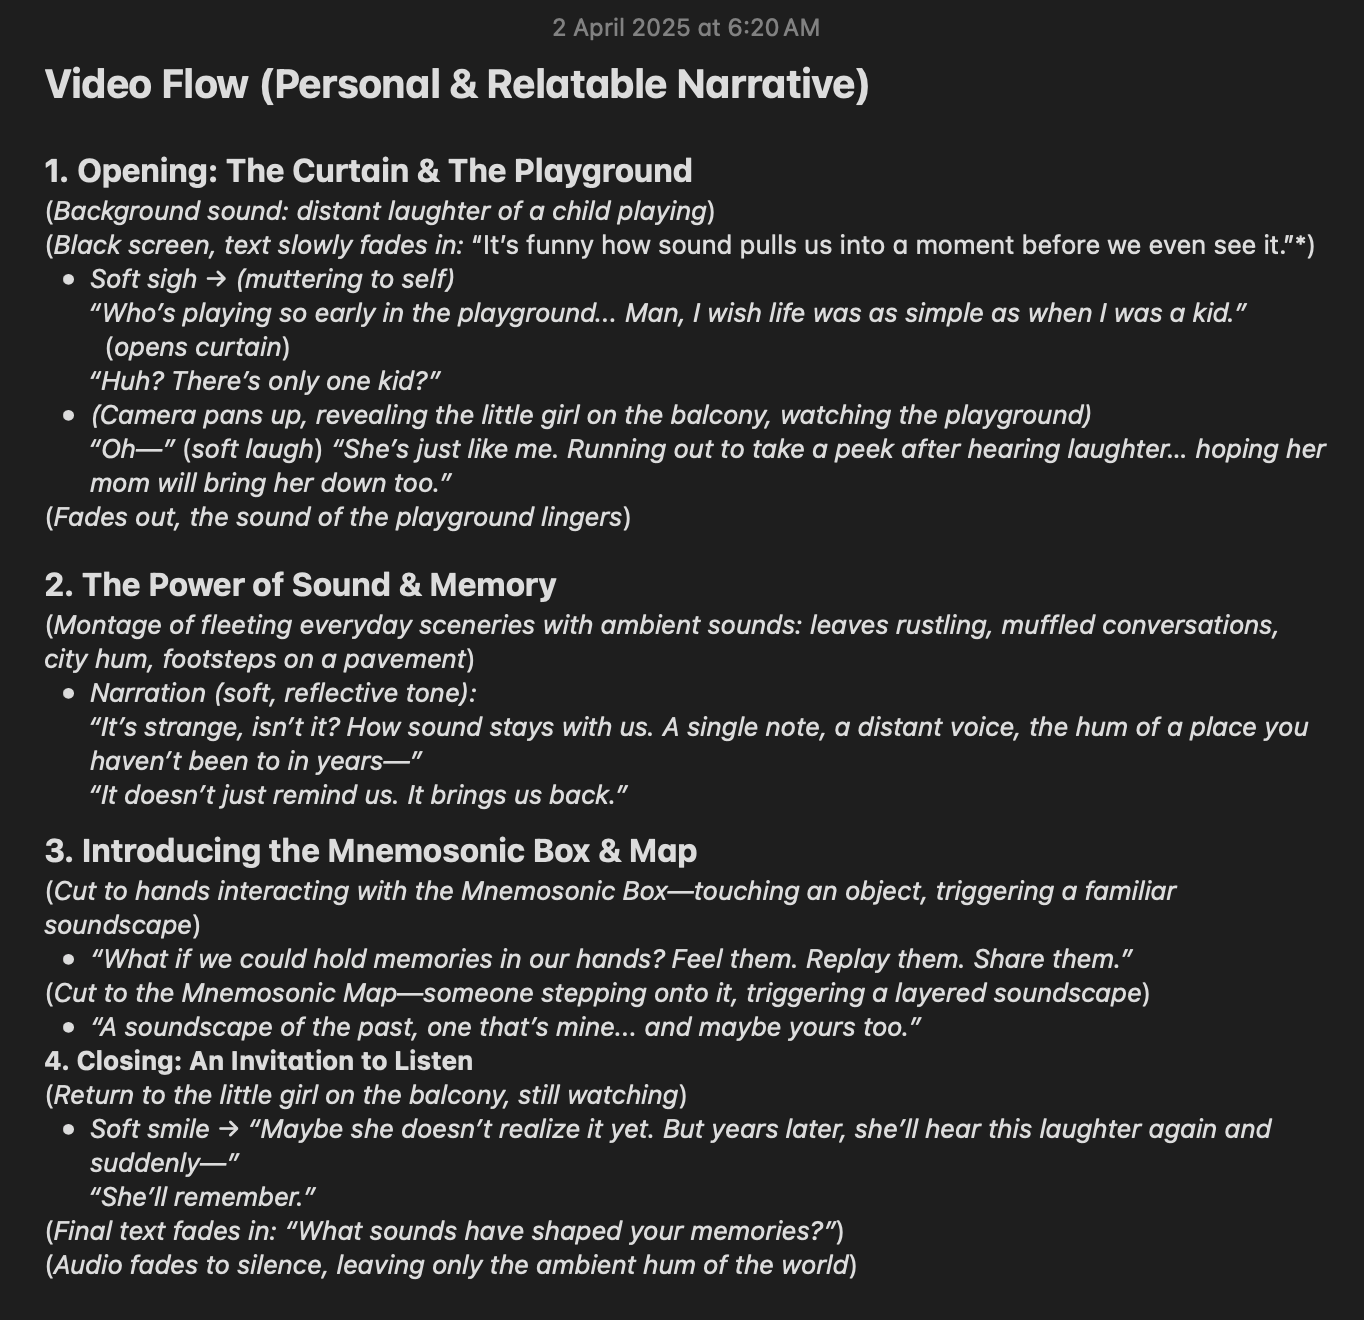
I have thought of a few ways that I can videograph and edit the explainer video. Firstly, the scenes in front will be shot from a front angle, almost Wes Anderson style; cinematic. The tone would be engaging, thought-provoking and relatable.
Introducing the inspiration & how it all started (Introduction)
I thought it would be more relatable if I started the video from a first person perspective. Hence, in the video the scenes will show the sceneries I'm seeing which puts the viewers into the shoes of the persona. Additionally, having the video start of with a persona having flashbacks or getting reminded of a past memory after hearing a specific soundscape would be personal and impactful.
Explaining the invisible power of sound and memory
featuring a series of sceneries with its corresponding soundscapes playing in the background. As the scene changes, the narrator narrates the script in a soft and reflective tone.
Returning back to reality (Ending)
As the video ends, the persona is back to reality and the camera pans back to the exact moment with the same soundscape playing at the back. The video ends with a quote or a thought-provoking question that leaves the viewers thinking about their own memories and how sound plays a role in it.
✧ Introductory Narrative (Concept)
- WHO is this project speaking to?
- WHAT is the inspiration behind?
✧ Solutions (Experiential Prototypes AB)
- WHAT are the significance of the different soundscapes?
- WHERE is the setting?
- WHY these sounds?
✧ Explain deeper
- HOW do they work?
- WHEN will it be used?
Storyboarding
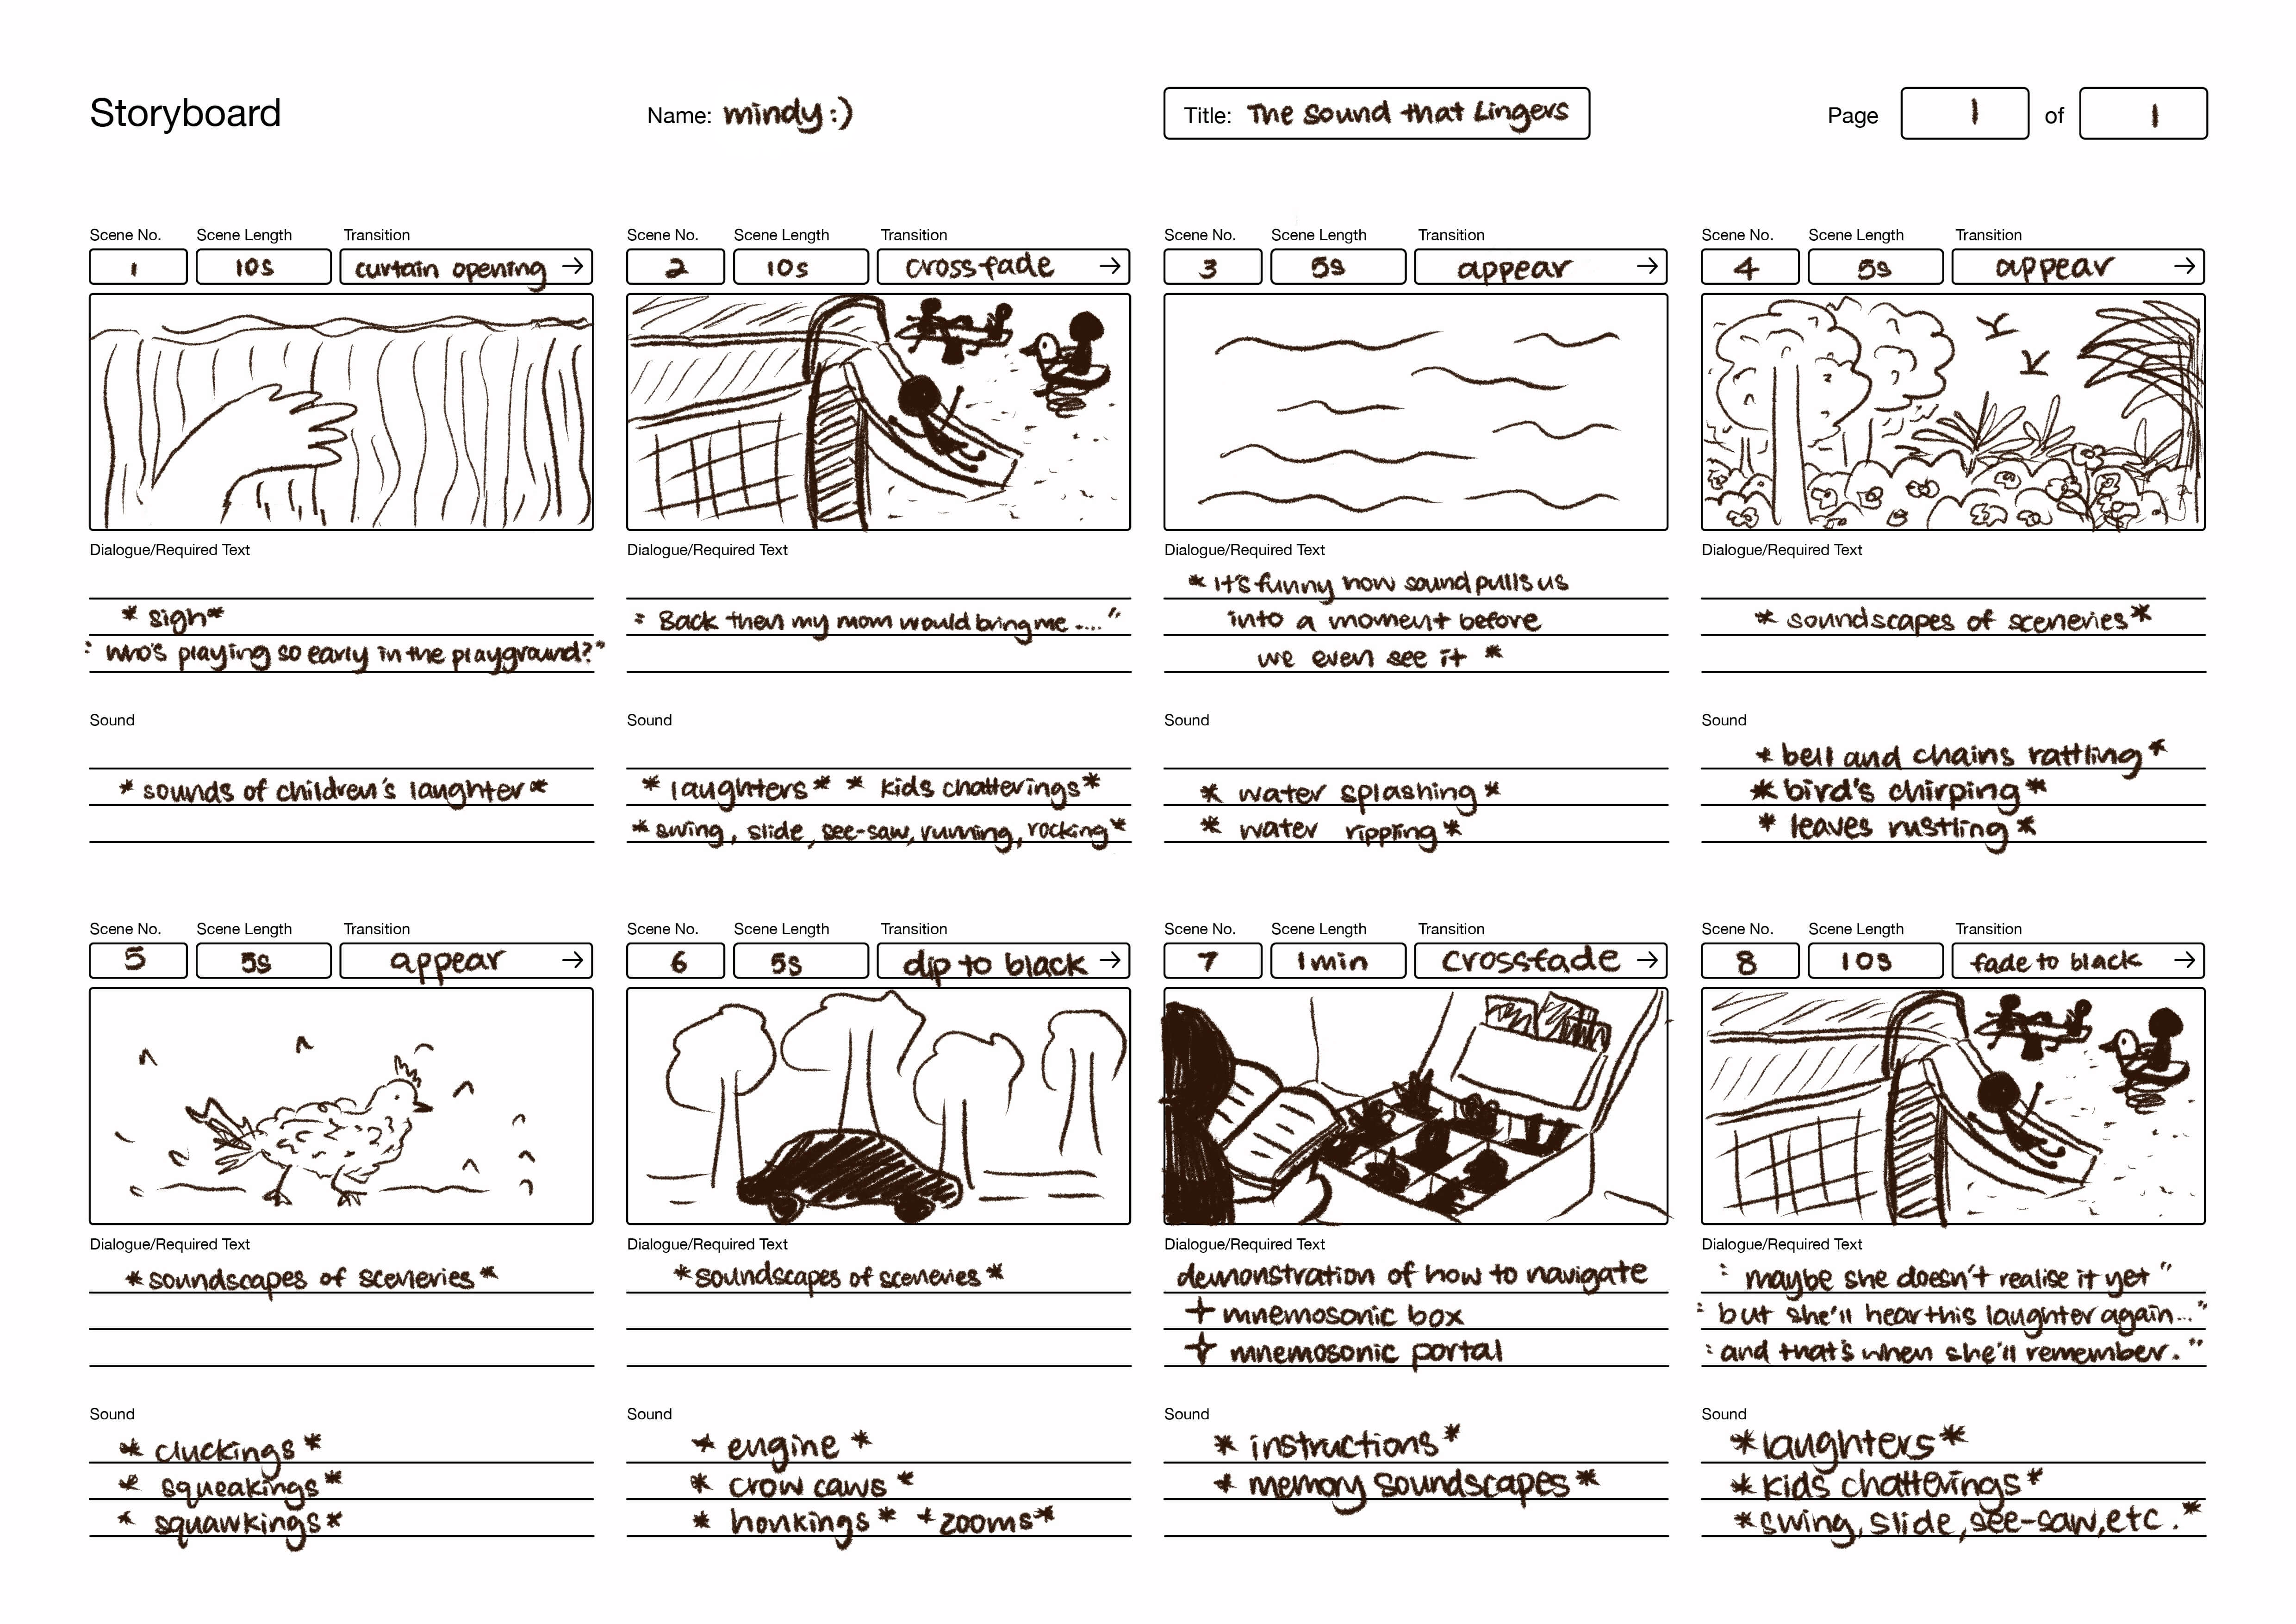
STORYBOARD NARRATIVE


EXPLAINER VIDEO — Filming Footages
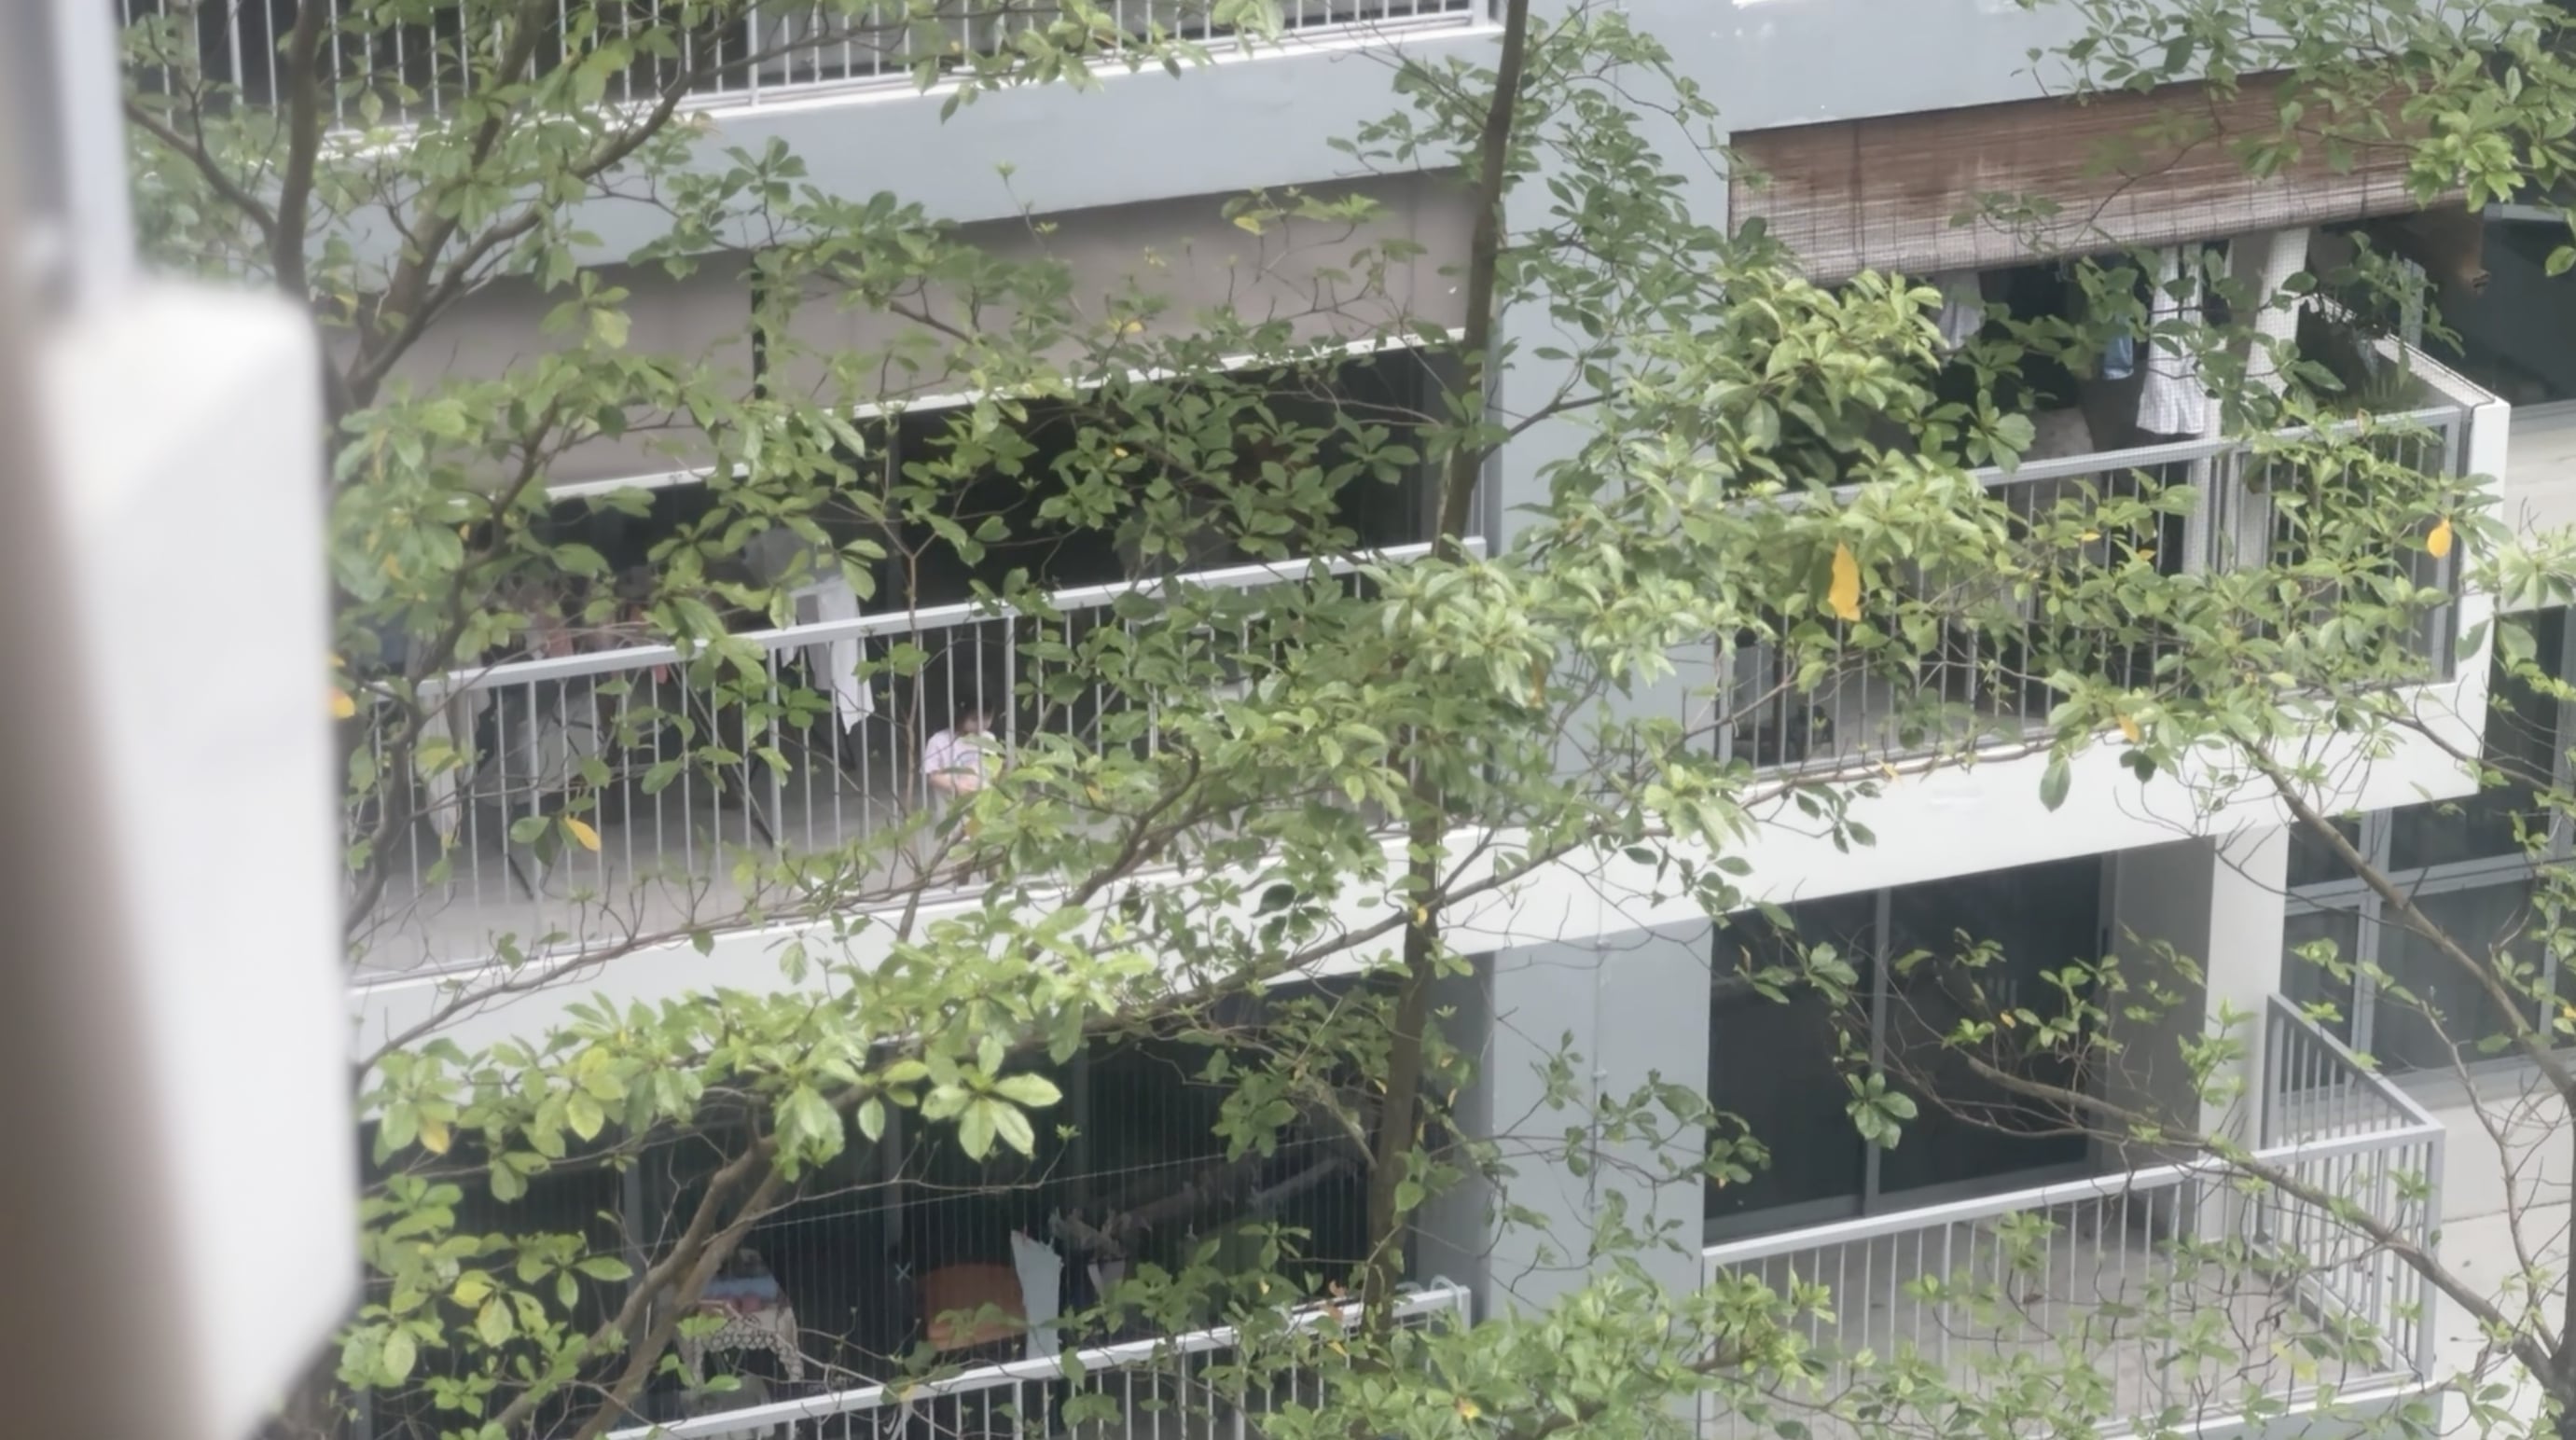
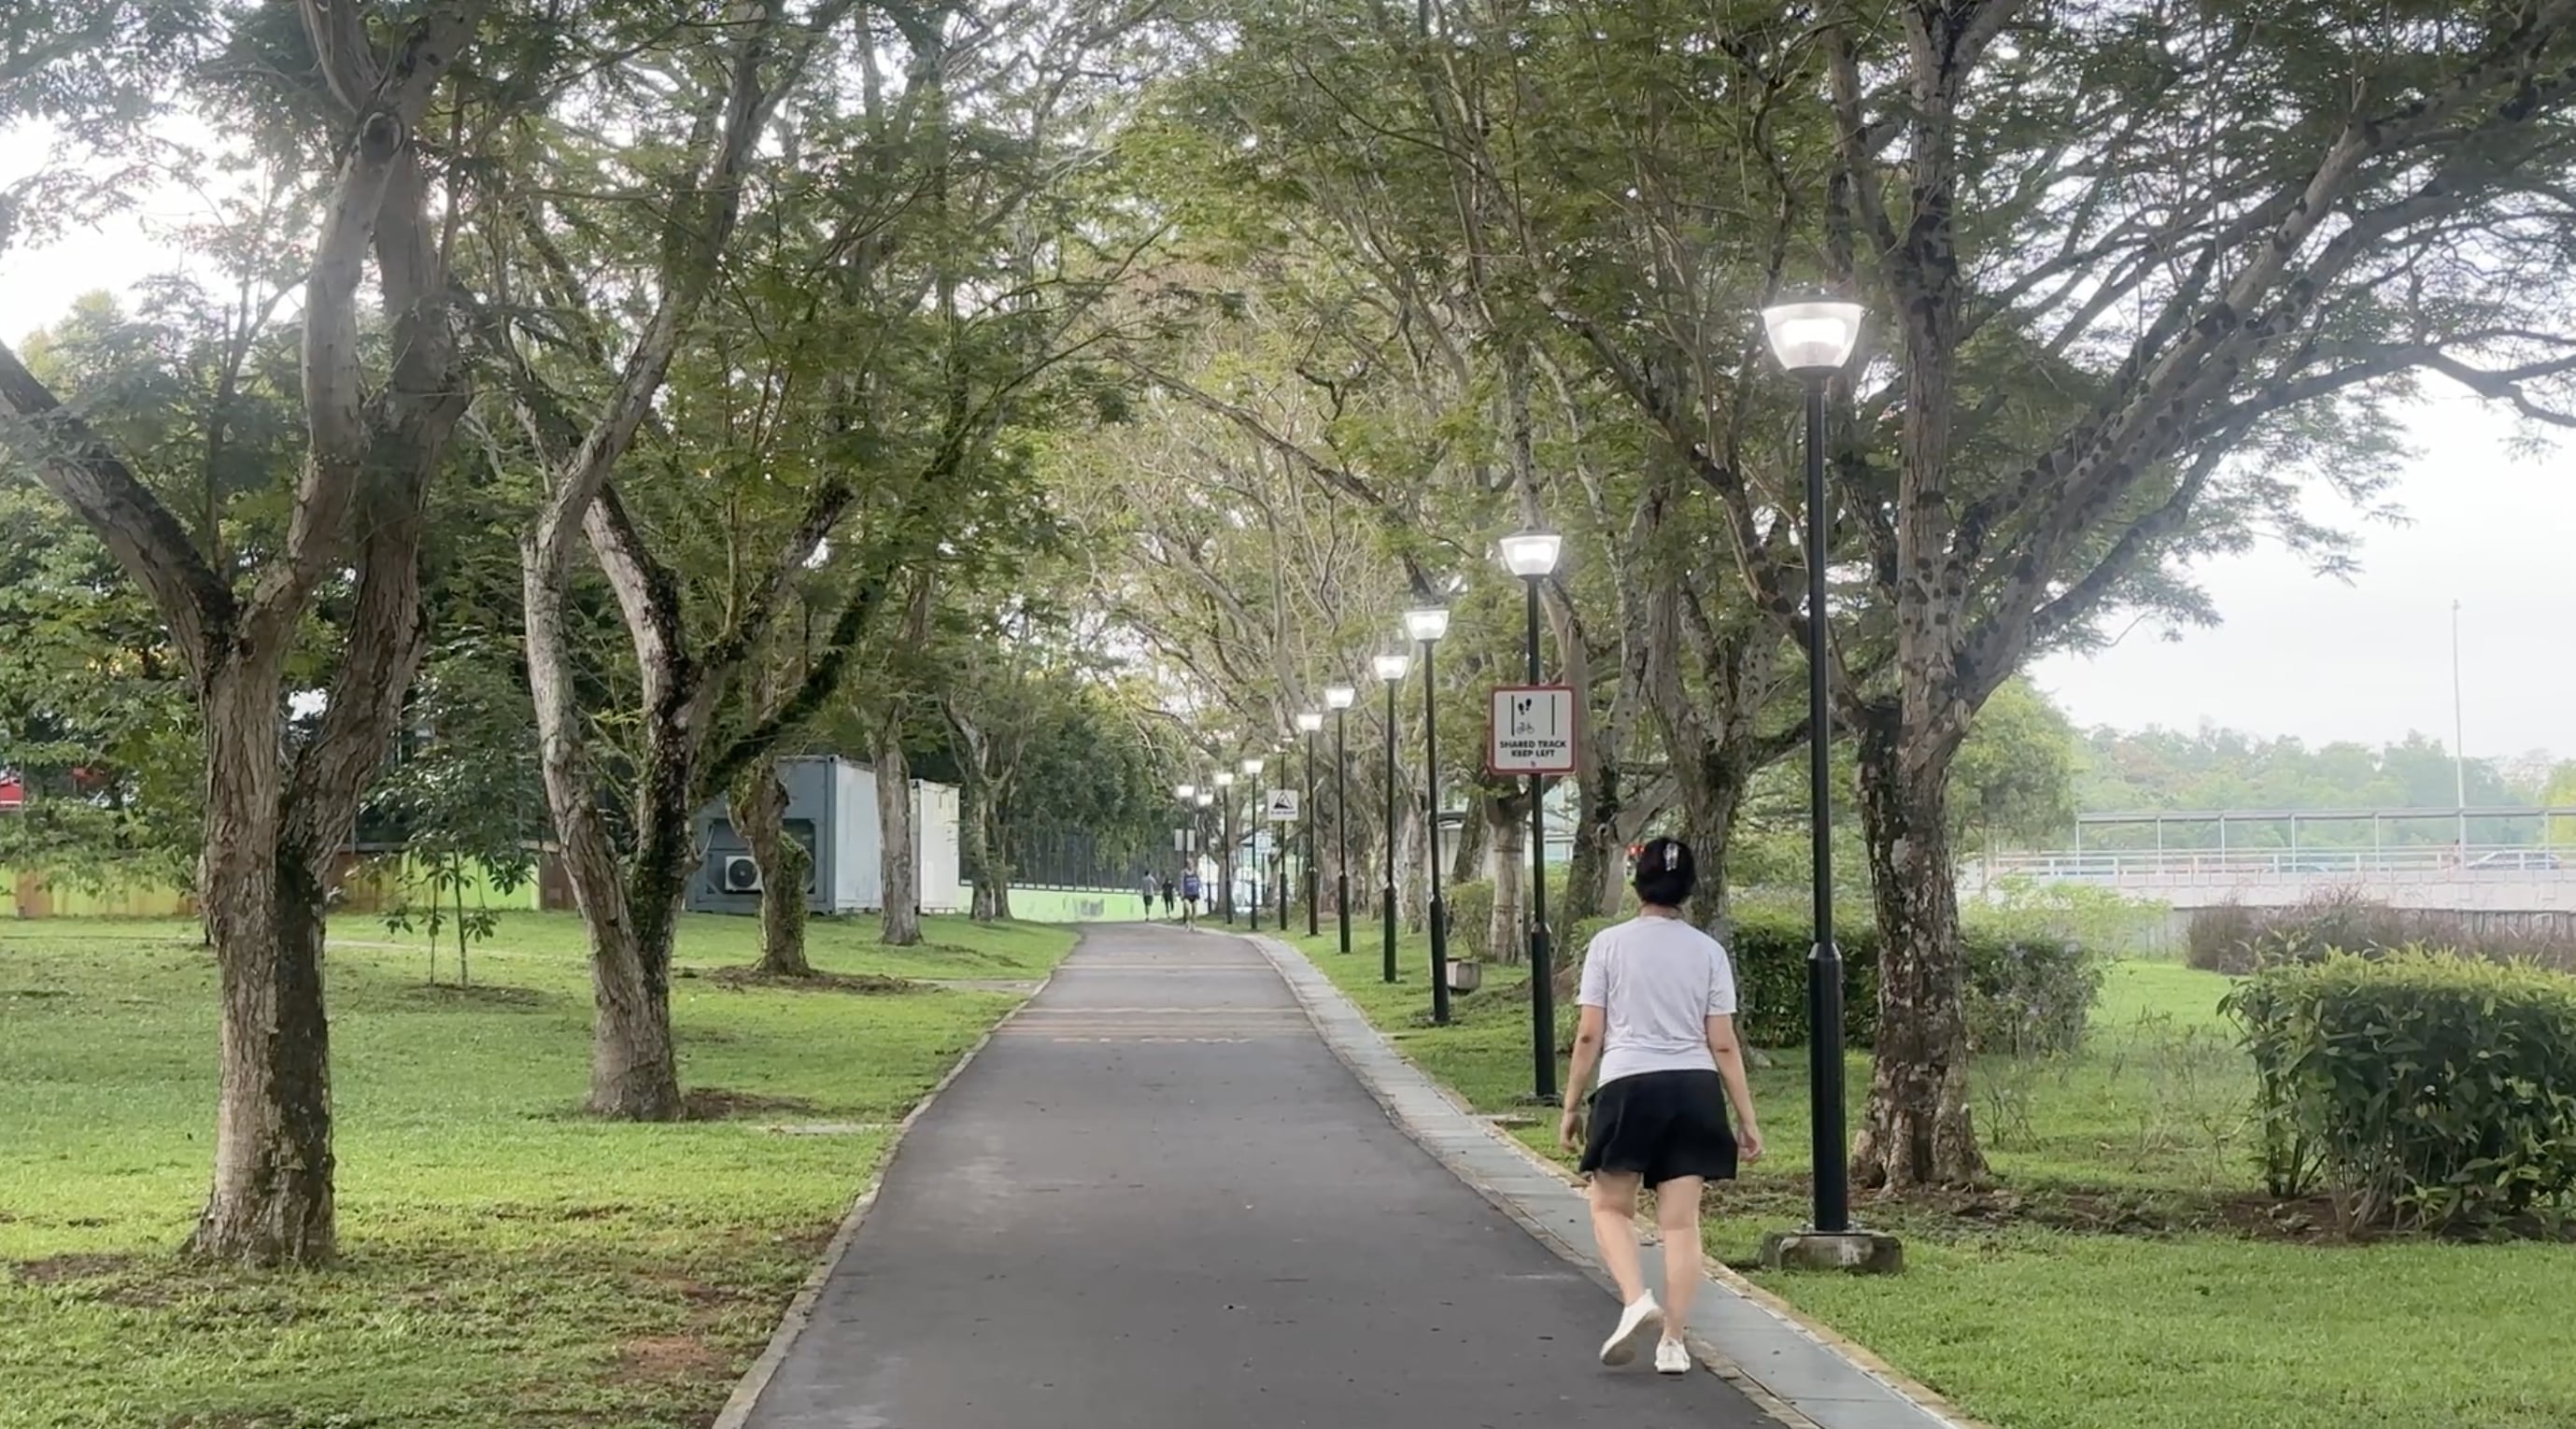
The storyline for the explainer video actually came as a pleasant surprise as it was actually what happened to me. As I was brainstorming for the narrative early in the morning at around 8am, I heard laughter coming from the playground and was curious so I opened the curtains to see a boy sliding down the slides. I then decided to capture this moment. I was looking around thinking what else I could film as I continued videographing the little boy playing around. As my camera panned upwards, that was when I saw a little girl running out to the balcony, looking at the boy playing from a distace and it immediately reminded me of how I peeked out from the window hoping my mom would notice me and bring me down to play too. I was so surprise as that was so much like me when I was younger and not only that I also caught the moment at the perfect timing! I then re-enact the opening of curtains and made use of this scene in the film as a thought-provoking moment for the audience.
I also used the soundscapes I recorded in the previous weeks and added them into the video to create a more immersive experience. The soundscapes were recorded in different locations such as the playground, park, and even at home. I also added some sound effects to enhance the overall experience.
opening curtains - transition 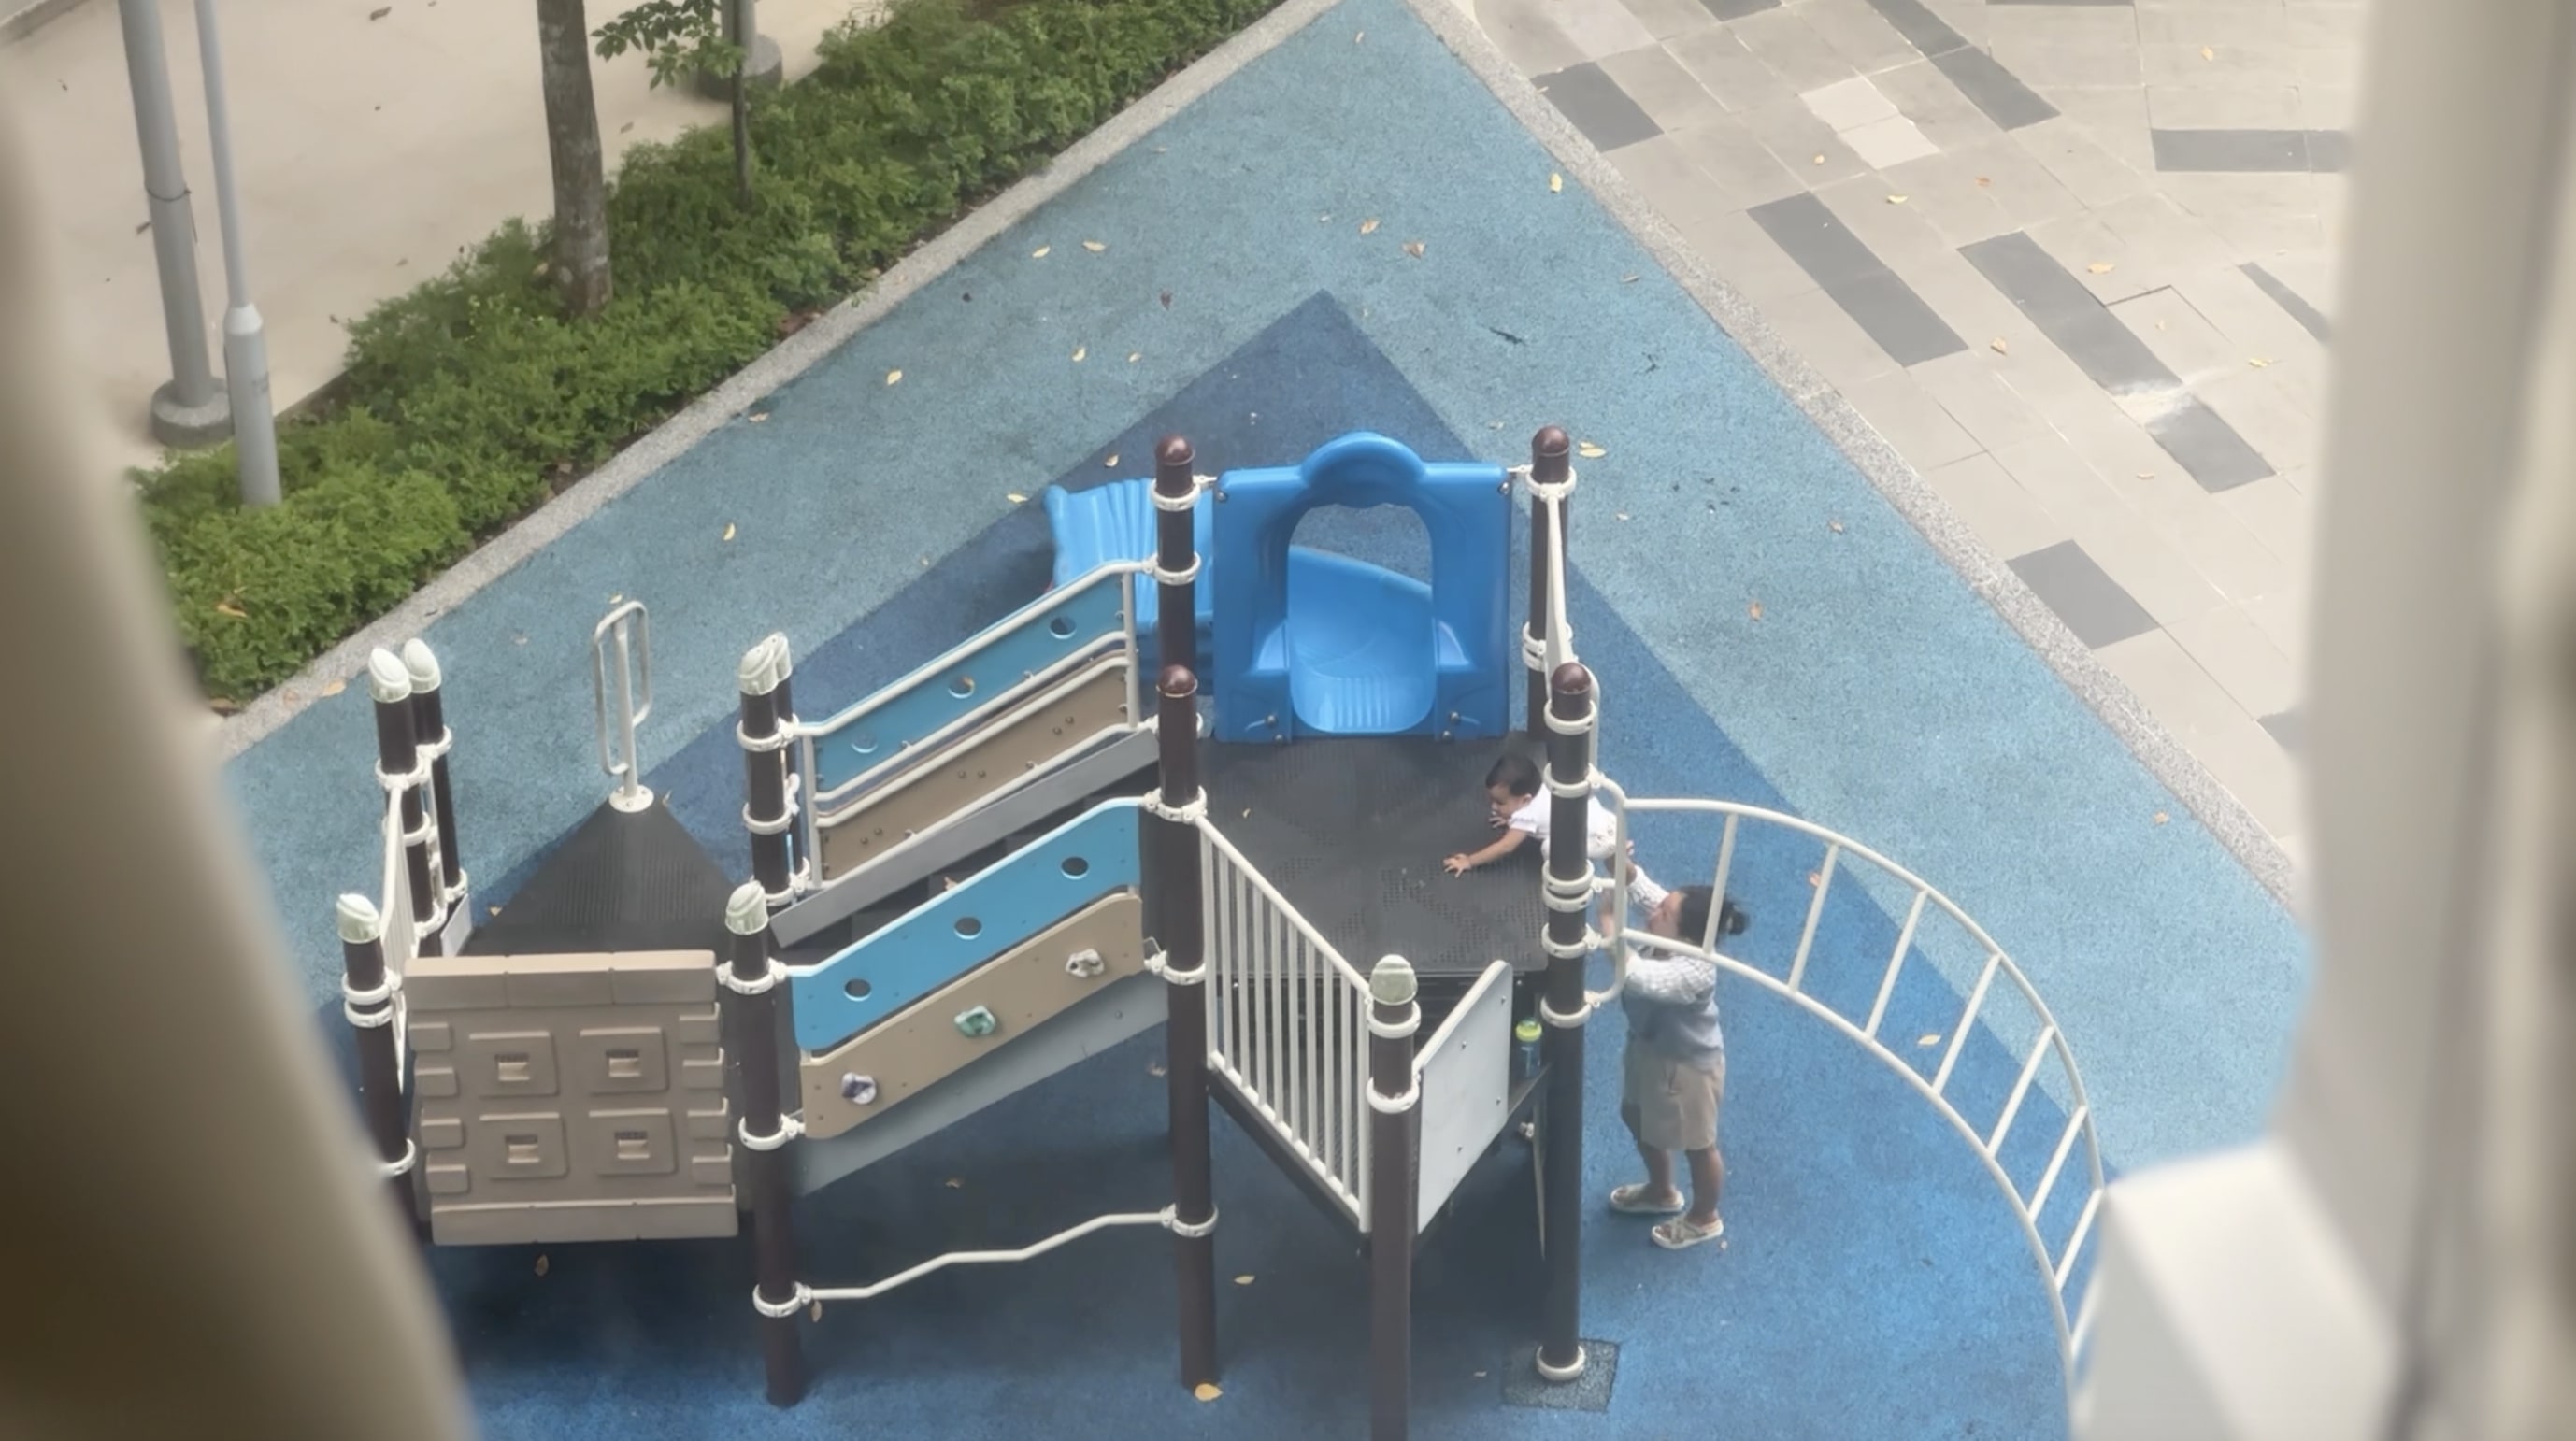
boy playing in the playground 
little girl symbolising the 'younger me'

car zooming 
sounds of water droplets and ripplings 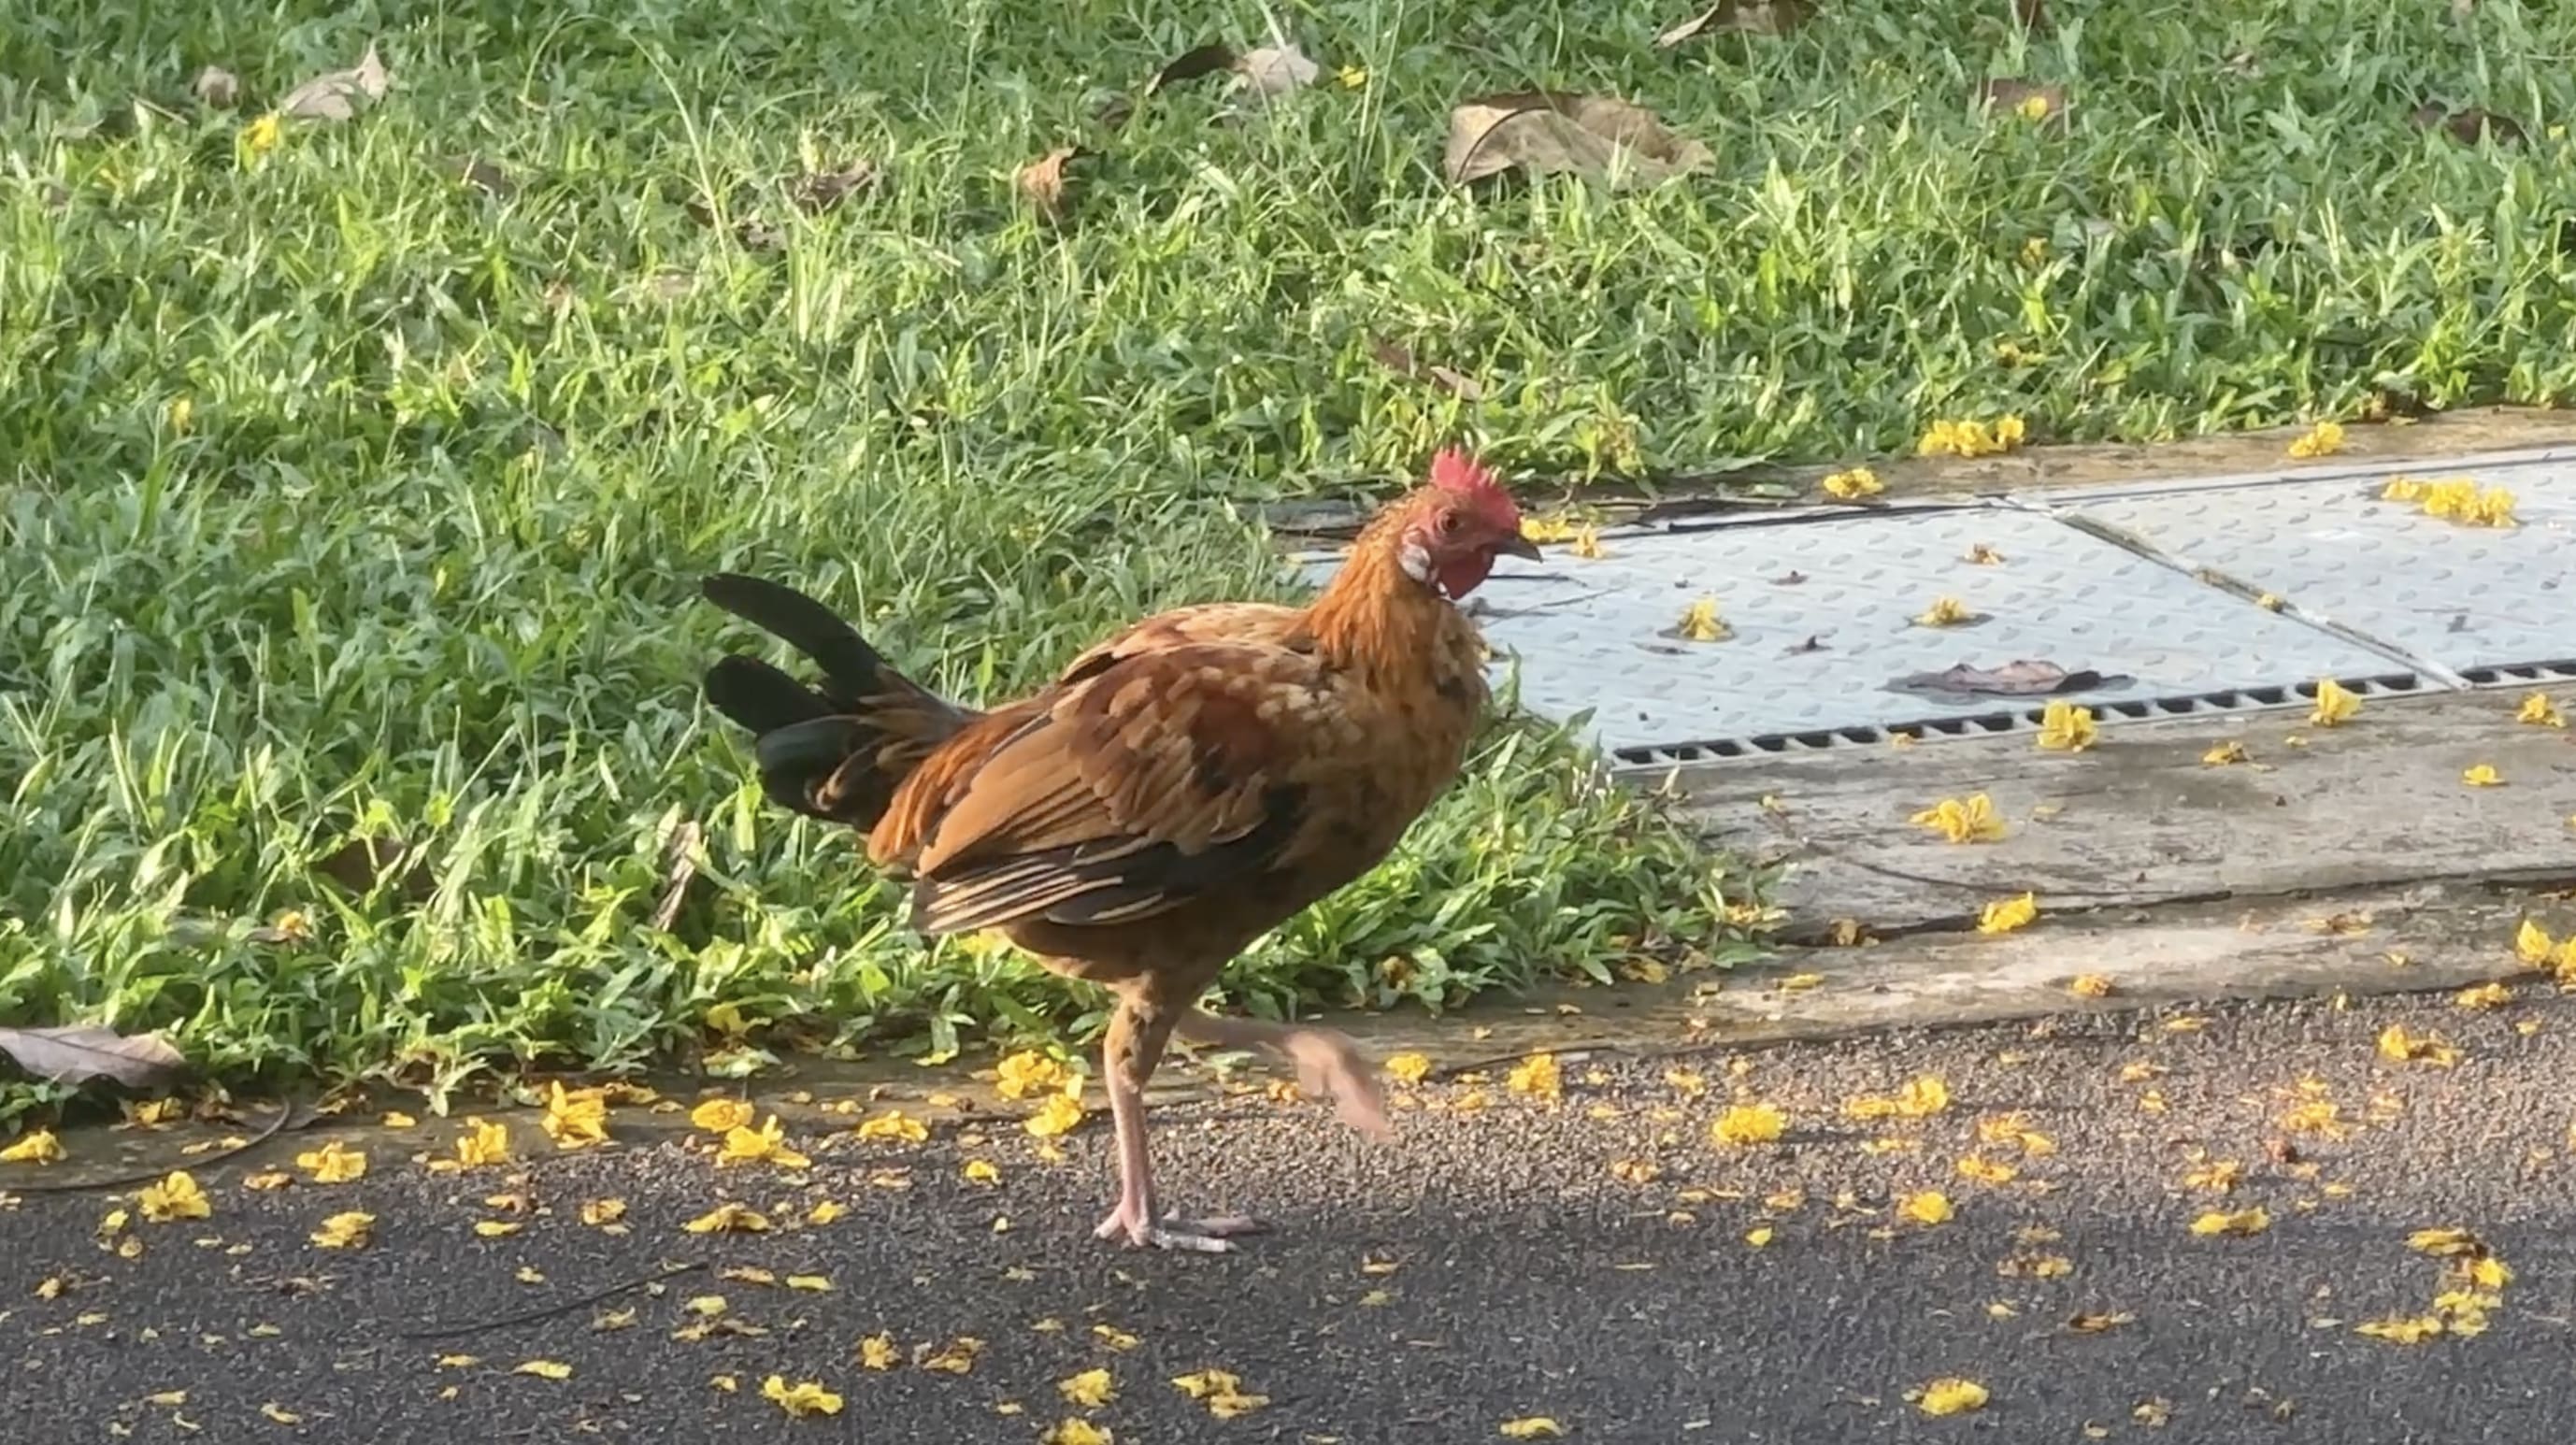
birds chirping, cawing, squawking and clucking
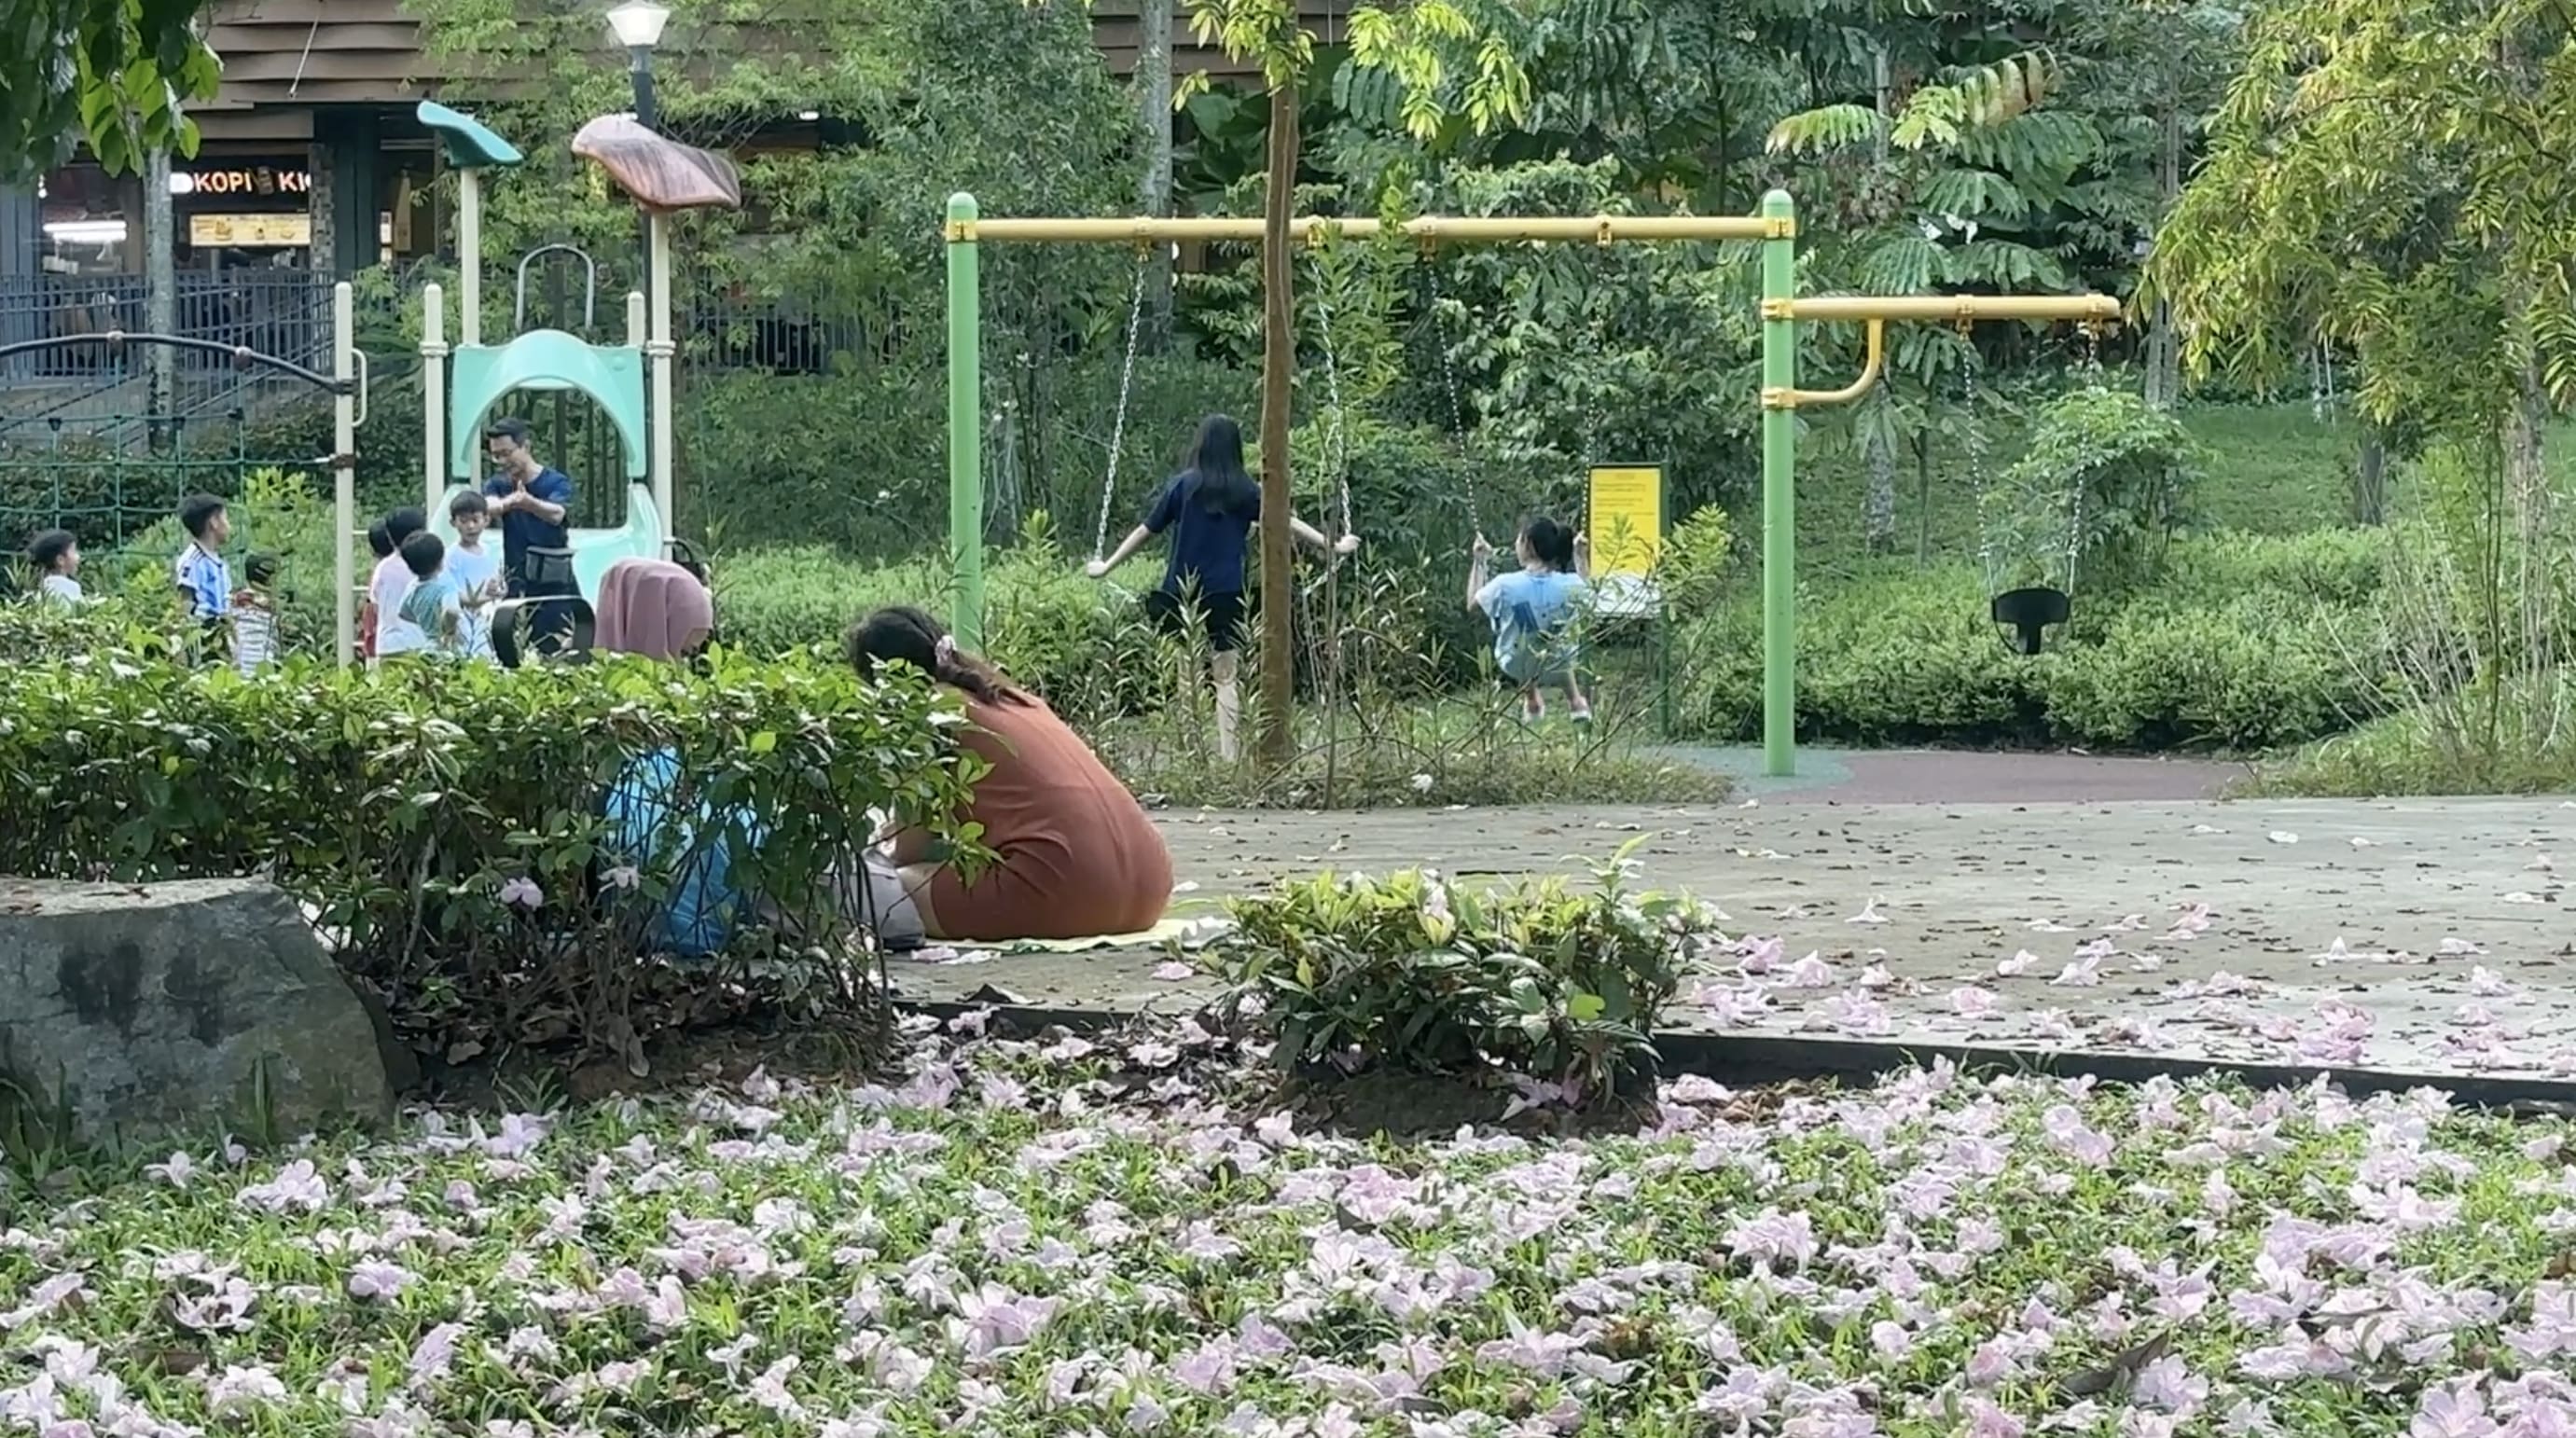
children laughing, running, screaming, playing 
gentle breeze, leaves rustling 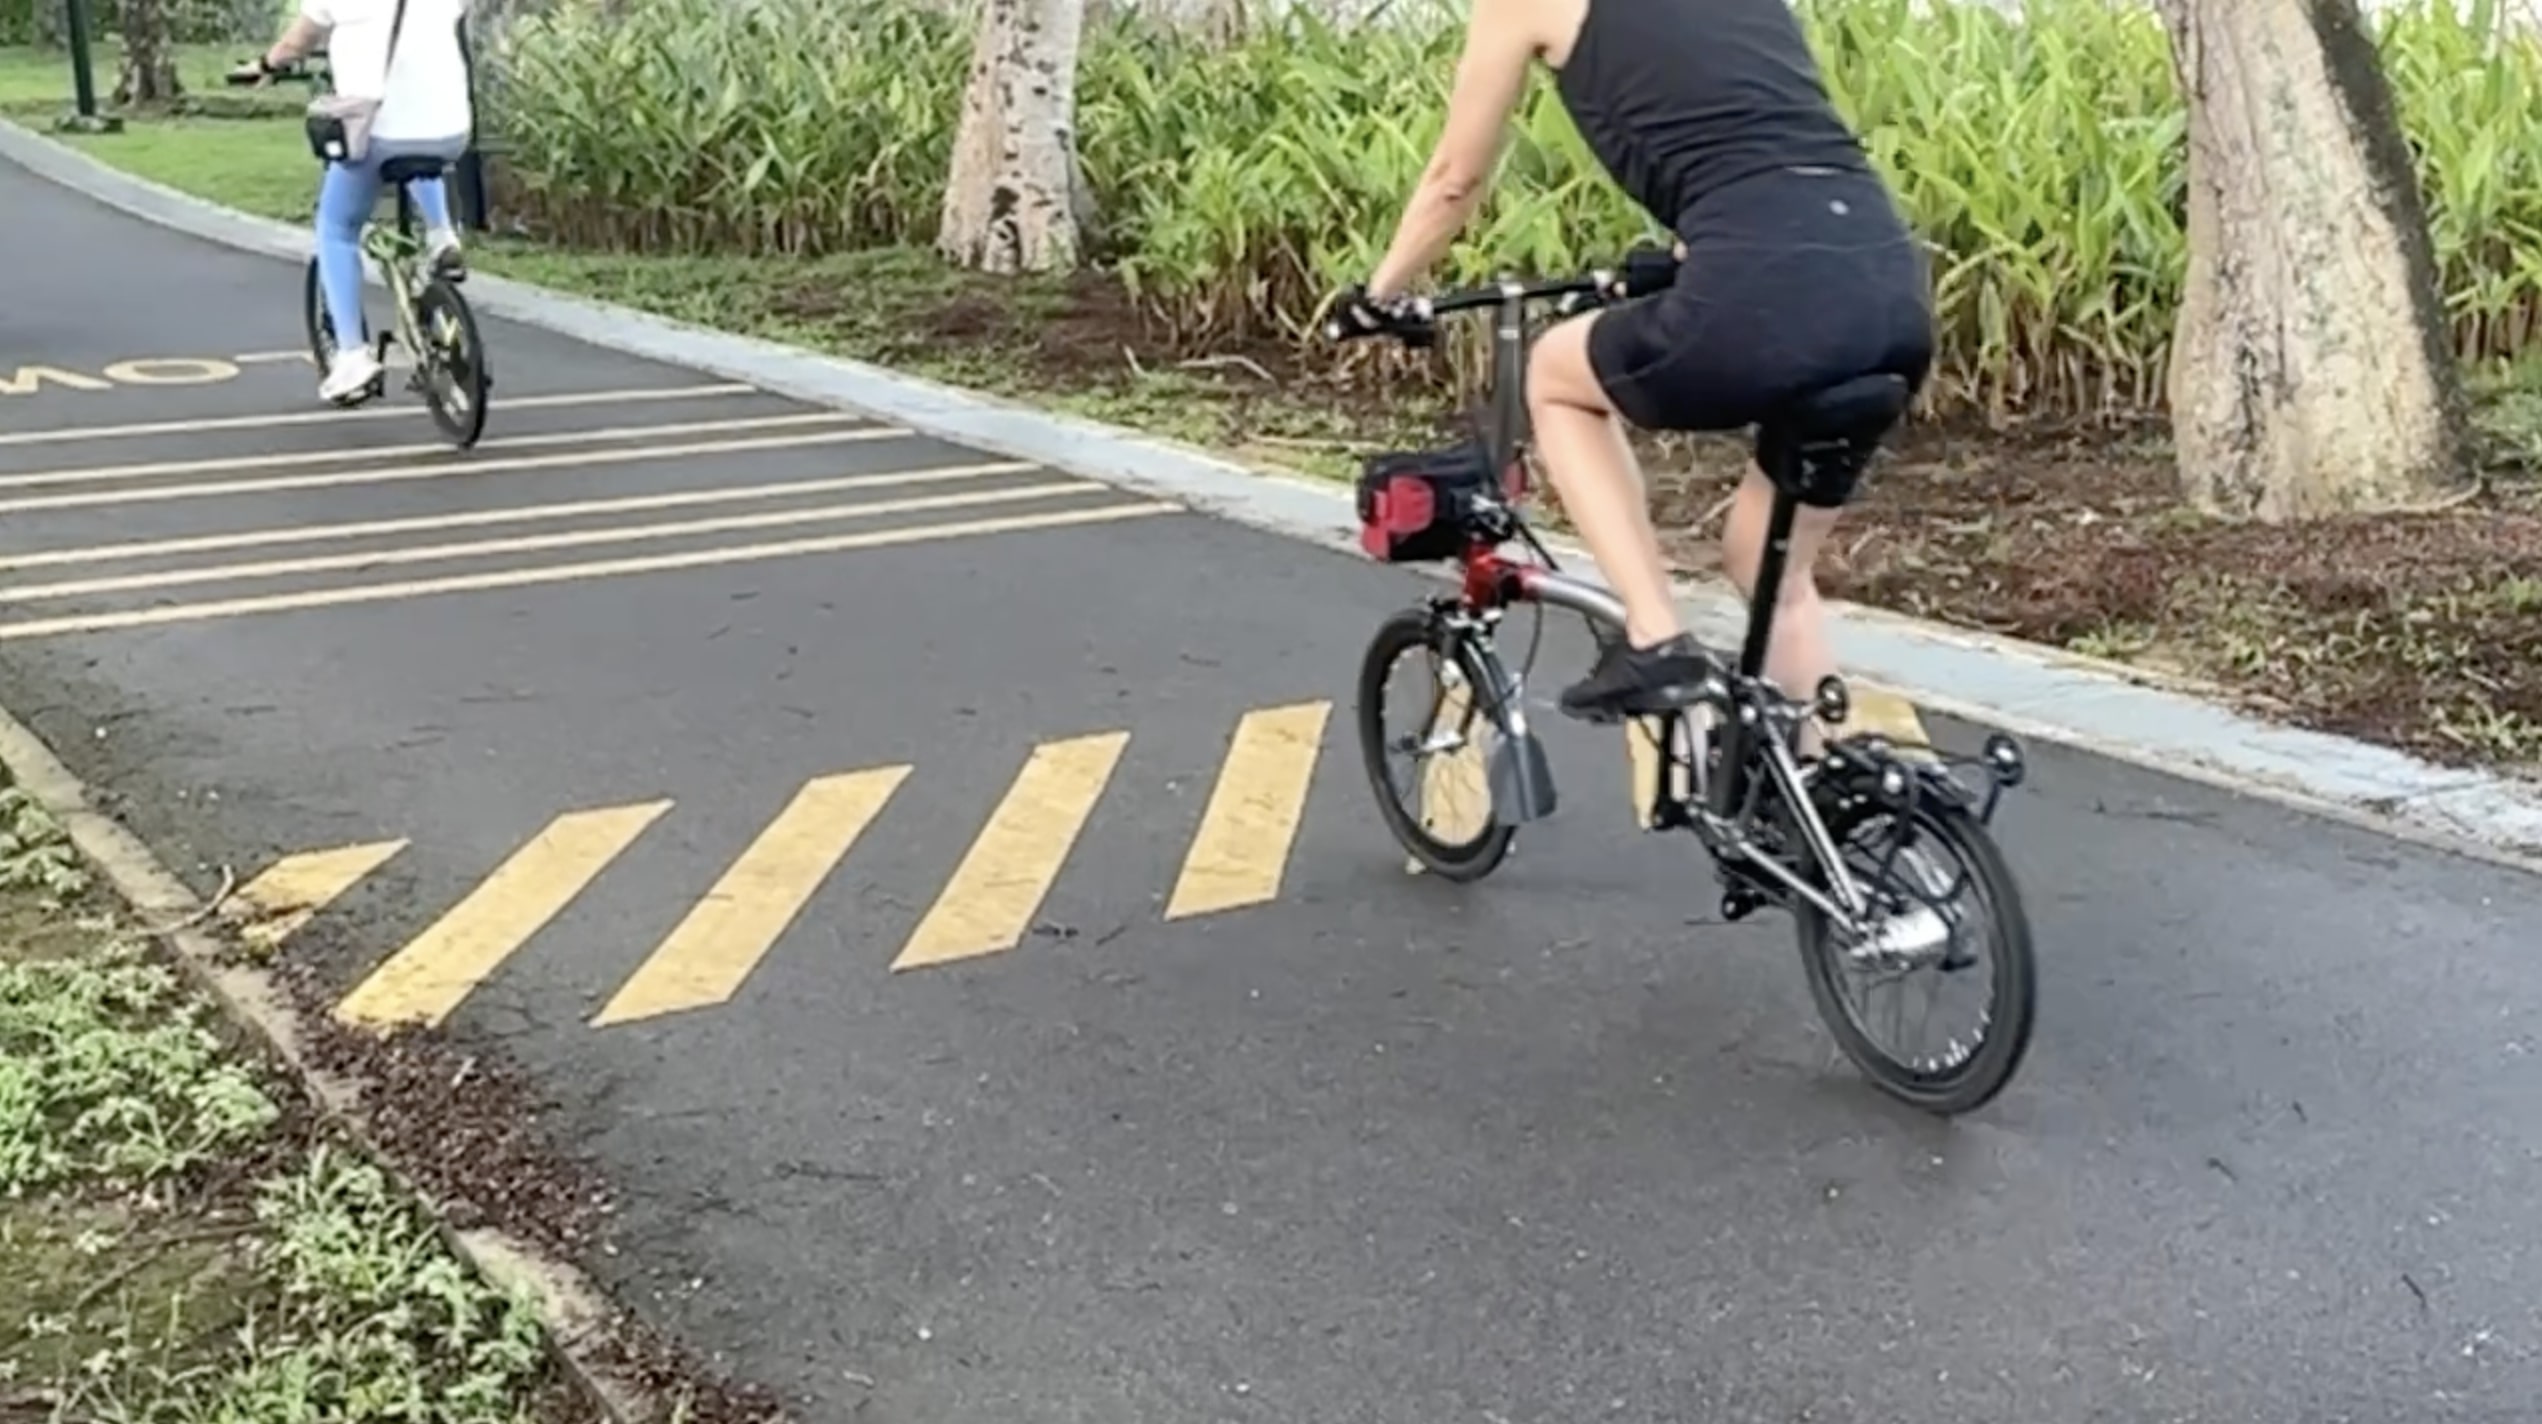
bells ringing, chains rattling
slow and fast footsteps 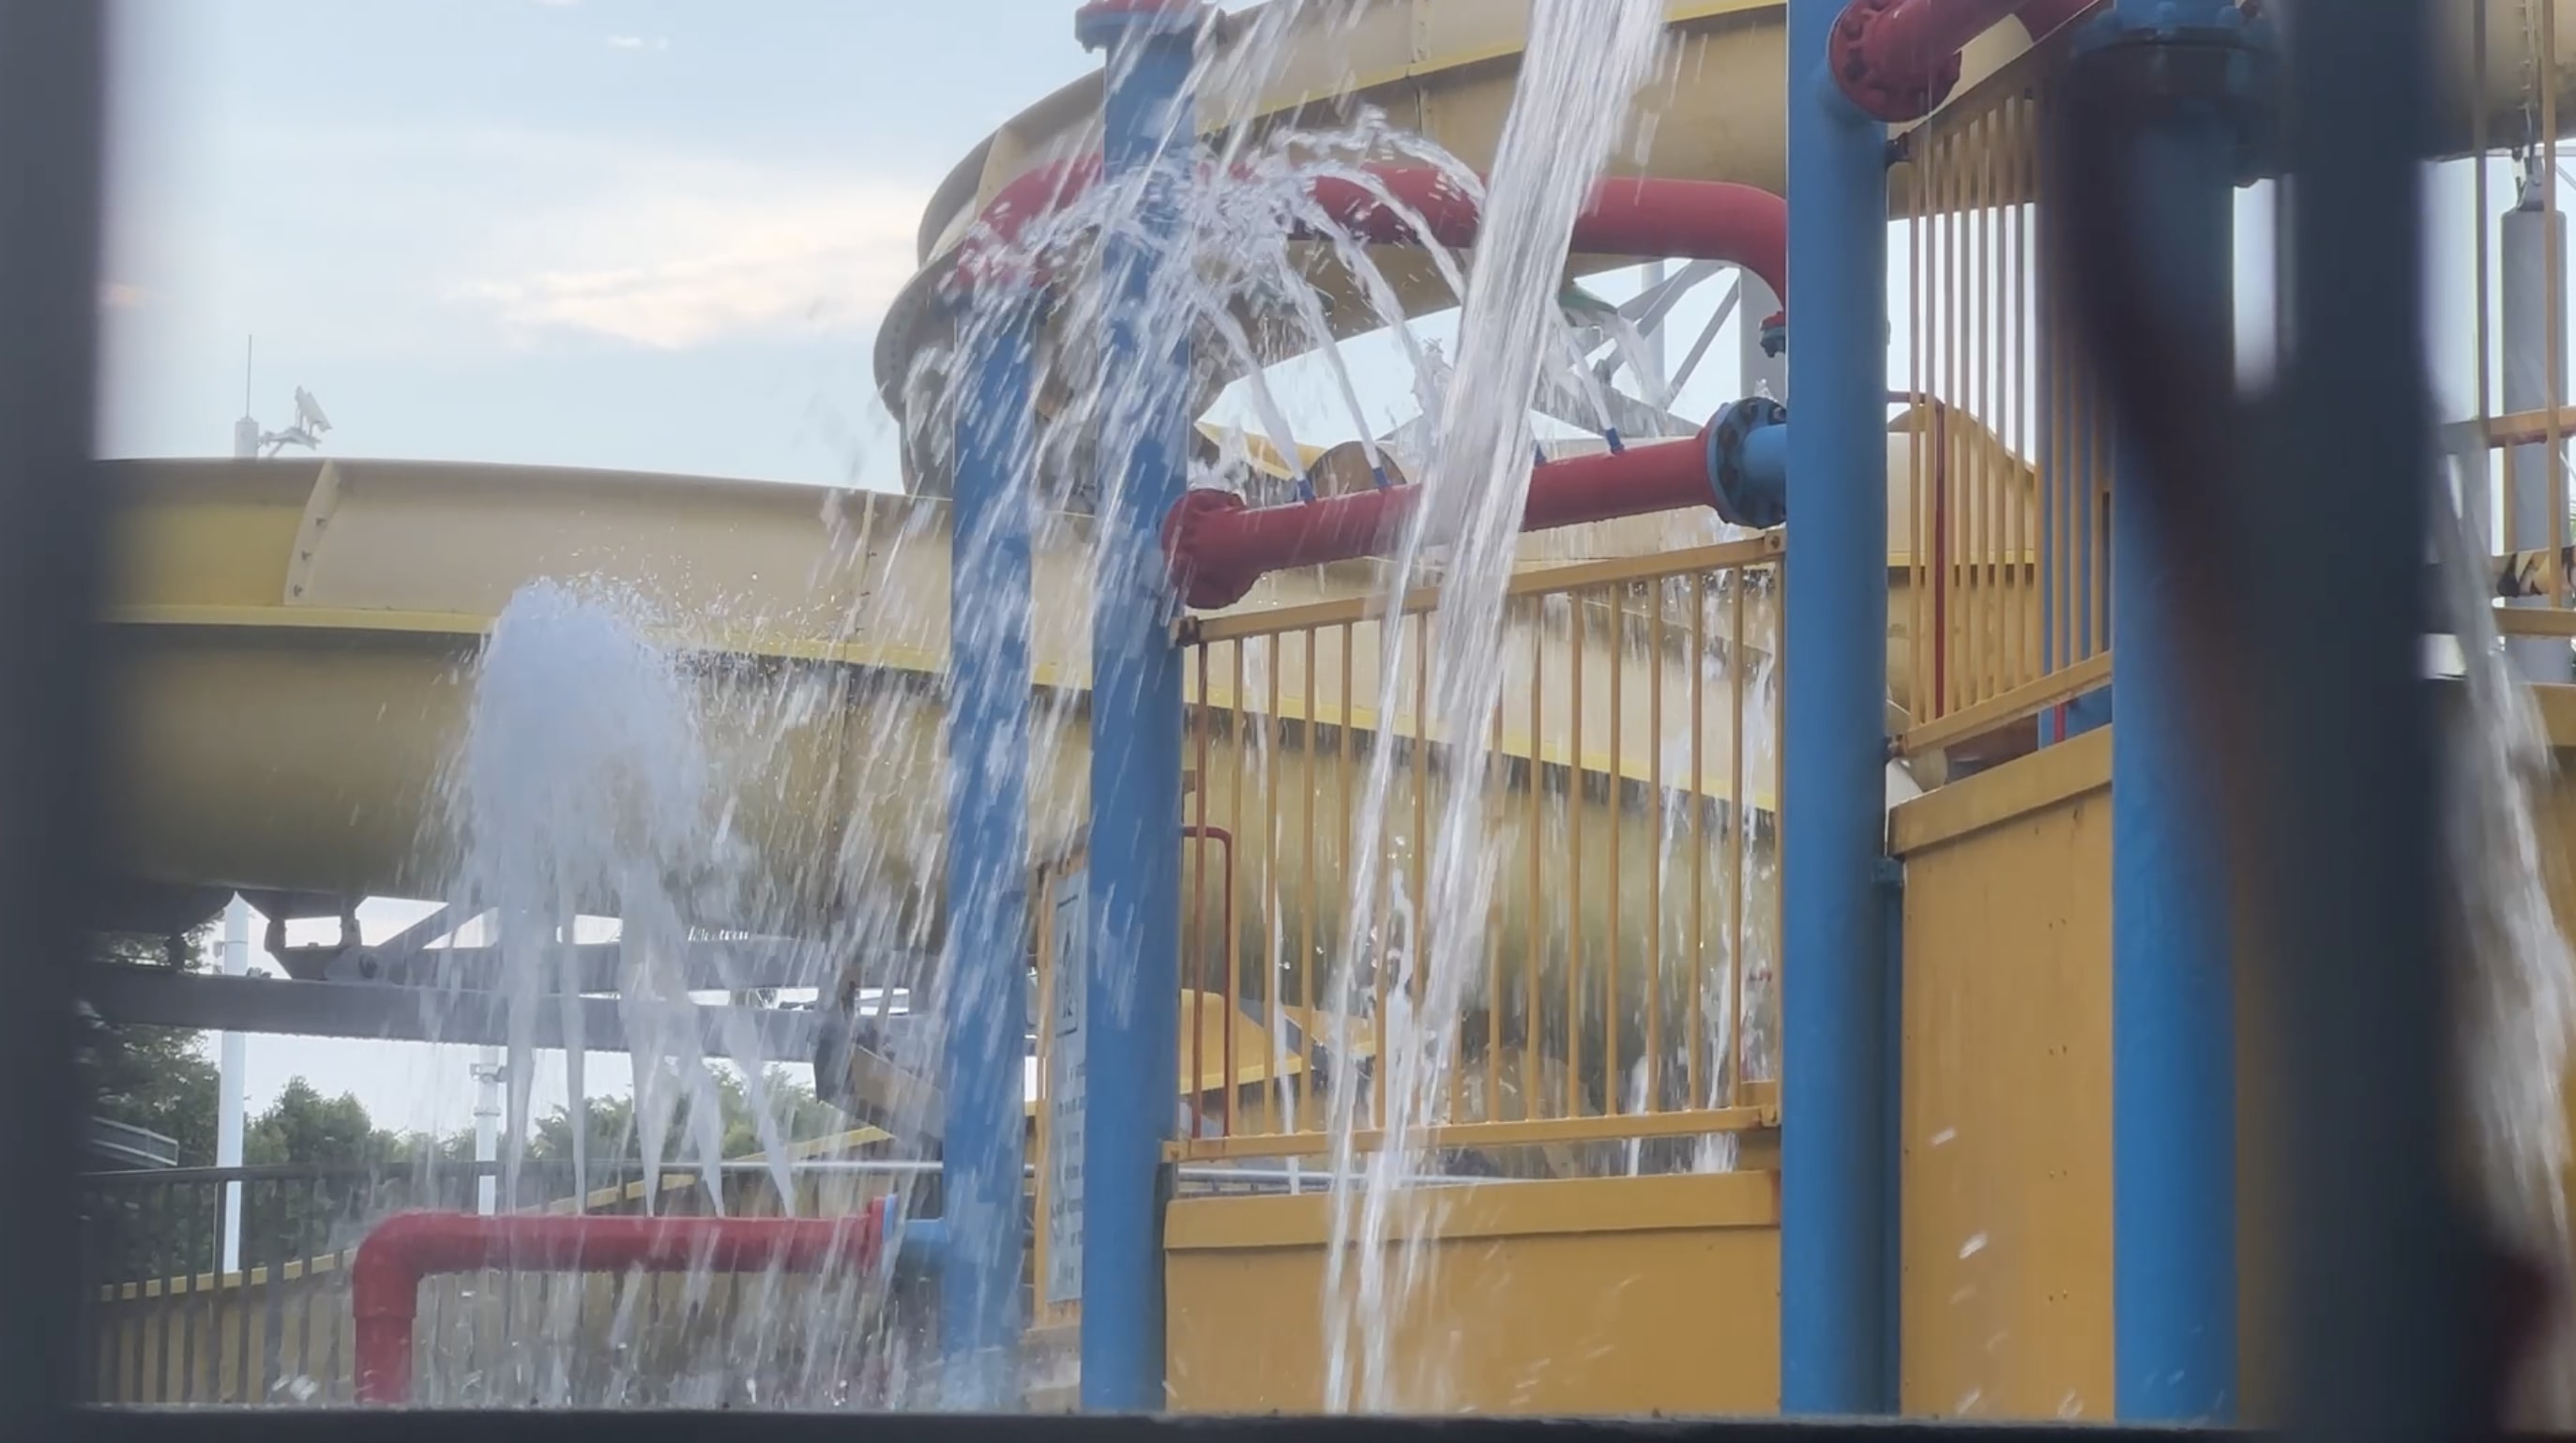
water splashing 
planes rumbling
experiential prototype A demonstration 
experiential prototype B demonstration back to reality of you and a reflection of your younger self reminding you of that special moment with the same soundscape you are hearing now
As for the narration, I used a soft and reflective tone to match the visuals. The voiceover was carefully scripted to convey the message of the project and to evoke emotions in the audience. It was also specifically prompted and went through rounds of selection for the AI voice to sound more 'exciting', 'calm', and 'thought-provoking' in different scenes.
"Open the box" - monotone with additional prompt - 'exciting' "Pick up the magnet" - thought-provoking
Overall, I am really happy with how the explainer video turned out.
I think it really captures the essence of the project and the message I want to convey. I hope that it will resonate with the audience and make them think about similar moments like this while reflecting on how we should use our visual and auditory senses more than relying on digital photography by living in the present moment.